1. Giriş
Thank you for choosing the Igloo Top Loading Water Cooler. This manual provides essential information for the safe and efficient operation of your new hot and cold water dispenser. Please read these instructions thoroughly before initial use and retain them for future reference.
2. Güvenlik Bilgileri
- Always place the water cooler on a firm, level surface to prevent tipping.
- Ensure the unit is positioned away from direct sunlight, heat sources, and areas with high humidity.
- Do not plug in the appliance until a water bottle is properly installed and water has filled the internal reservoirs. Operating the hot water function without water can cause damage.
- Allow the unit to stand upright for at least 4 hours before plugging it in to allow the compressor fluids to settle.
- The hot water dispenser features a child safety lock. Always engage this lock when not in use, especially in households with children, to prevent accidental burns.
- Keep children away from the hot water spigot.
- Only use 3 or 5-gallon water bottles with this dispenser.
- Cihazı, kablosunu veya fişini suya veya başka sıvılara batırmayın.
3. Ürün Bittiview
The Igloo Top Loading Water Cooler provides convenient access to both hot and cold water. Key components and features include:
- Top-Loading Design: Easy placement of 3 or 5-gallon water bottles.
- Hot Water Spigot: Delivers steaming hot water for beverages and instant meals.
- Cold Water Spigot: Provides refreshing, ice-cold water.
- Çocuk Güvenlik Kilidi: Located on the hot water dispenser to prevent accidental activation.
- Çıkarılabilir Damlama Tepsisi: Catches spills and is easy to clean.
- Güç Anahtarları: Separate switches for hot and cold functions on the back of the unit for energy conservation.
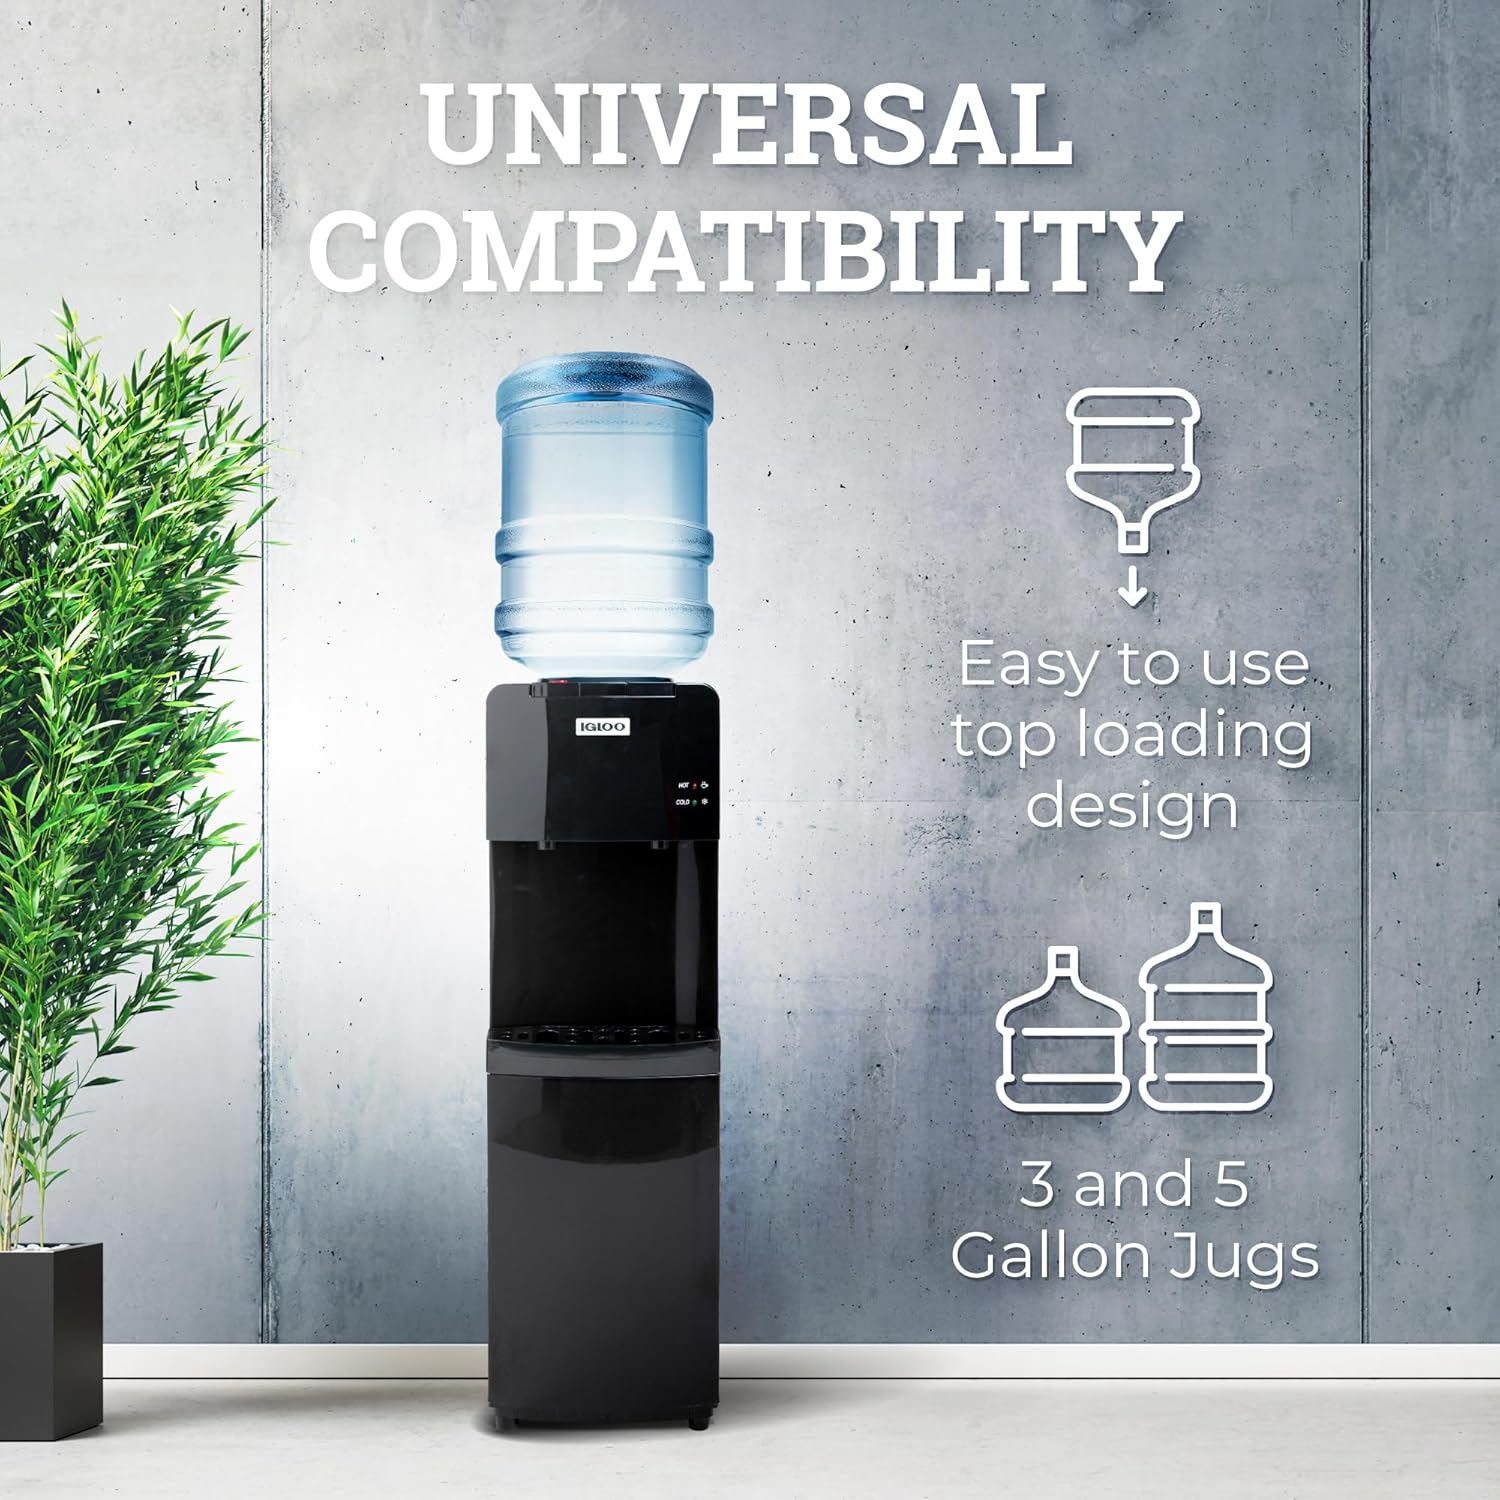
Figure 3.1: The Igloo water cooler demonstrating compatibility with 3 and 5-gallon water jugs.
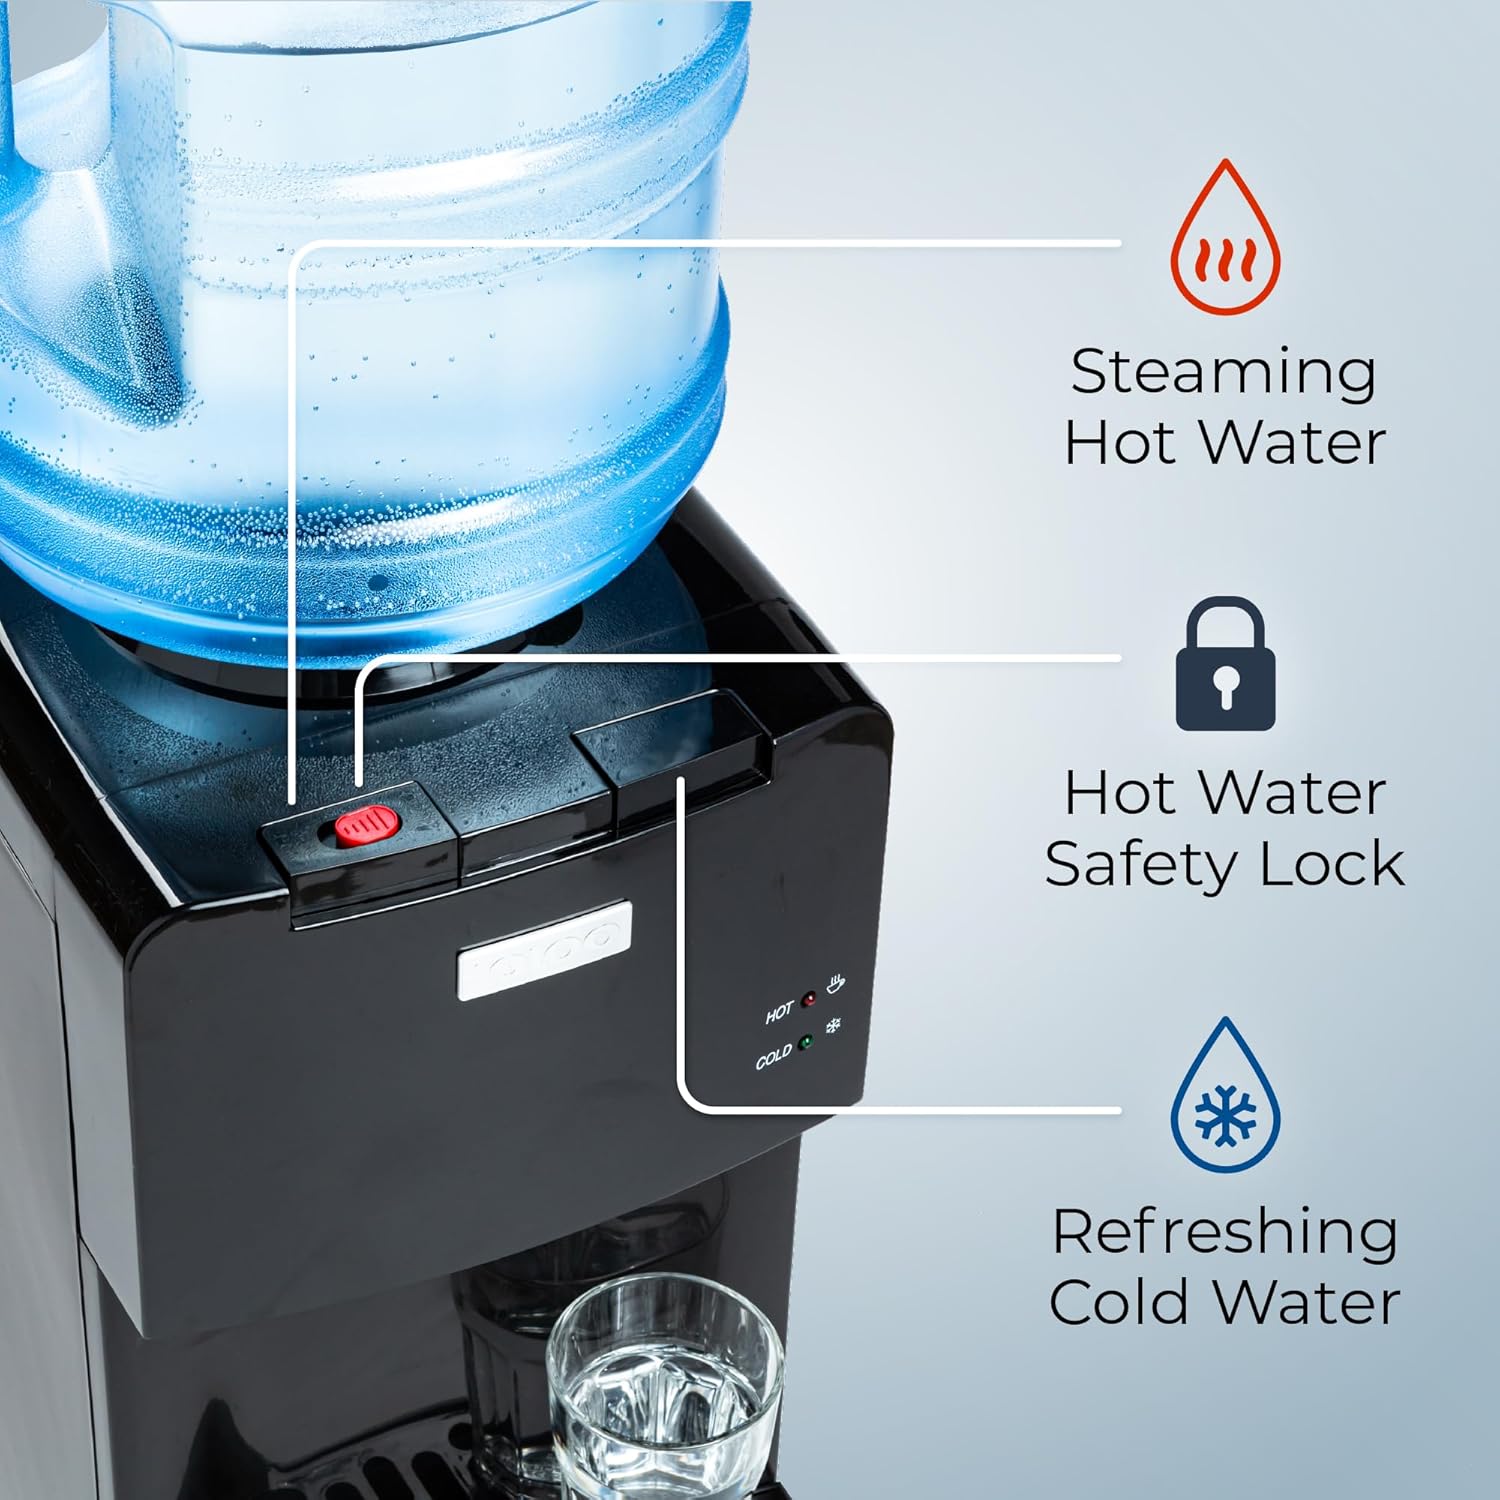
Figure 3.2: Detail of the hot and cold water spigots, including the child safety lock for hot water.
4. Kurulum
- Üniteyi Paketinden Çıkarın: Su soğutucunuzu ambalajından dikkatlice çıkarın. Herhangi bir hasar olup olmadığını kontrol edin.
- Konumlandırma: Place the dispenser on a flat, stable, and level surface. Ensure there is adequate ventilation around the unit, especially at the back where the cooling components are located.
- İlk Temizlik: Before first use, wipe down the exterior of the unit and the drip tray with a damp Kumaş.
- Su Şişesini Takın: Remove the cap from a 3 or 5-gallon water bottle. Carefully lift the bottle and place it upright onto the support collar on top of the dispenser. Ensure the bottle is seated firmly and water begins to flow into the unit.
- Sistemi Hazırlayın: Place a cup under the cold water spigot and press the dispensing lever until water flows smoothly. Repeat this process for the hot water spigot (without pressing the child safety lock initially, just the lever, to ensure water fills the hot tank). This removes air from the system.
- Gücü bağlayın: Güç kablosunu topraklı bir elektrik prizine takın.
- Isıtma/Soğutmayı Etkinleştir: Locate the hot and cold power switches on the back of the unit. Turn them to the 'ON' position. The indicator lights on the front will illuminate.

Figure 4.1: Installing a water bottle on the top-loading dispenser.

Figure 4.2: Hot and cold power switches located on the back of the unit.
5. Kullanım Talimatları
Your Igloo water cooler is designed for simple and safe water dispensing.
- Soğuk Su Dağıtımı: Place your cup under the blue (cold) spigot. Press the blue dispensing lever to release cold water. Release the lever to stop the flow.
- Sıcak Su Dağıtımı: Place your cup under the red (hot) spigot. Simultaneously press the red child safety lock button and the red dispensing lever to release hot water. Release both to stop the flow. Caution: Hot water is extremely hot and can cause burns. Always use the child safety lock.

Figure 5.1: Red spigot for hot water and blue spigot for cold water.

Figure 5.2: Hassle-free dispensing for various cup sizes.
6. Bakım
Regular cleaning ensures optimal performance and hygiene of your water cooler.
- Dış Temizlik: Dış yüzeyleri yumuşak, damp bezle silin. Aşındırıcı temizleyiciler veya çözücüler kullanmayın.
- Damlama Tepsisi Temizliği: The drip tray is removable for easy cleaning. Simply slide it out, empty any collected water, wash with mild soap and water, rinse thoroughly, and replace.
- Internal Cleaning (Recommended Quarterly): For thorough cleaning, unplug the unit and remove the water bottle. Drain all water from both hot and cold tanks using the spigots and the drain plug at the back (if available). Clean the internal reservoirs with a mixture of water and white vinegar or a food-grade sanitizing solution. Rinse thoroughly with clean water multiple times before re-installing a fresh water bottle.

Figure 6.1: The removable drip tray for easy cleaning.
7. Sorun Giderme
If you encounter issues with your water cooler, refer to the following common problems and solutions:
| Sorun | Olası Neden | Çözüm |
|---|---|---|
| Su dağıtımı yok | Water bottle empty or not properly seated; airlock in system. | Replace water bottle. Re-seat bottle. Prime the system by dispensing water from both spigots until flow is steady. |
| Su yeterince sıcak/soğuk değil | Hot/cold switch is off; unit recently plugged in; heavy usage. | Ensure hot/cold switches on the back are ON. Allow 15-30 minutes for water to reach desired temperature. Reduce continuous dispensing. |
| Su sızıntısı | Water bottle cracked; bottle not seated correctly; unit not level; internal component issue. | Check water bottle for cracks and replace if necessary. Re-seat bottle. Ensure unit is on a level surface. If leaking persists, discontinue use and contact support. |
| Olağandışı gürültü | Compressor cycling; unit not level; air in system. | Some noise during compressor operation is normal. Ensure unit is level. Prime the system to remove air. If noise is excessive or unusual, contact support. |
8. Özellikler
- Modeli: IWCTL352CHBKD1
- Marka: İglo
- Renk: Siyah
- Malzeme: Plastik
- Kapasite: Supports 3 and 5 Gallon Water Bottles
- Boyutlar (D x G x Y): 11.42" x 11.02" x 36.54"
- Ağırlık: 25.7 pound
- UPC: 810140677648
9. Garanti ve Destek
Garanti bilgileri veya teknik destek için lütfen üreticinin resmi web sitesine başvurun. webSite üzerinden veya müşteri hizmetleri departmanıyla iletişime geçin. Satın alma fişinizi, olası garanti talepleri için satın alma belgesi olarak saklayın.