1. Giriş
This manual provides detailed instructions for the setup, operation, and maintenance of your ATTACK SHARK X8 Ultra Wireless Gaming Mouse. Designed for high-performance gaming, the X8 Ultra features a lightweight design, multiple connectivity options, and advanced sensor technology.

Resim 1.1: Üst view of the ATTACK SHARK X8 Ultra Wireless Gaming Mouse.
2. Paket İçeriği
Paketinizde tüm öğelerin mevcut olduğundan emin olun:
- ATTACK SHARK X8 Ultra Wireless Gaming Mouse
- 8K USB-C Receiver
- USB-A to USB-C Charging Cable (Paracord)
- Replacement Mouse Feet Skates
- Kavrama bandı
- Kullanım Kılavuzu (bu belge)
3. Mouse Layout and Features
Familiarize yourself with the key components and features of your X8 Ultra mouse.

Resim 3.1: Üzeriview of the X8 Ultra's internal components and external features.
- Sol/Sağ Tıklama Düğmeleri: Equipped with Omron micro switches for tactile feedback and durability.
- Kaydırma tekerleği: Provides smooth scrolling with subtle tactile bumps.
- Yan Düğmeler: Programmable buttons located on the left side for additional functions.
- DPI Düğmesi: Located on the underside of the mouse, allows cycling through preset DPI levels.
- Bağlantı Anahtarı: Located on the underside, allows switching between 2.4GHz wireless, Bluetooth, and wired modes.
- PAW3950MAX Sensor: Doğru izleme için yüksek hassasiyetli optik sensör.
- Nordic 52840 MCU: Advanced microcontroller for efficient performance and low latency.
- Nano-Ice Coating: Surface treatment designed to keep grip cool during extended use.
4. Kurulum Kılavuzu
4.1 Fareyi Şarj Etme
- Şarj kablosunun USB-C ucunu fareye bağlayın.
- Connect the USB-A end of the charging cable to an available USB port on your computer or a USB wall adapter.
- The mouse LED indicator will show charging status. A full charge provides up to 300 hours of intermittent use.
4.2 Fareyi Bağlama
The X8 Ultra supports three connection modes: 2.4GHz Wireless, Bluetooth, and Wired USB.
2.4GHz Kablosuz Modu:
- Locate the 8K USB-C receiver.
- Alıcıyı bilgisayarınızdaki kullanılabilir bir USB bağlantı noktasına takın.
- Set the connectivity switch on the underside of the mouse to the "2.4G" position.
- Fare otomatik olarak bağlanmalıdır.

Image 4.1: The 8K USB-C receiver for 2.4GHz wireless connection.
Bluetooth Modu:
- Set the connectivity switch on the underside of the mouse to the "BT" position.
- Bilgisayarınızda Bluetooth ayarlarını açın ve yeni cihazları arayın.
- Select "ATTACK SHARK X8 Ultra" from the list of available devices to pair.
Kablolu USB Modu:
- Şarj kablosunun USB-C ucunu fareye bağlayın.
- Şarj kablosunun USB-A ucunu bilgisayarınızdaki kullanılabilir bir USB bağlantı noktasına bağlayın.
- Set the connectivity switch on the underside of the mouse to the "Wired" position.
- Fare, kablolu bir cihaz gibi çalışacak ve aynı anda şarj olacaktır.
5. Kullanım Talimatları
5.1 DPI Ayarı
The X8 Ultra features a PixArt PAW3950MAX sensor with adjustable DPI from 50 to 42,000. To change DPI settings:
- Press the DPI button on the underside of the mouse to cycle through preset DPI levels.
- The LED indicator on the mouse will change color to indicate the current DPI setting.
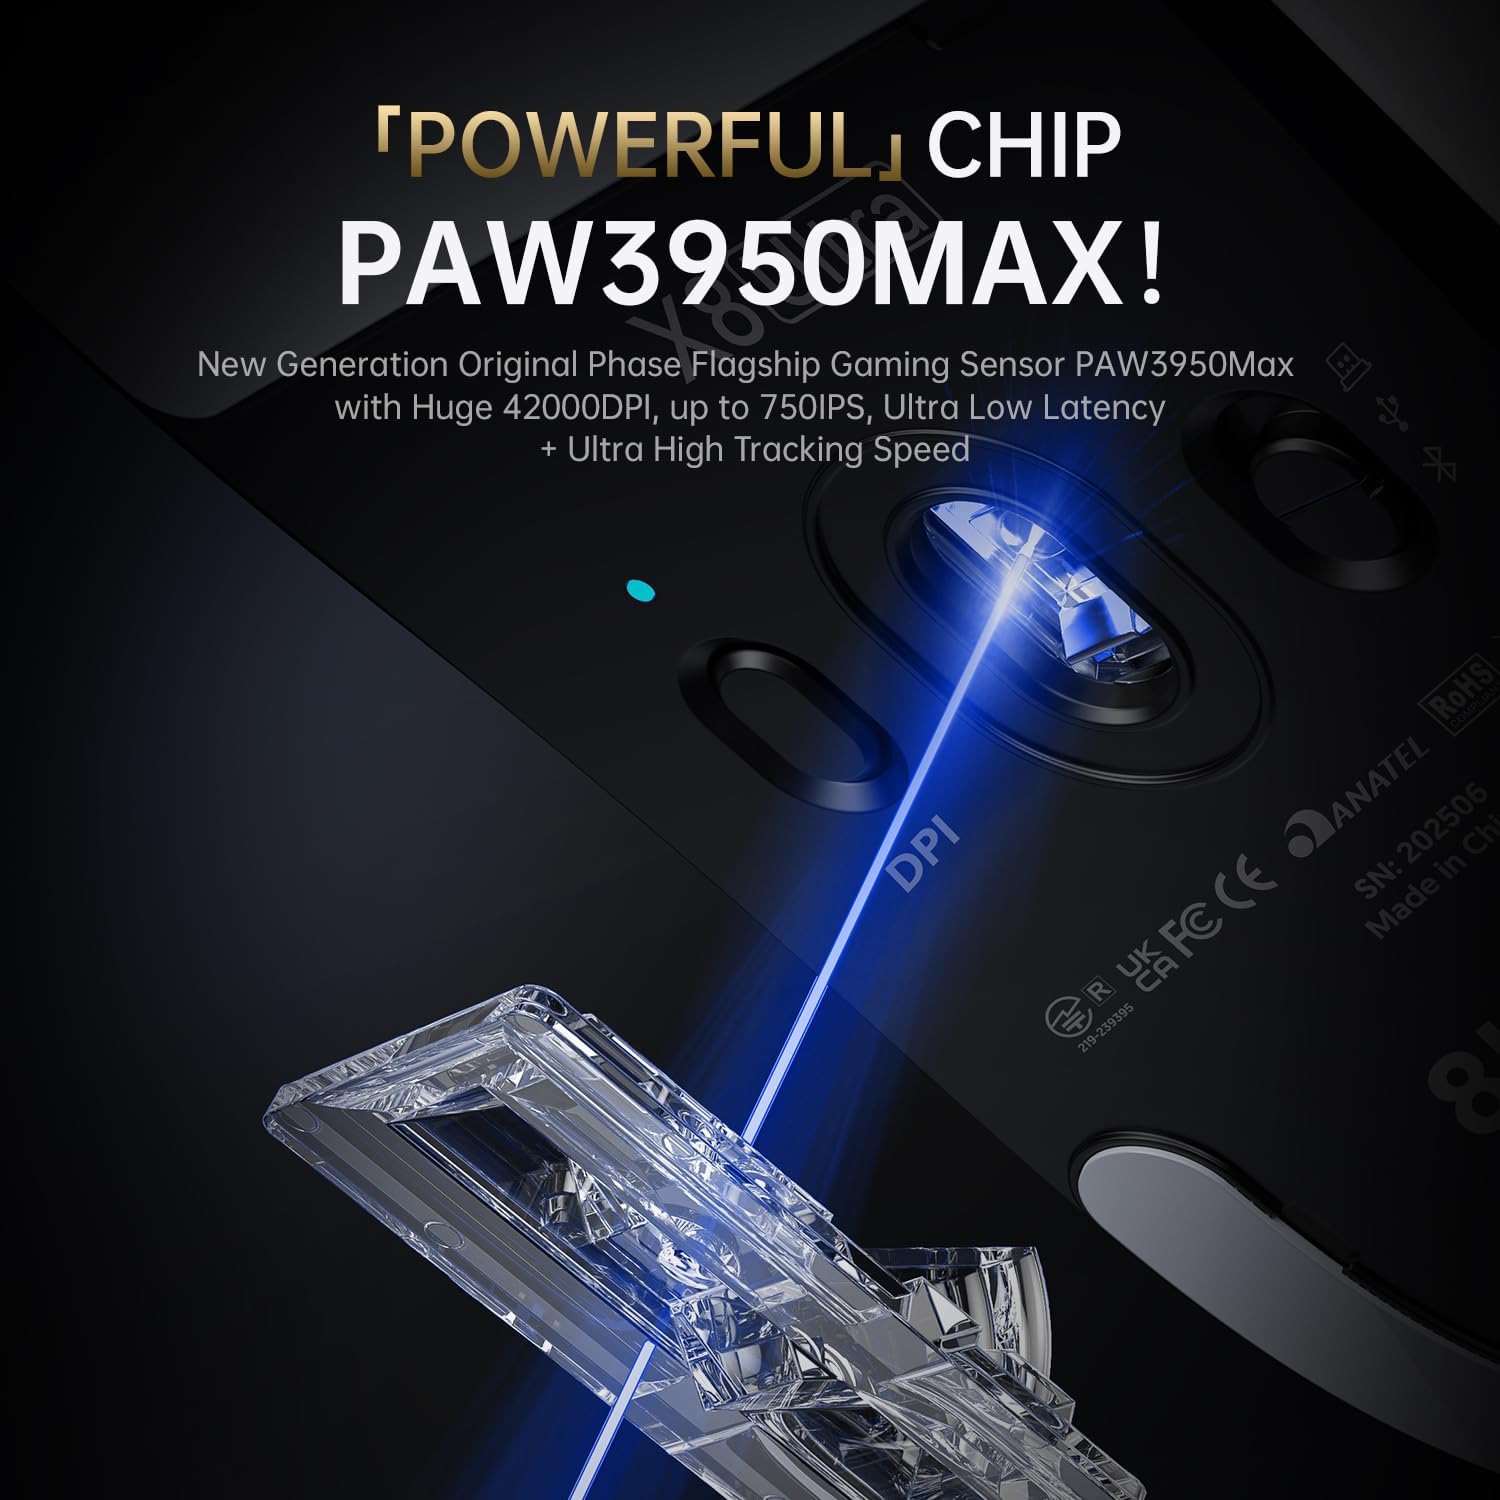
Image 5.1: The PixArt PAW3950MAX sensor for precise tracking.
5.2 Cloud Driver Software
For advanced customization, including DPI adjustment, polling rate, button remapping, macro recording, and competitive mode settings, use the web-based Cloud Driver software.
- Ensure your mouse is connected to your computer (preferably via 2.4GHz wireless or wired mode for full functionality).
- Aç şunu web Tarayıcınızı açın ve resmi ATTACK SHARK sayfasına gidin. website (örneğin, www.attackshark.pro).
- Locate the Cloud Driver section for the X8 Ultra model.
- Follow the on-screen instructions to customize your mouse settings. Settings are saved directly to the mouse's memory.

Image 5.2: The Cloud Driver interface for advanced mouse configuration.
5.3 Anket Oranı
The X8 Ultra supports an 8KHz wireless polling rate for ultra-low latency and faster response. In wired mode, it operates at 1KHz. The polling rate can be adjusted via the Cloud Driver software.

Image 5.3: Explanation of 8K Polling Rate technology.
6. Bakım
6.1 Temizlik
- Farenin yüzeyini silmek için yumuşak ve kuru bir bez kullanın.
- İnatçı kirler için hafifçeampBezi su veya hafif bir temizleme solüsyonu ile silin.
- Avoid using harsh chemicals or abrasive materials that could damage the mouse's finish or sensor.
- Regularly clean the optical sensor area on the underside of the mouse with a cotton swab to ensure optimal tracking performance.
6.2 Pil Bakımı
- Pil ömrünü uzatmak için fareyi sık sık tamamen boşaltmaktan kaçının.
- Uzun süre kullanılmayacaksa fareyi serin ve kuru bir yerde saklayın.
- If the mouse will not be used for a long time, charge it to about 50% before storage.
6.3 Replacing Mouse Feet Skates
The package includes replacement PTFE mouse feet skates for maintaining smooth glide. When the existing skates show significant wear:
- Carefully peel off the old mouse feet using a thin tool.
- Clean the surface where the skates were attached to remove any adhesive residue.
- Peel the backing from the new skates and carefully apply them to the corresponding areas on the mouse's underside.
- Uygun yapışmayı sağlamak için sıkıca bastırın.

Image 6.1: PTFE anti-slip footpads for smooth mouse movement.
7. Sorun Giderme
| Sorun | Olası Çözüm |
|---|---|
| Kablosuz modda fare yanıt vermiyor. |
|
| Gecikme veya kesintili bağlantı. |
|
| Inaccurate tracking. |
|
| Cloud Driver software not detecting mouse. |
|
8. Özellikler
Key technical specifications for the ATTACK SHARK X8 Ultra Wireless Gaming Mouse:

Image 8.1: Detailed technical specifications for the X8 Ultra and other X8 series models.
| Özellik | Detay |
|---|---|
| Örnek | X8Ultra |
| Sensör | PixArt PAW3950MAX |
| DPI Aralığı | 50 - 42,000 DPI |
| Hareket Hızı | 750 IPS |
| Hızlanma | 60G |
| Düğme Ömrü | 100 Milyon Tıklama |
| Mikro Anahtar | Omron Anahtarı |
| Anket Oranı | Wireless 8000Hz / Wired 1000Hz |
| MCU | Nordic 52840 |
| Bağlantı | Wired / 2.4GHz Wireless / Bluetooth |
| Ağırlık | 55 gr |
| Pil Kapasitesi | 500 mAh |
| Boyutlar | Yaklaşık 125.5 x 63 x 40 mm (4.96 x 2.5 x 1.6 inç) |
9. Garanti ve Destek
ATTACK SHARK products are designed for reliability and performance. For warranty information, technical support, or service inquiries, please refer to the official ATTACK SHARK websiteye gidin veya doğrudan müşteri hizmetleriyle iletişime geçin.
Resmi Webalan: www.attackshark.pro
Marka Mağazası: ATTACK SHARK Amazon Store
Garanti talepleri için lütfen satın alma belgenizi saklayın.


