giriiş
This manual provides detailed instructions for the ATTACK SHARK G3 Tri-Mode Wireless Gaming Mouse. Please read this manual thoroughly before use to ensure proper operation and to maximize your experience with the product.
The ATTACK SHARK G3 is a high-performance gaming mouse designed for versatility and precision. It offers three connectivity modes: 2.4GHz wireless, Bluetooth 5.2, and wired USB-C, allowing seamless switching between various devices and setups. Featuring a lightweight design, a high-precision PAW3311 sensor, and programmable buttons, the G3 is engineered for both gaming and productivity.
Paket İçeriği
- ATTACK SHARK G3 Wireless Gaming Mouse
- USB-C Şarj/Veri Kablosu
- 2.4GHz USB Alıcı
- Kullanıcı Kılavuzu
Ürün Bittiview
Familiarize yourself with the components of your ATTACK SHARK G3 mouse.

Resim: Yukarıdan aşağıya view of the ATTACK SHARK G3 Wireless Gaming Mouse in Berry Red, showing the left and right click buttons, scroll wheel, and two side buttons on the left.
- Sol Tıklama Düğmesi: Standart birincil fare işlevi.
- Sağ Tıklama Butonu: Standart ikincil fare işlevi.
- Kaydırma tekerleği: Kaydırma ve orta tıklama işlevi için.
- Yan Düğmeler (x2): Default to Forward/Backward, programmable via software.
- DPI Button (underside): Önceden ayarlanmış DPI seviyeleri arasında geçiş yapar.
- Mode Switch (underside): Toggles between 2.4GHz, Bluetooth, and Wired modes.
- USB-C Bağlantı Noktası: Kablolu bağlantı ve şarj için.
- 2.4GHz USB Alıcı Depolama: Farenin alt tarafında bulunur.

Resim: Bir kolaj gösterisiasing key features of the G3 mouse, including its 59g ultra-light design, 500mAh battery, PixArt PAW3311 sensor, 25000 DPI capability, Huano Blue Shell Pink Dot Switches, and Tri-mode connectivity.
Kurmak
1. Wired Mode Connection
- Verilen kablonun USB-C ucunu fareye bağlayın.
- Kablonun USB-A ucunu bilgisayarınızdaki uygun bir USB portuna takın.
- Ensure the mode switch on the underside of the mouse is set to the "Wired" position.
- The mouse will be recognized by your computer and is ready for use.
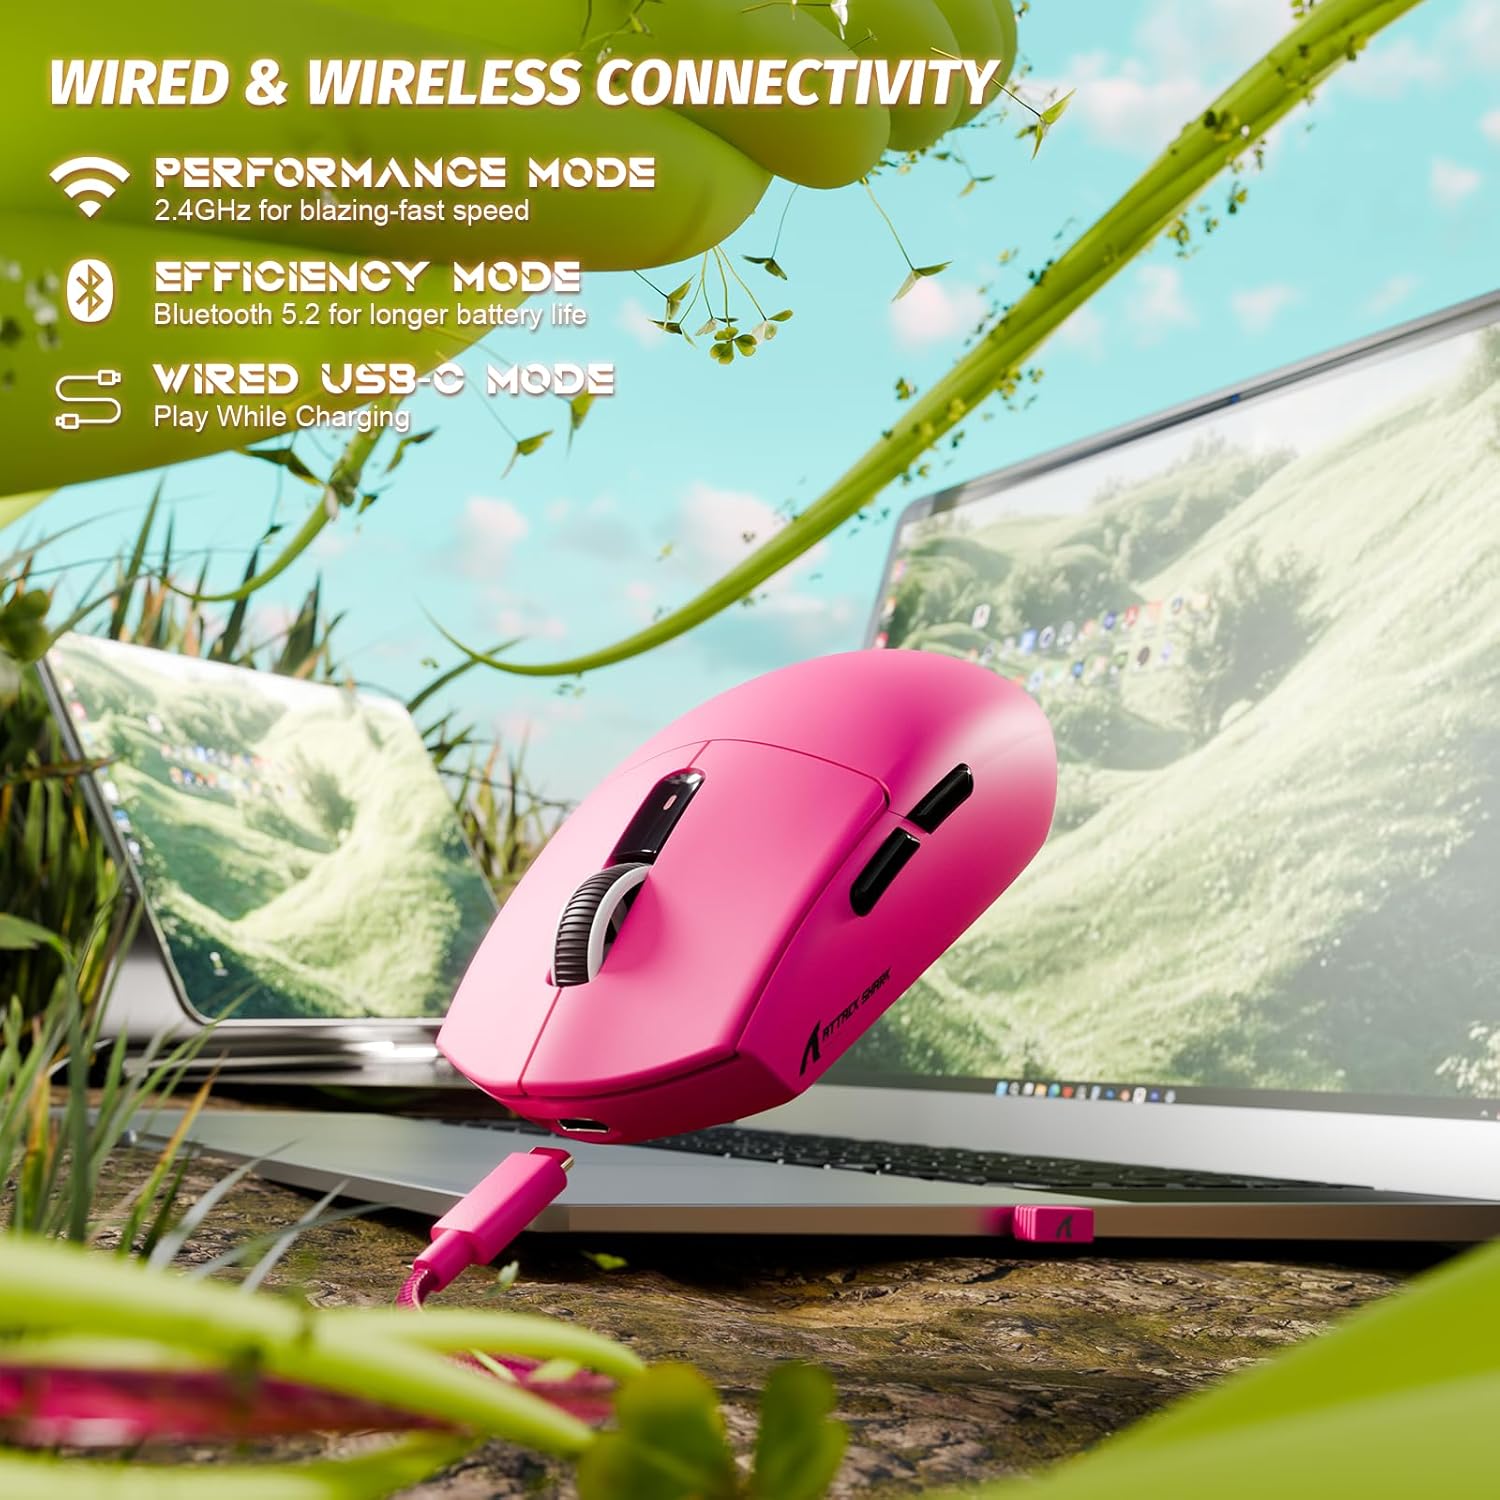
Image: The ATTACK SHARK G3 mouse connected to a laptop via its USB-C cable, illustrating the wired connectivity option.
2. 2.4GHz Wireless Mode Connection
- Locate the 2.4GHz USB receiver stored on the underside of the mouse.
- USB alıcısını bilgisayarınızdaki uygun bir USB bağlantı noktasına takın.
- Set the mode switch on the underside of the mouse to the "2.4G" position.
- The mouse should automatically connect to the receiver. If not, press and hold the DPI button and a side button simultaneously for 3 seconds to initiate pairing.
3. Bluetooth 5.2 Mode Connection
- Set the mode switch on the underside of the mouse to the "BT" (Bluetooth) position.
- The mouse will enter pairing mode, indicated by a blinking LED light.
- Bilgisayarınızda veya cihazınızda Bluetooth ayarlarına gidin.
- Arama new devices and select "ATTACK SHARK G3" from the list.
- Eşleştirme işlemini tamamlamak için ekrandaki talimatları izleyin.
Kullanım Talimatları
DPI Ayarlaması
The ATTACK SHARK G3 features a PAW3311 sensor with adjustable DPI settings. You can cycle through preset DPI levels by pressing the DPI button located on the underside of the mouse. For fine adjustments and custom DPI profiles, use the dedicated driver software.

Resim: Yakın çekim view of the PixArt PAW3311 sensor inside the mouse, highlighting its capabilities such as 1000Hz polling rate, 25000 DPI max, and 40G acceleration.
Programlanabilir Düğmeler ve Yazılım
The G3 mouse includes 5 programmable buttons. To customize button functions, create macros, and adjust settings like polling rate and Lift-Off Distance (LOD), download and install the official ATTACK SHARK driver software from the manufacturer's website. The software allows for personalized configurations to suit your specific needs.

Image: A screenshot of the ATTACK SHARK G3 customization software interface, showing options for mouse settings, DPI settings, parameter settings, macro editing, and personal center.
Fareyi Şarj Etme
The mouse is equipped with a built-in 500mAh rechargeable lithium-ion battery. When the battery is low, the LED indicator will signal. Connect the mouse to your computer using the provided USB-C cable to charge. The mouse can be used normally while charging in wired mode.

Image: The ATTACK SHARK G3 mouse in a natural setting, emphasizing its 500mAh battery capacity for extended use.
Bakım
- Temizlik: Fare yüzeyini temizlemek için yumuşak, kuru bir bez kullanın. İnatçı kirler için, biraz daha kuru bir bez yeterli olacaktır.amp İç bileşenlere nem girmemesini sağlamak için bez kullanılabilir.
- Sensör Bakımı: Doğru izlemeyi sağlamak için farenin alt tarafındaki optik sensörü temiz ve tozdan veya kalıntılardan uzak tutun.
- Pil Ömrü: Pil ömrünü uzatmak için fareyi sık sık tamamen boşaltmaktan kaçının. Pil göstergesi düşük olduğunda şarj edin.
- Depolamak: Uzun süre kullanılmayacaksa fareyi serin ve kuru bir yerde saklayın.

Image: An inverted view of the ATTACK SHARK G3 mouse, showcasing its double-layer mouse feet for smooth gliding and stability.
Sorun giderme
- Fare yanıt vermiyor:
- Farenin şarjının dolu olduğundan emin olun.
- Check the mode switch (2.4G, BT, Wired) is set correctly.
- 2.4GHz için, USB alıcısının güvenli bir şekilde takılı olduğundan emin olun. Farklı bir USB bağlantı noktası deneyin.
- Bluetooth bağlantısı için, cihazınızda Bluetooth'un etkinleştirildiğinden ve farenin eşleştirildiğinden emin olun.
- Try connecting in wired mode to confirm functionality.
- Hatalı izleme:
- Farenin alt tarafındaki optik sensörü temizleyin.
- Fareyi uygun bir yüzeyde (örneğin, bir mousepad) kullandığınızdan emin olun.
- Adjust DPI settings via the DPI button or software.
- Bağlantı sorunları:
- Paraziti azaltmak için fareyi alıcıya/cihaza daha yakın konumlandırın.
- Avoid using the 2.4GHz receiver near other wireless devices that may cause interference.
- Re-pair the mouse in 2.4GHz or Bluetooth mode if connection is lost.
- Yazılım fareyi algılamıyor:
- Ensure the mouse is connected in wired or 2.4GHz mode (Bluetooth may not be supported by all software).
- Yazılımı ve/veya bilgisayarınızı yeniden başlatın.
- Sürücü yazılımını yeniden yükleyin.
Özellikler
| Özellik | Detay |
|---|---|
| Örnek | G3 |
| Bağlantı | 2.4 GHz Kablosuz, Bluetooth 5.2, USB-C Kablolu |
| Sensör | PixArt PAW3311 Optik Sensör |
| DPI Aralığı | 800 - 25,000 DPI (ayarlanabilir) |
| İzleme Hızı | 400 IPS |
| Hızlanma | 40G |
| Anket Oranı | 1000Hz (Wired/2.4GHz) |
| Düğmeler | 5 Programlanabilir Düğme |
| Anahtarlar | Huano Blue Shell Pink Dot Switches (80 million clicks) |
| Pil | 500mAh Şarj Edilebilir Lityum İyon Pil |
| Fare Ağırlığı | Yaklaşık 59 gram (2.08 ons) |
| Uyumluluk | PC, Mac (Windows/macOS) |
Garanti ve Destek
ATTACK SHARK products are designed and manufactured to the highest quality standards. For warranty information and technical support, please refer to the official ATTACK SHARK webSite üzerinden satın alabilir veya doğrudan müşteri hizmetleriyle iletişime geçebilirsiniz. Satın alma belgenizi garanti talepleriniz için saklayın.
For further assistance, visit the official ATTACK SHARK store: ATTACK SHARK Mağazası


