giriiş
This manual provides comprehensive instructions for the setup, operation, and maintenance of your V7 Dual Bay Docking Station USB 3.0. This device is designed to provide convenient access to 2.5-inch and 3.5-inch SATA hard disk drives (HDDs) and solid-state drives (SSDs), offering high-speed data transfer and a standalone cloning function.
Ürünün düzgün çalışmasını sağlamak ve hasarı önlemek için lütfen ürünü kullanmadan önce bu kılavuzu dikkatlice okuyun.
Paket İçeriği

Image: The side of the V7 Dual Bay Docking Station packaging, detailing the included items.
Aşağıda listelenen tüm öğelerin paketinizde mevcut olduğundan emin olun:
- 1x V7 Dual Bay Docking Station
- 1x USB 3.0 A to B Cable
- 1x DC 12V/3A Power Adapter
- 1x Kullanım Kılavuzu (bu belge)
Ürün Bittiview
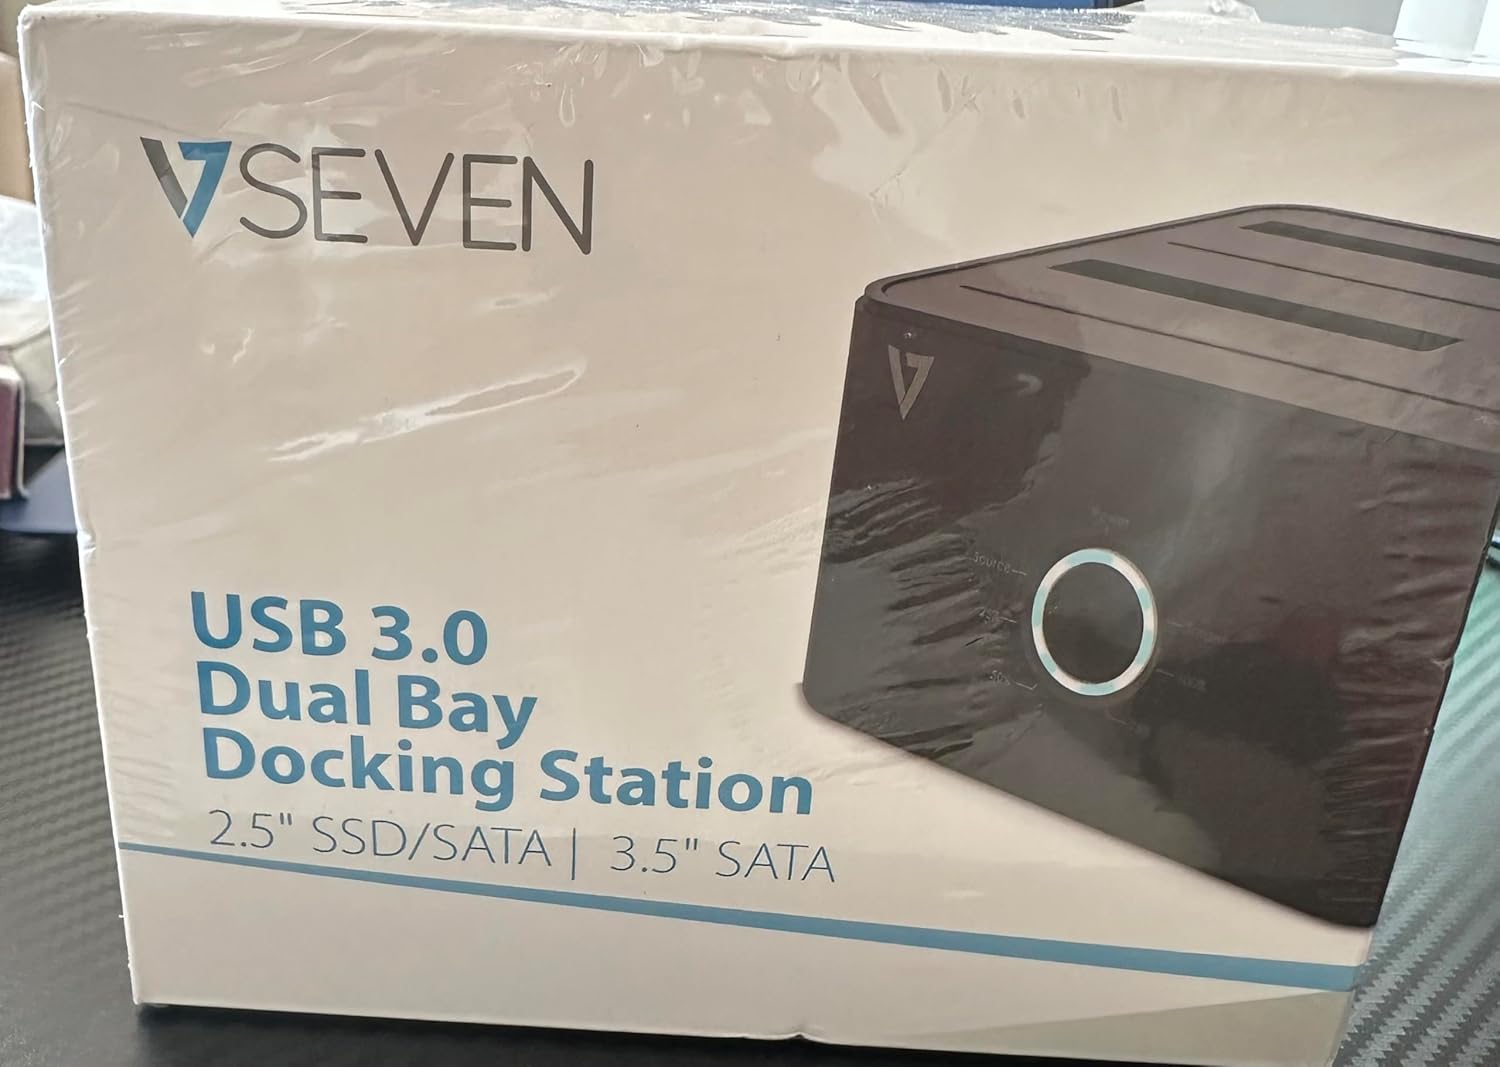
Image: The front of the V7 Dual Bay Docking Station packaging, displaying the product and its name.
The V7 Dual Bay Docking Station provides a versatile solution for managing your 2.5-inch and 3.5-inch SATA drives. Key features include:
- USB 3.0 Super-Speed Data Transfer: Achieves speeds up to 5 Gbps, significantly faster than USB 2.0.
- Çift Bölmeli Tasarım: Supports two SATA I/II/III HDDs or SSDs simultaneously.
- Standalone Clone Function: Allows direct cloning of one drive to another without requiring a computer.
- LED ekran: Provides status indication during operation, especially for cloning.
- Geri Dönüştürülmüş Malzemeler: Constructed with recycled materials, contributing to environmental sustainability.

Image: The back of the V7 Dual Bay Docking Station packaging, illustrating key features and benefits, including the use of recycled materials.
Bağlantı Noktaları ve Göstergeler:
- USB-B Port (1x): Connects the docking station to your computer.
- SATA Drive Bays (2x): For inserting 2.5-inch or 3.5-inch SATA HDDs/SSDs.
- DC Power Input (1x): For connecting the 12V/3A power adapter.
- Power Button/LED: Controls power and indicates operational status.
- Clone Button/LEDs: Initiates the cloning process and indicates progress.
Kurmak
- Gücü bağlayın: Insert the DC 12V/3A power adapter into the "DC Power Input" port on the docking station, then plug the adapter into a wall outlet.
- Sürücüleri Takın:
- Gently slide your 2.5-inch or 3.5-inch SATA HDD/SSD into the drive bay(s) until it is securely seated. Ensure the SATA connector aligns correctly.
- For cloning, insert the source drive into Bay 1 (Source) and the target drive into Bay 2 (Target). The target drive must be equal to or larger in capacity than the source drive.
- Connect to Computer (for data transfer): If you intend to use the docking station for data transfer with a computer, connect one end of the USB 3.0 A to B cable to the USB-B port on the docking station and the other end to an available USB 3.0 port on your computer.
- Güç Açık: Press the power button on the docking station. The power LED should illuminate.
Kullanım Talimatları
A. Data Transfer Mode (Connected to Computer)
- Ensure the docking station is powered on and connected to your computer via the USB 3.0 cable.
- Insert one or two SATA drives into the bays.
- Your operating system should detect the drives as external storage. You may need to initialize and format new drives through Disk Management (Windows) or Disk Utility (macOS) before use.
- You can now access, read, and write data to the inserted drives as you would with any external storage device.
- Always safely eject the drives from your operating system before powering off the docking station or removing the drives.
B. Standalone Clone Function (Without Computer)
The clone function allows you to duplicate a source drive to a target drive without a computer connection. The target drive must have a capacity equal to or greater than the source drive.
- Hazırlık:
- Ensure the docking station is disconnected from any computer.
- Ekle Kaynak sürücü (Kopyalamak istediğiniz sürücü) içine 1.Körfez.
- Ekle Hedef Sürücü (kopyalamak istediğiniz sürücüye) 2.Körfez.
- Warning: All data on the target drive will be erased during the cloning process. Back up any important data on the target drive before proceeding.
- Klonlama İşlemini Başlat:
- Bağlantı istasyonunu açın.
- Press and hold the "Clone" button for approximately 3-5 seconds until the clone progress LEDs begin to flash.
- Confirm Clone:
- Release the "Clone" button. The 25% progress LED should start blinking.
- Press the "Clone" button again briefly to confirm and start the cloning process.
- İlerlemeyi İzle: The progress LEDs (25%, 50%, 75%, 100%) will illuminate sequentially to indicate the cloning status.
- Tamamlama: When the 100% LED remains solid, the cloning process is complete.
- Gücü kapatın ve çıkarın: Power off the docking station before removing the drives.
Bakım
- Şarj istasyonunu temiz ve tozdan arındırılmış halde tutun. Temizlik için yumuşak, kuru bir bez kullanın.
- Cihazı aşırı sıcaklıklara, neme veya doğrudan güneş ışığına maruz bırakmaktan kaçının.
- Cihazı kendiniz sökmeye veya onarmaya çalışmayın. Bu, garantiyi geçersiz kılar.
- Cihazın çalışması sırasında çevresinde yeterli havalandırmanın olduğundan emin olun.
Sorun giderme
| Sorun | Olası Neden | Çözüm |
|---|---|---|
| Cihaz açılmıyor. | Güç adaptörü bağlı değil veya arızalı. | Ensure the power adapter is securely connected to both the docking station and a working power outlet. Try a different outlet. |
| Drives not detected by computer. | USB cable not connected properly; drive not seated correctly; drive uninitialized/unformatted. | Check USB cable connection. Re-seat the drive(s). For new drives, initialize and format them via Disk Management (Windows) or Disk Utility (macOS). Try a different USB port on your computer. |
| Clone function not starting. | Incorrect drive placement; target drive too small; clone button not held long enough. | Ensure source drive is in Bay 1 and target drive in Bay 2. Verify target drive capacity is equal to or larger than source. Hold the clone button for 3-5 seconds until LEDs flash. |
| Yavaş veri aktarım hızları. | Connected to USB 2.0 port; faulty USB cable. | Ensure the docking station is connected to a USB 3.0 port on your computer. Try a different USB 3.0 cable. |
Özellikler
- Modeli: 9UDBBS-BLK
- Donanım Arayüzü: USB 3.0 (USB 2.0 ile geriye dönük uyumlu)
- Veri Aktarım Hızı: Up to 5 Gbps (USB 3.0 Super-Speed)
- Sürücü Uyumluluğu: 2.5" and 3.5" SATA I/II/III HDDs and SSDs
- Sürücü bölmeleri: 2
- Limanlar: 1x USB-B (Host), 2x SATA (Internal), 1x DC Power Input
- Güç Girişi: DC 12V/3A (12 Watts)
- UPC: 662919116557
- Üretici: Ingram Micro Inc
- Malzeme: Made from Recycled Materials
Garanti ve Destek
For warranty information and technical support, please refer to the official V7 webSiteyi ziyaret edin veya perakendecinizle iletişime geçin. Satın alma belgenizi garanti talepleriniz için saklayın.
Daha fazla yardım için lütfen şu adresi ziyaret edin: www.v7world.com/support (Örnamp(bağlantı, gerçek bağlantı değişiklik gösterebilir)