1. Giriş
The Geeetech M1 Mini 3D Printer is designed for ease of use, making it suitable for beginners and educational environments. This compact printer features auto-leveling, a direct drive extruder, and a flexible magnetic build plate to simplify the 3D printing process. Please read this manual thoroughly before operating your printer to ensure safe and optimal performance.

Resim Açıklaması: A Geeetech M1 Mini 3D Printer, white and light blue, is shown with a spool of blue PLA filament attached to its side. Inside the print area, a colorful 3D printed Santa Claus figure is visible on the print bed. Another separate spool of blue filament is positioned next to the printer.
2. Güvenlik Talimatları
- Yazıcıyı her zaman iyi havalandırılan bir alanda çalıştırın.
- Yazıcıyı yanıcı maddelerden, ısı kaynaklarından ve sudan uzak tutun.
- Do not touch the nozzle or heated bed during operation or immediately after printing, as they can reach high temperatures.
- Yazıcı çalışırken çocukları ve evcil hayvanları yazıcıdan uzak tutun.
- Use only the power adapter provided with the printer.
- Do not attempt to modify the printer or use non-approved parts.
- Herhangi bir bakım veya temizlik işlemi yapmadan önce yazıcıyı elektrik prizinden çıkarın.
3. Paket İçeriği
Paketin tüm bileşenlerinin mevcut olduğunu doğrulayın:
- Geeetech M1 Mini 3D Printer (fully assembled)
- 0.5kg Blue PLA Filament spool
- Güç Adaptörü
- TF Kartı
- USB kablosu
- Tools and Accessories (e.g., spatula, nozzle cleaning needle)
- Kullanım Kılavuzu (bu belge)
4. Ürün Bittiview ve Bileşenler
Familiarize yourself with the main parts of your Geeetech M1 Mini 3D Printer.

Resim Açıklaması: This image highlights three key features of the Geeetech M1 Mini 3D Printer. It shows a close-up of the 2.4-inch LCD color screen, emphasizing its larger display for convenient operation. Below that, the PEI print plate is shown, also noted for its larger display size and convenient operation. Finally, a view of the print head area points out the high-brightness lighting provided by three integrated LEDs.
- 2.4 inç LCD Renkli Ekran: For intuitive operation and monitoring.
- PEI Print Plate: Flexible and removable magnetic build plate for easy model removal and reduced warping.
- High-Brightness Lighting: Integrated LEDs illuminate the print area.
- Direkt Tahrikli Ekstrüder: Provides strong extrusion force for various filaments.
- Auto-Leveling Sensor: For precise and simple bed leveling.
- Filament Tutucu: Located on the side for filament spool.

Resim Açıklaması: bir patladı view or cutaway diagram of the Geeetech M1 Mini 3D Printer reveals internal components and design features. Labels point to 'Premium hardness plastic' for the casing, 'Hotbed three bearings' for the print bed mechanism, 'Thickened filament bracket' for the filament support, and 'Leather pulley reinforcement' for a drive component. The image also mentions a printing speed of 250mm/s.
5. Kurulum
5.1 Paketten Çıkarma ve Yerleştirme
- Yazıcıyı ambalajından dikkatlice çıkarın.
- Yazıcıyı iyi havalandırılan bir alanda, sabit ve düz bir yüzeye yerleştirin.
- Remove any protective films or packing materials.
5.2 Güç Bağlantısı
- Güç adaptörünü yazıcının güç giriş portuna bağlayın.
- Güç adaptörünü uygun bir elektrik prizine takın.
5.3 Filament Yükleme
- Mount the provided 0.5kg PLA filament spool onto the side filament holder.
- Trim the end of the filament to a sharp angle.
- On the LCD screen, navigate to the filament loading option.
- Insert the filament into the extruder's input hole. The printer will automatically pull the filament through once the nozzle reaches the correct temperature.
- Wait for a steady stream of filament to extrude from the nozzle, indicating successful loading.
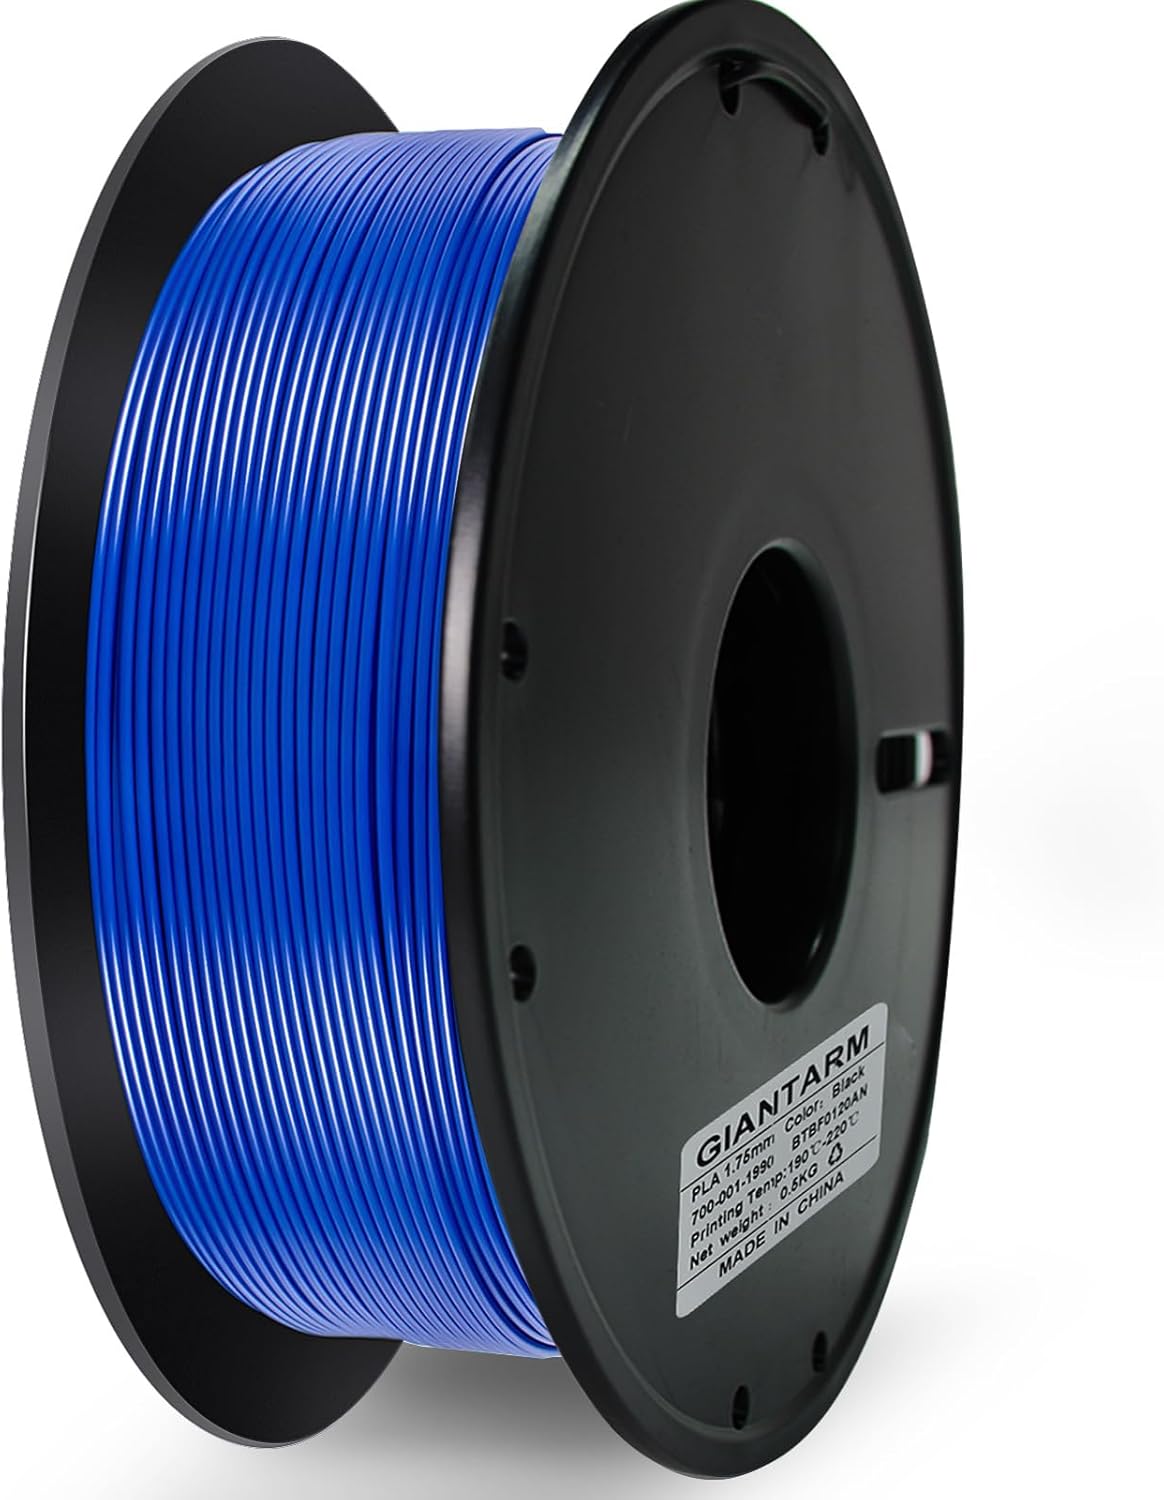
Resim Açıklaması: A close-up shot of a black spool wound with bright blue PLA filament. The label on the spool indicates 'GIANTARM PLA 1.75mm', 'Color: Black' (though the filament is blue), 'Net Weight: 0.5KG', and 'MADE IN CHINA'.
5.4 Installing the 1KG Filament Holder (Optional)
If you wish to use a 1KG filament spool, you can print and attach a larger filament holder. The necessary model file is typically provided on the included TF card or available for download from the manufacturer's webalan.

Resim Açıklaması: This image displays a four-panel guide for installing a 1KG filament holder. The top-left panel shows the 3D printed components of the holder. The top-right panel shows the printer with the printed holder attached. The bottom-left panel shows a 1KG filament spool. The bottom-right panel shows the printer with the 1KG spool mounted on the newly installed holder. Text instructions below the panels read: '1. Print the provided model file using your 3D printer. 2. Attach the printed model to the consumables bracket. 3. Enjoy the convenience of using 1KG consumables with this lightweight holder. For printing instructions, visit A+.'
6. Kullanım Talimatları
6.1 Açma/Kapatma
- Açmak İçin: Press the power button located on the printer. The LCD screen will light up.
- Kapatmak İçin: Press and hold the power button until the printer shuts down, or use the power switch if available.
6.2 Otomatik Seviye Ayarı
The Geeetech M1 Mini features 16-point full-auto leveling. This process ensures the print bed is correctly calibrated for optimal adhesion and print quality.
- Ensure the print bed is clean and free of debris.
- LCD ekrandaki ana menüden 'Otomatik Seviyeleme' veya 'Seviyeleme' seçeneğini seçin.
- The printer will automatically move the print head to various points on the bed to measure and adjust.
- Wait for the process to complete. No manual intervention is required.
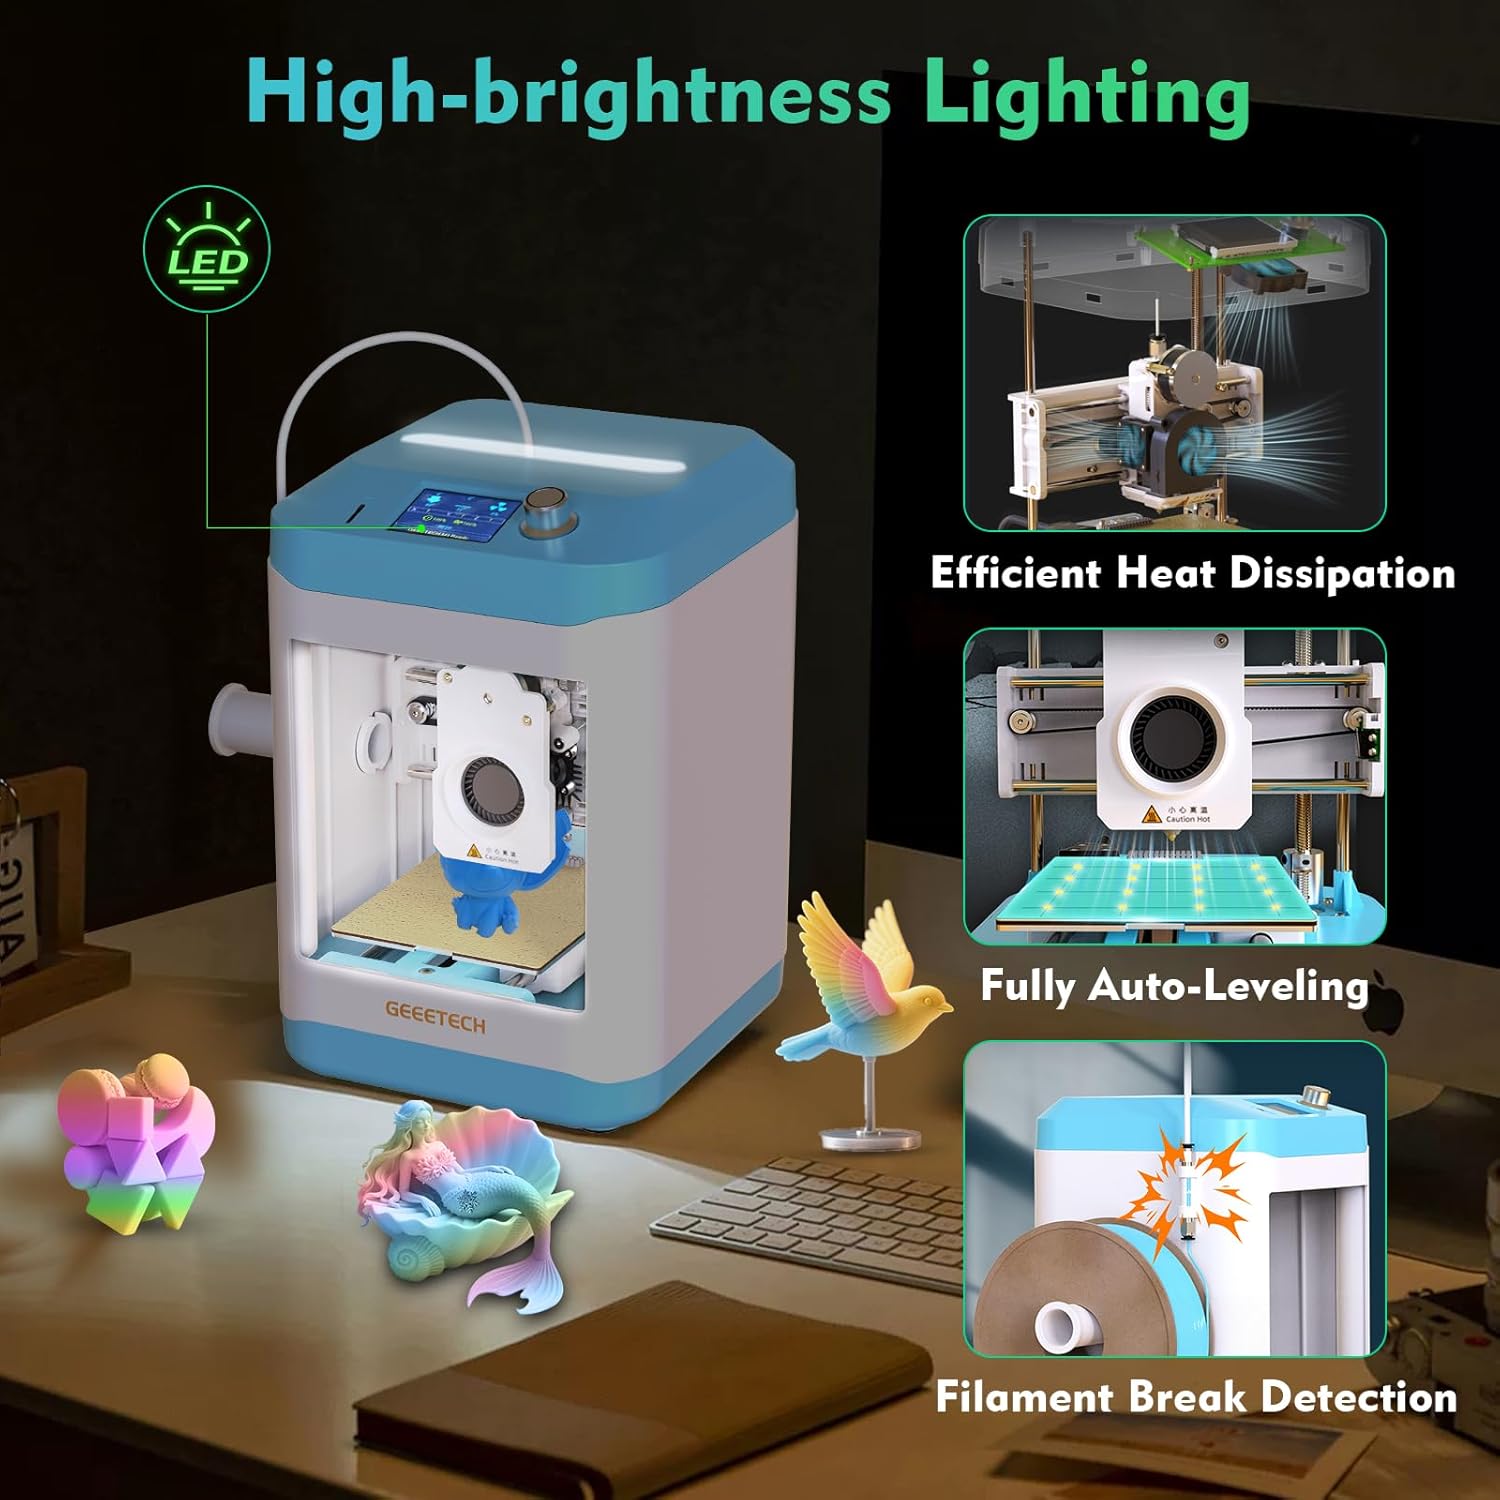
Resim Açıklaması: This image showcases several features of the Geeetech M1 Mini 3D Printer. The main printer unit is shown with various 3D printed objects around it. Insets highlight 'High-brightness Lighting' with an LED icon, 'Efficient Heat Dissipation' showing internal cooling fans, 'Fully Auto-Leveling' depicting the print head probing the bed, and 'Filament Break Detection' illustrating a sensor detecting a broken filament.
6.3 Yazdırma İşlemine Başlama
- Prepare your 3D model using slicing software on your computer and save it to the TF card in a compatible format (e.g., .gcode).
- Insert the TF card into the designated slot on the printer.
- On the LCD screen, navigate to 'Print from TF Card' or a similar option.
- Select the desired model file listeden.
- Confirm your selection to begin the printing process. The printer will preheat the nozzle and bed, then start printing.
6.4 Monitoring and Pausing a Print
- The LCD screen will display print progress, temperature, and other relevant information.
- To pause a print, select the 'Pause' option from the menu. To resume, select 'Resume'.
- In case of filament run-out or breakage, the printer features filament break detection and will pause automatically. Load new filament and resume the print.
6.5 Yazdırma İşlemini Kaldırma
- Once the print is complete, allow the print bed and nozzle to cool down.
- Carefully remove the flexible magnetic PEI print plate from the printer.
- Gently flex the print plate to detach the printed model. Use a spatula if necessary, but avoid excessive force to prevent damage to the plate or model.
- Reattach the print plate to the printer.
7. Bakım
7.1 Baskı Yatağını Temizleme
- After each print, ensure the print bed is clean. Use a soft cloth and isopropyl alcohol to wipe away any residue.
- Avoid using abrasive materials that could scratch the PEI surface.
7.2 Nozul Bakımı
- If you notice clogs or poor extrusion, use the provided nozzle cleaning needle to clear the nozzle while it is heated.
- Periodically inspect the nozzle for wear. A worn nozzle can affect print quality and may need replacement.
7.3 Genel Temizlik
- Yazıcının toz ve filament kalıntılarından arındırılmış halde kalmasını sağlayın. Yumuşak bir fırça veya basınçlı hava kullanın.
- Ensure the linear rails and lead screws are clean and lightly lubricated if necessary (refer to manufacturer guidelines for lubricant type).
8. Sorun Giderme
- Zayıf İlk Kat Yapışma:
- Ensure the print bed is clean.
- Verify auto-leveling has been performed correctly.
- Adjust print bed temperature in slicing software if necessary.
- Filament Çıkmıyor:
- Filamentin düzgün şekilde sarılıp sarılmadığını ve birbirine dolanmadığını kontrol edin.
- Clean the nozzle for clogs.
- Ensure the nozzle is at the correct temperature for the filament type.
- Baskı Kalitesi Sorunları (ör., ipliklenme, katman kaymaları):
- Filamentin kalitesini kontrol edin ve kuru olduğundan emin olun.
- Review slicing software settings (retraction, print speed, cooling).
- Yazıcının titreşimleri önlemek için sabit bir yüzeye yerleştirildiğinden emin olun.
- Yazıcı Açılmıyor:
- Verify the power adapter is securely connected to both the printer and the power outlet.
- Prizi başka bir cihazla kontrol edin.
9. Özellikler
| Özellik | Şartname |
|---|---|
| Örnek | Geeetech M1 Mini |
| Baskı Alanı | 3.94 × 4.33 × 3.94 inç (100 × 110 × 100 mm) |
| Ekstruder Tipi | Doğrudan Tahrik |
| Filament Uyumluluğu | PLA, TPU (0.5kg spools recommended, 1kg with optional holder) |
| Seviyelendirme | 16-Point Full-Auto Leveling |
| Baskı Hızı | 250 mm/sn'ye kadar |
| Görüntülemek | 2.4 inç LCD Renkli Ekran |
| Plaka Yap | Flexible and Removable Magnetic PEI |
| Özel Özellikler | High-brightness lighting, Efficient heat dissipation, Filament break detection |
10. Garanti ve Destek
Geeetech offers a friendly warranty and dedicated customer support for your M1 Mini 3D Printer:
- İade/Değişim: 30 days worry-free return/replacement.
- Tamirat: 12-month free repair service.
- Teknik Destek: Ömür boyu profesyonel teknik destek.
If you have any questions or require assistance, please contact our customer support team. We aim to reply within 24 hours.


