1. Giriş
This manual provides essential instructions for the safe and efficient operation of your Gevi 10-Cup Drip Coffee Maker with Built-in Burr Grinder. Please read all instructions carefully before first use and retain for future reference.
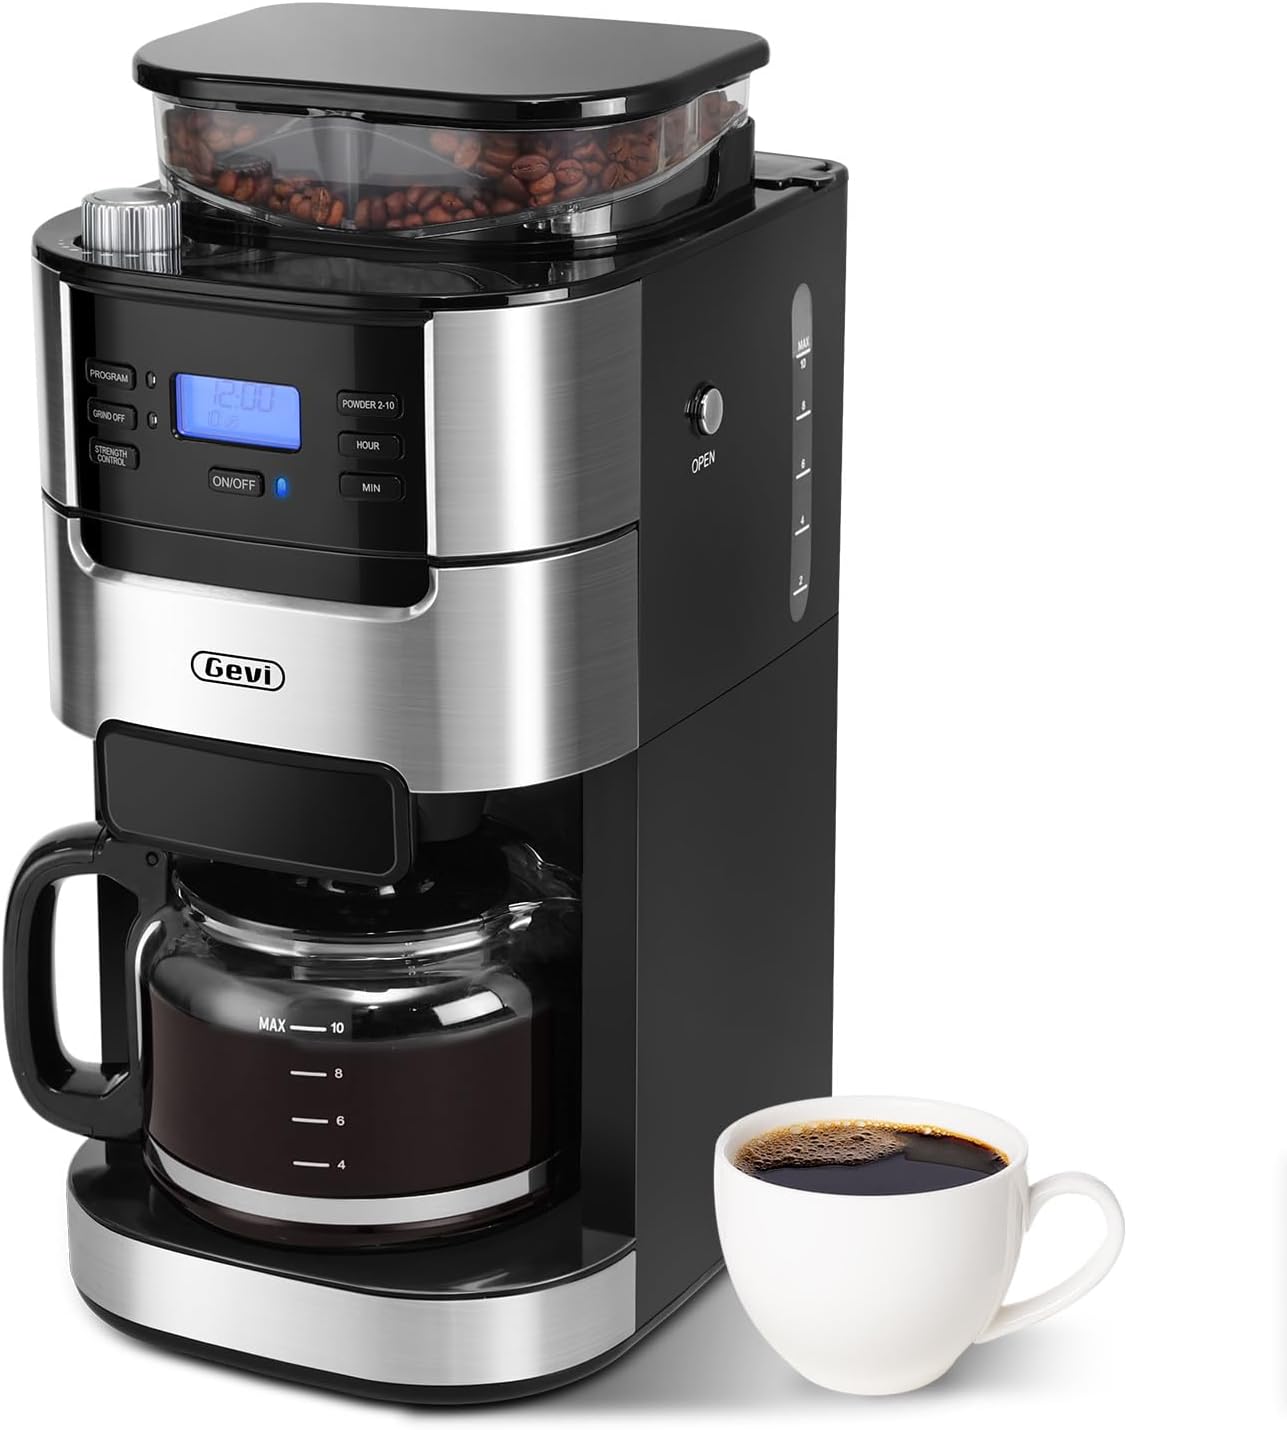
Image 1: Gevi 10-Cup Drip Coffee Maker, front view with a cup of coffee.
2. Önemli Güvenlik Talimatları
Elektrikli aletleri kullanırken yangın, elektrik çarpması ve/veya kişilerin yaralanma riskini azaltmak için her zaman aşağıdakiler de dahil olmak üzere temel güvenlik önlemlerine uyulmalıdır:
- Tüm talimatları okuyun.
- Sıcak yüzeylere dokunmayın. Kulp veya düğmeleri kullanın.
- Yangına, elektrik çarpmasına ve kişilerin yaralanmasına karşı korunmak için kabloyu, fişleri veya cihazı suya veya başka bir sıvıya batırmayın.
- Herhangi bir cihazın çocuklar tarafından veya çocukların yakınında kullanılması durumunda yakın gözetim gereklidir.
- Kullanılmadığında ve temizlemeden önce fişini prizden çekin. Parçaları takıp çıkarmadan ve cihazı temizlemeden önce soğumasını bekleyin.
- Hasarlı bir kablo veya fişle veya cihaz arızalandıktan sonra veya herhangi bir şekilde hasar gördükten sonra herhangi bir cihazı çalıştırmayın. Cihazı inceleme, onarım veya ayarlama için en yakın yetkili servis tesisine iade edin.
- Cihaz üreticisi tarafından önerilmeyen aksesuar bağlantılarının kullanılması yangına, elektrik çarpmasına veya kişilerin yaralanmasına neden olabilir.
- Açık havada kullanmayınız.
- Kablonun masa veya tezgah kenarından sarkmasına veya sıcak yüzeylere temas etmesine izin vermeyin.
- Sıcak gazlı veya elektrikli ocakların üzerine veya yakınına, ya da ısıtılmış fırına koymayın.
- Fişi her zaman önce cihaza takın, ardından kabloyu prize takın. Bağlantıyı kesmek için herhangi bir kontrolü "kapalı" konumuna getirin ve ardından fişi prizden çekin.
- Cihazı kullanım amacı dışında kullanmayınız.
- Demleme sırasında kapak açılırsa haşlanma meydana gelebilir.
- Sürahi bu cihazla birlikte kullanılmak üzere tasarlanmıştır. Asla ocak üstünde kullanılmamalıdır.
- Sıcak sürahiyi soğuk veya ıslak bir yüzeye koymayın.
- Çatlamış veya sapı gevşek ya da zayıflamış bir sürahiyi kullanmayınız.
- Sürahiyi temizleyiciler, çelik yün pedler veya diğer aşındırıcı malzemelerle temizlemeyin.
- Ensure the water tank is filled with purified water and boiled at least one cycle before brewing coffee for the first time.
- To avoid damage to the grinder, no coffee powder or any liquid is allowed in the bean box.
- When the machine is finished making coffee, the coffee residue in the funnel and filter should be removed to avoid accumulation of coffee powder and clogging the grinding bean cavity.
3. Ürün Bileşenleri
Familiarize yourself with the parts of your Gevi coffee maker:
- Kontrol Panelli Ana Ünite
- Built-in Burr Grinder (Bean Box)
- 1.5L Water Tank (with MAX 10-cup indicator)
- Glass Coffee Pot (Carafe)
- Kalıcı Filtre
- Filter Insert with Drip Stop
- Kepçe
- Temizleme Fırçası
- Filtre Halkası

Image 2: Included accessories: Permanent Filter, Filter Insert with Drip Stop, Glass Coffee Pot, Scoop, Filter Ring.
4. Setup and First-Time Use
4.1 Kutudan Çıkarma ve Yerleştirme
- Carefully remove all packaging materials and the coffee maker from the box.
- Place the coffee maker on a stable, flat, and spacious surface. Ensure adequate clearance around the unit for proper ventilation.
- Kahve makinesinin dışını reklamla silinamp Kumaş.
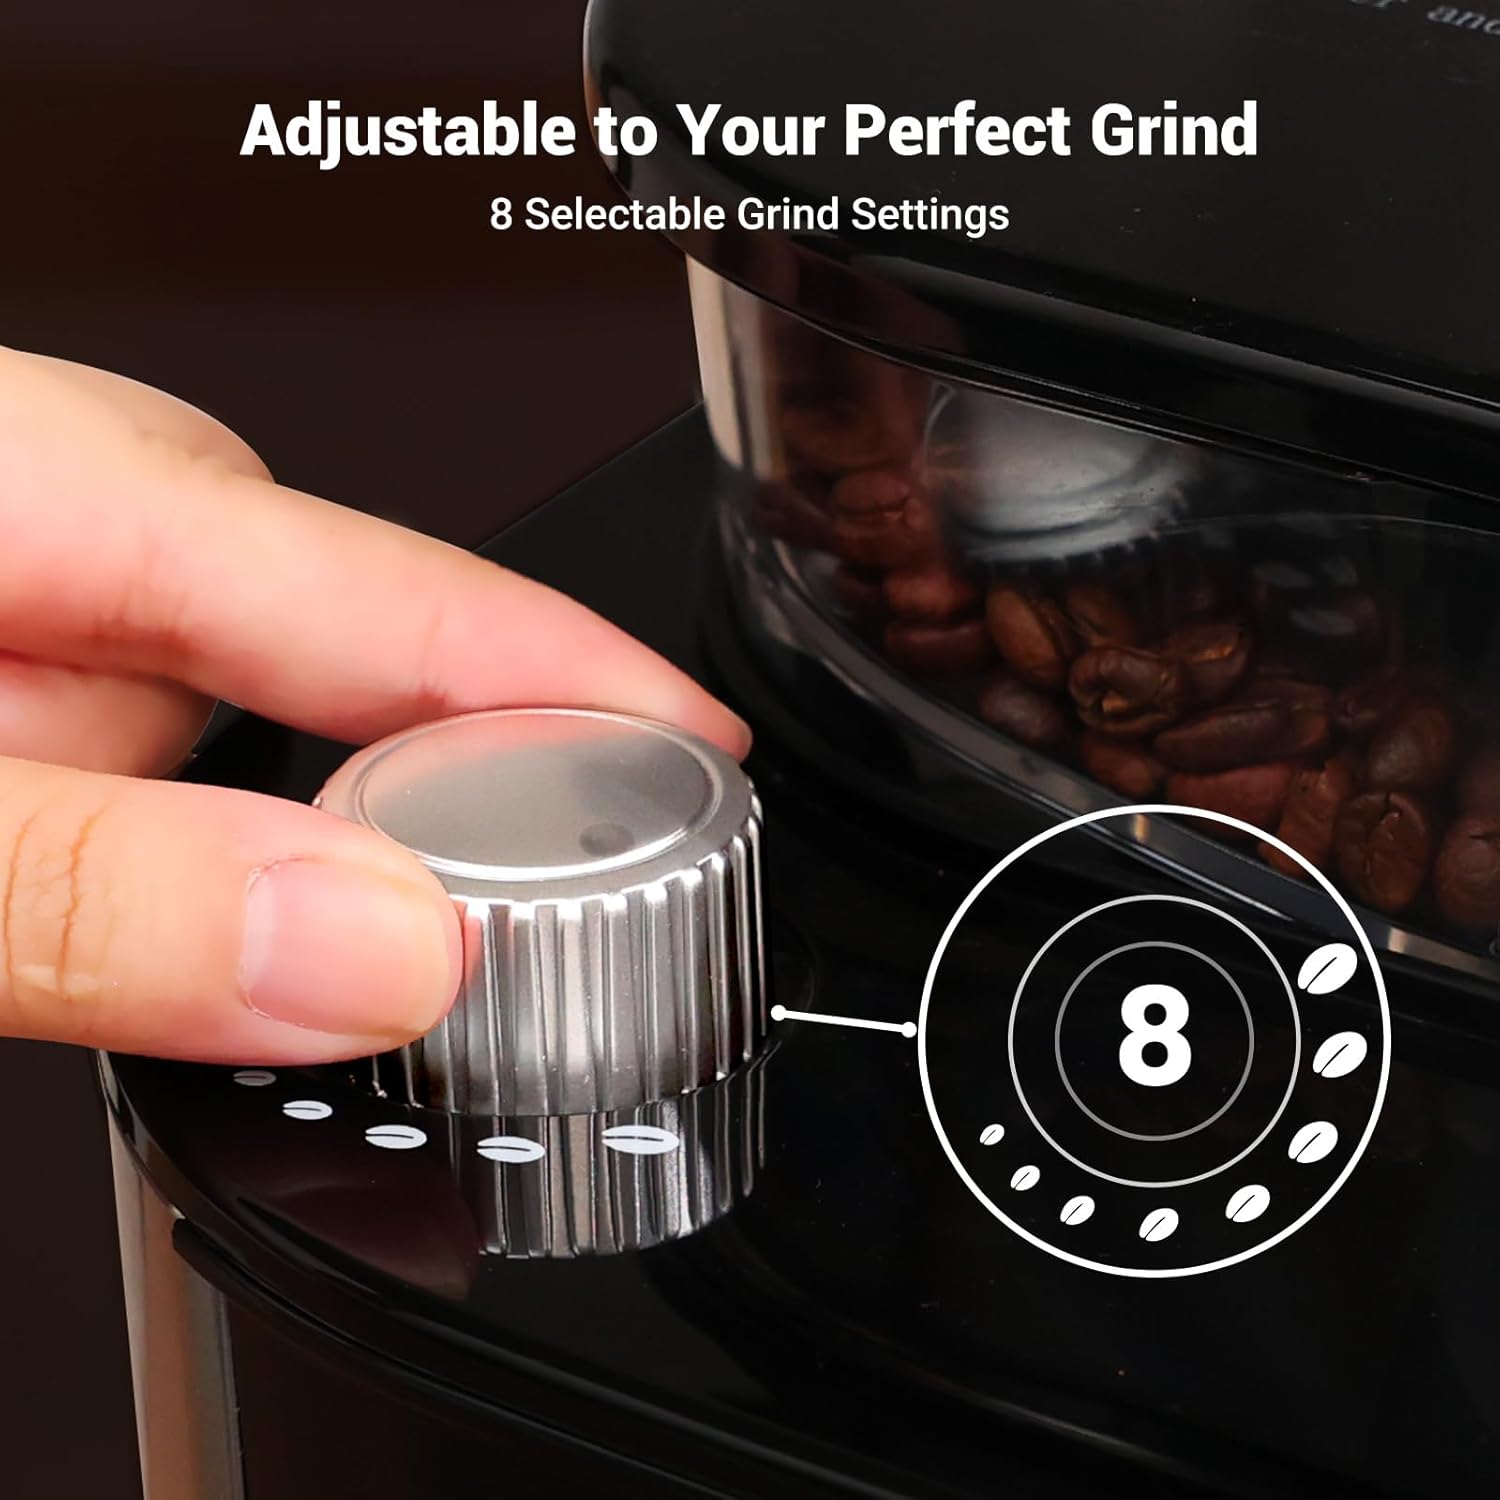
Image 3: The coffee maker's compact design fits well on countertops. Dimensions: 12.36" (D) × 8.38" (W) × 16.93" (H).
4.2 İlk Temizleme Döngüsü
Before brewing coffee for the first time, it is recommended to run at least one full cycle with clean water to remove any manufacturing residues.
- Fill the glass carafe with clean water up to the "MAX 10" line.
- Open the water tank lid and carefully pour the water from the carafe into the water tank. Close the lid securely.
- Ensure the permanent filter is correctly placed in the filter basket.
- Boş cam sürahiyi ısıtma tabağının üzerine yerleştirin.
- Güç kablosunu topraklı bir elektrik prizine takın. Ekran yanacaktır.
- Press the "ON/OFF" button to start the brewing cycle. The machine will run a full cycle, heating and dispensing all the water.
- Once the cycle is complete, discard the water from the carafe. Your coffee maker is now ready for use.
5. Kullanım Talimatları
5.1 Adding Water and Coffee
- Fill the glass carafe with fresh, cold water to your desired number of cups (2-10).
- Open the water tank lid and pour the water into the tank. Ensure the water level does not exceed the "MAX 10" line.
- For whole beans: Open the bean box lid and add fresh coffee beans. Close the lid securely.
- For pre-ground coffee: Press the "GRIND OFF" button to disable the grinder. Open the filter basket and add your desired amount of pre-ground coffee into the permanent filter. Close the filter basket.

Image 4: Illustration of adding whole coffee beans to the grinder or pre-ground coffee to the filter basket.
5.2 Setting Grind Level and Coffee Strength
- Rotate the grind regulator knob on top of the machine to select your desired coffee grind size (8 settings from fine to coarse).
- Press the "STRENGTH CONTROL" button to cycle through the available coffee strength options (Mild, Medium, Strong).
- Press the "POWDER 2-10" button to select the number of cups you wish to brew.

Image 5: Close-up of the grind setting knob, indicating 8 selectable grind settings.
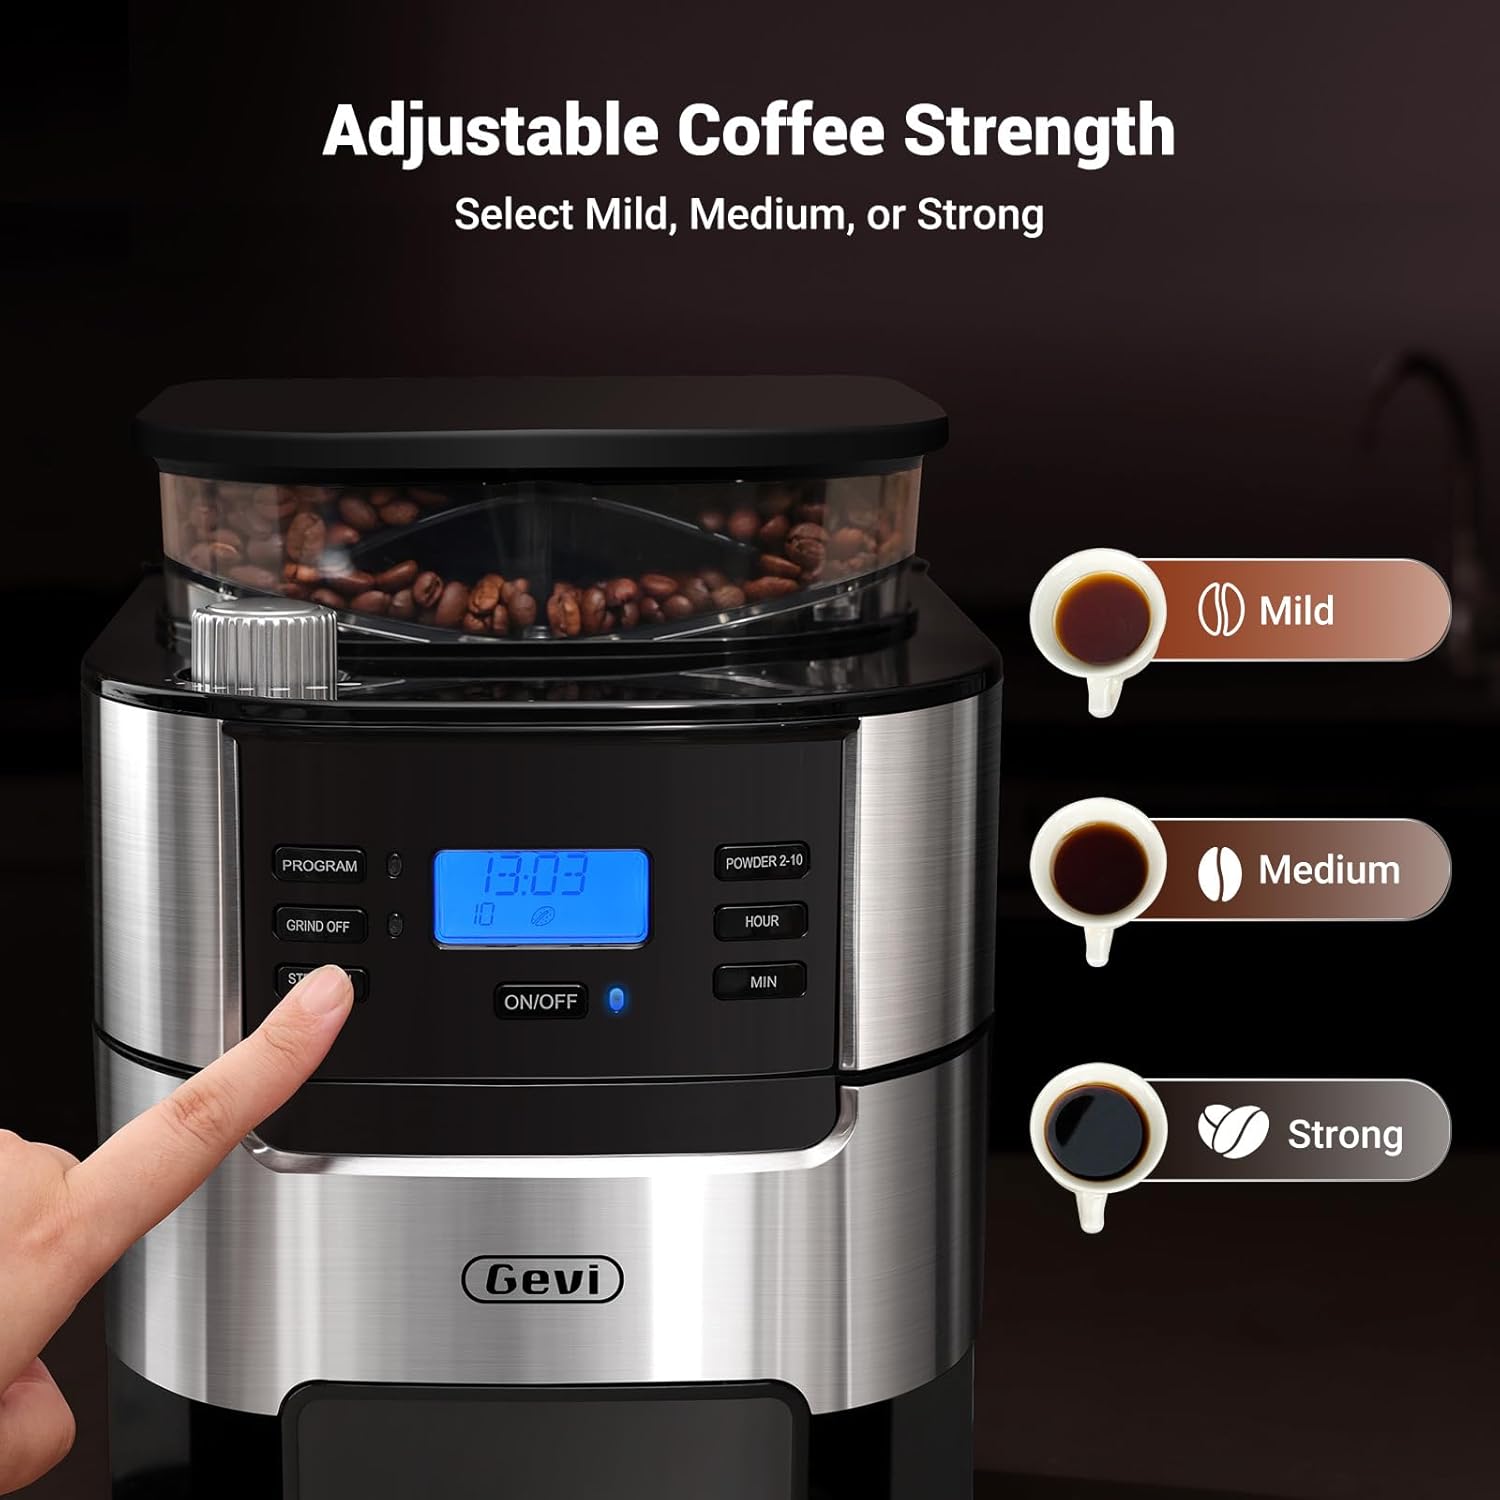
Image 6: The control panel highlighting the "STRENGTH CONTROL" button and the three brew strength options.
5.3 Zamanlayıcının Programlanması
The coffee maker features a 24-hour programmable timer for automatic brewing.
- Set the current time using the "HOUR" and "MIN" buttons.
- Press the "PROGRAM" button. The display will show "PROGRAM" and the time will flash.
- Use the "HOUR" and "MIN" buttons to set your desired brew start time.
- Press the "PROGRAM" button again to confirm. The display will show the current time, and the program indicator will remain lit.
- Kahve makinesi, ayarlanan saatte otomatik olarak demlemeye başlayacaktır.

Image 7: Visual representation of setting the 24-hour programmable timer for automatic morning coffee.
5.4 Starting the Brew Cycle
After setting your preferences, press the "ON/OFF" button to start brewing immediately or to activate the programmed brew cycle.
Image 8: Step-by-step visual guide for one-touch brewing, from adding water to enjoying coffee.
5.5 Keep-Warm Function
The coffee maker automatically keeps coffee warm at 167°F+ for up to 2 hours after brewing. You can adjust the warming time from 0-120 minutes in 15-minute intervals.
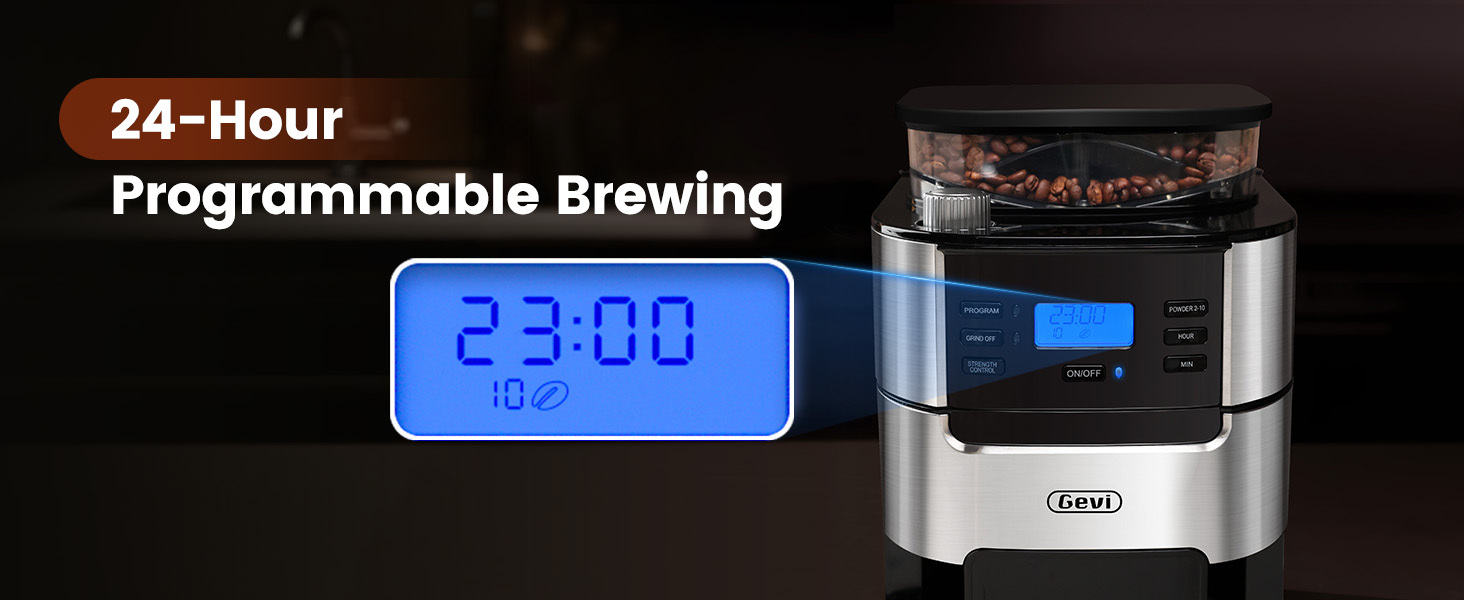
Image 9: The coffee maker's warming plate maintaining the temperature of brewed coffee.
6. Bakım ve Temizlik
Düzenli temizlik, kahve makinenizin en iyi performansı göstermesini ve uzun ömürlü olmasını sağlar.
6.1 Günlük Temizlik
- After each use, press the "OPEN" button to remove the filter basket.
- Discard used coffee grounds from the permanent filter.
- Rinse the permanent filter and filter ring under running water. Use the provided cleaning brush to remove any stubborn coffee residue.
- Makinenin dışını bir bezle silin.amp Bez. Yeniden birleştirmeden önce tüm parçaların kuru olduğundan emin olun.
6.2 Öğütücü Bakımı
To prevent clogging and maintain grinder efficiency, especially if not using the machine for several days:
- Remove the bean box lid.
- Carefully remove any remaining coffee beans from the bean box using the scoop or a spoon.
- Fasulye kutusunun kapağını kapatın.
- Set the "POWDER 2-10" function to 10 cups.
- Press the "ON/OFF" button to run the grinder until it sounds empty, ensuring all residual grounds are cleared.
- Always ensure the bean box lid is securely closed to protect beans from ambient air and prevent water from entering the grinder during water tank refills.
- Do not adjust the grind size selector while the grinder is operating to prevent damage.
7. Sorun Giderme
| Sorun | Olası Neden | Çözüm |
|---|---|---|
| Kahve makinesi çalışmıyor. | Fişe takılı değil; güç çıkışıtage. | Güç kablosunun çalışan bir prize güvenli bir şekilde takılı olduğundan emin olun. Sigortayı kontrol edin. |
| Alttan su sızıyor. | Water tank overfilled; faulty water tank. | Do not exceed the MAX fill line in the water tank. If leaking persists, contact customer support. |
| Grinder is clogged or not grinding. | Coffee beans stuck; coffee powder accumulation. | Remove beans and clean the grinder cavity as per maintenance instructions. Do not add liquid to the bean box. |
| Kahvenin tadı ya çok hafif ya da çok sert. | Kahve-su oranı yanlış; demleme sertliği ayarı yanlış. | Adjust the coffee quantity and strength control settings to your preference. |
| Coffee beans not feeding into grinder. | Beans stuck in hopper. | Gently shake the machine or use a non-sharp utensil to dislodge beans. Ensure the bean box lid is properly closed. |
8. Özellikler
- Marka: Gevi
- Model Name: Drip Coffee Machine
- Item Model Number: DCMB0-BK0A1
- Capacity: 10-Cup (1.5L Water Tank)
- Renk: Siyah
- Ürün Ölçüleri: 12.36" Derinlik x 8.38" Genişlik x 16.93" Yükseklik
- Special Feature: Adjustable Brew Strength, Built-in Burr Grinder, Programmable Timer, Auto Keep-Warm
- Coffee Maker Type: Drip Coffee Machine
- Operation Mode: Fully Automatic
- Cilttage: 120 Volt
- Human Interface Input: Buttons
- Coffee Input Type: Whole Bean
- Ürün Ağırlığı: 9.92 pound
- UPC: 767791886977, 767791888223
9. Garanti ve Destek
Your Gevi coffee maker comes with a 12-month warranty. For product support, troubleshooting assistance, or warranty claims, please contact Gevi customer service.
Refer to the official Gevi webİletişim bilgileri için lütfen siteyi veya satın alma belgelerinizi inceleyin.

Image 10: Gevi's commitment to customer satisfaction, including a 12-month warranty and friendly services.