1. Giriş
The SINGER M1000 Mending Machine is a compact, lightweight, and portable sewing machine designed for light to medium weight fabrics and various mending and repair tasks. It features 32 stitch applications, an LED light, and user-friendly controls, making it suitable for both beginners and experienced sewists.
This manual provides essential information for setting up, operating, and maintaining your SINGER M1000 machine to ensure optimal performance and longevity.
2. Güvenlik Talimatları
- Always unplug the machine from the electrical outlet immediately after using and before cleaning, removing covers, or performing any user servicing adjustments.
- Parmaklarınızı tüm hareketli parçalardan uzak tutun. Dikiş makinesi iğnesinin çevresinde özel dikkat gereklidir.
- Lütfen yalnızca bu kılavuzda belirtilen ve üretici tarafından önerilen aksesuarları kullanın.
- Kablo veya fişi hasarlıysa, düzgün çalışmıyorsa, düşürülmüş veya hasar görmüşse makineyi asla çalıştırmayın.
- Aerosol (sprey) ürünlerinin kullanıldığı veya oksijen verilen yerlerde çalışmayın.
3. Makine Bileşenleri
Familiarize yourself with the main parts of your SINGER M1000 Mending Machine:

- Spool Pin: Holds the spool of thread.
- Bobbin Winder Spindle: Used to wind thread onto the bobbin.
- İplik Gerginliği Ayar Düğmesi: Üst ipliğin gerginliğini ayarlar.
- Dikiş Seçici Kadranı: Used to choose from the 32 available stitch applications.
- Geri Dikiş Kolu: Engages reverse stitching to secure seams.
- İğne Clamp vida: İğneyi yerinde sabitler.
- Baskı Ayağı: Holds the fabric firmly against the feed dogs.
- Köpekleri Besleyin: Move the fabric under the needle.
- LED Işık: Dikiş alanını aydınlatır.
- Serbest Kol: Allows for easy sewing of tubular items like cuffs and sleeves.
4. Kurulum
4.1. Paketin Açılması ve İlk Muayene
Carefully remove the machine from its packaging. Ensure all included accessories are present:
- All-Purpose Foot
- Extra Needle
- Bobbins: Class 15 (transparent)
- Manuel İğneye Geçirici
- Güç Kablosu

4.2. Güç Bağlantısı
Connect the power cord to the machine and then to a suitable electrical outlet. Plug the foot pedal into its designated port on the machine.
4.3. Bobin Sarma
- Makara pimine bir makara iplik yerleştirin.
- İpliği üst iplik kılavuzundan geçirin ve bobin sarma gerilim diskinin etrafından dolayın.
- Boş bir bobini bobin sarma miline yerleştirin.
- Wind the thread clockwise a few times around the bobbin.
- Bobin sarma milini sağa doğru itin.
- Press the foot pedal to start winding. Stop when the bobbin is full.
- İpliği kesin ve bobin sarma milini sola doğru itin.
4.4. Bobini Takma
The SINGER M1000 features a convenient top drop-in bobbin system:
- Open the transparent bobbin cover plate.
- Sarılmış makarayı makara kutusuna yerleştirin ve ipliğin doğru yönde (genellikle saat yönünün tersine) açıldığından emin olun.
- Follow the indicated threading path on the machine for the bobbin thread.
- Bobin kapak plakasını değiştirin.

4.5. Üst Dişliyi Takma
Follow the numbered threading guides on the machine for proper upper thread tension and needle threading:
- Baskı ayağı kolunu kaldırın.
- İplik makarasını makara pimine yerleştirin.
- İpliği üst iplik kılavuzundan (1) geçirin.
- Bring the thread down through the right thread channel (2).
- Loop the thread up and around the take-up lever (3) from right to left.
- Bring the thread down through the left thread channel (4).
- İpliği iğne çubuğu iplik kılavuzunun (5) arkasından geçirin.
- Thread the needle from front to back. Use the manual needle threader if desired.

4.6. İğne Montajı
To install or change the needle:
- İğneyi en yüksek konumuna çıkarmak için el çarkını kendinize doğru çevirin.
- İğneyi gevşetin clamp vidası.
- Eski iğneyi çıkarın (varsa).
- Yeni iğneyi düz tarafı makinenin arkasına bakacak şekilde yerleştirin ve sonuna kadar yukarı itin.
- İğneyi sıkınamp güvenli bir şekilde vidalayın.
5. Operasyon
5.1. Dikiş Seçimi
The SINGER M1000 offers 32 stitch applications. Turn the Stitch Selector Dial to choose the desired stitch. The machine has preset stitch length and width for ease of use.

5.2. Adjustable Thread Tension
The thread tension dial allows you to customize the stitch appearance based on the fabric and thread type. Adjust the dial to achieve balanced tension for neat, professional-looking results. Refer to the manual for recommended tension settings for different stitches and fabrics.
5.3. Ters Dikiş
To reinforce seams at the beginning and end, use the reverse stitch lever. Press and hold the lever while sewing to stitch backward. Release the lever to resume forward stitching. This prevents stitches from unraveling.
5.4. Free Arm Functionality
The machine features a built-in free arm. To access it, slide off the removable accessory storage compartment. The free arm is ideal for sewing tubular or hard-to-reach fabric areas such as cuffs, sleeves, and pant hems.
5.5. LED Işık
The integrated LED light illuminates the sewing area, providing clear visibility for detailed work and reducing eye strain, especially in low-light conditions.
5.6. Basic Sewing Applications
The M1000 is versatile for various tasks:
- Mending: Repair tears, holes, and worn areas on clothing.
- Hemming: Create neat and durable hems on garments.
- Yama: Apply patches to strengthen or decorate fabric.
- Embellishments: Add decorative stitches or appliques to personalize items.

6. Bakım
6.1. Temizlik
Regular cleaning helps maintain your machine's performance:
- Temizlemeden önce daima makinenin fişini çekin.
- İğne plakasını ve bobin kutusunu çıkarın.
- Use a small brush to remove lint and dust from the feed dogs and bobbin area.
- Makinenin dışını yumuşak ve kuru bir bezle silin.
6.2. Depolama
When not in use, store your SINGER M1000 in a dry, dust-free environment. Using a dust cover is recommended to protect the machine from dust and debris.
7. Sorun Giderme
If you encounter issues with your SINGER M1000, consider the following common solutions:
- Atlanan Dikişler: İğnenin doğru takıldığından, bükülmediğinden ve kumaşınız için uygun tipte olduğundan emin olun. Makineyi tamamen yeniden iplikleyin.
- İplik Kopması: Check for proper threading, correct thread tension, and ensure the needle is not dull or bent. Use good quality thread.
- Makine Sıkışması: Remove any tangled threads from the bobbin area. Ensure the bobbin is correctly inserted and wound.
- Düzensiz Dikişler: Adjust the thread tension. Ensure the fabric is fed evenly without pulling or pushing excessively.
For more detailed troubleshooting guides and tutorials, refer to the SINGER Creativate App or the official SINGER support webalan.
8. Özellikler
| Özellik | Detay |
|---|---|
| Model Numarası | M1000 |
| Marka | ŞARKICI |
| Ürün Boyutları | 11.4 x 5.1 x 9.4 inç (28.96 x 12.95 x 23.88 cm) |
| Ürün Ağırlığı | 5.5 pound (2.49 kg) |
| Stitch Applications | 32 |
| Dahil Bileşenler | All-Purpose Foot, Extra Needle, Bobbins: Class 15 (transparent), Manual Needle Threader, Power Cord |
| Renk | Siyah |
| UPC | 840163309608 |
9. Garanti ve Destek
For warranty information, product registration, and additional support, please visit the official SINGER website or utilize the SINGER Creativate App.
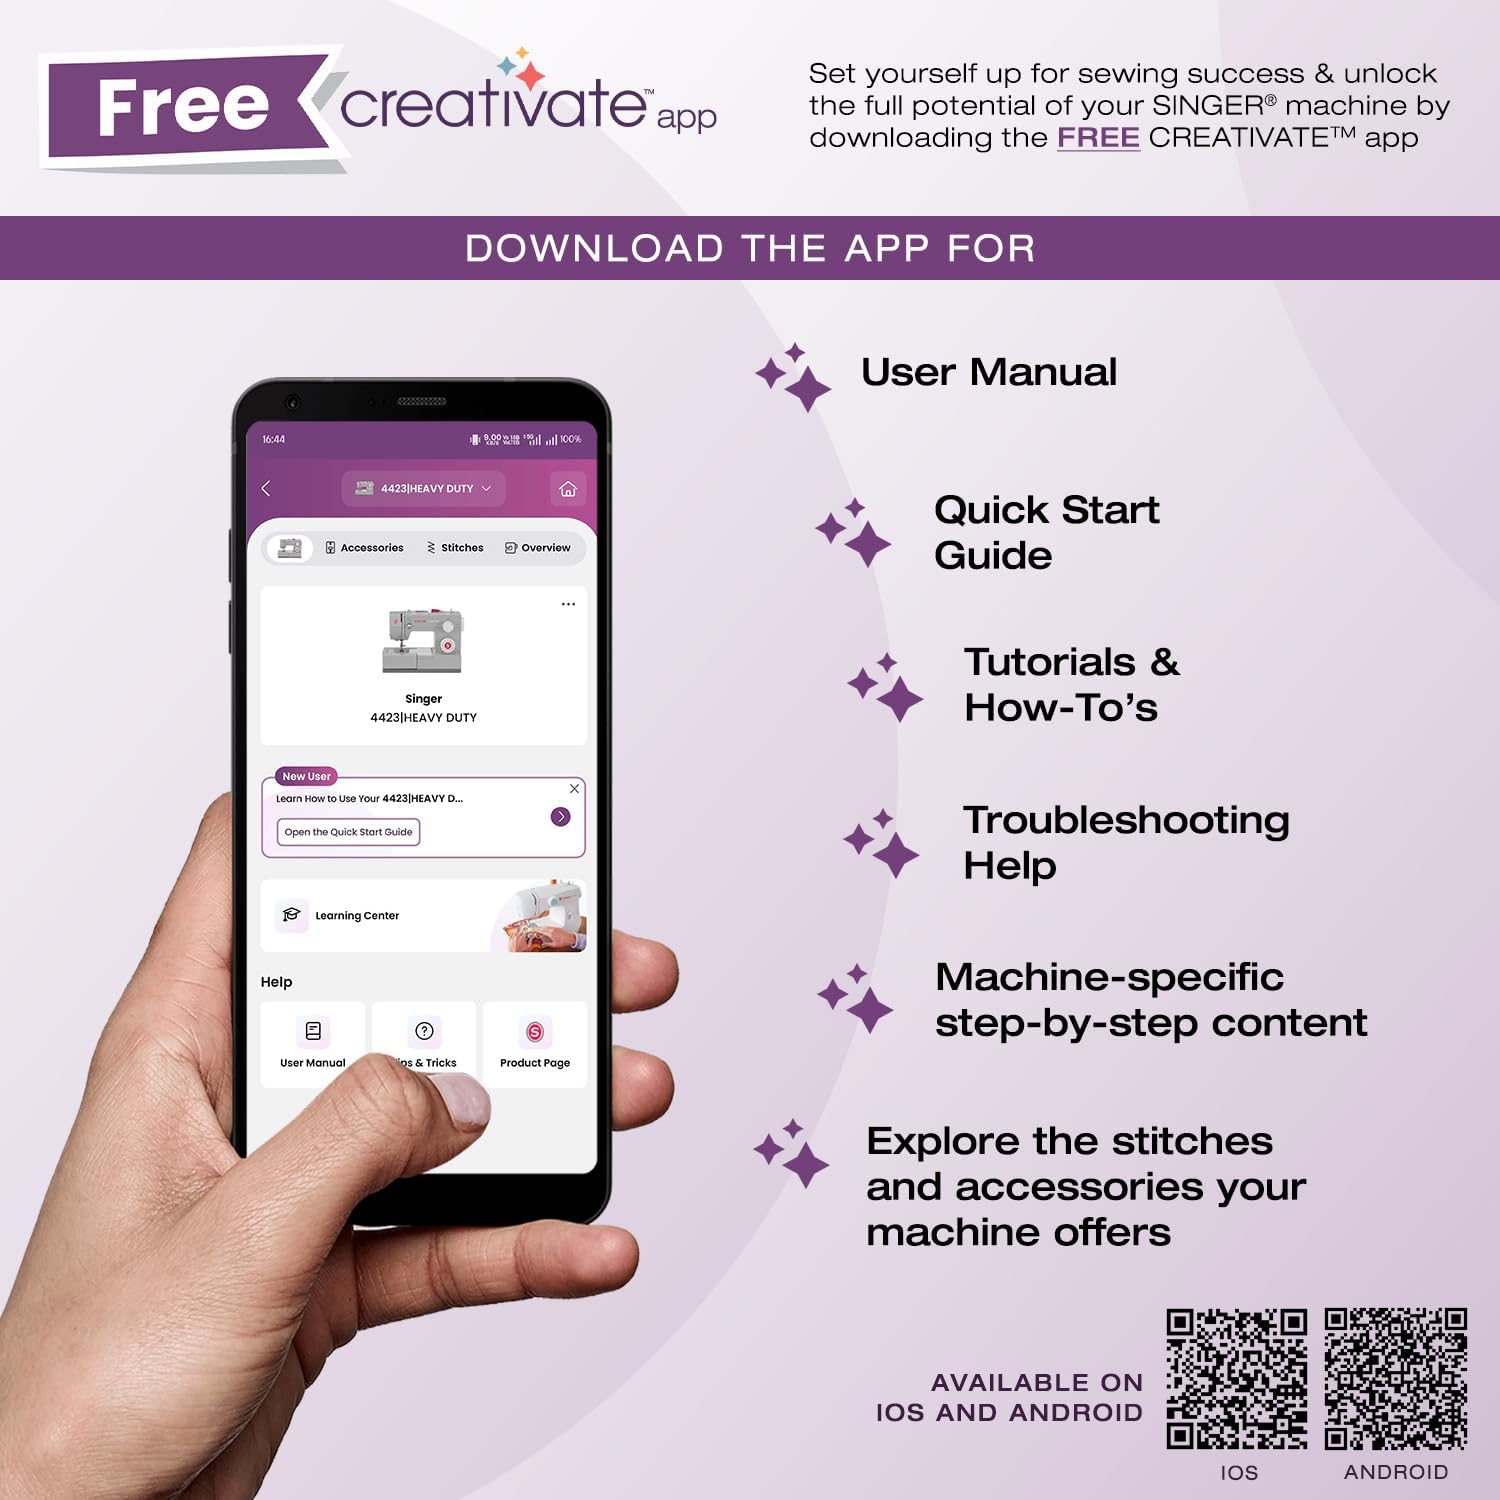
The SINGER Creativate App is your sewing support hub, offering access to your machine's manual, quick start guides, tutorials, troubleshooting tips, and information on accessories. Download the app to enhance your sewing experience.

Uygulamayı indirin:
For direct support, visit the SINGER support page: singer.com/support


