Giriş ve Üzeriview
Thank you for choosing the ALLSTAND 7-Tier Rotating Shoe Rack Tower. This innovative storage solution is designed to optimize space and provide easy access to your items with its 360-degree rotating function. Crafted from high-quality steel rods and solid boards, it offers exceptional stability and durability. This manual provides detailed instructions for the assembly, operation, and maintenance of your new rotating rack, ensuring a long-lasting and satisfying experience.

Image: The ALLSTAND 7-Tier Rotating Shoe Rack Tower, showcasing its capacity for shoes, bags, and various decorative items in a home environment.
Ürün Özellikleri
- 360° Rotating Design: Allows for effortless access to all items stored on the rack, eliminating the need to bend or strain. The smooth spinning mechanism ensures convenience and protects your back.
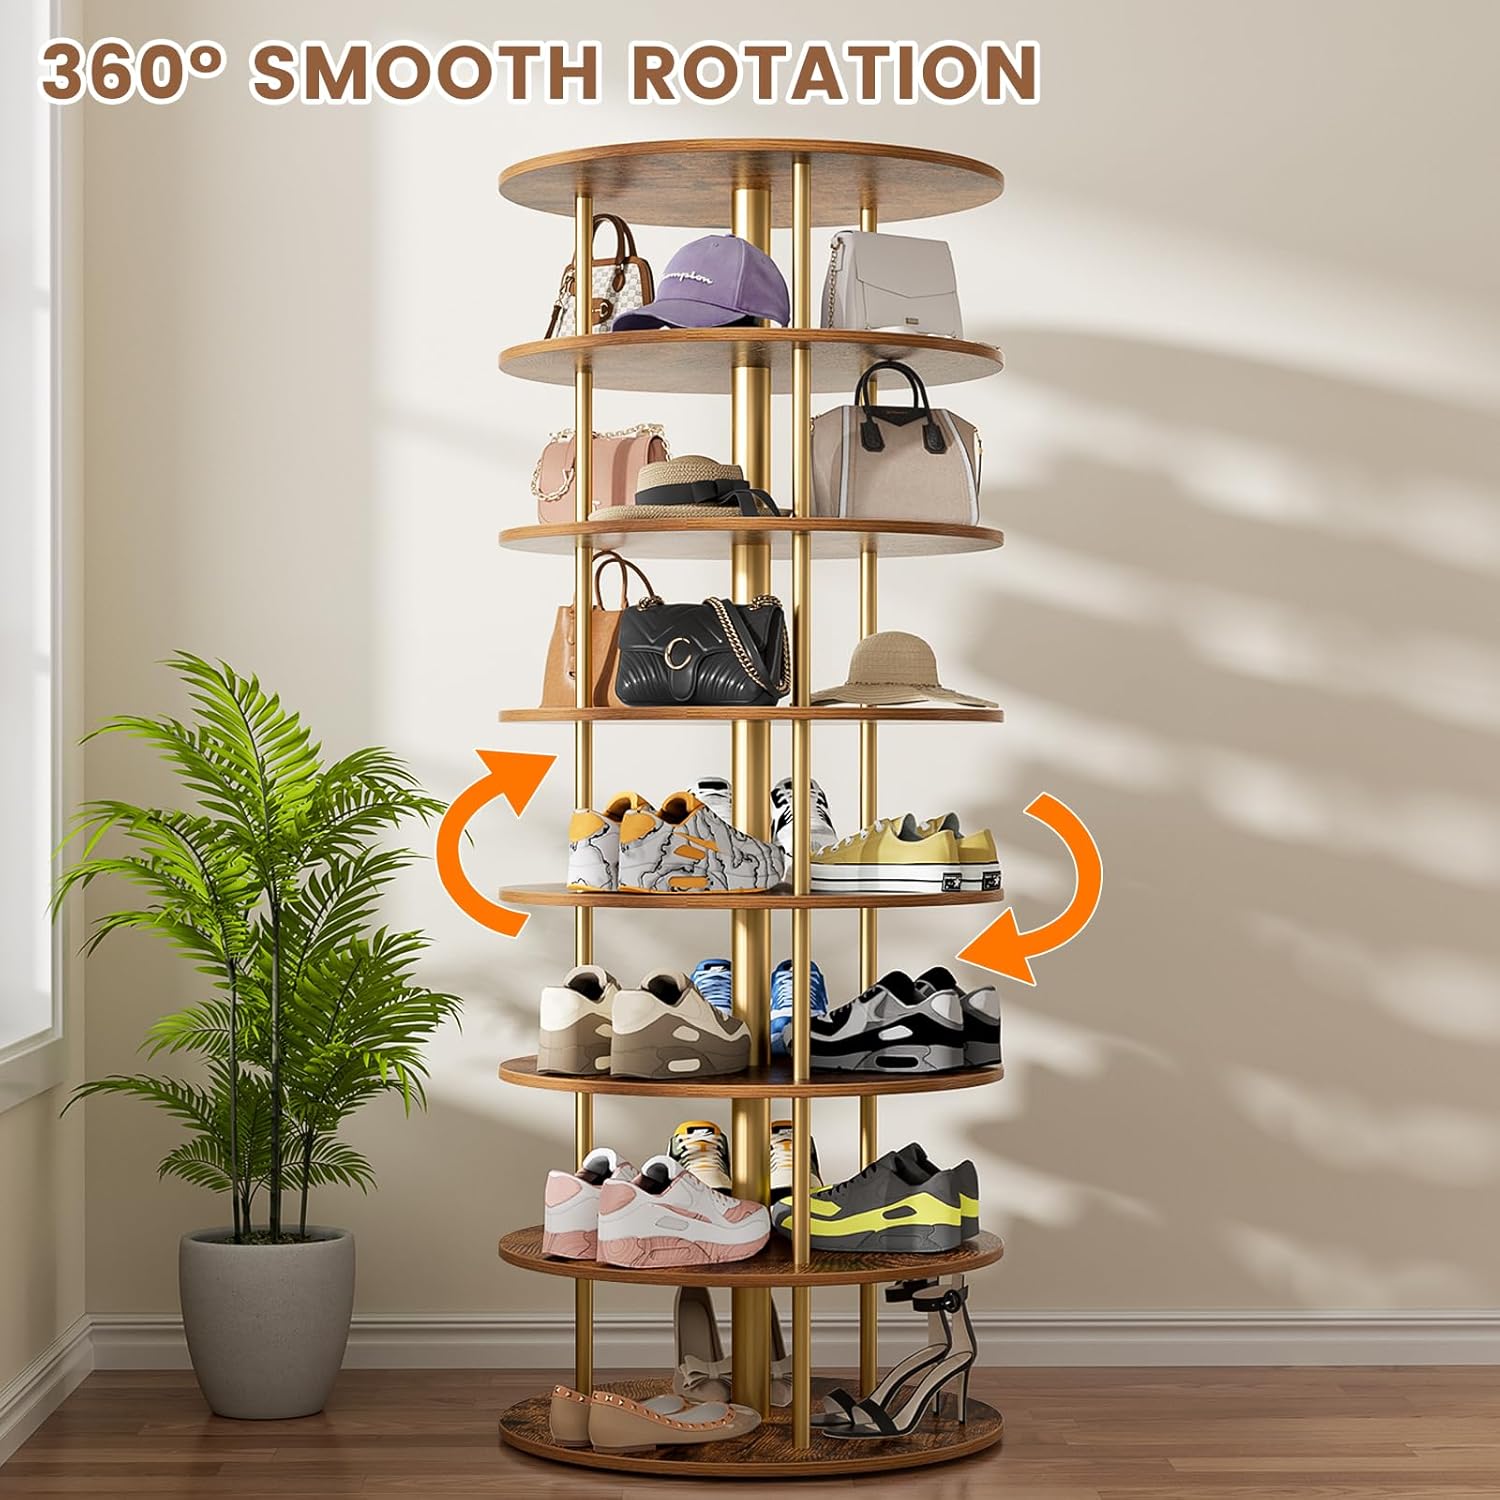
Image: Demonstrates the 360-degree smooth rotation feature of the shoe rack, highlighting its ease of use.
- Optimized Steel Rod Structure: Unlike traditional dividers, this design utilizes sturdy steel pipes, enhancing stability and durability. This structure accommodates various shoe sizes without squeezing or deforming them, making it easier to find items.

Image: Illustrates the transition from plastic partitions to a more robust steel column design, emphasizing enhanced stability and space.
- Stylish and Versatile Design: While ideal for shoes, this tower can also store bags, hats, accessories, and other items. Its modern aesthetic seamlessly integrates into any room, including bedrooms, closets, hallways, or entryways.
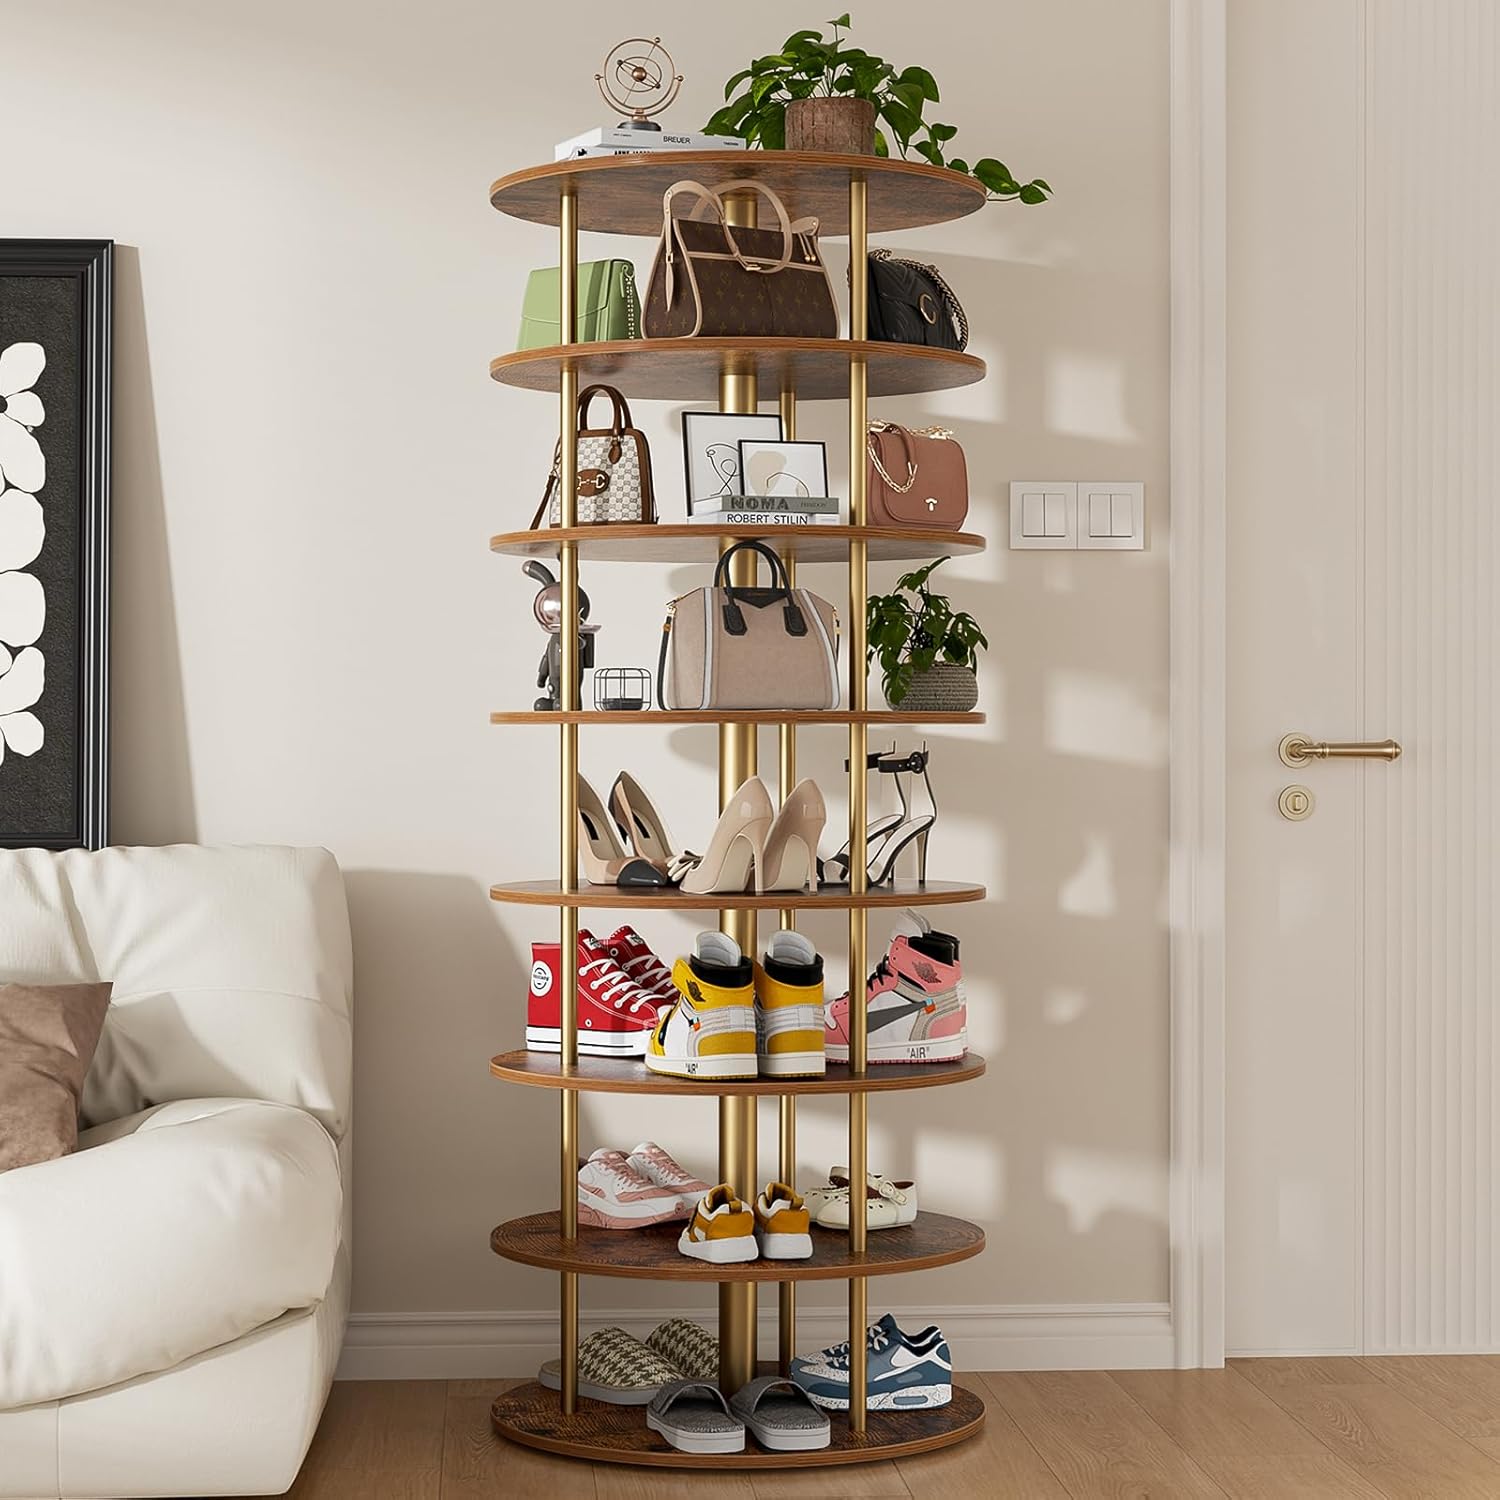
Image: The shoe rack as a functional and decorative piece in a living room, demonstrating its ability to hold more than just shoes.
- Durable Construction with Anti-tip Fitting: Constructed from high-quality steel rods and solid boards, ensuring long-term use without warping or damage. Includes anti-tip fitting features for enhanced safety and stability, preventing accidental tipping.
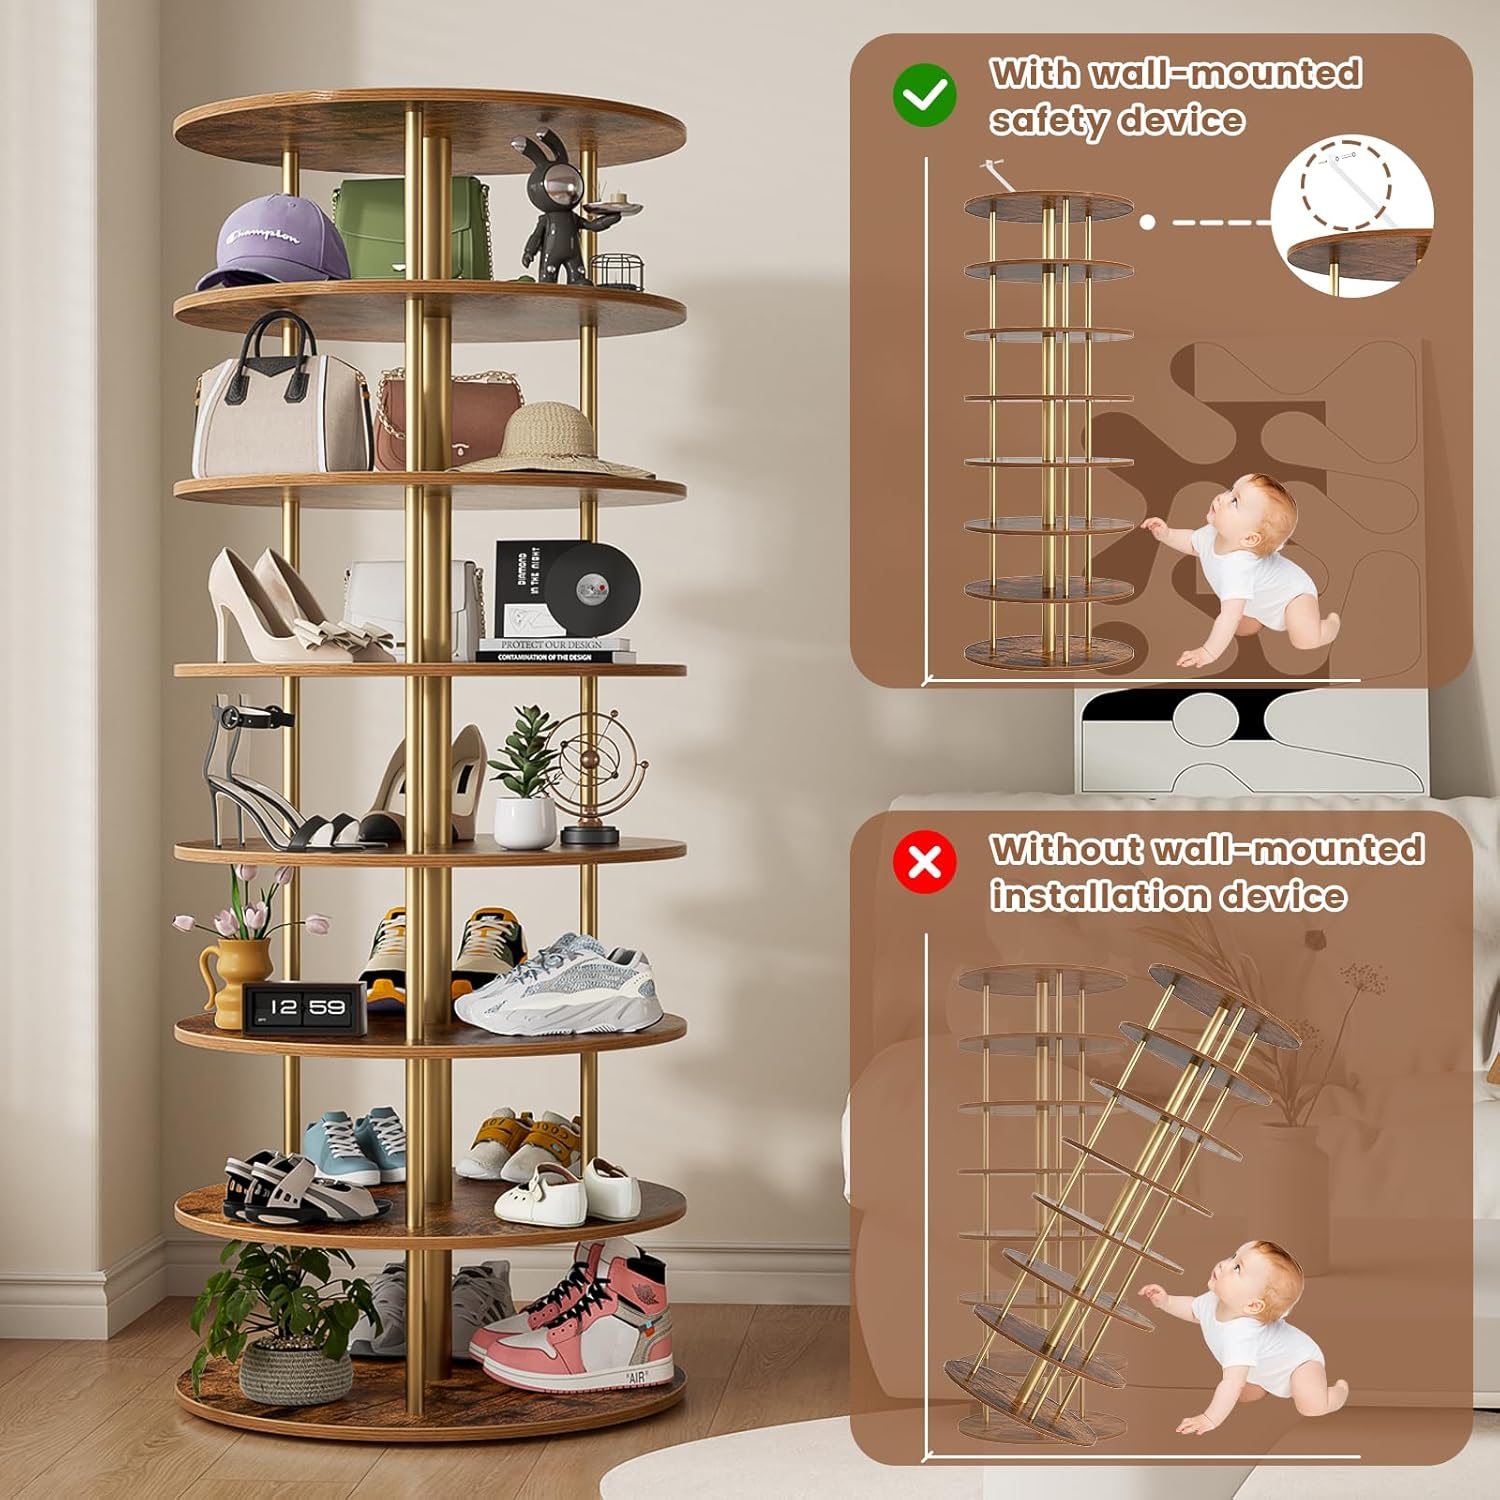
Image: Highlights the crucial anti-tip fitting, illustrating how it secures the tower to the wall for safety, especially in homes with children.
- Montajı Kolay: The assembly process is straightforward, with each layer following identical steps. This simplifies construction, allowing for quick and hassle-free setup.
Özellikler
| Bağlanmak | Detay |
|---|---|
| Marka | HER ŞEY |
| Model Adı | shoe rack-456 (Item model number: 123) |
| Oda Tipi | Banyo, Yatak Odası, Oturma Odası |
| Raf Sayısı | 7 |
| Özel Özellik | Ayarlanabilir, Dayanıklı |
| Ürün Boyutları | 23.62"D x 23.62"G x 64.05"Y |
| Stil | Modern |
| Bitiş Türü | Cilalı |
| Ürün Bakım Talimatları | D ile silinamp Kumaş |
| Boyut | 7 Katmanlı |
| Ağırlık sınırı | 150 Pound |
| Montaj Gerekli | Evet |
| Ürün İçin Önerilen Kullanımlar | Shoes, Storage |
| Dahil Bileşenler | Donanım |
| Ürün Ağırlığı | 50 Pound |
| Mobilya Kaplaması | Mühendislik Ahşap |
| Kurulum Türü | Solo |
| Ürünün Belirli Kullanımları | Bags, Shoes |
Kurulum (Montaj Talimatları)
Assembly of your ALLSTAND 7-Tier Rotating Shoe Rack Tower is designed to be straightforward. Please ensure all components listed in the hardware package are present before beginning.
Gerekli Araçlar (Dahil Değil):
- Yıldız uçlu tornavidalar
- Hammer (optional, for wall anchors)
- Drill (for wall-mounted safety device)
Montaj Adımları:
- Bileşenleri Paketinden Çıkarın ve Tanımlayın: Carefully unpack all parts and lay them out. Refer to the included hardware list to identify each piece (shelves, steel rods, base, top, screws, anti-tip fitting).

Image: A dimensional diagram of the shoe rack, useful for identifying the main structural components during assembly.
- Tabanı birleştirin: Attach the first set of steel rods to the base shelf using the provided screws. Ensure they are securely fastened.
- Stack Subsequent Tiers: Place the next shelf onto the installed rods. Secure it by attaching the next set of steel rods to the top of this shelf. Repeat this process for each subsequent tier. The design ensures consistent assembly for every layer.
- Install the Top Shelf: Once all tiers are stacked, attach the final top shelf to the uppermost set of steel rods.
- Install Anti-tip Fitting: For safety and stability, it is highly recommended to install the included anti-tip fitting. Secure one end to the top of the rack and the other to a wall stud using appropriate hardware. This prevents accidental tipping, especially important in households with children or pets.
- Son Kontrol: Gently test the stability of the assembled rack and ensure all connections are tight. Verify that the rotation mechanism operates smoothly.
If you encounter any difficulties during assembly, please refer to the detailed instructions provided in your product packaging or contact customer support.
Kullanım Talimatları
The ALLSTAND 7-Tier Rotating Shoe Rack Tower is designed for simple and efficient use.
- Öğeler Yükleniyor: Place shoes, bags, accessories, or other desired items onto the shelves. Distribute weight evenly across the shelves to maintain balance and smooth rotation. The maximum weight capacity for the entire unit is 150 pounds.
- Rotating the Rack: To access items, gently push or pull any part of the shelves to initiate rotation. The 360-degree spinning mechanism allows you to easily bring any section of the rack to the front.
- Atama: Position the rack in a location where its rotation will not be obstructed. Ensure there is sufficient clearance around the unit for full 360-degree movement.
Bakım
Proper maintenance will ensure the longevity and continued smooth operation of your ALLSTAND Rotating Shoe Rack Tower.
- Temizlik: Wipe the surfaces of the shelves and steel rods with a soft, damp Kumaşa zarar verebileceğinden sert kimyasallar veya aşındırıcı temizleyiciler kullanmaktan kaçının.
- Toz alma: Regularly dust the rack to prevent buildup, which can affect the smoothness of the rotation.
- Bağlantıların İncelenmesi: Tüm vidaları ve bağlantıları düzenli olarak kontrol ederek sıkı olduklarından emin olun. Stabiliteyi korumak için gerekirse tekrar sıkın.
- Ağırlık dağılımı: Avoid overloading any single shelf or section. Distribute items evenly to prevent strain on the rotating mechanism and maintain the rack's structural integrity.
Sorun giderme
If you encounter any issues with your rotating shoe rack, please refer to the following common problems and solutions:
| Sorun | Olası Neden | Çözüm |
|---|---|---|
| Rack does not rotate smoothly or is difficult to turn. |
|
|
| Raf dengesiz veya sallanıyor gibi görünüyor. |
|
|
| Items fall off shelves during rotation. |
|
|
If the problem persists after attempting these solutions, please contact ALLSTAND customer support for further assistance.


