giriiş
This manual provides comprehensive instructions for the installation, operation, maintenance, and troubleshooting of your suevery 24-inch Curved Gaming Monitor (Model: SV240QC). Please read this manual thoroughly before using the product to ensure proper functionality and to maximize your viewdeneyim. Bu kılavuzu ileride başvurmak üzere saklayın.
Ürün Özellikleri
- Sürükleyici Kavisli Ekran: The 24-inch 3000R curved screen is designed to match the natural curvature of the human eye, providing an immersive visual experience. This is complemented by a Full HD (1920x1080) resolution, drawing users into the content.
- Ultra-Smooth Motion: An ultra-high 180Hz refresh rate combined with an ultra-fast 1ms (GTG) gray-to-gray response time, enhanced by FreeSync technology, effectively eliminates screen tearing, stuttering, and ghosting. This ensures seamless transitions in fast-paced games.
- Doğru Renk Üretimi: With 100% sRGB color space coverage and precise reproduction of 16.7 million colors, the VA panel delivers excellent contrast and color layering. This results in vivid and realistic visuals for both gaming and multimedia.
- Flexible Connectivity and Installation: Equipped with DisplayPort (DP) and High-Definition Multimedia Interface (HDMI) ports, the monitor can easily connect to PCs, gaming consoles, laptops, and other devices. It supports VESA wall mounting, allowing for flexible placement in various environments.

Image: The suevery 24-inch Curved Gaming Monitor, showcasinŞık tasarımı ve kavisli ekranıyla dikkat çekiyor.
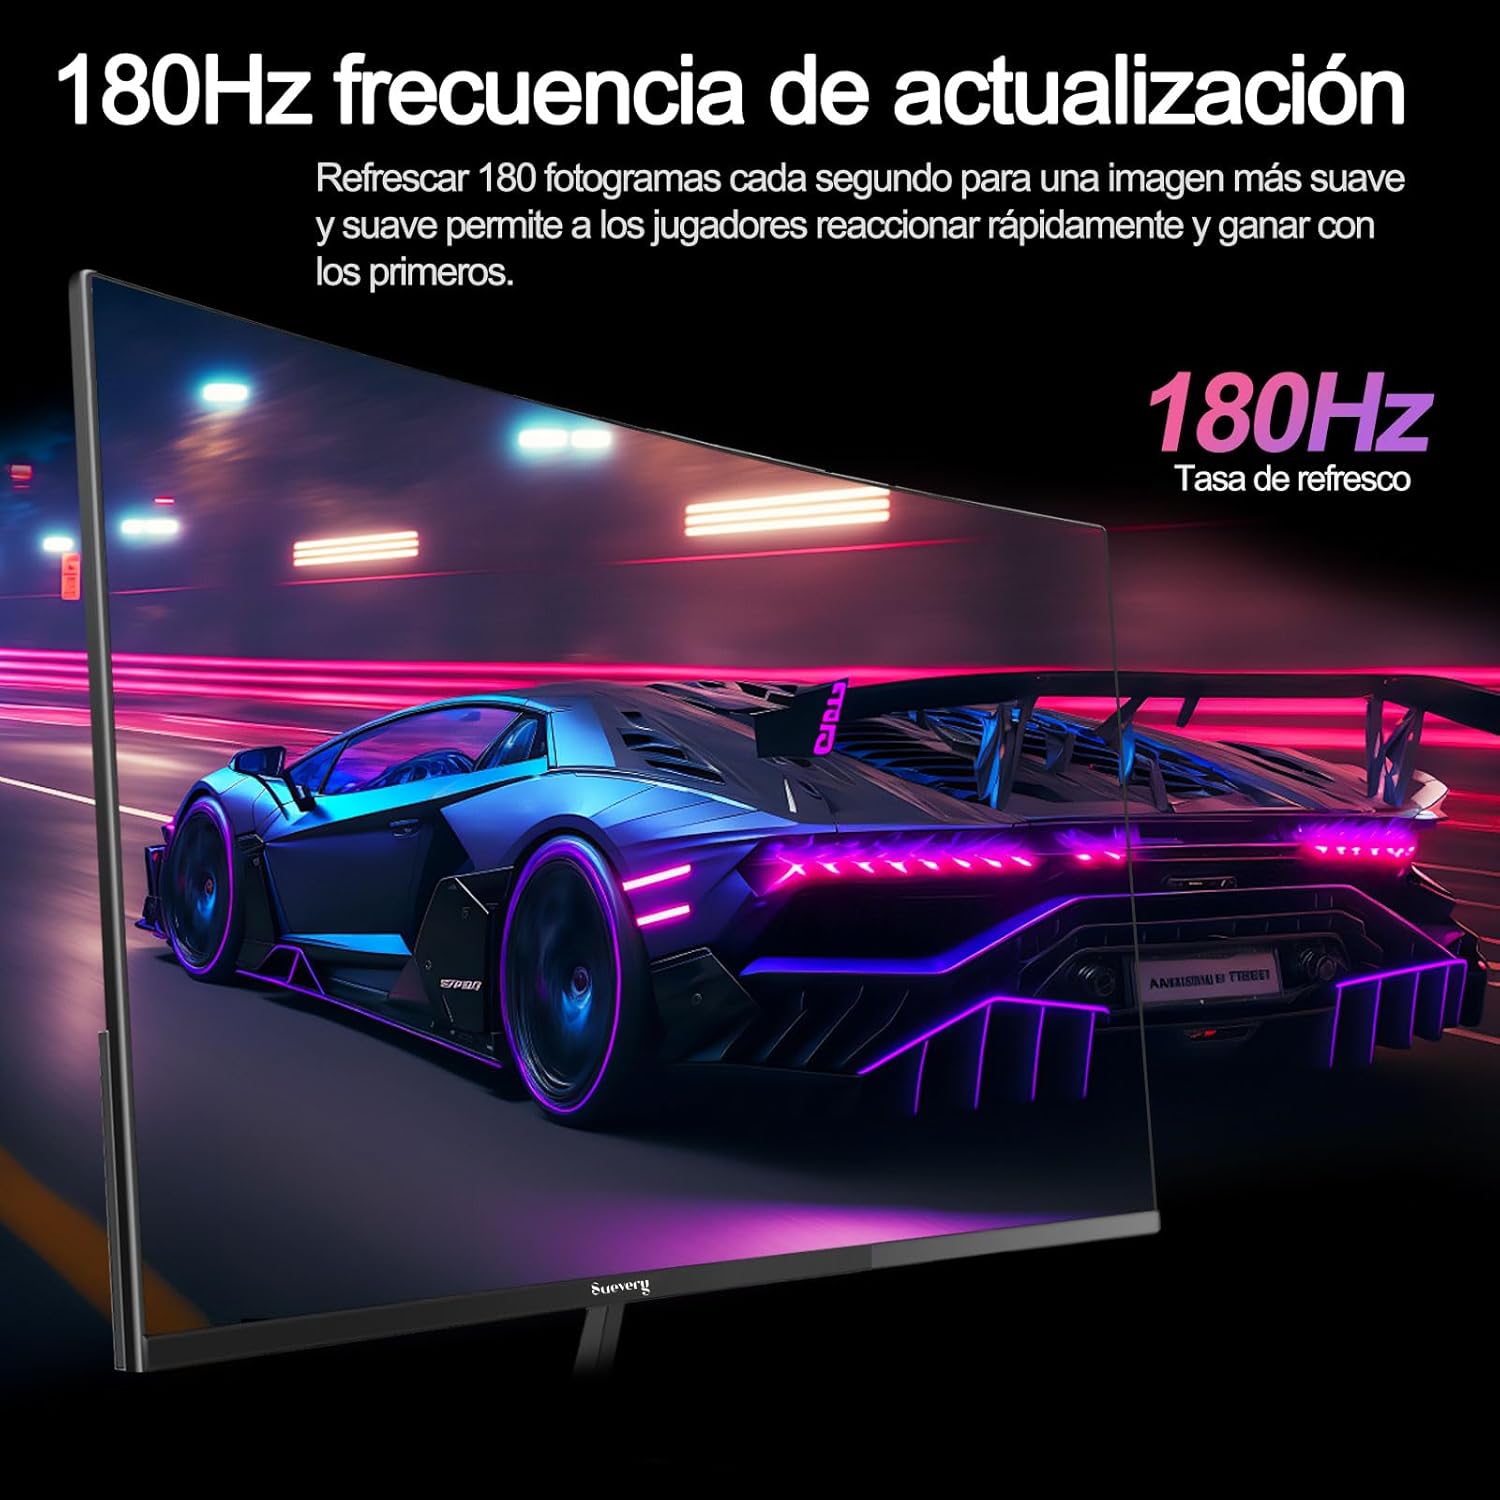
Image: A visual representation highlighting the 180Hz refresh rate, illustrating smooth motion in a racing game scene.

Image: An illustration demonstrating the monitor's wide color gamut (100% sRGB), 3000:1 contrast ratio, and 16.7 million colors for vibrant visuals.

Image: A split-screen comparison showing the visual difference with FreeSync OFF (screen tearing) and FreeSync ON (smooth image) during gameplay.
Kurulum Talimatları
1. Ambalajın Açılması ve Montajı
- Tüm bileşenleri dikkatlice ambalajından çıkarın.
- Çizilmeleri önlemek için monitör panelini yumuşak ve temiz bir yüzeye yüzü aşağı bakacak şekilde yerleştirin.
- Stand tabanını, birlikte verilen vidalarla sabitleyerek stand boynuna takın.
- Attach the assembled stand to the back of the monitor panel. Ensure it clicks securely into place or is fastened with screws as per the design.
- Alternatively, for VESA mounting, remove the stand and attach a VESA-compatible mount (75x75mm) to the monitor's rear panel.
2. Bağlantı Kabloları
Liman konumları için aşağıdaki şemaya bakınız.

Image: A diagram illustrating the monitor's rear panel, showing the HDMI, DisplayPort (DP), USB (if applicable), and power input ports, along with VESA mount dimensions (75x75mm).
- Güç Bağlantısı: Güç adaptörünü monitörün güç giriş portuna bağlayın, ardından güç kablosunu duvardaki prize takın.
- Video Bağlantısı: Connect one end of an HDMI or DisplayPort cable to the corresponding port on your monitor and the other end to your computer's graphics card or other video source. For optimal performance, especially at 180Hz, a DisplayPort connection is recommended.
- Ses kaydı (varsa): If your monitor has a 3.5mm audio output, you can connect external speakers or headphones.
3. İlk Güç Açma
- Monitör üzerindeki güç düğmesine basın. Güç gösterge ışığı yanmalıdır.
- Turn on your connected computer or video source.
- Monitör giriş sinyalini otomatik olarak algılamalıdır. Algılamazsa, Ekran Üzeri Menü (OSD) kullanarak giriş kaynağını manuel olarak seçmeniz gerekebilir.
Kullanım Talimatları
1. Güç Açma/Kapatma
Press the power button, usually located on the back or bottom of the monitor, to turn the monitor on or off.
2. Ekran Üstü Görüntüleme (OSD) Menüsü
The OSD menu allows you to adjust various monitor settings. Access the OSD menu using the joystick or buttons typically found on the back or bottom of the monitor.
- Navigasyon: Use the joystick or directional buttons to navigate through the menu options.
- Seçim: Press the joystick or a dedicated button to select an option or confirm a setting.
- Çıkış: Use the designated 'Exit' button or move the joystick in a specific direction to close the OSD menu.
3. Ayarların Yapılması
Ayarlayabileceğiniz temel ayarlar şunlardır:
- Parlaklık/Kontrast: Bunları kendinize göre ayarlayın. viewÇevre.
- Renk ayarları: Renk sıcaklığını, gama değerini ve ayrı ayrı RGB değerlerini değiştirin.
- Giriş kaynağı: Manually select between HDMI and DisplayPort inputs.
- Yenileme Hızı: Ensure your operating system and graphics card settings are configured to utilize the monitor's 180Hz refresh rate.
- FreeSync: Enable FreeSync in the OSD menu and in your graphics card control panel for tear-free gaming.
- Resim Modu: Select from preset modes (e.g., Standard, Game, Movie) or customize your own.
Bakım
1. Ekranın Temizlenmesi
- Monitörü kapatın ve güç kablosunu çıkarın.
- Ekranı yumuşak, tüy bırakmayan bir bezle yavaşça silin.
- İnatçı izler için hafifçe silinampBezi su veya özel bir ekran temizleyicisi ile silin (doğrudan ekrana sıkmayın).
- Sert kimyasallar, aşındırıcı temizleyiciler veya alkol bazlı çözümler kullanmaktan kaçının.
2. Genel Bakım
- Monitörü doğrudan güneş ışığından, aşırı sıcaktan ve nemden uzak tutun.
- Monitörün etrafında yeterli havalandırma olduğundan emin olun.
- Monitörün veya kablolarının üzerine ağır cisimler koymaktan kaçının.
Sorun giderme
Monitörünüzde sorun yaşıyorsanız lütfen aşağıdaki yaygın sorunlara ve çözümlere bakın:
| Sorun | Olası Çözüm |
|---|---|
| Ekranda görüntü yok | Ensure the power cable is securely connected and the monitor is turned on. Verify the video cable (HDMI/DP) is properly connected to both the monitor and the computer. Check if the correct input source is selected in the OSD menu. |
| Görüntüde titreme veya kararsızlık | Check the video cable connection. Ensure your graphics card drivers are up to date. Verify the refresh rate setting in your operating system is set correctly (e.g., 180Hz). Enable FreeSync if supported by your graphics card. |
| Renkler yanlış görünüyor | Adjust color settings (brightness, contrast, color temperature) in the OSD menu. Reset the monitor to factory default settings. |
| Monitör açılmıyor | Check the power cable and adapter connections. Try plugging the monitor into a different power outlet. |
Bu çözümleri denedikten sonra sorun devam ederse lütfen müşteri desteğiyle iletişime geçin.
Özellikler
| Özellik | Şartname |
|---|---|
| Marka | dava |
| Model Numarası | SV240QC |
| Ekran Boyutu | 24 inç |
| Ekran Çözünürlüğü | 1920x1080 (Tam HD) |
| Yenileme Hızı | 180Hz |
| Tepki Süresi | 1ms (GTG) |
| Eğrilik | 3000R |
| Renk Gamı | %100 sRGB |
| Panel Tipi | VA |
| En Boy Oranı | 16:9 |
| Bağlantı | 1x HDMI, 1x DisplayPort (DP) |
| VESA Montaj Uyumluluğu | 75x75mm |
| Ürün Boyutları | 59 x 39 x 11 cm (standlı) |
| Ağırlık | 3.5 kilo |
Garanti ve Destek
Garanti Bilgileri
suevery provides a 12 ay garanti for this monitor, covering manufacturing defects and malfunctions under normal use. Please retain your proof of purchase for warranty claims.
Müşteri Desteği
If you encounter any damage, failure, or missing parts, or require technical assistance, please do not hesitate to contact suevery customer service. Our support team is available to assist you with any product-related inquiries.
For support, please refer to the contact information provided on the suevery official websiteniz veya satın alma platformunuz.