1. Giriş
Thank you for choosing the MangoKit PR2S Portable DAB/DAB+ and FM Radio. This device offers high-quality digital and analogue radio reception, Bluetooth connectivity for audio streaming, dual alarm functions, and a sleep timer. Its portable design allows for both mains and battery operation, making it suitable for use in various environments. This manual provides detailed instructions to help you set up and operate your radio effectively.
2. Güvenlik Bilgileri
- Kullanmadan önce tüm talimatları dikkatlice okuyun ve ileride başvurmak üzere saklayın.
- Üniteyi yağmura, neme veya aşırı sıcaklıklara maruz bırakmayın.
- Üniteyi radyatör, kalorifer ızgarası, soba veya diğer cihazlar (dahil) gibi ısı kaynaklarının yakınına yerleştirmekten kaçının. amp(ısı üreten)
- Yalnızca üniteyle birlikte verilen güç adaptörünü kullanın.
- Üniteyi sökmeye veya değiştirmeye çalışmayın. Tüm servis işlemlerini yetkili servis personeline yaptırın.
- Ünite çevresinde uygun havalandırmanın olduğundan emin olun.
- When using batteries, ensure they are inserted with correct polarity. Do not mix old and new batteries, or different types of batteries.
3. Paket İçeriği
Lütfen aşağıdaki öğelerin kutucuğunu işaretleyin:
- MangoKit PR2S DAB/DAB+ and FM Radio
- Kullanıcı Kılavuzu
- Hızlı Başlangıç Kılavuzu
- Güç Adaptörü
- C Tipi USB Kablosu

Figure 3.1: MangoKit PR2S with included accessories and dimensions.
4. Ürün Bittiview
The MangoKit PR2S features an intuitive control panel and a clear display for easy navigation. Key components include:
- Ekran Görüntüsü: İstasyon bilgilerini, saatini ve menü seçeneklerini gösterir.
- Kontrol Düğmeleri: Including Menu, Info, Back, Source, Preset buttons (1, 2, 3+), and navigation buttons.
- Döner düğme: For Power On/Off and Volume control.
- Teleskopik Anten: For optimal radio signal reception.
- 3.5 mm Kulaklık Girişi: Özel dinleme için.
- Type C USB Port: Güç girişi için.

Şekil 4.1: Ön view of the MangoKit PR2S DAB Radio.

Figure 4.2: Key features of the MangoKit PR2S.

Figure 4.3: Headphone connectivity for personal listening.
5. Kurulum
5.1 Cihaza Güç Verme
The MangoKit PR2S can be powered by mains electricity or 4 x AA batteries (not included).
- Şebeke Gücü: Connect the supplied Type C USB cable to the radio's USB port and the power adapter to a wall outlet.
- Pil Gücü: Open the battery compartment on the back of the unit and insert 4 x AA batteries, ensuring correct polarity. The device does not charge rechargeable batteries.
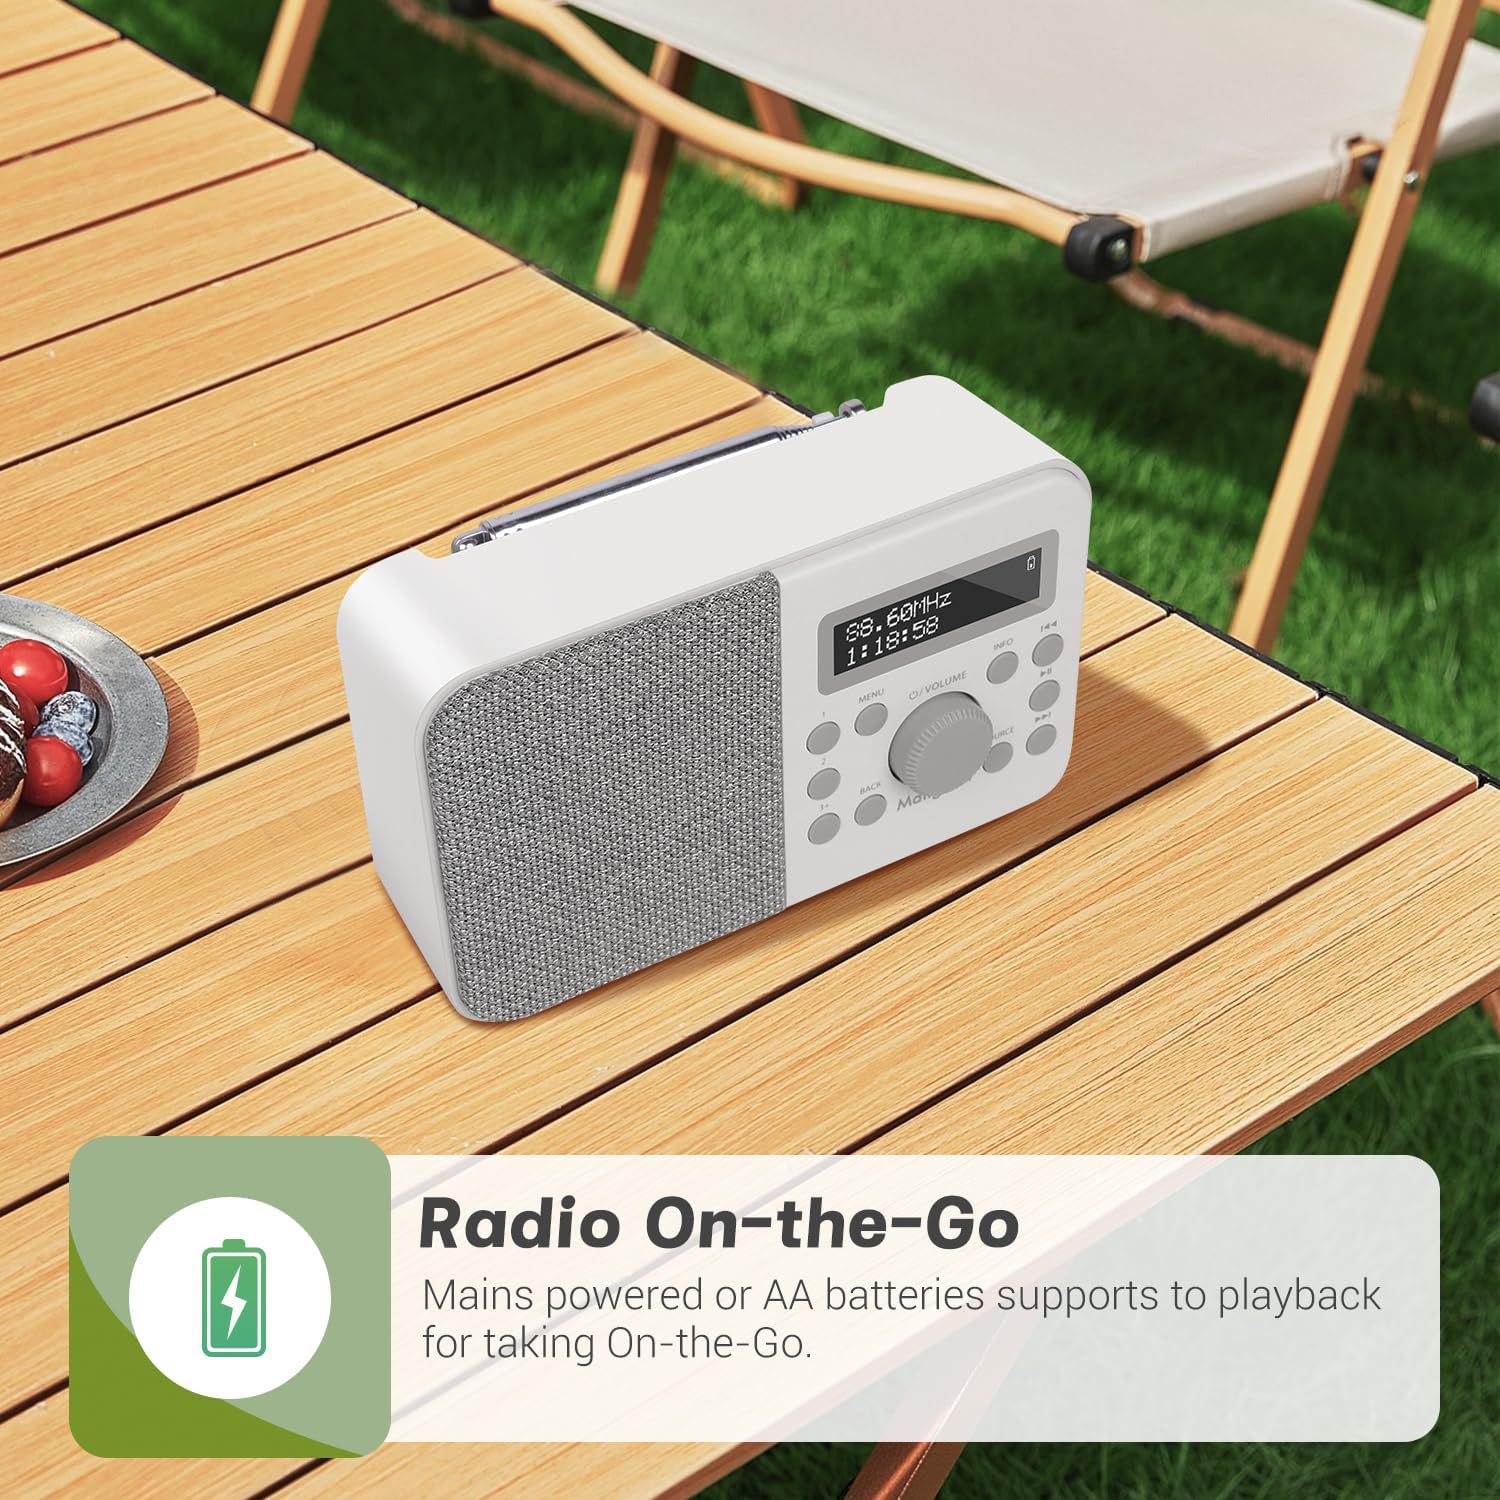
Figure 5.1: The radio can be powered by mains or AA batteries for portability.
5.2 Initial Setup and Auto-Scan
Upon first power-on, the radio will automatically perform a full scan for DAB/DAB+ stations. Extend the telescopic antenna fully for best reception.
- Basın O/VOLUME Radyoyu açmak için düğme.
- The radio will display 'Scanning...' and begin searching for available DAB/DAB+ stations.
- Once the scan is complete, the radio will automatically tune to the first available station.
6. Kullanım Talimatları
6.1 DAB/DAB+ Radio Mode
To switch to DAB/DAB+ mode, press the KAYNAK button until 'DAB' is displayed.
- İstasyon Seçimi: Kullanın << or >> buttons to navigate through the list of available stations. Press the O/VOLUME İstasyon seçmek için düğme.
- Manuel Tarama: If reception is poor, you can perform a manual scan by pressing the MENÜ button, navigating to 'Full Scan', and pressing the O/VOLUME topuz.
- Bilgi Ekranı: Basın BİLGİ button repeatedly to cycle through various information such as program type, signal strength, bit rate, frequency, and date/time.
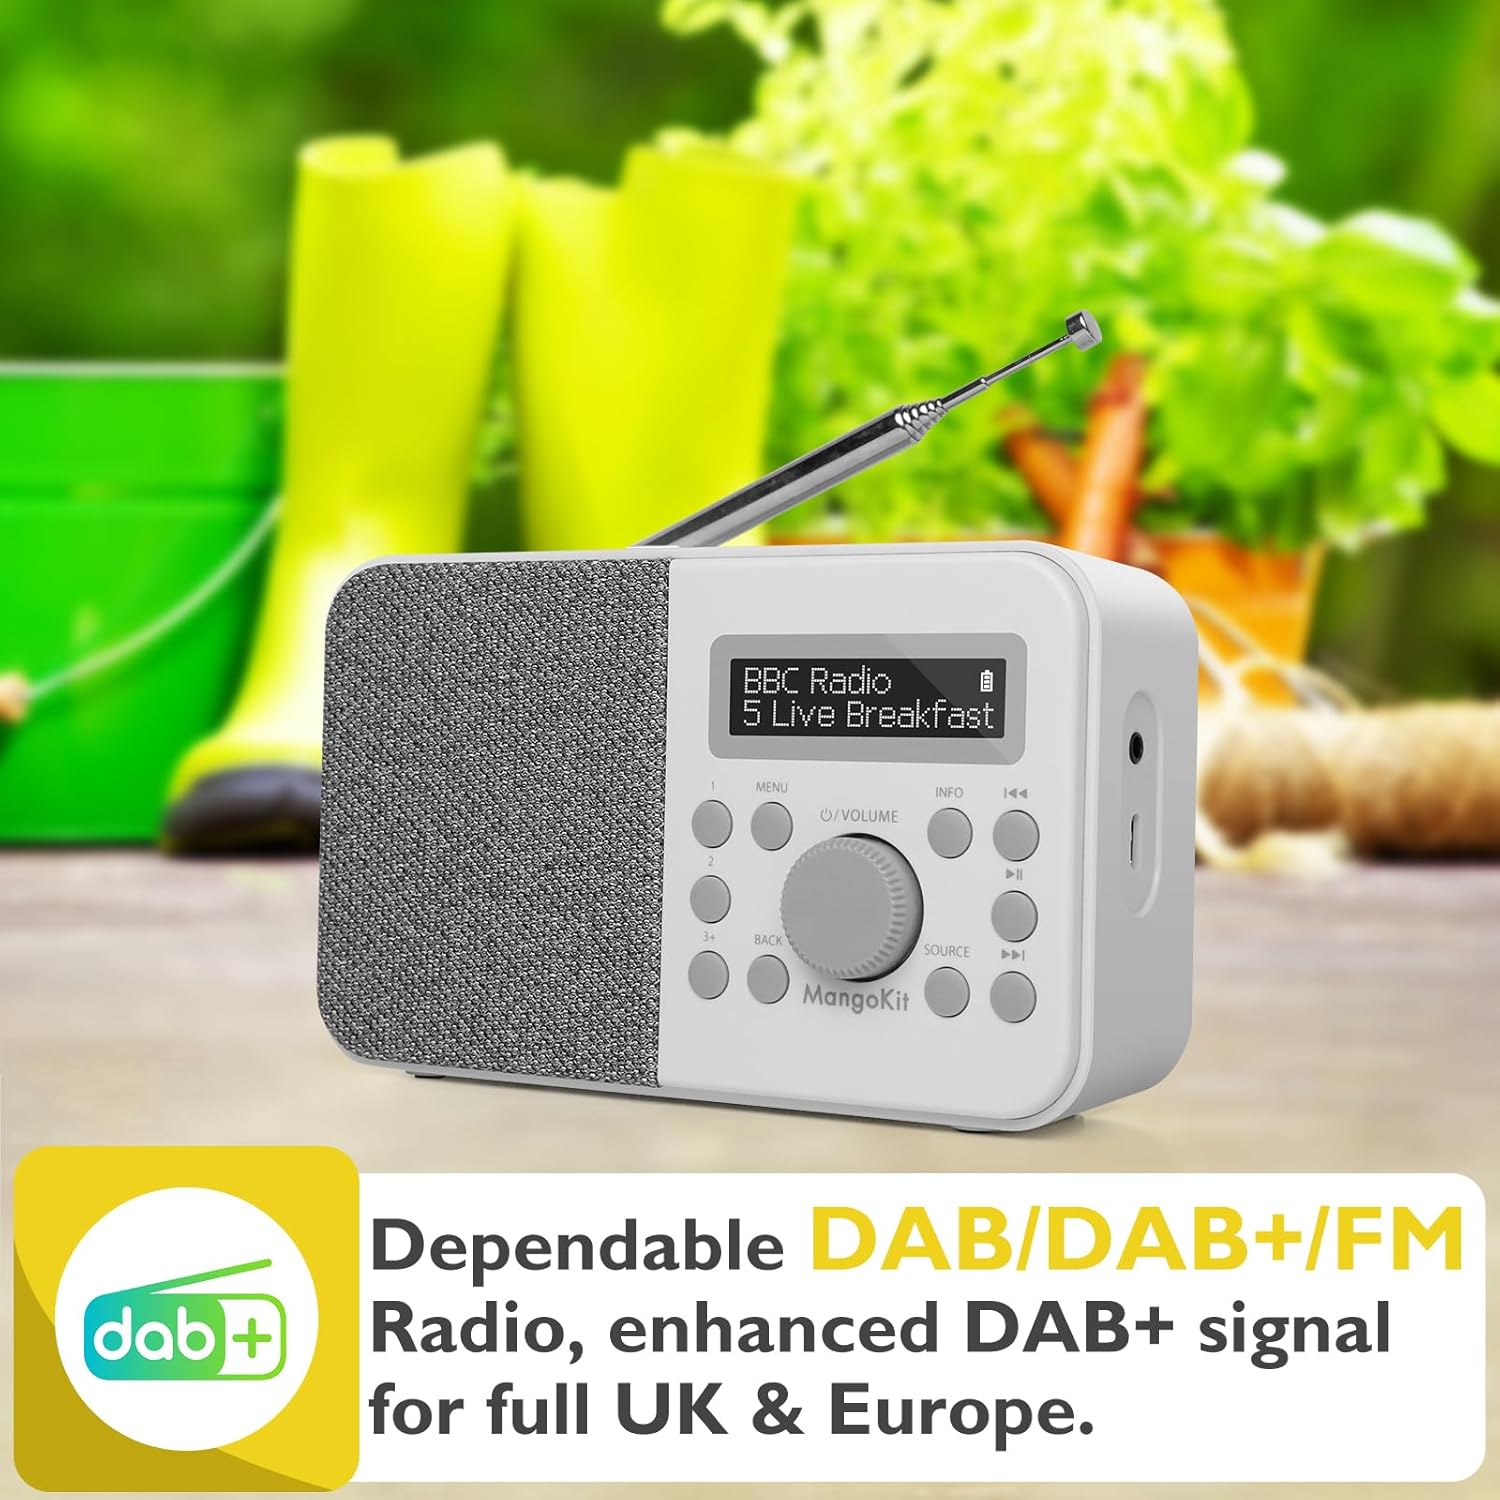
Figure 6.1: DAB+ radio mode display.
6.2 FM Radyo Modu
To switch to FM mode, press the KAYNAK 'FM' görüntülenene kadar düğmeye basın.
- Otomatik tarama: Uzun basın >> Bir sonraki müsait FM istasyonunu otomatik olarak taramak için düğme.
- Manuel Ayarlama: Kısa basın << or >> buttons to fine-tune the frequency in 0.05 MHz steps.
- Bilgi Ekranı: Basın BİLGİ button repeatedly to cycle through various information such as station name, program type, and frequency.
6.3 Storing and Recalling Preset Stations
The radio allows you to store up to 40 preset stations (20 DAB/20 FM).
- Saklamak için: While listening to a station, long press one of the preset buttons (1, 2, veya 3+). The display will show 'Preset Store <X>'. Use the navigation buttons to select a preset number (1-20) and press the O/VOLUME onaylamak için düğmeye basın.
- Hatırlamak İçin: Short press one of the preset buttons (1, 2, veya 3+). Use the navigation buttons to select the desired preset number and press the O/VOLUME knob to tune to it.
6.4 Bluetooth Modu
To stream audio wirelessly, switch to Bluetooth mode by pressing the KAYNAK button until 'Bluetooth' is displayed.
- The radio will enter pairing mode, indicated by 'Bluetooth Pairing' on the display.
- On your Bluetooth-enabled device (e.g., smartphone, tablet), search for 'MangoKit PR2S' in the Bluetooth settings.
- Select 'MangoKit PR2S' to pair. Once connected, the display will show 'Bluetooth Playing'.
- You can now play audio from your device through the radio's speaker.
Note: The MangoKit PR2S functions as a Bluetooth receiver only; it cannot transmit audio to Bluetooth headphones.

Şekil 6.2: Mobil cihazdan Bluetooth akışı.
6.5 Alarm Ayarları
The radio features dual alarms with customizable settings.
- Basın MENÜ button and navigate to 'System Settings' > 'Alarm'.
- 'Alarm 1' veya 'Alarm 2'yi seçin.
- Configure the alarm time, duration, source (Buzzer, DAB, or FM), frequency (Daily, Once, Weekends, Weekdays), and volume.
- Ensure the alarm is set to 'On' and press the O/VOLUME onaylamak için düğmeye basın.

Figure 6.3: Setting dual alarms for your schedule.
6.6 Uyku Zamanlayıcısı
Uyku zamanlayıcısı, radyonun belirli bir süre sonra otomatik olarak kapanmasını sağlar.
- Basın MENÜ button and navigate to 'System Settings' > 'Sleep'.
- Select the desired sleep duration (e.g., 15, 30, 45, 60 minutes).
- The radio will automatically switch off after the selected time.
6.7 Erteleme İşlevi
Alarm çaldığında, tuşuna basın. O/VOLUME knob to activate the snooze function. The alarm will temporarily pause and sound again after a short interval.
7. Bakım
- Temizlik: Radyonun yüzeyini temizlemek için yumuşak, kuru bir bez kullanın. Aşındırıcı temizleyiciler veya çözücüler kullanmayın.
- Anten: Handle the telescopic antenna with care to avoid damage.
- Pil Bakım: Radyo uzun süre kullanılmayacaksa, sızıntıyı önlemek için pilleri çıkarın.
8. Sorun Giderme
| Sorun | Olası Neden | Çözüm |
|---|---|---|
| Güç yok | Güç adaptörü bağlı değil; Piller bitmiş veya yanlış takılmış. | Ensure power adapter is securely connected. Replace batteries or check polarity. |
| Zayıf DAB/FM alımı | Antenna not fully extended; Weak signal area. | Fully extend the telescopic antenna. Reposition the radio to an area with better signal. Perform a full scan. |
| Bluetooth cihazı eşleştirilemiyor. | Radio not in Bluetooth mode; Device too far; Bluetooth not enabled on source device. | Ensure radio is in Bluetooth mode. Move devices closer. Enable Bluetooth on your source device. |
| Alarm çalmıyor | Alarm etkinleştirilmedi; Ses seviyesi çok düşük. | Check alarm settings to ensure it is 'On'. Increase alarm volume. |
| Ses bozulması | Volume too high; Poor signal. | Reduce volume. Adjust antenna or reposition radio for better signal. |
9. Özellikler
| Özellik | Şartname |
|---|---|
| Model Numarası | PR2S (dbe6e6fe-de32-4eaa-8852-dac52a3e5f3f) |
| Ürün Boyutları | 15.7U x 5.1G x 9.5Y santimetre |
| Ağırlık | 500 gr |
| Tuner Teknolojisi | DAB/DAB+ and FM |
| Bağlantı Teknolojisi | Bluetooth 5.3, 3.5mm Audio in |
| Güç Kaynağı | Mains (Type C USB) and Battery (4 x AA) |
| Ön Ayarlı İstasyonlar | 40 (20 DAB, 20 FM) |
| Özel Özellikler | Portable, Dual Alarms, Sleep Timer, Snooze |
| Renk | Taş Grisi |
| Üretici | Mangokit |
10. Garanti ve Destek
MangoKit products are designed for reliability and performance. For warranty information and customer support, please refer to the warranty card included with your purchase or visit the official MangoKit webSite. Satın alma belgenizi herhangi bir garanti talebi için saklayın.
For further assistance, you may contact MangoKit customer service through their official channels. Details are typically provided in the Quick Start Guide or on the manufacturer's webalan.


