1. Ürün Bittiview
The Brother DCP-L2680DW is a versatile multi-function mono laser printer designed for efficient printing, scanning, and copying. This device offers high-speed monochrome printing, automatic duplex printing, and various connectivity options including Ethernet, USB, and Wi-Fi.
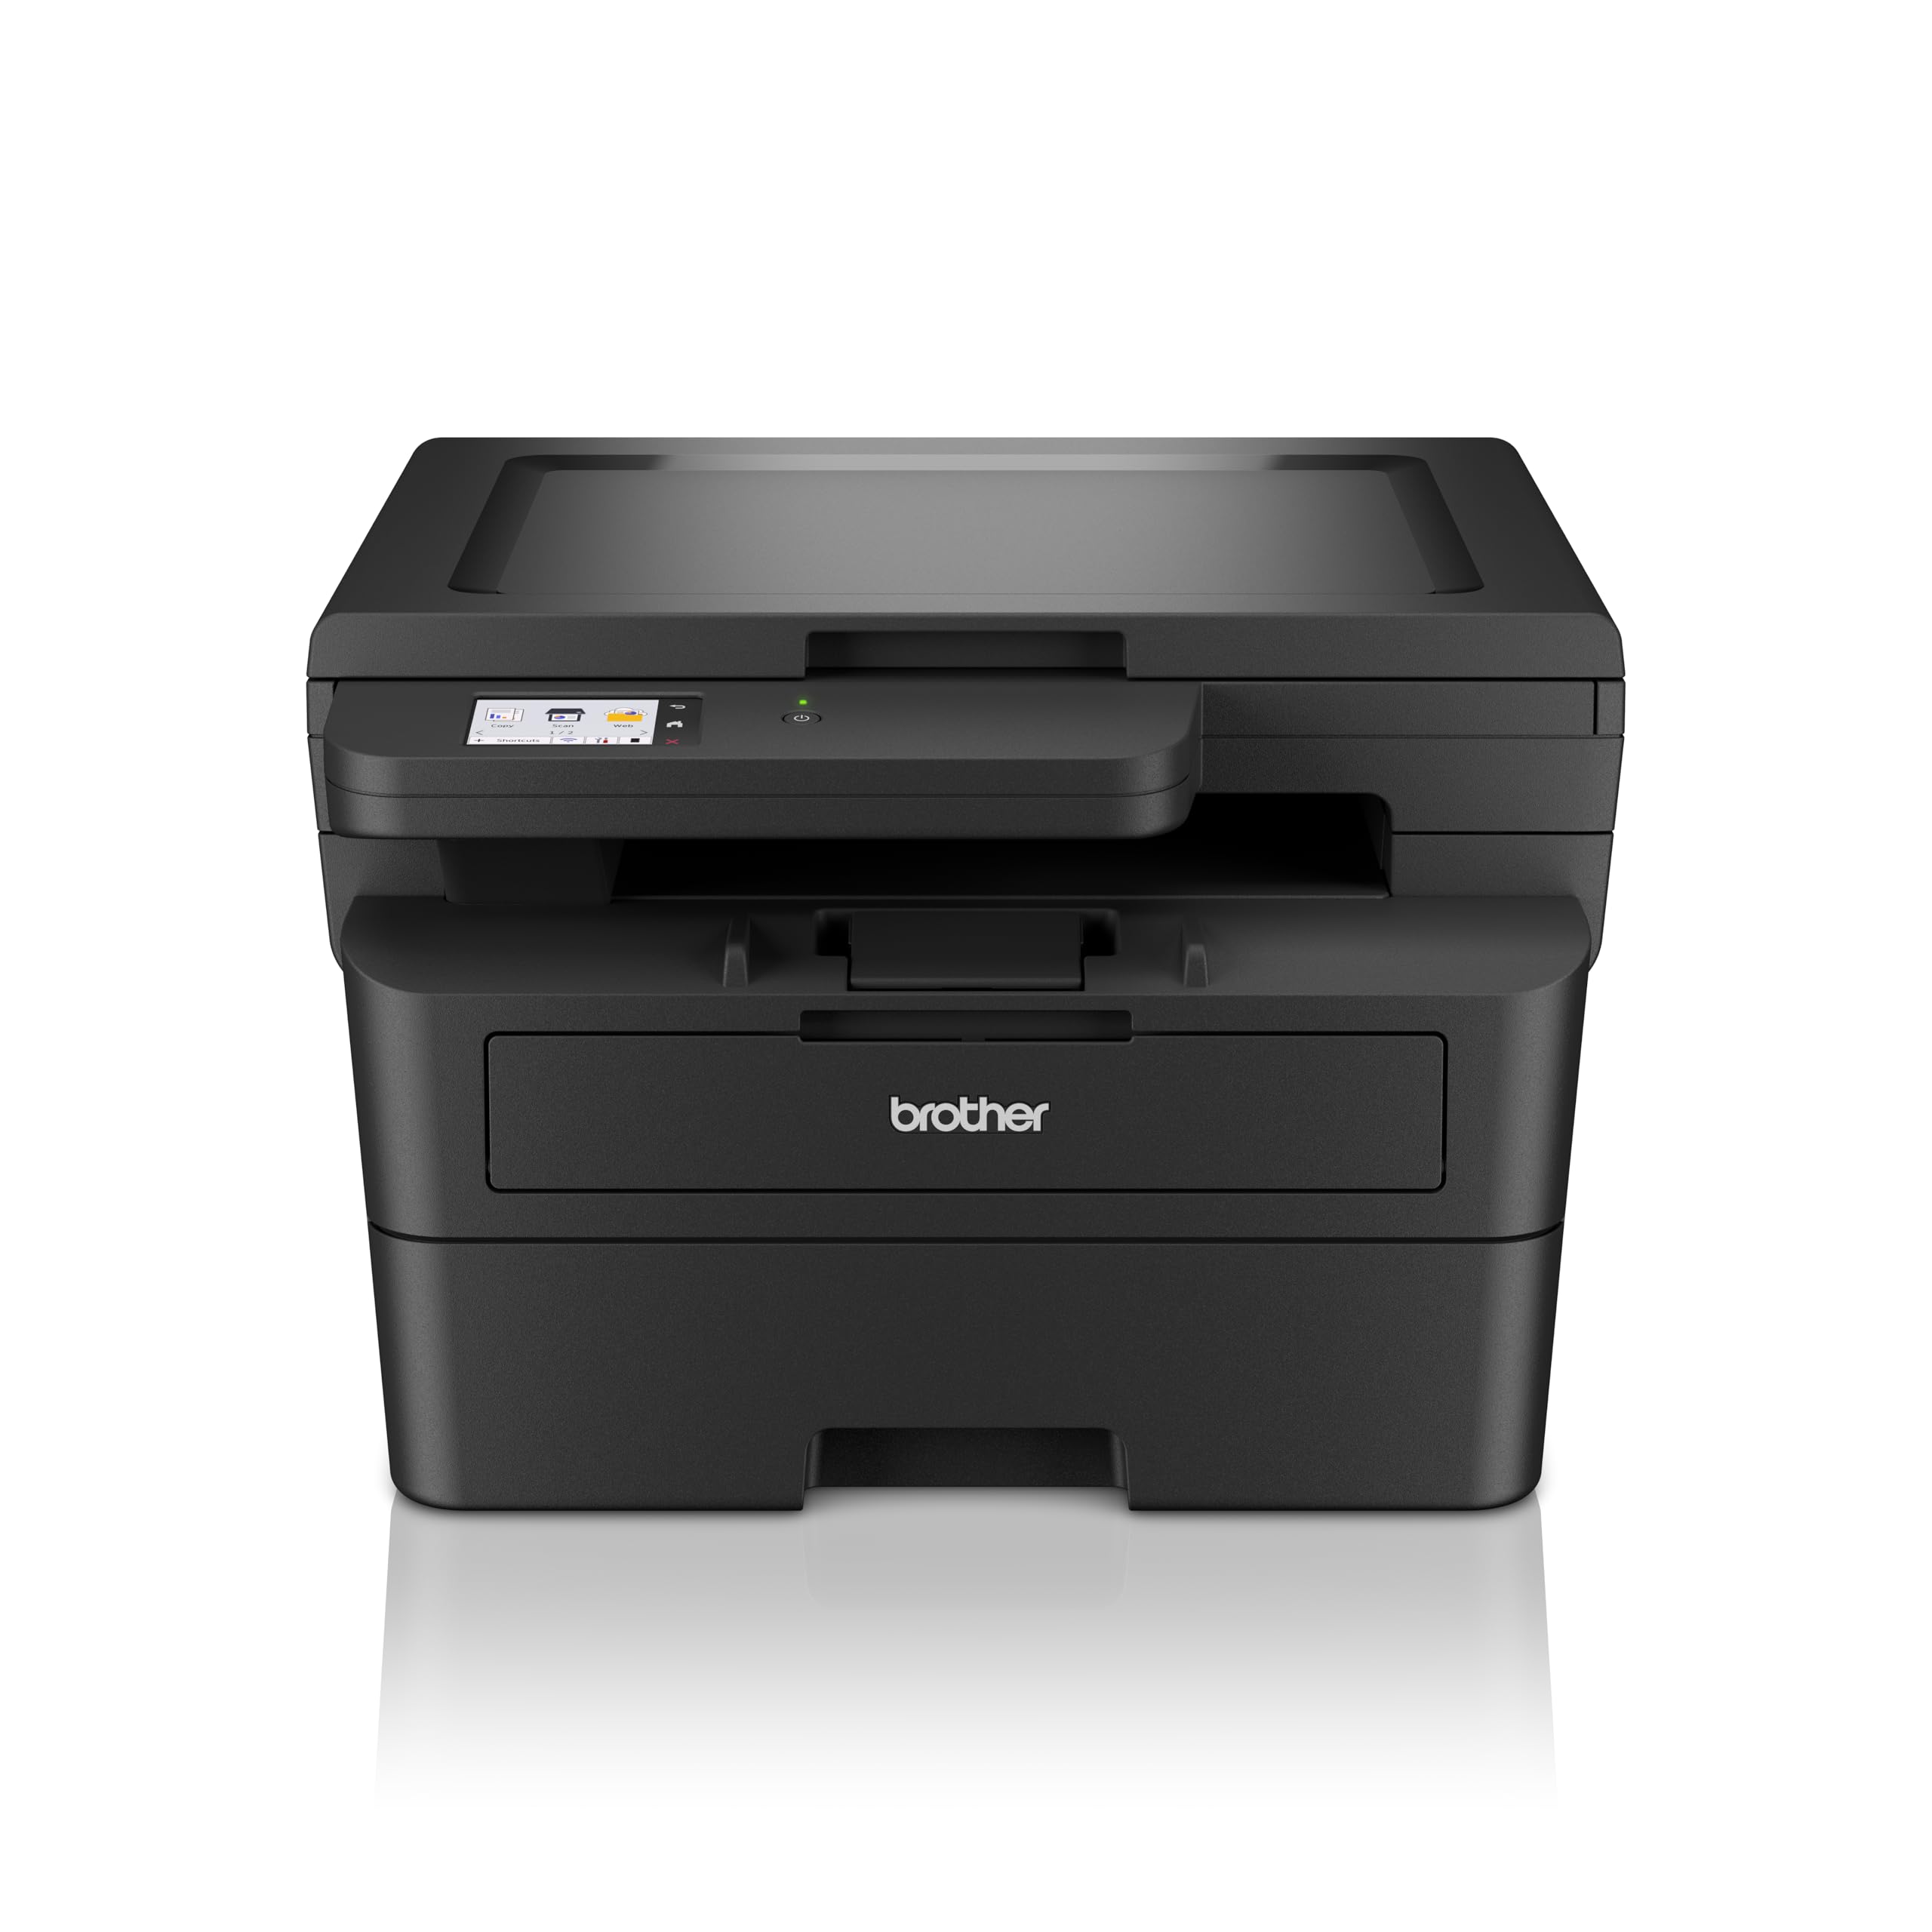
Resim 1.1: Ön view of the Brother DCP-L2680DW printer.
Temel Özellikler:
- Print, Scan, Copy: Integrated functionality for diverse office tasks.
- Up to 36 ppm: Fast monochrome printing speed.
- Automatic 2-sided (Duplex) Print: Saves paper and time.
- Mobil Yazdırma: Print directly from compatible mobile devices.
- Bağlantı: Supports Ethernet, USB, and Wi-Fi connections.
- 2.7" Touchscreen Colour LCD Display: Intuitive control panel for easy navigation.
2. İlk Kurulum
Follow these steps to set up your Brother DCP-L2680DW printer for the first time.
2.1 Yazıcının Paketini Açma
- Yazıcıyı ambalajından dikkatlice çıkarın.
- Yazıcının dış ve iç kısımlarındaki tüm koruyucu bantları ve ambalaj malzemelerini çıkarın.
- Yazıcıyı yeterli havalandırmaya sahip, sabit ve düz bir yüzeye yerleştirin.
2.2 Toner Kartuşu ve Drum Ünitesinin Takılması
- Yazıcının ön kapağını açın.
- Drum ünitesini ve toner kartuşu tertibatını koruyucu ambalajından çıkarın.
- Toner kartuşunu yerine oturana kadar tambur ünitesine sıkıca yerleştirin.
- Slide the drum unit and toner cartridge assembly back into the printer until it clicks.
- Ön kapağı kapatın.
2.3 Kağıt Yükleme
- Kağıt tepsisini tamamen dışarı çekin.
- Kullanacağınız kağıdın boyutuna uygun olarak kağıt kılavuzlarını ayarlayın.
- Kağıdı tepsiye yerleştirin, düz olduğundan ve maksimum kağıt sınırının altında olduğundan emin olun.
- Kağıt tepsisini yavaşça yazıcının içine geri itin.
2.4 Güç Bağlantısı ve İlk Çalıştırma
- Yazıcının güç kablosunu yazıcıya, ardından da topraklı bir elektrik prizine bağlayın.
- Yazıcıyı açmak için güç düğmesine basın.
- Follow the on-screen instructions on the LCD display to select your language and region.
2.5 Bilgisayara/Ağa Bağlanma
The DCP-L2680DW supports USB, Ethernet, and Wi-Fi connectivity.
- USB Bağlantısı: Yazıcınızdan bilgisayarınıza bir USB kablosu bağlayın.
- Ethernet Bağlantısı: Yazıcınızdan ağ yönlendiricinize veya anahtarınıza bir Ethernet kablosu bağlayın.
- Wi-Fi Bağlantısı: On the printer's control panel, navigate to Network settings, then WLAN, and follow the instructions to connect to your wireless network.
After connecting, install the printer drivers from the official Brother support webalan (www.brother.com) or the included installation CD (if applicable).
3. Kullanım Talimatları
This section covers basic operations of your multi-function printer.
3.1 Belgeleri Yazdırma
- Yazıcının açık olduğundan ve cihazınıza bağlı olduğundan emin olun.
- Yazdırmak istediğiniz belgeyi bilgisayarınızda veya mobil cihazınızda açın.
- Uygulamanızdan yazdırma seçeneğini seçin.
- Choose the Brother DCP-L2680DW from the list of available printers.
- Yazdırma ayarlarını (örneğin, kopya sayısı, kağıt boyutu, çift taraflı yazdırma) gerektiği gibi düzenleyin.
- "Yazdır" seçeneğine tıklayın.
3.2 Belgelerin Taranması
- Belgeyi yüzü aşağı bakacak şekilde tarayıcı camına yerleştirin.
- Yazıcının kontrol panelinde "Tara" seçeneğini belirleyin.
- Choose your desired scan destination (e.g., PC, Email, USB).
- Adjust scan settings such as resolution, color mode, and file Biçim.
- Tarama işlemine başlamak için "Başlat" düğmesine basın.
3.3 Belgelerin Kopyalanması
- Belgeyi yüzü aşağı bakacak şekilde tarayıcı camına yerleştirin.
- Yazıcının kontrol panelinde "Kopyala" seçeneğini belirleyin.
- Enter the number of copies required using the numeric keypad or arrow buttons.
- Adjust copy settings (e.g., reduce/enlarge, quality) if necessary.
- Press "Start" to begin copying.
4. Bakım
Düzenli bakım, yazıcınızın en iyi performansını ve uzun ömrünü sağlar.
4.1 Toner Kartuşunun Değiştirilmesi
When the "Toner Low" or "Replace Toner" message appears on the display:
- Ön kapağı açın.
- Drum ünitesini ve toner kartuşu tertibatını çıkarın.
- Press the green lock lever and pull the toner cartridge out of the drum unit.
- Unpack a new toner cartridge and shake it gently side to side several times.
- Yeni toner kartuşunu yerine oturana kadar drum ünitesine sıkıca yerleştirin.
- Slide the drum unit and new toner cartridge assembly back into the printer.
- Ön kapağı kapatın.
4.2 Tambur Ünitesinin Değiştirilmesi
The drum unit is a consumable item that needs replacement after a certain number of pages. The printer will indicate when replacement is due.
- Follow steps 1-3 from "Replacing the Toner Cartridge" to remove the old toner and drum unit.
- Unpack a new drum unit.
- Insert the existing toner cartridge into the new drum unit until it locks.
- Slide the new drum unit and toner cartridge assembly back into the printer.
- Ön kapağı kapatın.
- Reset the drum counter via the printer's menu (refer to the on-screen instructions or full manual for specific steps).
4.3 Yazıcıyı Temizleme
- Dış: Yazıcının dış yüzeyini yumuşak, tüy bırakmayan bir bezle silin. Aşındırıcı temizleyiciler veya çözücüler kullanmayın.
- Tarayıcı Camı: Use a soft, dry cloth or a cloth dampened with glass cleaner (non-ammonia based) to clean the scanner glass.
5. Sorun Giderme
Bu bölümde, yazıcınızla ilgili karşılaşabileceğiniz yaygın sorunlar ele alınmaktadır.
5.1 Kağıt Sıkışmaları
If a paper jam occurs, the printer's display will show an error message and indicate the location of the jam.
- Yazıcıyı kapatın ve güç kablosunu çıkarın.
- Open the indicated cover or tray.
- Sıkışmış kağıdı, kağıt yolunun yönünde dikkatlice çekin. Kağıdı yırtmamaya özen gösterin.
- Tüm kağıt parçalarının temizlendiğinden emin olun.
- Close all covers and plug in the power cord, then turn on the printer.
5.2 Baskı Kalitesi Sorunları
- Solmuş Baskılar: Toner kartuşunu kontrol edin. Seviyesi düşükse değiştirin.
- Çizgiler veya Noktalar: Clean the drum unit. Refer to the full user manual for detailed cleaning instructions for the drum unit's corona wire.
- Uneven Density: Ensure the paper type setting matches the paper loaded in the tray.
5.3 Bağlantı Sorunları
- USB BAĞLANTI: USB kablosunun hem yazıcıya hem de bilgisayara güvenli bir şekilde bağlı olduğundan emin olun. Farklı bir USB bağlantı noktası veya kablo deneyin.
- Ethernet: Verify the Ethernet cable is properly connected to the printer and the network device. Check network settings on the printer.
- Wifi: Confirm the printer is connected to the correct wireless network. Restart your router and the printer. Ensure the printer is within range of the Wi-Fi signal.
6. Özellikler
Detailed technical specifications for the Brother DCP-L2680DW printer.

Image 6.1: Dimensions of the Brother DCP-L2680DW printer (H: 272mm, W: 410mm, D: 399mm).
| Özellik | Şartname |
|---|---|
| Marka | Erkek kardeş |
| Model Adı | DCP-L2680DW |
| Bağlantı Teknolojisi | Ethernet, USB, Wi-Fi |
| Baskı Teknolojisi | Lazer |
| Yazıcı Çıktısı | Tek renkli |
| Maksimum Siyah Beyaz Baskı Hızı | 36 ppm |
| Ürün Ağırlığı | 9 Kilogram |
| Ürün Boyutları (D x G x Y) | 41D x 27.2G x 39.9Y santimetre |
| Tarayıcı Türü | Düz yataklı |
| Görüntü Türü | LCD |
| Çözünürlük | 1200 x 1200 dpi |
| Kontrol Yöntemi | Dokunmak |
| Maksimum Levha Kapasitesi | 250 sayfa |
| Çift taraflı baskı | Evet (Otomatik Çift Taraflı Yayın) |
7. Garanti Bilgileri
The Brother DCP-L2680DW printer comes with a 3-year onsite warranty. Please retain your proof of purchase for warranty claims. For detailed terms and conditions, refer to the warranty documentation included with your product or visit the official Brother webalan.
8. Müşteri Desteği
For further assistance, technical support, or product-related information, please contact Brother customer service.

Image 8.1: Brother customer support contact details.
İletişim Bilgileri:
- Ücretsiz Çağrı Numaraları:
- 1-800-222-422 (For MTNL and BSNL users)
- 1-800-209-8904 (For Others and all Mobiles)
- E-posta Desteği: customercare@brother.in
- WhatsApp Desteği: 7045 450 450
- Sohbet robotu: Mevcut www.kardeş.in
- Webalan: www.kardeş.in
Support hours are typically Monday to Friday: 8:30 AM - 6:30 PM, and Saturday: 9:00 AM - 6:00 PM (local time).


