1. Giriş
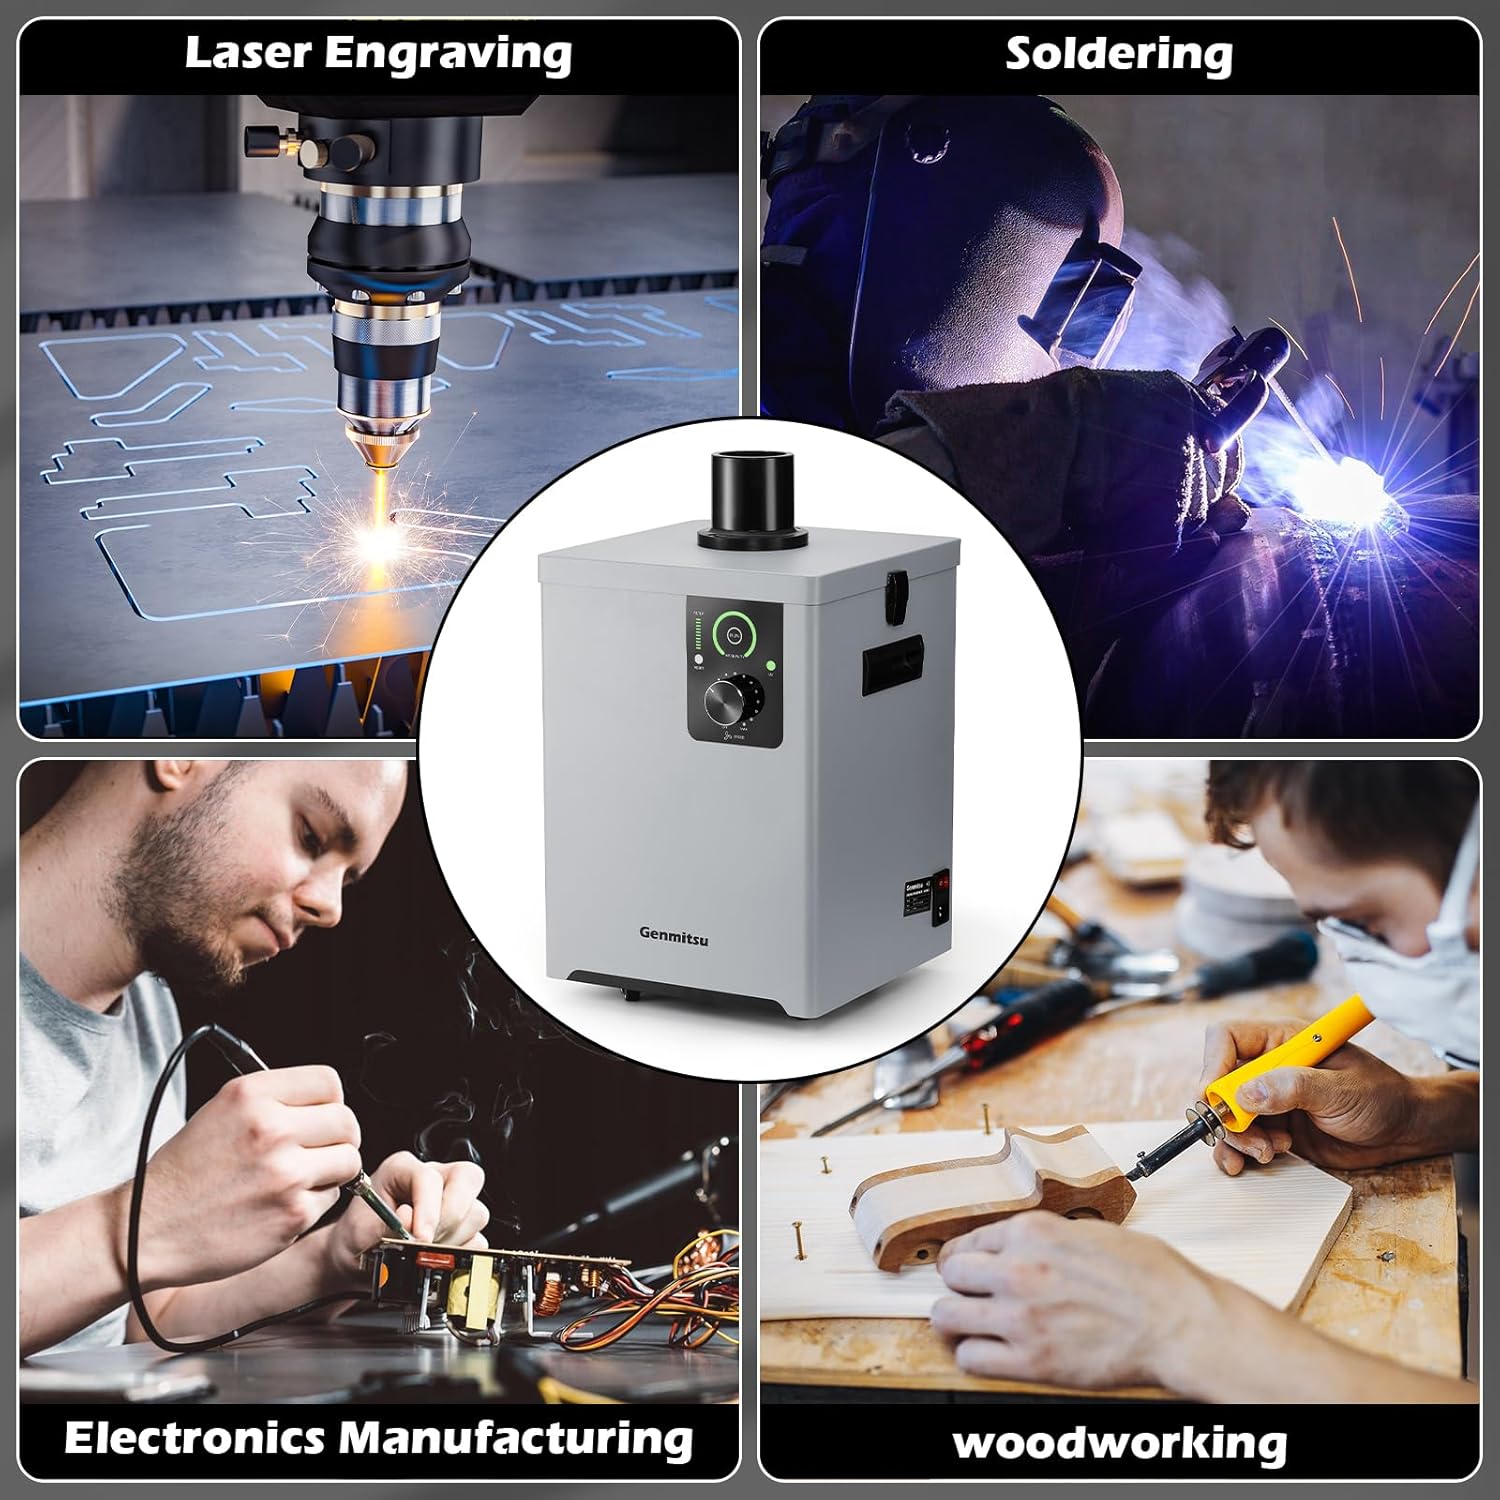
This manual provides essential information for the safe and effective operation and maintenance of your Genmitsu MD13 Smoke Purifier. The MD13 is designed to combat engraving fumes, providing a cleaner and safer working environment, especially when paired with enclosed machines like the Genmitsu L8. Please read this manual thoroughly before use and retain it for future reference.
Güvenlik Bilgileri
- Üniteyi her zaman iyi havalandırılan bir alanda çalıştırın.
- Güç kaynağının cihazın gereksinimlerine uygun olduğundan emin olun.
- Hava giriş ve çıkış deliklerini kapatmayın.
- Keep the unit away from water and flammable materials.
- Disconnect power before performing any maintenance or filter replacement.
- Do not attempt to modify the unit. Refer all servicing to qualified personnel.
2. Ürün Bittiview
The Genmitsu MD13 Smoke Purifier is an advanced fume extraction system featuring a multi-layer filtration process and user-friendly design elements for enhanced air quality in various workshop applications.
Temel Özellikler
- Four-Layer Filtration System: Includes a coarse cotton pre-filter, intermediate cartridge, high-efficiency coconut shell activated carbon, and a high-efficiency HEPA filter for 99.97% smoke elimination.
- Integrated UV Function: Absorbs and neutralizes smoke emissions, contributing to a healthier workspace.
- LED Arayüzü: Provides easy monitoring of filter status, air quality, and UV function.
- Stepless Airflow Adjustment: A rotary knob allows for precise control over the air suction speed.
- Gelişmiş Hareketlilik: Equipped with universal wheels for easy repositioning and dual handles for convenient lifting.


3. Kurulum
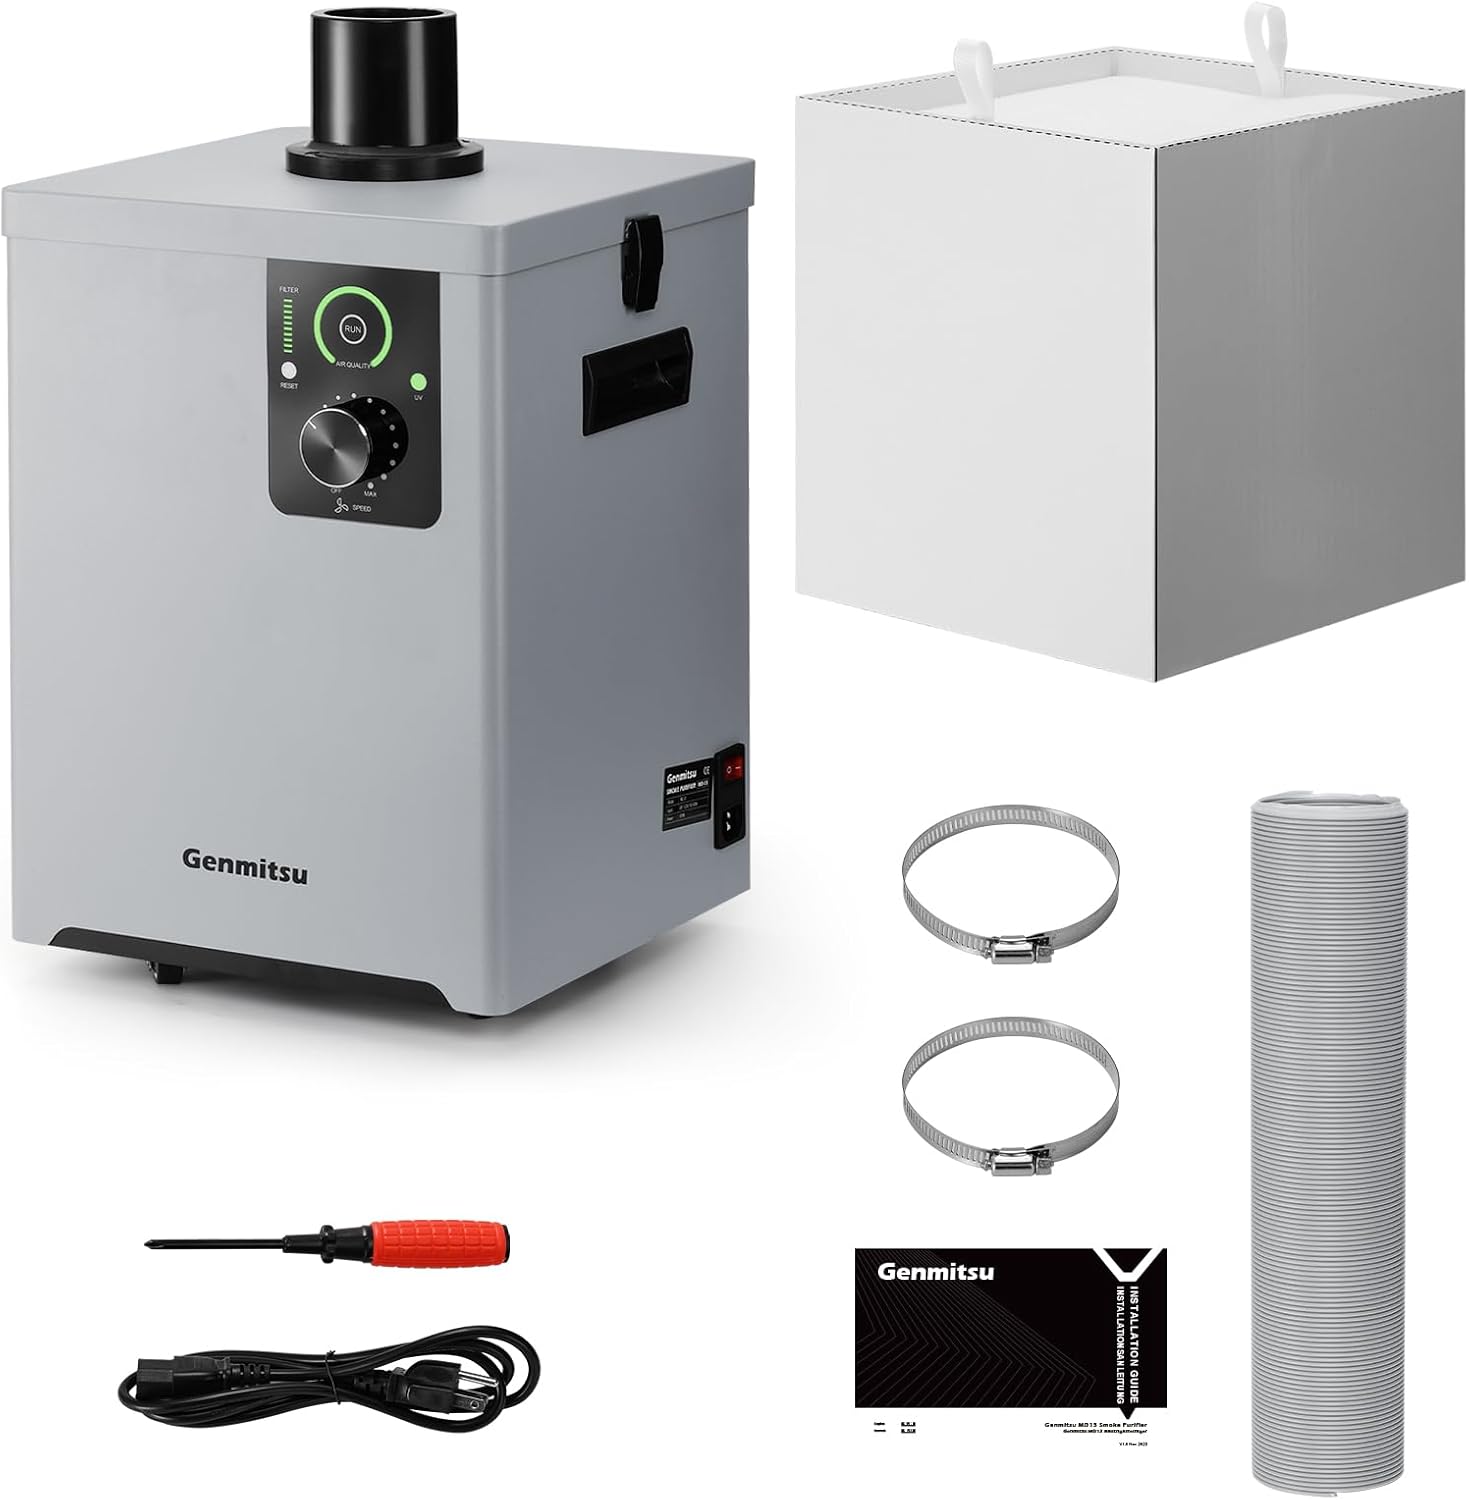
3.1 Paketin Açılması ve Bileşen Kontrolü
Tüm parçaları ambalajından dikkatlice çıkarın. Aşağıda listelenen tüm öğelerin eksiksiz ve hasarsız olduğunu doğrulayın.
3.2 Filtre Kurulumu
The filters are typically pre-installed. If not, or if you are replacing them, ensure they are inserted in the correct order as shown in Figure 2.2, with the coarse filter at the top and the HEPA filter at the bottom.
3.3 Egzoz Hortumu Bağlantısı
- Attach one end of the exhaust hose to the outlet port on top of the MD13 unit. Secure it with a hose clamp.
- Connect the other end of the exhaust hose to your fume-generating equipment (e.g., laser engraver, soldering station). Ensure a tight seal to prevent fume leakage.

3.4 Yerleştirme
Position the MD13 on a stable, level surface. Utilize the universal wheels for easy movement. Ensure adequate space around the unit for proper airflow and maintenance access.
4. Kullanım Talimatları
4.1 Açma/Kapatma
Connect the power cable to the unit and a suitable power outlet. Use the main power switch located on the unit to turn it on or off.
4.2 Kontrol Paneli Üstüview

- LED ekran: Displays real-time air quality and filter status.
- UV Function Button: Press to activate or deactivate the integrated UV light for enhanced fume neutralization. An indicator light will confirm its status.
- Hava Akışı Ayar Düğmesi: Rotate clockwise to increase airflow speed (MAX) and counter-clockwise to decrease it (OFF).
- Filtre Sıfırlama Düğmesi: Used to reset the filter life indicator after replacing a filter.
4.3 Hava Akışının Ayarlanması
Turn the airflow adjustment knob to set the desired suction power. Start with a lower setting and increase as needed based on the amount of smoke or fumes generated by your application.
4.4 Using the UV Function
Press the UV button to activate the ultraviolet light. This function helps to further break down and neutralize harmful particles and odors. It is recommended to use the UV function during operations that produce significant fumes.
5. Bakım
Regular maintenance ensures optimal performance and extends the lifespan of your MD13 Smoke Purifier.
5.1 Filtre Değişimi
The MD13 features an indicator light for cartridge usage and an average cartridge life of up to 300 hours. However, actual filter life will vary significantly depending on the type and volume of smoke being filtered.


- Kapat: Ünitenin kapalı olduğundan ve güç kaynağından çıkarıldığından emin olun.
- Open Latches: Release the metal latches on the sides of the unit to open the top cover.
- Eski Filtreleri Kaldır: Carefully lift out the used filter layers. Dispose of them according to local regulations.
- Yeni Filtreleri Yükle: Place the new filters into the unit in the correct order (refer to Figure 2.2).
- Kapağı Kapat: Securely close the top cover and fasten the metal latches.
- Filtre Göstergesini Sıfırla: Plug in the unit and press the 'RESET' button on the control panel to reset the filter life indicator.
5.2 Dış Cephenin Temizlenmesi
Ünitenin dışını yumuşak bir bezle silin.amp bezle silin. Aşındırıcı temizleyiciler veya çözücüler kullanmayın.
6. Sorun Giderme
If you encounter issues with your Genmitsu MD13, refer to the following common problems and solutions:
| Sorun | Olası Neden | Çözüm |
|---|---|---|
| Ünite açılmıyor | No power supply; Power switch off; Faulty power cable | Check power connection; Ensure power switch is on; Try a different power outlet or cable |
| Low airflow or poor fume extraction | Clogged filters; Airflow knob set too low; Blocked hose; Loose hose connection | Check and replace filters if necessary; Increase airflow speed; Inspect hose for blockages; Secure hose connections |
| Çalışma sırasında olağandışı gürültü | Loose components; Obstruction in fan; Unit not on a level surface | Check for loose parts; Inspect fan for foreign objects (with power off); Ensure unit is on a stable surface |
| UV function not working | UV function not activated; UV lamp arıza | Press the UV button; Contact support if the lamp aydınlatmıyor |
If the problem persists after attempting these solutions, please contact Genmitsu customer support for further assistance.
7. Özellikler
| Özellik | Detay |
|---|---|
| Model Numarası | MD13 |
| Üretici | Genmitsu |
| Ürün Boyutları (U x G x Y) | 30.1 x 30.5 x 43 cm (11.85 x 12.01 x 16.93 inç) |
| Ağırlık | 14.29 kg (31.5 lbs) |
| Güç Kaynağı | AC/DC |
| Öğe Sayısı | 1 |
| Dahil Bileşenler | Smoke Gas Purifier |
| Piller Gerekli | HAYIR |
| Filtrasyon Sistemi | 4-layer (Coarse Cotton, Intermediate Cartridge, Activated Carbon, HEPA) |
| Fume Elimination Rate | %99.97 |
| UV İşlevi | Entegre |
| Hava Akışı Ayarı | Stepless knob control |
8. Garanti ve Destek
For warranty information, technical support, or to purchase replacement parts and filters, please contact Genmitsu customer service. Refer to the official Genmitsu webİletişim bilgileri için lütfen siteyi veya satın alma belgelerinizi inceleyin.
Üretici: Genmitsu


