1. Ürün Bittiview
This manual provides instructions for the HP TPN-Q287 Touchscreen Laptop. This device is designed for performance and daily work, featuring a 15.6-inch HD touchscreen display and an AMD Ryzen 7 7730U processor for multitasking. It comes equipped with 32GB RAM, a 1TB SSD, and runs on Windows 11 Home.

Resim 1.1: Üzeriview of the HP TPN-Q287 Laptop's main features and specifications.
Temel özellikler şunlardır:
- İşlemci: AMD Ryzen 7 7730U (8 Cores, 16 Threads, up to 4.5 GHz Max Turbo Frequency).
- Hafıza: 32GB DDR4 RAM (expandable up to 64GB).
- Depolamak: 1TB Solid State Drive (SSD).
- Görüntülemek: 15.6-inch Full HD (1920x1080) Touchscreen with 60Hz refresh rate.
- İşletim Sistemi: Windows 11 Home.
- Bağlantı: Wi-Fi 6 ve Bluetooth 5.0.
- Limanlar: 1x USB Type-C, 2x USB Type-A, 1x HDMI, 1x Headphone/Microphone Combo, 1x AC Smart Pin.
- Entegre: Webkam.
2. İlk Kurulum
2.1 Paketin Açılması ve Muayene
Dizüstü bilgisayarı ve tüm aksesuarlarını ambalajından dikkatlice çıkarın. Tüm bileşenlerin mevcut olduğundan emin olun:
- HP TPN-Q287 Laptop
- AC Güç Adaptörü ve Güç Kablosu
- Belgeler (Hızlı Başlangıç Kılavuzu, Garanti Bilgileri)
Inspect the laptop for any physical damage. If any damage is found or components are missing, contact your retailer or HP support immediately.
2.2 Güce Bağlama
- Connect the AC power adapter to the power connector on the side of the laptop.
- Güç kablosunu duvardaki prize takın.
- Allow the battery to charge for a few minutes before initial power-on, especially if the laptop has been stored for an extended period.
2.3 İlk Açılış ve Windows Kurulumu
- Open the laptop lid. The laptop may power on automatically. If not, press the power button located on the keyboard deck.
- Windows 11 Home kurulum sürecini tamamlamak için ekrandaki talimatları izleyin. Bu, bölgenizi ve dilinizi seçmeyi, bir Wi-Fi ağına bağlanmayı ve bir kullanıcı hesabı oluşturmayı içerir.
- Ensure you have an active internet connection during setup for updates and account synchronization.
3. Dizüstü Bilgisayarınızı Çalıştırma
3.1 Dokunmatik Ekranı Kullanma
The 15.6-inch HD touchscreen allows for intuitive interaction with Windows 11. Use gestures such as tapping, swiping, and pinching to navigate applications and content.
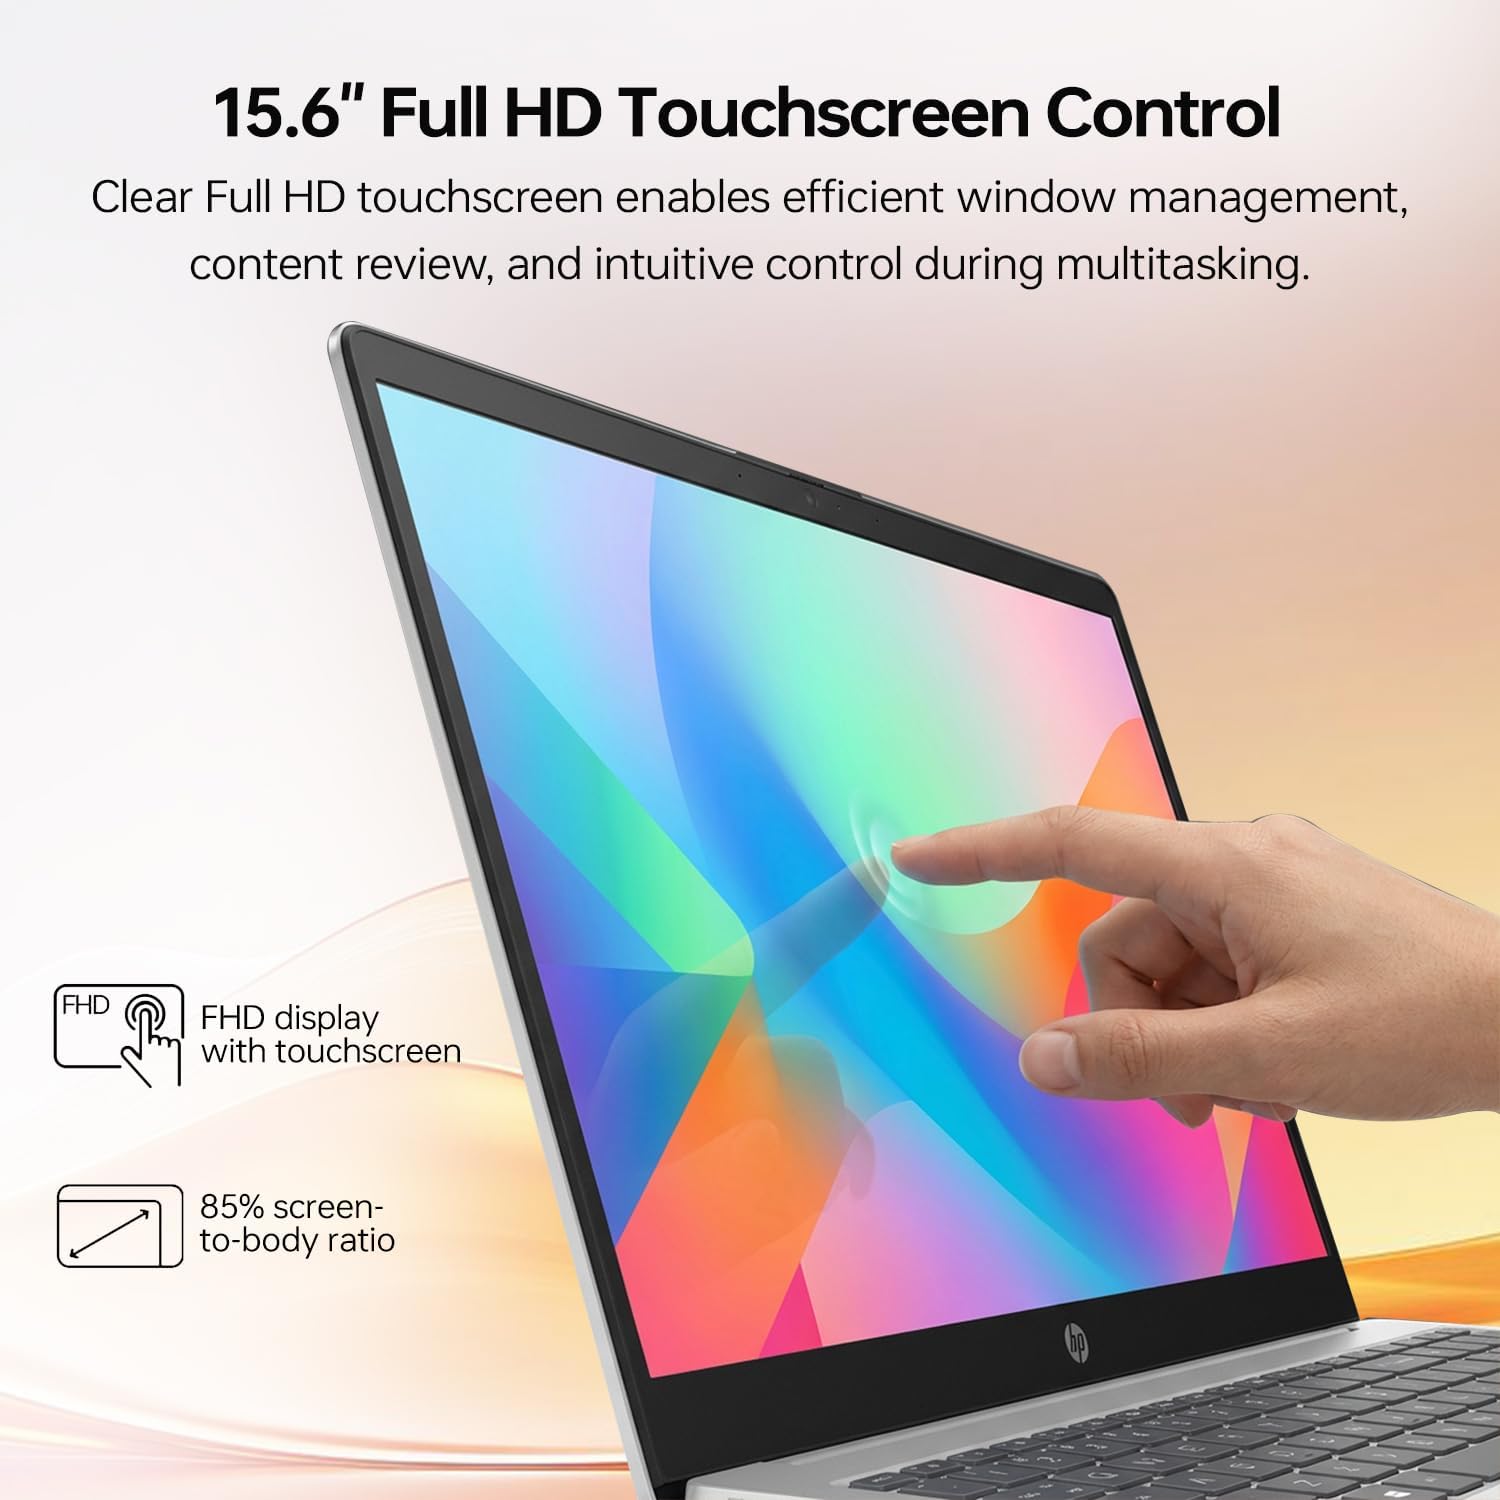
Image 3.1: Demonstrating touchscreen interaction on the HP TPN-Q287.
- Musluk: Bir fare tıklamasına eşdeğer.
- Bas ve basılı tut: Sağ tıklamaya eşdeğer.
- Tokatlamak: İçerikte gezinin veya ekranlar arasında gezinin.
- Pinch/Stretch: Zoom in or out on images and documents.
3.2 Klavye ve Dokunmatik Yüzey
The laptop features an ergonomic QWERTY keyboard with a numeric keypad for efficient data entry. The integrated touchpad provides precise cursor control.
- Dokunmatik Yüzey Hareketleri: Refer to Windows settings for customizable touchpad gestures (e.g., two-finger scroll, three-finger swipe).
- Fonksiyon Tuşları: Use the Fn key in combination with the F1-F12 keys for quick access to system functions like volume control, screen brightness, and Wi-Fi toggle.
3.3 Çevre Birimlerinin ve Harici Ekranların Bağlanması
The HP TPN-Q287 offers various ports for connecting external devices:

Image 3.2: Port layout of the HP TPN-Q287 laptop.
- USB Tip-C (1x): Connect modern peripherals, external storage, or compatible docking stations.
- USB Tip-A (2x): For standard USB devices like mice, keyboards, and flash drives.
- HDMI (1x): Connect to external monitors, projectors, or TVs for extended display.
- Headphone/Microphone Combo (1x): For audio output to headphones or input from a headset microphone.
To connect an external display via HDMI, plug the HDMI cable into both the laptop and the display. Windows will typically detect the display automatically. You can configure display settings (duplicate, extend, second screen only) via the Display Settings in Windows.
3.4 Wireless Connectivity (Wi-Fi and Bluetooth)
The laptop supports Wi-Fi 6 for fast wireless internet and Bluetooth 5.0 for connecting wireless accessories.
- Wifi: Access Wi-Fi settings through the Windows taskbar network icon. Select your desired network and enter the password if required.
- Bluetooth: Enable Bluetooth in Windows Settings > Bluetooth & devices. Pair with compatible devices such as headphones, speakers, or mice.
4. Bakım ve Özen
4.1 Dizüstü Bilgisayarınızı Temizleme
- Ekran: Yumuşak, tiftiksiz bir bez kullanın ve hafifçe kurulayın.ampSu veya ekran temizleme solüsyonu ile temizleyin. Sert kimyasallardan kaçının.
- Klavye ve Şasi: Yumuşak ve kuru bir bez kullanın. İnatçı kirler için hafifçe kurulayın.amp Hafif sabunlu su ile ıslatılmış bir bez kullanılabilir, ancak açıklıklara sıvı girmemesine dikkat edilmelidir. Basınçlı hava, tuşlar arasındaki tozu temizleyebilir.
- Limanlar: Portlardaki tozu nazikçe temizlemek için basınçlı hava kullanın. Portlara herhangi bir cisim sokmaktan kaçının.
4.2 Pil Bakımı
- Pil ömrünü azaltabilecek aşırı sıcaklıklardan kaçının.
- Pilin en uzun ömürlü olması için, pili sürekli olarak tamamen boşaltmaktan veya uzun süre %100 şarjda tutmaktan kaçının.
- If storing the laptop for a long time, charge the battery to approximately 50-70%.
4.3 Yazılım Güncellemeleri
Regularly update Windows and drivers to ensure optimal performance, security, and compatibility. Access Windows Update via Settings > Windows Update.
5. Yaygın Sorunların Giderilmesi
5.1 Dizüstü Bilgisayar Açılmıyor
- AC adaptörünün hem dizüstü bilgisayara hem de çalışan bir elektrik prizine güvenli bir şekilde bağlandığından emin olun.
- Başka bir cihazı takarak elektrik prizinin çalışır durumda olduğunu doğrulayın.
- Pil tamamen boşalmışsa, dizüstü bilgisayarın açılması için birkaç dakika şarj edilmesi gerekebilir.
5.2 Wi-Fi Bağlantı Sorunları
- Check if Wi-Fi is enabled in Windows settings or via the function keys.
- Yönlendiricinizi ve modeminizi yeniden başlatın.
- Forget the Wi-Fi network in Windows settings and reconnect.
- Ensure your Wi-Fi drivers are up to date.
5.3 Dokunmatik Ekran Tepkisiz
- Dizüstü bilgisayarı yeniden başlatın.
- Ekranın temiz ve kalıntılardan arınmış olduğundan emin olun.
- Check Device Manager in Windows for any issues with touchscreen drivers. Update or reinstall if necessary.
5.4 External Display Not Detected
- Verify the HDMI cable is securely connected to both the laptop and the external display.
- Ensure the external display is powered on and set to the correct input source (e.g., HDMI 1).
- Basmak Windows tuşu + P to open the Project menu and select the desired display mode (Duplicate, Extend, Second screen only).
6. Teknik Özellikler
| Özellik | Şartname |
|---|---|
| Marka | HP |
| Model Adı | TPN-Q287 |
| Ekran Boyutu | 15.6 inç |
| Ekran Çözünürlüğü | 1920x1080 Piksel (Full HD) |
| Yenileme Hızı | 60 Hz |
| Dokunmatik Ekran Türü | Kapasitif |
| CPU Modeli | AMD Ryzen 7 7730U |
| İşlemci Hızı | 2 GHz (Base), 4.5 GHz (Max Turbo) |
| Kurulu RAM Bellek Boyutu | 32 GB DDR4 |
| RAM Bellek Maksimum Boyutu | 64 GB |
| Sabit Disk Boyutu | 1TB SSD |
| İşletim Sistemi | Windows 11 Ev |
| Grafik Eş İşlemcisi | AMD Radeon Grafikleri (Tümleşik) |
| USB Bağlantı Noktaları | 1 adet USB Tip-C, 2 adet USB Tip-A |
| HDMI Bağlantı Noktaları | 1 |
| Ses Çıkışı | Headphone/Microphone Combo Jack, Speakers |
| Kablosuz Bağlantı | Wi-Fi 6 (802.11ax), Bluetooth 5.0 |
| Webcam Capability | Evet (Ön) |
| Ürün Ağırlığı | 3.52 Pound |
| Ölçüler (Uzunluk x Genişlik x Kalınlık) | 14.17" x 9.29" x 0.73" |
7. Garanti ve Destek
7.1 Ürün Garantisi
This HP TPN-Q287 laptop comes with a 1 Yıllık Sınırlı Garanti from the manufacturer. For specific terms and conditions, please refer to the warranty documentation included with your product.
Not: If the laptop was purchased with an upgrade, a 1-year warranty on the upgraded RAM/SSD is provided by PCOnline US, while the remaining components retain the original 1-year manufacturer's warranty.
7.2 Teknik Destek
Teknik destek, sürücü indirme veya daha fazla bilgi için lütfen resmi HP destek sitesini ziyaret edin. webSitede ayrıca ek kaynaklar ve iletişim bilgileri de bulabilirsiniz. Amazon'da HP Mağazası.
When contacting support, please have your laptop's model number (TPN-Q287) and serial number ready. The serial number is typically located on a sticker on the bottom of the laptop.