1. Giriş
Thank you for choosing the ACT AC5101 Wireless Ergonomic Vertical Mouse. This manual provides detailed instructions for setting up, operating, and maintaining your new mouse. Designed for right-handed users, this ergonomic mouse aims to reduce hand and wrist strain during extended computer use, promoting a more natural and comfortable posture.
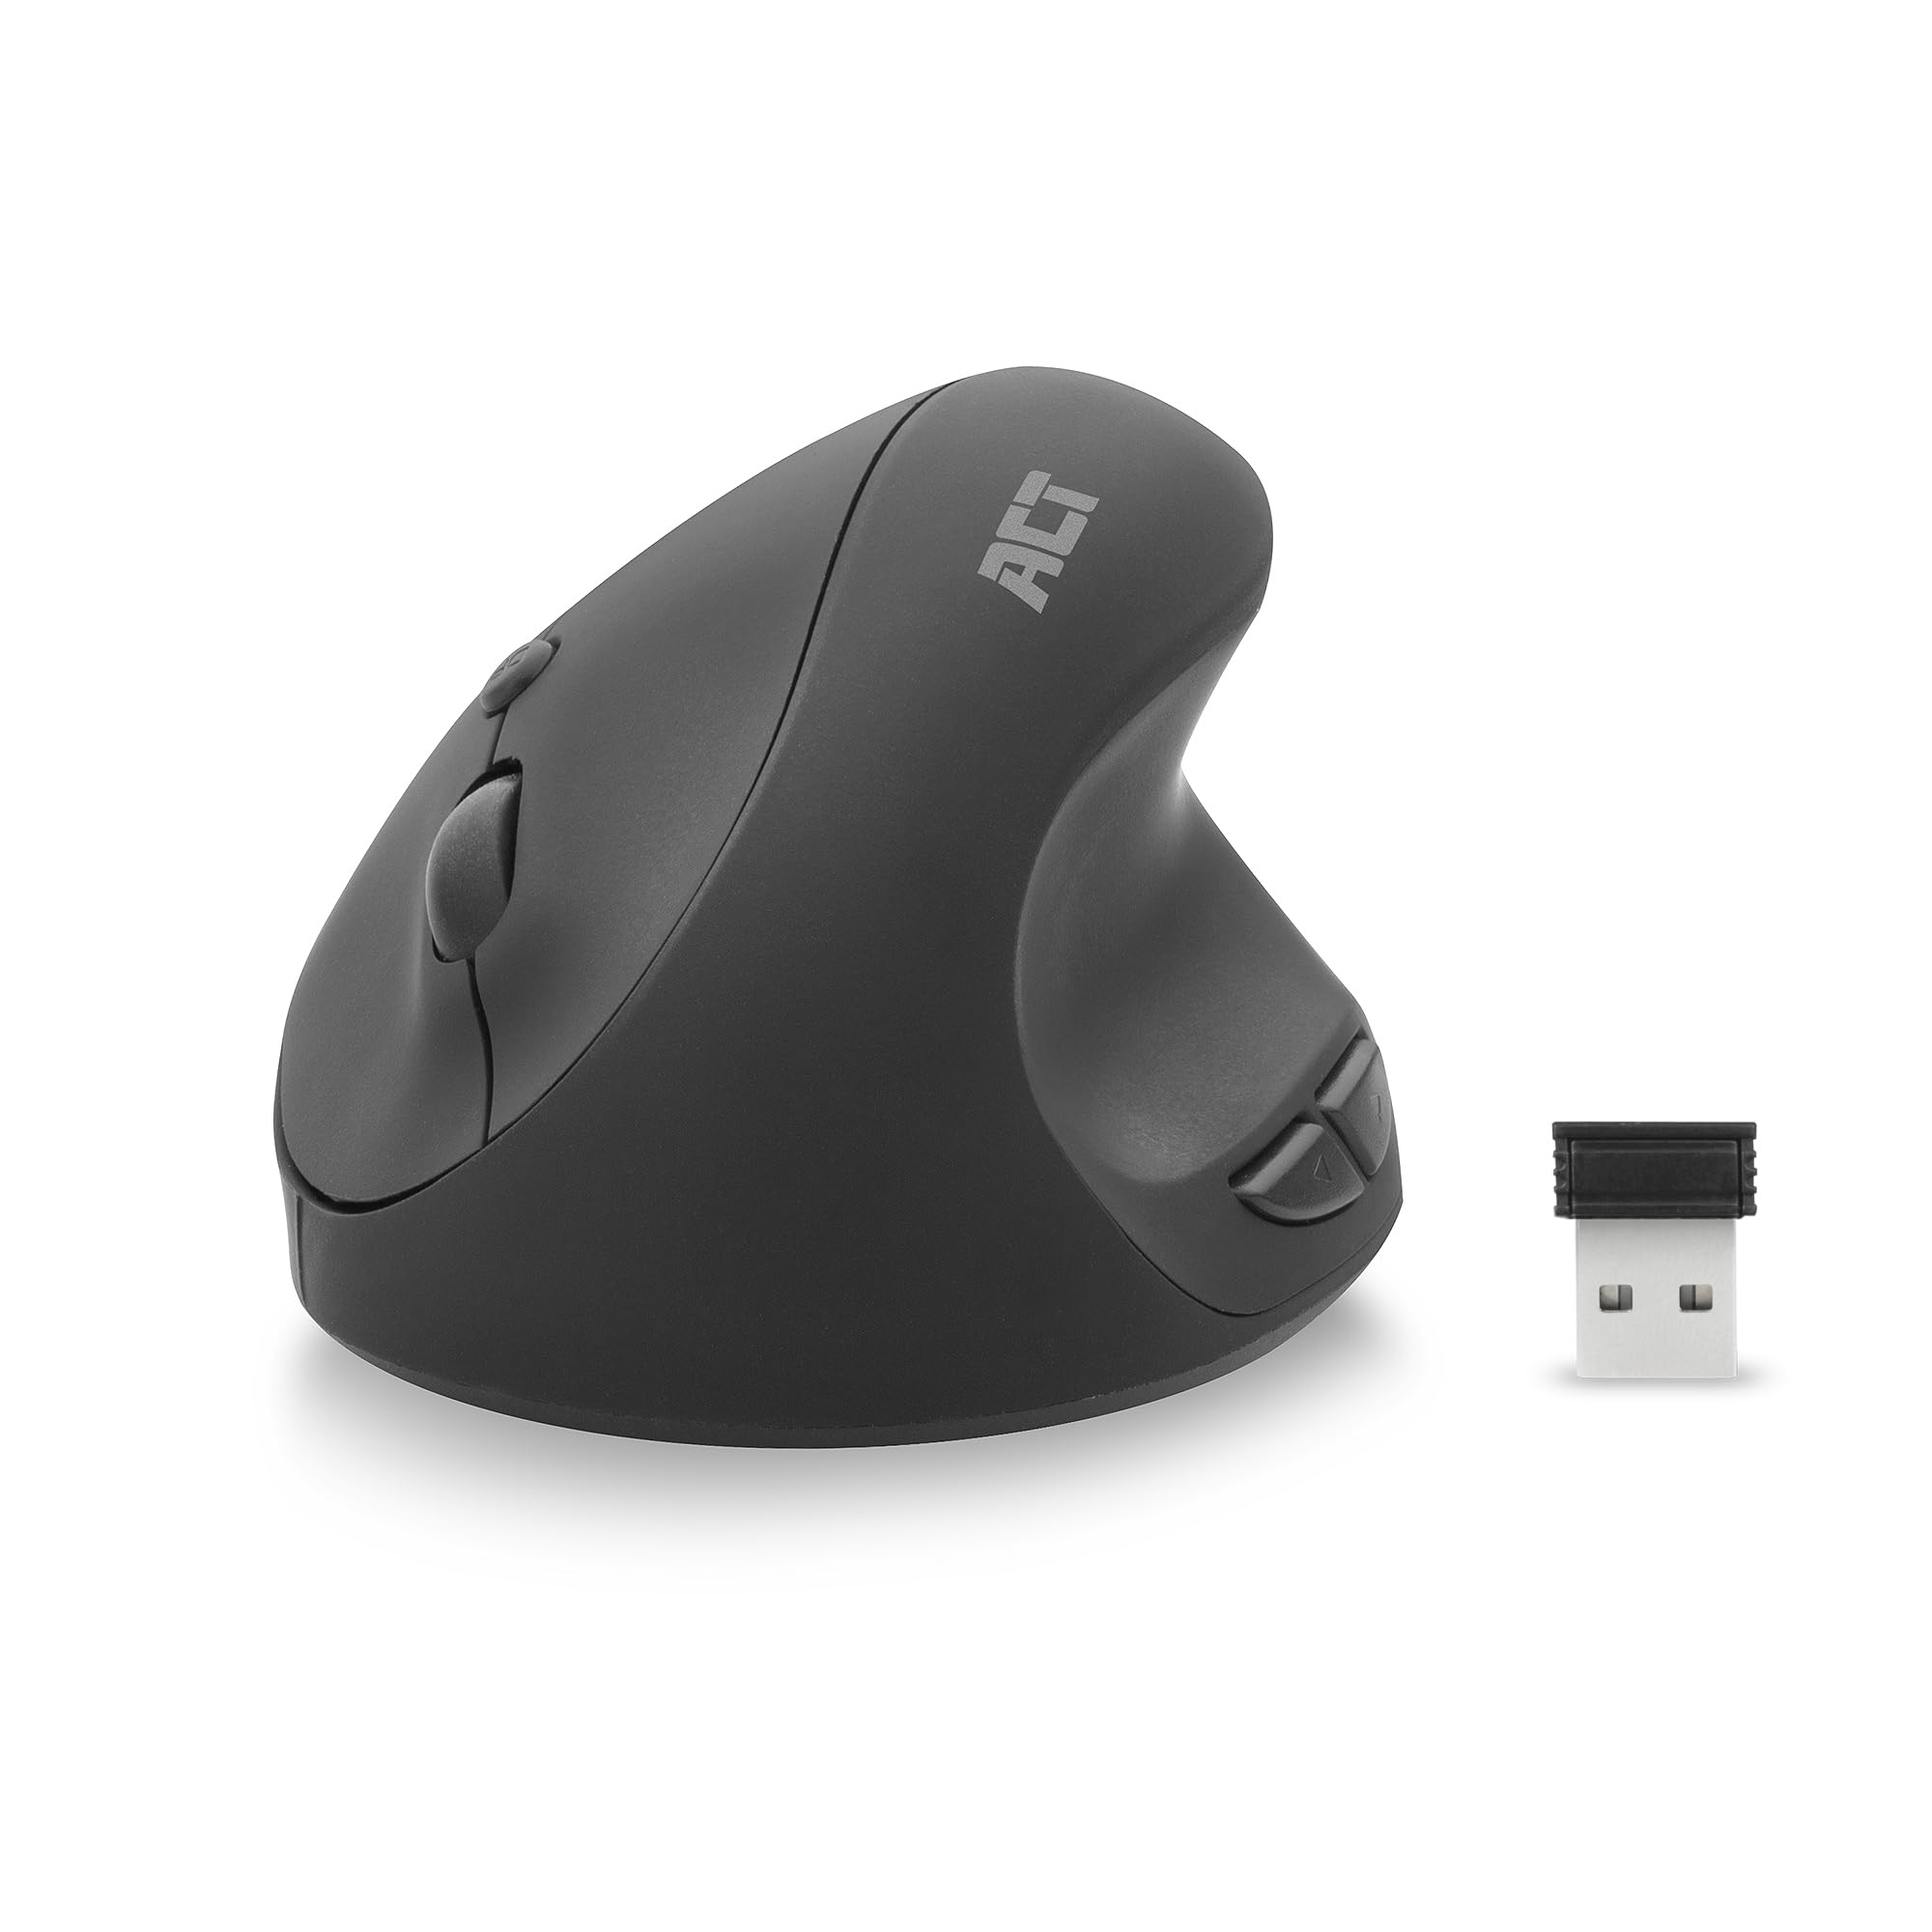
Image 1.1: The ACT AC5101 Wireless Ergonomic Vertical Mouse with its USB receiver.
2. Paket İçeriği
Lütfen paketi aşağıdaki öğeler açısından kontrol edin:
- 1 x ACT AC5101 Wireless Ergonomic Vertical Mouse
- 1 x USB-A Nano Receiver (stored in the mouse battery compartment)
- 1 x AA Pil (dahil)
- 1 x Kullanım Kılavuzu (bu belge)
3. Ürün Bittiview
The ACT AC5101 mouse features a vertical design for improved ergonomics and includes multiple buttons for enhanced functionality.

Image 3.1: Diagram showing the buttons on the ACT AC5101 mouse. These include the Left Key, Right Key, Scroll Wheel, DPI Button, Forward Button, and Back Button.
- Sol Tuş: Standart sol tıklama fonksiyonu.
- Doğru anahtar: Standart sağ tıklama fonksiyonu.
- Kaydırma tekerleği: Dikey kaydırma ve orta tıklama fonksiyonu için.
- DPI Düğmesi: DPI ayarları arasında geçiş yapar (800/1200/1600).
- İleri Düğmesi: İleriye doğru gezinir web tarayıcılar veya file kaşifler.
- Geri Düğmesi: Geriye doğru gezinir web tarayıcılar veya file kaşifler.
- Açma/Kapama Anahtarı: Located on the bottom of the mouse to conserve battery life.
4. Kurulum Talimatları
Follow these steps to set up your ACT AC5101 Wireless Ergonomic Vertical Mouse:
- Pili takın:
Locate the battery compartment on the bottom of the mouse. Open the cover and insert the included AA battery, ensuring correct polarity (+/-). Close the battery compartment cover securely.

Image 4.1: The bottom of the mouse showing the battery compartment and the USB-A Nano Receiver storage slot.
- USB Alıcısını Bağlayın:
Remove the USB-A Nano Receiver from its storage slot next to the battery compartment. Plug the receiver into an available USB-A port on your computer.

Image 4.2: The USB-A Nano Receiver.
- Güç Açık:
Flip the On/Off switch, located on the bottom of the mouse, to the "On" position. Your computer should automatically detect and install the necessary drivers. The mouse is now ready for use.
5. Kullanım Talimatları
5.1 Ergonomic Grip
The vertical design of the ACT AC5101 mouse promotes a natural handshake position, reducing pronation of the forearm and wrist strain. Place your hand over the mouse so your thumb rests comfortably on the thumb rest, and your fingers align with the main buttons.

Image 5.1: Comparison illustrating how a traditional mouse twists the arm and wrist, while the ACT ergonomic mouse allows for a relaxed shoulder and neutral wrist position.
5.2 DPI Hassasiyetinin Ayarlanması
The DPI (Dots Per Inch) button allows you to adjust the mouse cursor speed. Press the DPI Düğmesi (refer to Image 3.1) to cycle through the available sensitivity settings: 800 DPI, 1200 DPI, and 1600 DPI. Select the setting that best suits your preference and task.
5.3 Yan Düğmelerin Kullanımı
The İleri Düğmesi Ve Geri Düğmesi are conveniently located for thumb access. These buttons are typically used for navigation in web browsers (e.g., going back or forward a page) or file kaşifler.
6. Bakım
To ensure the longevity and optimal performance of your ACT AC5101 mouse, follow these maintenance guidelines:
- Temizlik: Farenin yüzeyini silmek için yumuşak ve kuru bir bez kullanın. İnatçı kirler için hafifçe silin.ampBezi su veya hafif bir temizleme solüsyonuyla silin. Sert kimyasallar veya aşındırıcı malzemeler kullanmaktan kaçının.
- Pil Değişimi: When the mouse performance degrades or it stops responding, replace the AA battery. Ensure the On/Off switch is in the "Off" position before replacing the battery.
- Depolamak: When not in use for extended periods, turn off the mouse using the On/Off switch to conserve battery life. Store the USB receiver in its dedicated slot on the bottom of the mouse to prevent loss.
7. Sorun Giderme
If you encounter issues with your ACT AC5101 mouse, refer to the following common problems and solutions:
| Sorun | Olası Neden | Çözüm |
|---|---|---|
| Fare yanıt vermiyor |
|
|
| Düz imleç hareketi |
|
|
| Yan düğmeler çalışmıyor. |
|
|
8. Özellikler
Technical details for the ACT AC5101 Wireless Ergonomic Vertical Mouse:
- Model Adı: AC5101
- Marka: DAVRANMAK
- Bağlantı Teknolojisi: 2.4 GHz Wireless (Radio-frequency)
- Alıcı: USB-A Nano Receiver
- Hareket Algılama Teknolojisi: Optik
- DPI Ayarları: 800 / 1200 / 1600 DPI (adjustable via DPI button)
- Düğme Sayısı: 6 (Sol, Sağ, Kaydırma Tekerleği, DPI, İleri, Geri)
- El Yönelimi: Sağ elini kullanan
- Güç Kaynağı: 1 x AA Pil (dahil)
- Renk: Siyah
- Uyumlu Cihazlar: Kişisel Bilgisayar
- Boyutlar: Approximately 105mm (Length) x 77mm (Height) x 60mm (Width)

Image 8.1: Approximate dimensions of the ACT AC5101 mouse.
9. Garanti ve Destek
Garanti: The ACT AC5101 Wireless Ergonomic Vertical Mouse comes with a manufacturer's warranty of 2 years. This warranty covers defects in materials and workmanship under normal use.
Destek: For technical assistance, troubleshooting beyond this manual, or warranty claims, please contact your retailer or visit the official ACT website for support information. Please have your product model number (AC5101) and proof of purchase ready when contacting support.


