1. Giriş
This manual provides detailed instructions for the safe and effective use of your Technaxx TX-219 4-in-1 Multifunction Device. This versatile unit combines a jump starter, an air compressor, a power bank, and an LED light, designed for automotive and portable power needs. Please read this manual thoroughly before operation and retain it for future reference.
2. Güvenlik Talimatları
Yaralanmaları veya cihaza ya da araca zarar gelmesini önlemek için her zaman aşağıdaki güvenlik önlemlerine uyun:
- Kullanmadan önce tüm talimatları okuyunuz.
- Çocukların erişemeyeceği yerde saklayınız.
- Wear eye protection when operating the jump starter.
- Cihazı yağmura veya neme maruz bırakmayın.
- Do not operate if the device or cables are damaged.
- Kullanım sırasında uygun havalandırma sağlayın.
- Takviye cl'yi bağlayınamps correctly: positive to positive, negative to negative. Avoid short-circuiting.
- Donmuş bir aküyü takviyeyle çalıştırmaya çalışmayın.
- Disconnect the jump starter from the vehicle battery within 30 seconds after the engine starts.
- Do not use the air compressor continuously for more than 10 minutes to prevent overheating. Allow it to cool down.
- Cihazı kullanılmadığında serin ve kuru bir yerde saklayın.
3. Paket İçeriği
Paketin içinde tüm öğelerin mevcut olduğundan emin olun:
- Technaxx Jump Starter TX-219 Unit
- Adapter Cable with Battery Clamps
- AC Adaptörü
- Compressed Air Hose
- USB kablosu
- Araç Adaptör Kablosu
- Kullanıcı Kılavuzu

Şekil 3.1: Üzerindeview of the Technaxx TX-219 package contents, showing the main unit, battery clamps, various charging cables, and the air hose.
4. Ürün Bittiview
Familiarize yourself with the components of your Technaxx TX-219 device.

Şekil 4.1: Açılı view of the Technaxx TX-219 unit, showing the digital display, control buttons, USB ports, and LED light.
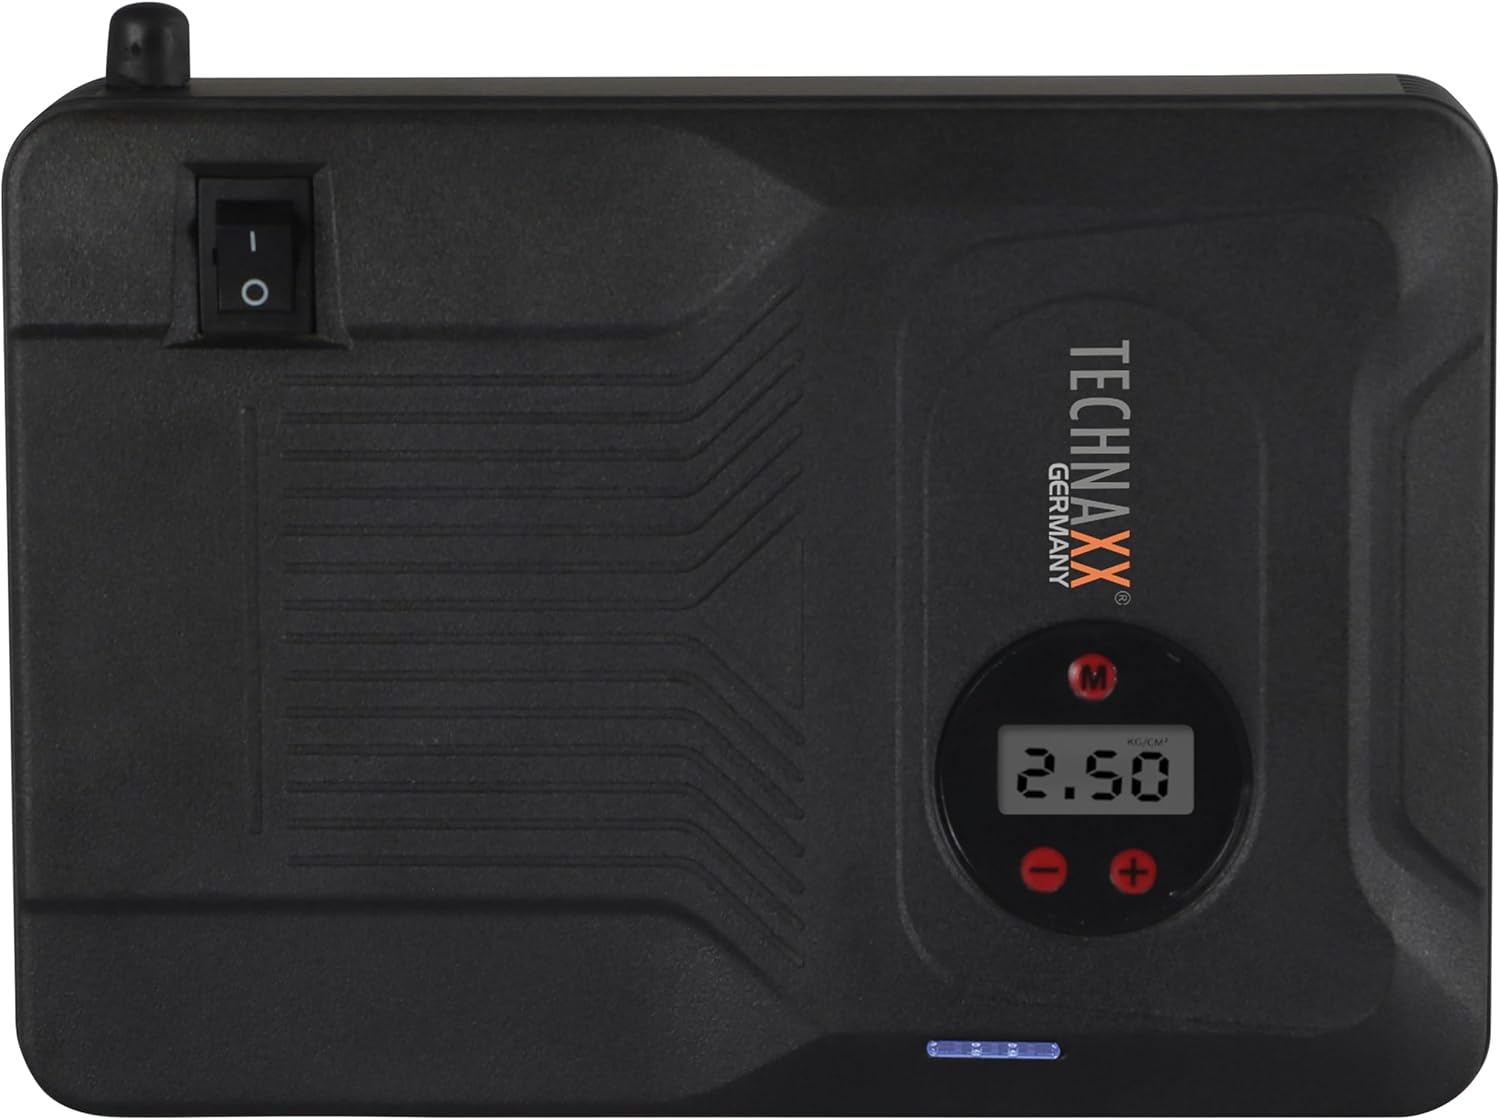
Şekil 4.2: Tepe view of the device, highlighting the power switch and the digital display for pressure readings.

Şekil 4.3: Ön view of the device, showing the digital display, pressure adjustment buttons, and the power indicator lights.
Temel Bileşenler:
- Dijital gösterge: Shows air pressure for the compressor and battery status.
- Kontrol Düğmeleri: For adjusting pressure settings and operating the device.
- USB-A Output Ports (5V/1A, 5V/2A): Harici elektronik cihazları şarj etmek için.
- 15V/0.4A Input Port: For charging the internal battery of the TX-219.
- Jump Start Output Port: Connects to the battery clamp kablo.
- LED Işık: Aydınlatma sağlar.
- Güç düğmesi: On/Off control for the device.
- Hava Hortumu Bağlantısı: For the air compressor function.
5. Setup and Charging the Device
Before first use, fully charge the Technaxx TX-219 unit. It is recommended to recharge the device every 3 months to maintain battery health.
- Connect the AC adapter to the 15V/0.4A input port on the TX-219.
- AC adaptörünü standart bir duvar prizine takın.
- The battery indicator lights on the device will illuminate to show charging progress. All lights will be solid when fully charged.
- Alternatively, use the car adapter cable to charge the device from a vehicle's 12V accessory socket.

Şekil 5.1: The Technaxx TX-219 unit being charged or used as a power bank to charge a smartphone.
6. Kullanım Talimatları
6.1. Aracı Çalıştırma
The TX-219 can jump start gasoline engines up to 4.0L and diesel engines up to 3.0L.
- Ensure the TX-219 is sufficiently charged (at least 75% battery indicated).
- Aracın kontağını ve tüm aksesuarlarını kapatın.
- Kırmızı (+) cl'yi bağlayınamp Araç aküsünün pozitif (+) terminaline.
- Siyah (-) cl'yi bağlayınamp Aracın motor bloğunun veya şasisinin temiz, boyasız metal bir bölümüne, aküden uzakta bir yere. Do not connect to the negative (-) battery terminal directly unless specified by vehicle manufacturer.
- Connect the adapter cable to the jump start output port on the TX-219.
- Aracın motorunu çalıştırın. Hemen çalışmazsa, tekrar denemeden önce 30 saniye bekleyin. Her denemede 3 saniyeden fazla marş basmayın.
- Once the engine starts, immediately disconnect the adapter cable from the TX-219.
- Ardından, siyah (-) kabloyu ayırın.amp, ardından kırmızı (+) clamp araç aküsünden.

Şekil 6.1: The Technaxx TX-219 connected to a vehicle battery using the provided clamps for jump starting.

Şekil 6.2: A close-up of the jump starter connected to a car battery, illustrating the process of jump starting.
6.2. Hava Kompresörünün Kullanımı
The integrated air compressor can inflate tires up to 3.5 Bar (approximately 50 PSI) and features an automatic shut-off.
- Connect the compressed air hose to the air hose connection port on the TX-219.
- Attach the other end of the hose to the tire valve.
- Turn on the TX-219. The digital display will show the current tire pressure.
- Use the '+' and '-' buttons to set the desired pressure. The display supports Bar, KPA, kg/cm², and PSI units.
- Press the compressor start button to begin inflation.
- Ayarlanan basınca ulaşıldığında kompresör otomatik olarak duracaktır.
- Disconnect the air hose from the tire valve and the TX-219.

Şekil 6.3: The Technaxx TX-219 being used to inflate a car tire, demonstrating the air compressor function.

Şekil 6.4: A user inflating a tire with the TX-219, showing the digital display and the air hose connection.
6.3. Power Bank Olarak Kullanımı
The 14000 mAh battery can charge various USB-powered devices.
- Connect your device's USB charging cable to one of the USB-A output ports (5V/1A or 5V/2A) on the TX-219.
- The TX-219 will automatically begin charging your device.
- Monitor your device's charging status. Disconnect once fully charged.

Şekil 6.5: The Technaxx TX-219 connected to a smartphone via USB, illustrating its power bank functionality.

Şekil 6.6: The TX-219 acting as a portable power bank, charging a mobile device.
6.4. LED Işığın Kullanımı
The integrated LED light can be used for illumination in dark environments.
- Locate the LED light button on the device.
- LED ışığını yakmak için düğmeye bir kez basın.
- Press again to cycle through different light modes (e.g., steady, strobe, SOS, if available).
- Press and hold the button to turn off the LED light.

Şekil 6.7: The TX-219's LED light providing illumination in a vehicle's engine compartment.
7. Özellikler
| Özellik | Şartname |
|---|---|
| Örnek | TX-219 |
| Pil Türü | Lityum Demir Fosfat |
| Pil Kapasitesi | 14000 mAh |
| Başlangıç Akımı | 350 A (Max. 600 A) |
| Hızlı Başlangıç Cilttage | 12 Volt |
| Motor Uyumluluğu (Benzinli) | 4.0 L'ye kadar |
| Motor Uyumluluğu (Dizel) | 3.0 L'ye kadar |
| USB-A Çıkışı 1 | 5V, 2A |
| USB-A Çıkışı 2 | 5V, 1A |
| Hava kompresörü | 12 V / 100 W, Max 3.5 Bar (approx. 50 PSI) |
| Şarj Girişi | 15 V, 0.4 A (Maks.) |
| LED Işık | Çoklu fonksiyonlar |
| Boyutlar (U x G x Y) | 19x13x5.5 cm |
| Ağırlık | 1.16 kilo |
| Sertifikalar | CE |
8. Bakım
- Temizlik: Cihazı yumuşak ve kuru bir bezle silin. Sert kimyasallar veya aşındırıcı temizleyiciler kullanmayın.
- Depolamak: Store the TX-219 in a cool, dry place, away from direct sunlight and extreme temperatures.
- Şarj etme: Recharge the unit every three months, even if not in use, to prolong battery life.
- Kablo Denetimi: Tüm kabloları ve bağlantıları düzenli olarak kontrol edin.ampHasar, aşınma veya korozyon belirtileri olup olmadığını kontrol edin. Gerekirse değiştirin.
9. Sorun Giderme
| Sorun | Olası Neden | Çözüm |
|---|---|---|
| Cihaz açılmıyor. | Pil bitmiş. | Charge the TX-219 fully. |
| Araç akü takviyesi yapmıyor. | yanlış clamp connection; TX-219 battery too low; vehicle battery severely damaged. | cl'yi sağlayınamps are connected correctly (+ to +, - to chassis). Recharge TX-219. Consult a mechanic if vehicle battery is faulty. |
| Hava kompresörü şişmiyor. | Hose not securely connected; desired pressure already reached; device battery low. | Check hose connections. Verify desired pressure setting. Recharge TX-219. |
| USB şarjı çalışmıyor. | USB cable faulty; device not compatible; TX-219 battery low. | Try a different USB cable. Ensure your device is compatible. Recharge TX-219. |
| LED ışığı çalışmıyor. | Battery depleted; light button not pressed correctly. | Recharge TX-219. Press the LED button firmly. |
10. Garanti ve Destek
For warranty information and technical support, please refer to the warranty card included with your product or visit the official Technaxx webSite. Satın alma belgeniz olarak satın alma fişinizi saklayın.
Üretici: Teknolojik
Model Numarası: 5031


