1. Giriş
The Vacmaster VK1620SWC is a powerful and versatile 1600W 20L wet and dry vacuum cleaner designed for various cleaning tasks in workshops, homes, and vehicles. It features a robust stainless steel tank, HEPA 13 filtration, and functions for dry vacuuming, wet vacuuming, blowing, and even carpet/upholstery washing. This manual provides essential information for safe operation, assembly, maintenance, and troubleshooting to ensure optimal performance and longevity of your appliance.
2. Güvenlik Talimatları
UYARI: Bu cihazı kullanmadan önce tüm güvenlik uyarılarını ve talimatlarını okuyun.
- Always unplug the vacuum cleaner from the power outlet before cleaning, servicing, or performing any maintenance.
- Yanıcı veya parlayıcı sıvıları, sıcak külleri veya keskin cisimleri elektrik süpürgesiyle çekmeyin.
- Ellerinizi, ayaklarınızı, bol giysilerinizi ve saçlarınızı açıklıklardan ve hareketli parçalardan uzak tutun.
- Hasarlı bir kablo veya fiş ile elektrikli süpürgeyi çalıştırmayın.
- Bu cihaz, fiziksel, duyusal veya zihinsel yetenekleri kısıtlı olan veya deneyim ve bilgi eksikliği bulunan kişiler tarafından, gözetim veya talimat verilmedikçe kullanılmak üzere tasarlanmamıştır.
- Ensure all filters are correctly installed for the intended operation (dry or wet).
- Do not immerse the motor head in water.
3. Paket İçeriği
Tüm ürünleri dikkatlice paketinden çıkarın ve aşağıdaki bileşenleri aldığınızdan emin olun:
- Vacmaster VK1620SWC Wet & Dry Vacuum Cleaner Unit
- Esnek Hortum
- Extension Wands (typically 2-3 pieces)
- Zemin Nozulu (ıslak ve kuru kullanım için)
- Yarık Açma Aleti
- Upholstery/Brush Tool
- HEPA Filtre
- Yıkanabilir Ön Filtre
- Foam Filter (for wet vacuuming, usually pre-installed or separate)
- Kullanım Kılavuzu

Image: All components included with the Vacmaster VK1620SWC vacuum cleaner.
4. Montaj
Elektrikli süpürgenizi ilk kullanımdan önce monte etmek için şu adımları izleyin:
- Tekerlekleri Takın: If not pre-assembled, attach the caster wheels to the base of the tank by pushing them firmly into their sockets until they click into place.
- Motor Kafasını Sabitleyin: Place the motor head onto the tank, ensuring it is properly aligned. Secure it with the side latches.
- Hortumu Bağlayın: Insert the flexible hose into the suction inlet on the front of the tank. Twist clockwise to secure it.
- Uzatma çubuklarını ve başlıkları takın: Connect the desired extension wands to the hose handle, then attach the appropriate nozzle (floor nozzle, crevice tool, etc.) for your cleaning task.
5. Kullanım Talimatları
5.1. Kuru Vakumlama
For dry vacuuming, ensure the HEPA filter and washable pre-filter are correctly installed over the float cage. These filters capture dust and debris, protecting the motor.
- Tankın boş ve temiz olduğundan emin olun.
- Install the HEPA filter and washable pre-filter.
- Connect the hose, extension wands, and dry floor nozzle or other suitable attachment.
- Güç kablosunu uygun bir elektrik prizine takın.
- Güç anahtarını 'AÇIK' konumuna getirin.
- Kuru kalıntıları elektrik süpürgesiyle temizlemeye başlayın.
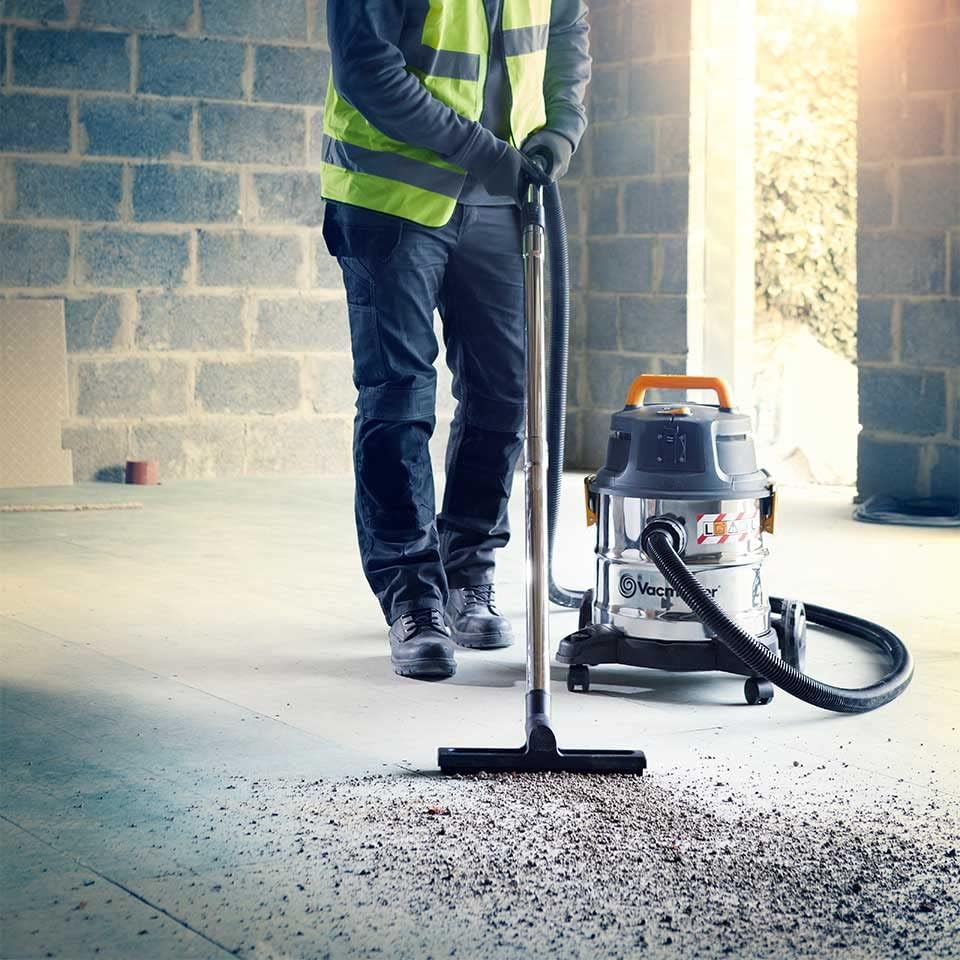
Image: Dry vacuuming operation on a workshop floor.

Image: Using the crevice tool for detailed dry cleaning.
5.2. Islak Vakumlama
For wet vacuuming, the HEPA filter and washable pre-filter must be removed. Only the foam filter should be in place over the float cage to protect the motor from liquids.
- Tankın boş ve temiz olduğundan emin olun.
- Remove the HEPA filter and washable pre-filter.
- Ensure the foam filter is properly installed over the float cage.
- Connect the hose, extension wands, and wet floor nozzle or other suitable attachment.
- Güç kablosunu uygun bir elektrik prizine takın.
- Güç anahtarını 'AÇIK' konumuna getirin.
- Begin vacuuming liquids. The float mechanism will automatically shut off suction when the tank is full.

Image: Wet vacuuming a liquid spill on a hard surface.
5.3. Üfleme Fonksiyonu
The vacuum cleaner can also be used as a powerful blower for clearing debris from driveways, workshops, or inflating items.
- Tankın boş ve temiz olduğundan emin olun.
- Remove the hose from the suction inlet.
- Insert the hose into the blowing port located on the motor head. Twist clockwise to secure.
- Güç kablosunu uygun bir elektrik prizine takın.
- Güç anahtarını 'AÇIK' konumuna getirin.
- Direct the hose to blow air as needed.

Image: Using the blower function to clear debris.
5.4. Washing/Extraction Function (Carpet & Upholstery Cleaning)
This model features a washing function for thorough cleaning of carpets, upholstery, and car interiors by applying cleaning solution and then extracting the dirty water.
- Hazırlık: Ensure the tank is empty and clean. Remove dry filters (HEPA, washable pre-filter) and ensure only the foam filter is in place.
- Çözelti Tankını Doldurun: Locate the separate solution tank (if applicable, or fill the main tank with diluted cleaning solution as per detergent instructions).
- Attach Washing Nozzle: Connect the appropriate washing/upholstery nozzle to the hose.
- Çözümü Uygula: Turn on the vacuum. If there's a separate pump switch for solution, activate it. Spray the cleaning solution onto the surface to be cleaned. Allow it to penetrate for a few minutes as per detergent instructions.
- Kirli Suyu Çıkarma: Move the nozzle slowly over the treated area, applying downward pressure to extract the dirty water and foam into the main tank. Overlap strokes slightly.
- Durulama (İsteğe bağlı): For best results, you may rinse the area by repeating the extraction process with clean water in the solution tank.
- Boş Tank: Once cleaning is complete or the tank is full of dirty water, turn off the vacuum and empty the tank.
6. Bakım ve Temizlik
Regular maintenance ensures the longevity and efficiency of your Vacmaster vacuum cleaner.
6.1. Tankın Boşaltılması
- Kuru Atıklar İçin: Unlatch the motor head and lift it off. Carefully remove the filter assembly. Dispose of the collected dry debris from the tank.
- For Liquids: Unlatch the motor head and lift it off. Carefully pour out the collected liquid from the tank into a drain.
- Rinse the tank with clean water after each use, especially after wet vacuuming or washing.
6.2. Filtre Temizliği ve Değiştirilmesi
- HEPA Filter & Washable Pre-filter: For dry use, these filters can be cleaned by tapping them gently to dislodge dust or by rinsing them under running water. Allow them to air dry completely before re-installation. Replace if damaged or suction significantly decreases after cleaning.
- Köpük Filtre: For wet use, the foam filter should be rinsed with water after each use and allowed to air dry.

Image: Removing the HEPA filter for cleaning.
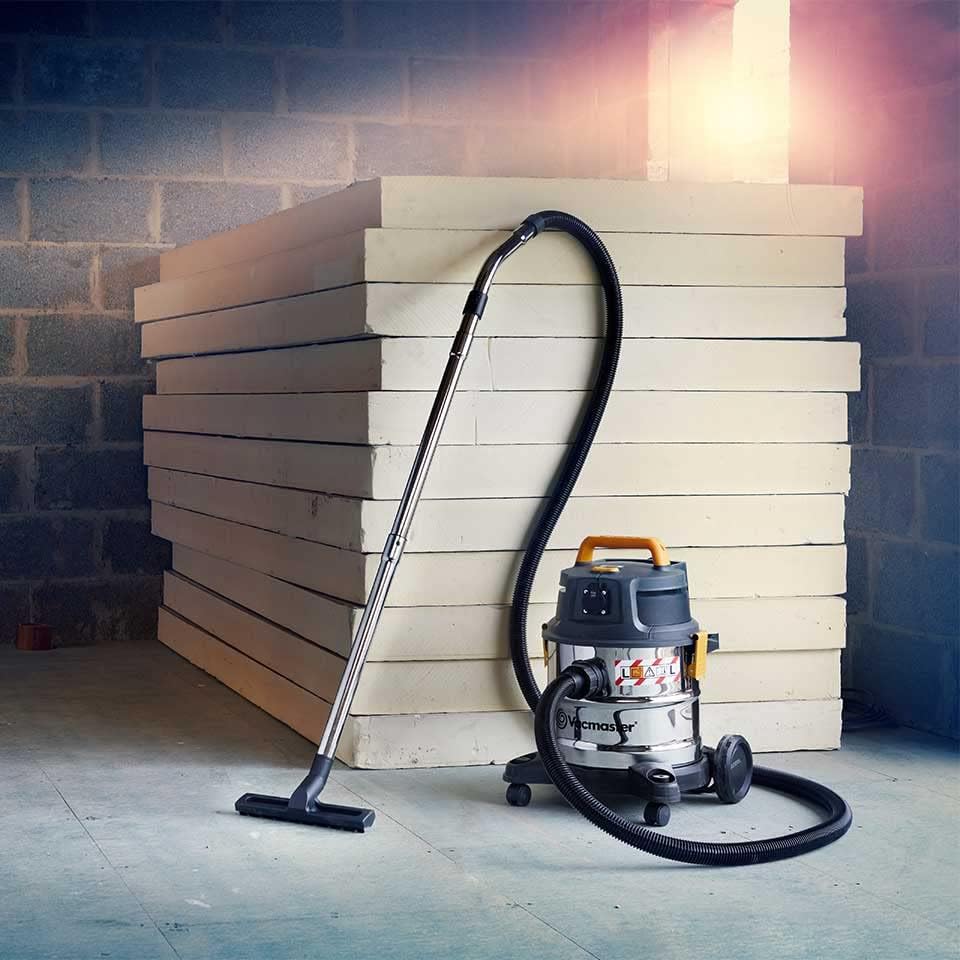
Image: Adjusting the filter bag for optimal performance.
6.3. Hose and Accessory Cleaning
Rinse the hose and all accessories with water to remove any debris or residue. Ensure they are dry before storing.

Image: On-board accessory storage for convenience.
7. Sorun Giderme
Elektrikli süpürgenizle ilgili sorunlarla karşılaşırsanız, yaygın sorunlar ve çözümleri için aşağıdaki tabloya bakın.
| Sorun | Olası Neden | Çözüm |
|---|---|---|
| Vakum açılmıyor. | No power supply; Damaged power cord/plug; Faulty switch. | Check power outlet; Inspect cord/plug for damage; Contact customer support. |
| Düşük emiş gücü. | Clogged hose/nozzle; Full tank; Dirty/clogged filter; Improper filter installation. | Clear blockages; Empty tank; Clean/replace filters; Ensure filters are correctly seated. |
| Motor aşırı ısınıyor ve kapanıyor. | Clogged filter; Blocked hose; Prolonged heavy use. | Clean/replace filter; Clear blockages; Allow unit to cool down before restarting. |
| Islak vakumlama sırasında su sızıntısı. | Tank not properly sealed; Damaged tank/gasket. | Ensure motor head latches are secure; Inspect tank and gasket for damage. |
8. Özellikler
| Özellik | Detay |
|---|---|
| Model Numarası | VK1620SWC |
| Güç | 1600W |
| Tank Kapasitesi | 20 Litre |
| Ürün Boyutları | 50x42x56 cm |
| Ürün Ağırlığı | 6 Kilogram |
| Form Faktörü | Kutu |
| Malzeme Bileşimi | Paslanmaz çelik |
| Filtre Türü | HEPA Filter, Washable Pre-filter |
| Özel Özellik | HEPA, Wet/Dry, Blowing, Washing Function |
| Montaj Gerekli | Hayır (ilk kurulum için minimum montaj gereklidir) |
| Kablosuz | HAYIR |
9. Garanti ve Müşteri Desteği
Your Vacmaster VK1620SWC Wet & Dry Vacuum Cleaner comes with a İki Yıl Garanti Satın alma tarihinden itibaren, normal kullanım koşullarında malzeme ve işçilik kusurlarını kapsar. Garanti talepleri için lütfen satın alma belgenizi saklayın.
For technical assistance, warranty claims, or to order replacement parts, please contact Vacmaster Customer Support. Refer to the Vacmaster official webBölgenize özel iletişim bilgileri için lütfen siteyi veya satın alma belgelerinizi inceleyin.


