1. Giriş
The Technaxx Full HD 1080p Projector TX-177 is a versatile multimedia device designed for high-quality visual and audio experiences. This portable projector offers native 1080P resolution, an integrated 3W speaker, and a long LED lifetime, making it suitable for various applications including home cinema, gaming, and presentations. This manual provides essential information for setting up, operating, and maintaining your projector.

Resim 1.1: Ön view of the Technaxx Full HD 1080p Projector TX-177.
2. Paket İçeriği
Lütfen aşağıdaki öğelerin kutucuğunu işaretleyin:
- Technaxx FullHD 1080p Projector TX-177
- AV sinyal kablosu
- Remote control (2x AAA batteries included)
- HDMI kablosu
- Güç kablosu
- Kullanım kılavuzu (bu belge)

Image 2.1: All items included in the projector package.
3. Ürün Özellikleri
The TX-177 projector is equipped with several features designed to enhance your viewDeneyim:
- Yerel 1080P Çözünürlük: Delivers clear and sharp images for movies, games, and presentations.
- Büyük Projeksiyon Boyutu: Capable of projecting images from 50 inches up to 200 inches.
- Entegre 3W Hoparlör: Provides basic audio output without the need for external speakers.
- Manuel Odak Ayarı: Allows for precise image clarity.
- Long LED Lifetime: The LED light source has an estimated lifespan of 40,000 hours.
- Çoklu Bağlantı Seçenekleri: Includes HDMI, VGA, USB, SD card, and AV inputs for broad device compatibility.
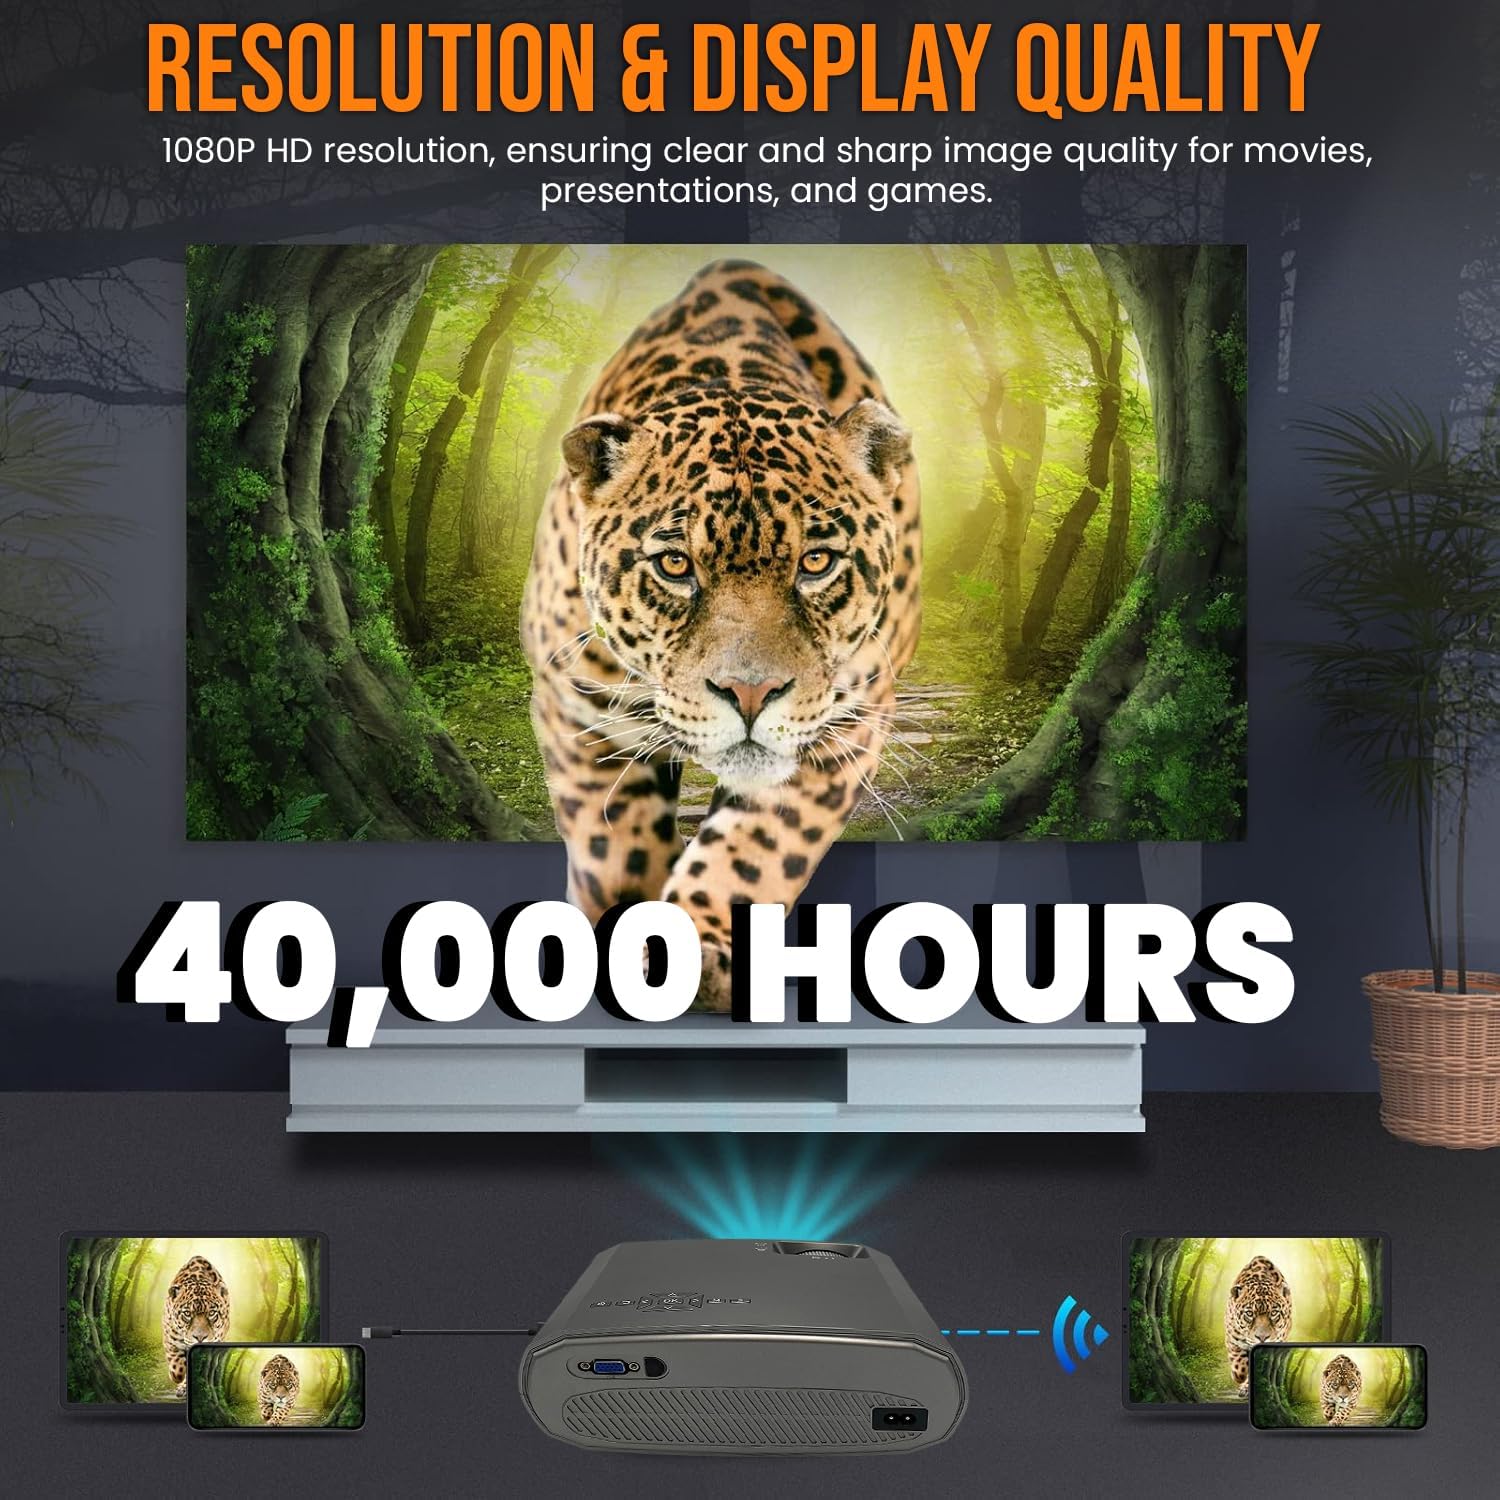
Image 3.1: Highlighting the 1080P resolution and 40,000-hour LED lifespan.

Image 3.2: The integrated 3-watt speaker provides convenient audio.

Resim 3.3: Üzeriview of the projector's compatibility with various devices via multiple input ports.
4. Kurulum
4.1 Yerleştirme
Place the projector on a stable, flat surface. Ensure there is adequate ventilation around the unit to prevent overheating. Position the projector directly in front of the screen or wall for the best image quality. The projection distance will determine the image size.
4.2 Güç Bağlantısı
- Güç kablosunu projektörün güç giriş portuna bağlayın.
- Güç kablosunun diğer ucunu standart bir elektrik prizine takın.
4.3 Cihazları Bağlama
The TX-177 supports various input sources:
- HDMI: Connect Blu-ray players, game consoles, laptops, or streaming devices using an HDMI cable.
- VGA: Eski bilgisayarları veya dizüstü bilgisayarları VGA kablosu kullanarak bağlayın.
- USB BAĞLANTI: Insert USB drives for playing media filedoğrudan s.
- SD Kart: Medya dosyalarını oynatmak için bir SD kart takın. filedoğrudan s.
- AV: Use the included AV signal cable to connect devices with composite video and stereo audio outputs.

Resim 4.1: Ayrıntılı view of the projector's various input ports.
4.4 Odak ve Trapez Düzeltme
Cihazı açtıktan sonra, görüntünün netliğini ve şeklini ayarlayın:
- Odak: Rotate the focus wheel near the lens until the image appears sharp and clear.
- Keystone Düzeltmesi: If the image appears trapezoidal (wider at the top or bottom), use the keystone correction wheel to square the image.

Image 4.2: Focus and keystone adjustment wheels for image optimization.

Image 4.3: Labeled diagram of the projector's key adjustable components and ports.
5. Kullanım Talimatları
5.1 Açma/Kapatma
- Açmak İçin: Projeksiyon cihazındaki veya uzaktan kumandadaki güç düğmesine basın. Gösterge ışığı yanacaktır.
- Kapatmak İçin: Press the power button again. The projector will enter standby mode. Always allow the projector to cool down before unplugging it.
5.2 Giriş Kaynağının Seçilmesi
Use the 'Source' button on the remote control or the projector's control panel to cycle through available input sources (HDMI1, HDMI2, VGA, USB, SD, AV). Select the input corresponding to your connected device.
5.3 Menü Navigasyonu
Use the arrow keys and 'OK' button on the remote control to navigate the on-screen display (OSD) menu. Here you can adjust settings such as picture mode, aspect ratio, sound settings, and more.
5.4 Ses Çıkışı
The projector has a built-in 3W speaker. For enhanced audio, you can connect external speakers or headphones to the projector's audio output port (3.5mm jack).
6. Bakım
Projeksiyon cihazınızın uzun ömürlü ve en iyi performansı göstermesi için doğru bakım yapılması gerekir:
- Lensin Temizlenmesi: Optik lensler için özel olarak tasarlanmış, yumuşak ve tüy bırakmayan bir bez kullanın. Aşındırıcı temizleyiciler veya çözücüler kullanmayın.
- C'yi Temizlemeasing: Projektörün dış yüzeyini yumuşak, kuru bir bezle silin. İnatçı lekeler için biraz daha yumuşak bir bez kullanın.amp bezle silin ve ardından iyice kurulayın.
- Havalandırma: Ensure the ventilation vents are clear of dust and obstructions. Periodically clean them with a soft brush or compressed air.
- LED Solamp Hayat: LED lamp is designed for 40,000 hours of use and does not require replacement under normal operating conditions.
7. Sorun Giderme
Projeksiyon cihazınızla ilgili sorunlarla karşılaşırsanız, aşağıdaki yaygın sorunlar ve çözümlerine göz atın:
| Sorun | Olası Neden | Çözüm |
|---|---|---|
| Ekranda görüntü yok | Yanlış giriş kaynağı seçildi Gevşek kablo bağlantısı Cihaz açık değil | Doğru giriş kaynağını seçin Tüm kablo bağlantılarını kontrol edin ve sabitleyin Ensure the connected device is powered on |
| Görüntü bulanık | Odak ayarı yapılmadı. Projection distance too far/close | Adjust the focus wheel Move the projector closer or further from the screen |
| Görüntü yamuk şeklindedir. | No keystone correction Projektör ekrana dik değil | Adjust the keystone correction wheel Reposition the projector to be directly in front of the screen |
| Ses yok | Ses çok düşük Sessize alma işlevi aktif Audio cable not connected (for AV) Harici hoparlörler bağlı değil/güç verilmiyor | Hacmi artırın Sessize alma özelliğini devre dışı bırak Ensure audio cables are properly connected Check external speaker connection and power |
| Uzaktan kumanda çalışmıyor | Piller bitmiş veya yanlış takılmış Uzaktan kumanda ile projektör arasında engel | Replace batteries (2x AAA) Ensure clear line of sight to the projector's IR receiver |
8. Özellikler
| Özellik | Şartname |
|---|---|
| Model Numarası | TX-177 (4971) |
| Yerel Çözünürlük | 1920 x 1080 Piksel (Full HD 1080p) |
| Parlaklık | 15,000 lm (lümen) |
| Projeksiyon Boyutu | 50" ila 200" (127 cm ila 508 cm) |
| LED Ömrü | 40,000 saat |
| Entegre Hoparlör | 3W |
| Giriş Portları | 2x HDMI, VGA, USB, SD, AV |
| Ürün Boyutları | 9.21 x 7.36 x 3.78 inç (23.4 x 18.7 x 9.6 cm) |
| Ürün Ağırlığı | 4.07 pound (1.85 kg) |
| Güç Kaynağı | AC 100-240V, 50/60Hz |
| Piller (Uzaktan Kumanda) | 2 adet AAA pil (dahil) |
| Üretici | TECHNAXX DEUTSCHLAND GMBH |
9. Garanti ve Destek
For warranty information and technical support, please refer to the warranty card included with your product or visit the official Technaxx webSiteyi ziyaret edebilirsiniz. Ayrıca yardım için satıcınızla da iletişime geçebilirsiniz.


