1. Giriş
Satın aldığınız için teşekkür ederizasing the IRRADIO VDP-4600HDW LCD/LED Projector. This manual provides essential information for the safe and efficient operation of your device. Please read it thoroughly before use and retain it for future reference.
2. Güvenlik Talimatları
- Havalandırma açıklıklarını kapatmayın. Aşırı ısınmayı önlemek için projektörün etrafında yeterli hava akışı sağlayın.
- Projektör lensine doğrudan bakmayın.amp Parlak ışık gözlere zarar verebileceğinden, ışık açık bırakılmalıdır.
- Projektörü sudan veya diğer sıvılardan uzak tutun. Su veya başka sıvılarla temas etmeyecek şekilde çalıştırmayın.amp veya ıslak koşullar.
- Yalnızca projektörle birlikte verilen güç adaptörünü kullanın.
- Projektörü kendiniz tamir etmeye çalışmayın. Tüm servis işlemlerini yetkili personele yaptırın.
- Düşmesini önlemek için projektörü sabit ve düz bir yüzeye yerleştirin.
3. Paket İçeriği
Lütfen paketinizde tüm öğelerin mevcut olduğundan emin olun:
- IRRADIO VDP-4600HDW Projector
- Uzaktan kumanda
- Güç kablosu
- HDMI Kablosu
- AV Kablosu
- Kullanıcı Kılavuzu
4. Ürün Bittiview
4.1. Projeksiyon Cihazı Bileşenleri

Şekil 4.1: Etraflı view of the IRRADIO VDP-4600HDW Projector. This image displays the projector from an angled perspective, highlighting its compact design and the lens on the front left side, with ventilation grilles and control buttons visible on the top and sides.

Şekil 4.2: Ön view of the projector. This image focuses on the large projection lens on the left, with the IRRADIO logo and ventilation grilles on the right side of the front panel.

Şekil 4.3: Arka view of the projector. This image shows the VGA port, focus adjustment knob, and keystone correction knob on the rear panel, along with additional ventilation.
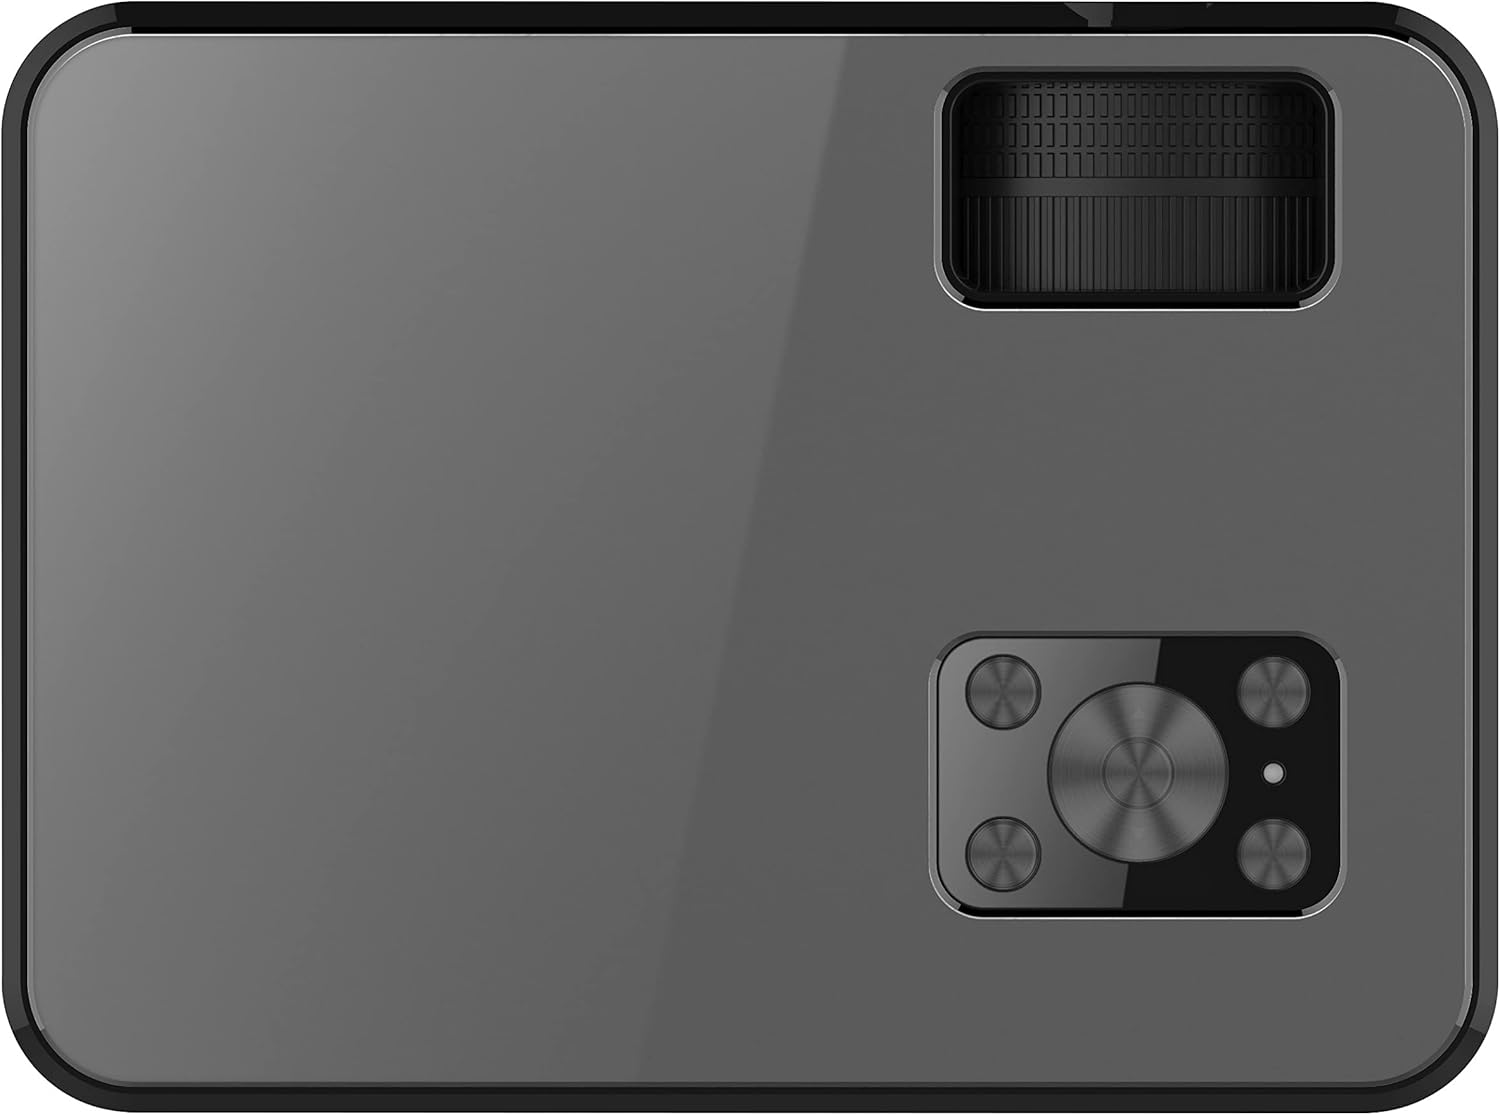
Şekil 4.4: Tepe view of the projector. This image displays the control panel with navigation buttons (up, down, left, right, OK), source, menu, and exit buttons, along with the power button and volume controls.

Şekil 4.5: Taraf view of the projector showing input/output ports. This image highlights two HDMI ports, AV input, two USB ports, and a 3.5mm headphone jack (audio out).

Şekil 4.6: Karşı taraf view of the projector. This image shows the power input port and additional ventilation grilles.

Şekil 4.7: Alt view of the projector. This image displays the mounting points for ceiling installation and rubber feet for stable placement on a flat surface.
4.2. Uzaktan Kumanda
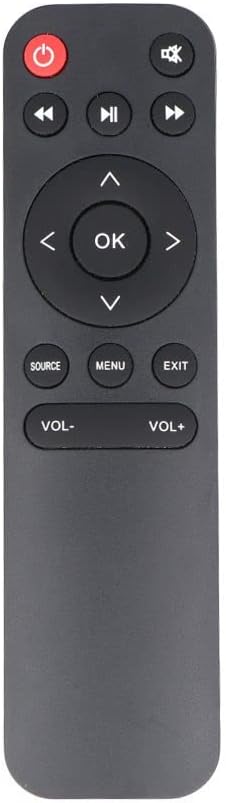
Şekil 4.8: The remote control for the IRRADIO VDP-4600HDW Projector. It features buttons for power, mute, navigation (up, down, left, right, OK), source selection, menu, exit, and volume control.
4.3. Ports and Controls Overview
- Güç Düğmesi: Projektörü açar/kapatır.
- Mercek: Görüntüyü yansıtır.
- Odak Halkası: Görüntü netliğini ayarlar.
- Keystone Düzeltmesi: Görüntü bozulmasını düzeltir.
- HDMI Bağlantı Noktaları (x2): Connect to HDMI-enabled devices (laptops, gaming consoles, Blu-ray players).
- USB Bağlantı Noktaları (x2): Medya oynatımı için USB sürücülerini bağlayın.
- VGA Bağlantı Noktası: VGA çıkışı olan bilgisayarlara bağlanın.
- AV Bağlantı Noktası: Connect to older devices using composite video.
- 3.5 mm Ses Çıkışı: Harici hoparlör veya kulaklık bağlayın.
- IR Alıcı: Uzaktan kumanda sinyalleri için.
5. Kurulum
5.1. Yerleşim
Place the projector on a stable, flat surface or mount it to the ceiling. Ensure the projector is positioned directly in front of the projection screen or wall. The optimal projection distance ranges from 1.52 meters to 3.48 meters, yielding a screen size between 50 and 120 inches.
- Ön Projeksiyon: Place the projector in front of the screen.
- Arka Projeksiyon: Projeksiyon cihazını yarı saydam bir perdenin arkasına yerleştirin.
- Tavan montalama: The projector can be inverted and mounted to the ceiling. Adjust settings in the OSD menu for inverted projection.
5.2. Güç Bağlantısı
- Güç kablosunu projektörün güç giriş portuna bağlayın.
- Plug the other end of the power cable into a standard electrical outlet (220V AC, 50Hz).
- Projektörü açmak için projektör üzerindeki veya uzaktan kumandadaki güç düğmesine basın.
5.3. Odak ve Trapez Düzeltme
- Projektörü açın ve bir görüntü görüntüleyin.
- Döndür Odak Halkası (located near the lens) until the image appears sharp and clear.
- Ayarla Anahtar Ebatı Düzeltme knob (located on the rear panel) to correct any trapezoidal distortion, making the image rectangular.
6. Çalıştırma
6.1. Güç Açma/Kapatma
Projeksiyon cihazını açmak veya kapatmak için projektör üzerindeki güç düğmesine veya uzaktan kumandaya basın.
6.2. Giriş Kaynağı Seçimi
Gücü açtıktan sonra, KAYNAK button on the remote control or the projector's control panel to cycle through available input sources (HDMI1, HDMI2, USB1, USB2, VGA, AV).
6.3. Harici Cihazları Bağlama
- HDMI: Connect an HDMI cable from your device (e.g., laptop, game console) to one of the projector's HDMI ports. Select the corresponding HDMI input.
- VGA: Connect a VGA cable from your computer to the projector's VGA port. Select the VGA input.
- AV: Use the provided AV cable to connect to devices with composite video output. Select the AV input.
- USB BAĞLANTI: Insert a USB flash drive into a USB port. The projector's media player interface will appear automatically or can be accessed via the source menu.
6.4. Medya Oynatma (USB)
The integrated media player supports various formats:
- Resim Formatları: JPEG, BMP, PNG, MPO
- Video Formatları: MPEG1, MPEG2, H.263, H.264, AVS, MJPEG, RV30, RV40, HEVC
- Ses Formatları: MPEG1, MPEG2, LPCM, MP3
Gezinme files using the remote control's arrow keys and press OK seçmek için.
6.5. Wireless Audio Connection
The projector features an integrated wireless audio function for connecting to external audio devices. Refer to the on-screen display (OSD) menu for specific pairing instructions. Typically, you will need to enable the wireless audio feature in the projector's settings and then pair it with your desired external speaker or headphone.
7. Bakım
7.1. Lens Temizliği
Use a soft, lint-free cloth and a specialized lens cleaning solution to gently wipe the lens. Avoid abrasive materials or excessive pressure.
7.2. Toz Filtresi Temizliği
Regularly check and clean the dust filters to ensure optimal airflow and prevent overheating. Use a soft brush or a vacuum cleaner with a brush attachment to remove dust from the ventilation grilles.
7.3. Depolama
When not in use for extended periods, store the projector in a cool, dry place, protected from dust and direct sunlight. Use the original packaging or a protective case.
8. Sorun Giderme
- Güç Yok: Güç kablosunun güvenli bir şekilde bağlı olduğundan ve elektrik prizinin çalışır durumda olduğundan emin olun.
- Resim Yok: Check the input source selection. Ensure the connected device is powered on and sending a signal. Verify cable connections.
- Bulanık Görüntü: Adjust the focus ring. Ensure the projection distance is within the optimal range.
- Görüntü Bozuldu: Çarpıklık düzeltmesini ayarlayın.
- Ses Yok: Check the volume settings on both the projector and the connected device. If using external speakers, ensure they are properly connected or paired via wireless audio.
- Uzaktan Kumanda Çalışmıyor: Replace the batteries. Ensure there are no obstructions between the remote and the projector's IR receiver.
9. Özellikler
| Özellik | Şartname |
|---|---|
| Projeksiyon Sistemi | LCD panel with LED light source |
| Yerel Çözünürlük | 1920x1080 (Tam HD 1080p) |
| Dinamik Kontrast Oranı | 2000:1 |
| Işık Kaynağı Parlaklığı | 3000 Lümen |
| LED Solamp Hayat | 50,000 saat |
| Mercek | Manuel odaklama |
| Kablosuz Ses Fonksiyonu | Entegre |
| Bağlantı | 2x HDMI, 2x USB, VGA, AV Composite, 3.5mm Headphone Jack (output) |
| En Boy Oranı | 16:9 Native / 4:3 Compatible |
| Optimum Projeksiyon Boyutu | 50" - 120" |
| Optimum Projeksiyon Mesafesi | 1.52 m ila 3.48 m |
| Projeksiyon Modları | Front, Rear, Ceiling (Front/Rear) |
| Ses | 1x 3W Hi-Fi Speaker |
| Soğutma Sistemi | Çift soğutma sistemi |
| OSD Dili | 23 dil |
| Güç Kaynağı | 220V AC 50Hz (single phase) |
| Ağırlık | 1.4 kilo |
| Boyutlar (G x Y x D) | 222x91x173 mm |
10. Garanti ve Destek
Information regarding specific warranty terms and support contacts is not available in the provided product data. Please refer to the product packaging or the retailer's webgaranti ayrıntıları ve müşteri destek bilgileri için site.


