giriiş
This manual provides detailed instructions for the installation, operation, and maintenance of your AXAGON ADSA-ST USB 3.0 Docking Station. This device is designed to connect 2.5" and 3.5" SATA SSDs and HDDs to your computer via a USB 3.0 interface, offering fast data transfer speeds.
Ürünün düzgün çalışmasını sağlamak ve hasarı önlemek için lütfen ürünü kullanmadan önce bu kılavuzu dikkatlice okuyun.
Paket İçeriği
Paketin tüm bileşenlerinin mevcut olduğunu doğrulayın:
- AXAGON ADSA-ST Docking Station
- USB 3.0 Type-A to Micro-B cable
- Güç Adaptörü
- Kullanım Kılavuzu (bu belge)

Image: The AXAGON ADSA-ST Docking Station shown alongside its retail packaging, illustrating the product and its box.
Temel Özellikler
- Supports 2.5" and 3.5" SATA I/II/III SSDs and HDDs.
- USB 3.0 (USB 3.2 Gen 1) interface with up to 5 Gbps transfer speed.
- SATA 6G (SATA III) support.
- Gelişmiş performans için UASP (USB Attached SCSI Protocol) desteği.
- TRIM support for SSDs.
- HDD Auto Spindown function.
- LED indication for power and activity.
- Compact design with aluminum body.

Resim: A view of the AXAGON ADSA-ST Docking Station highlighting its 5 Gbps USB 3.2 Gen 1 speed and compact size.
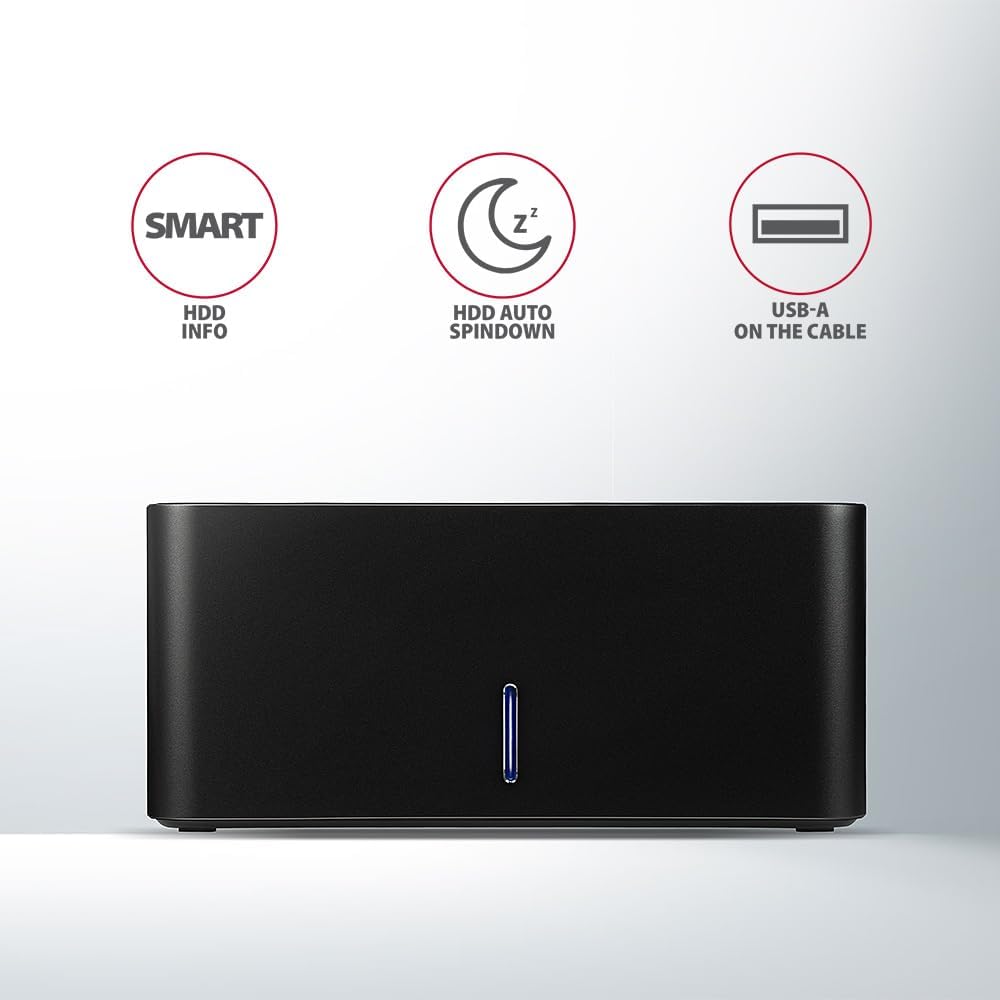
Image: The docking station from the front, indicating features like SMART HDD info, automatic HDD spindown, and USB-A connectivity.
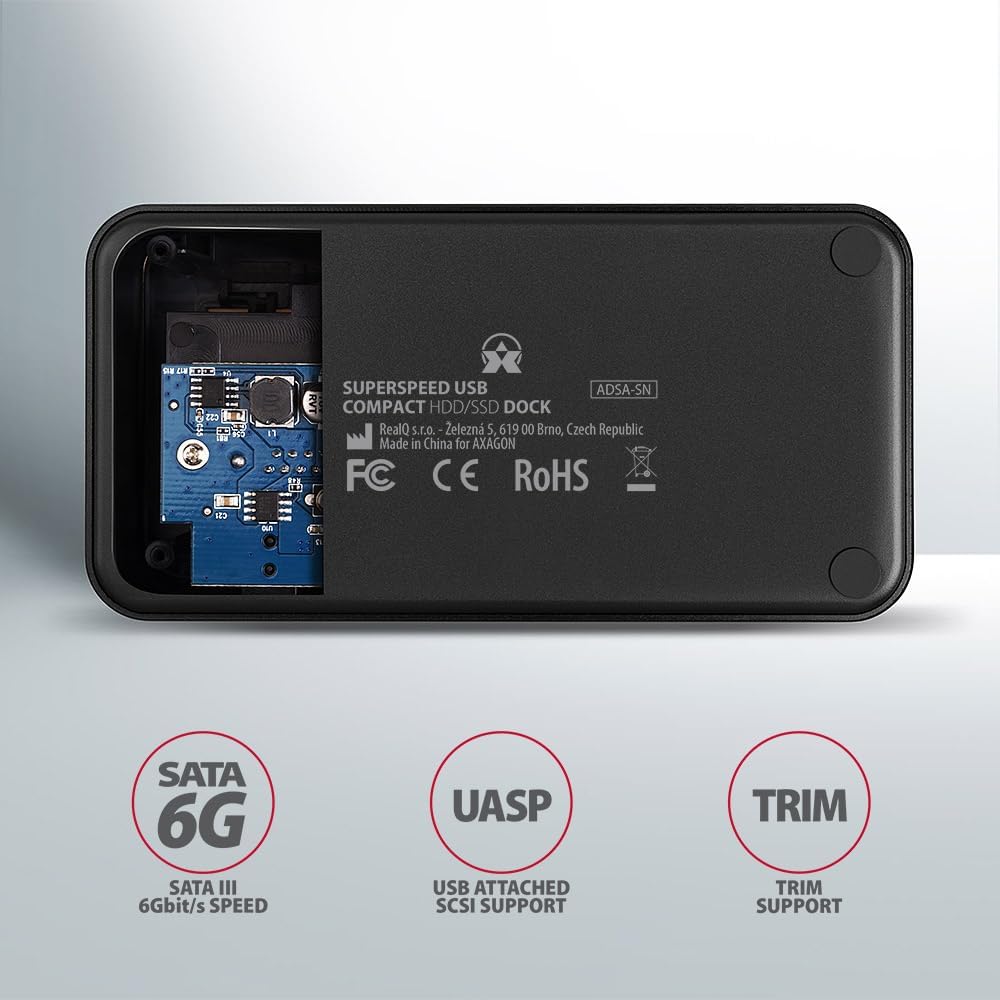
Image: The underside of the docking station, showing internal components and highlighting SATA 6G, UASP, and TRIM support.
Kurulum Talimatları
- Güç Adaptörünü Bağlayın: Plug the included power adapter into the DC IN port on the back of the docking station and then into a power outlet.
- Bilgisayara Bağlan: Connect the USB 3.0 cable from the docking station's Micro-B port to an available USB 3.0 (or higher) port on your computer.
- Insert HDD/SSD:
- For 2.5" SSD/HDD: Gently slide the 2.5" drive into the slot until it connects firmly with the SATA connector.
- For 3.5" HDD: Gently slide the 3.5" drive into the slot until it connects firmly with the SATA connector.
Ensure the drive is inserted correctly with the SATA connector facing the correct direction. Do not force the drive.

Image: A 2.5-inch SSD being inserted into the docking station, demonstrating compatibility with smaller drives.
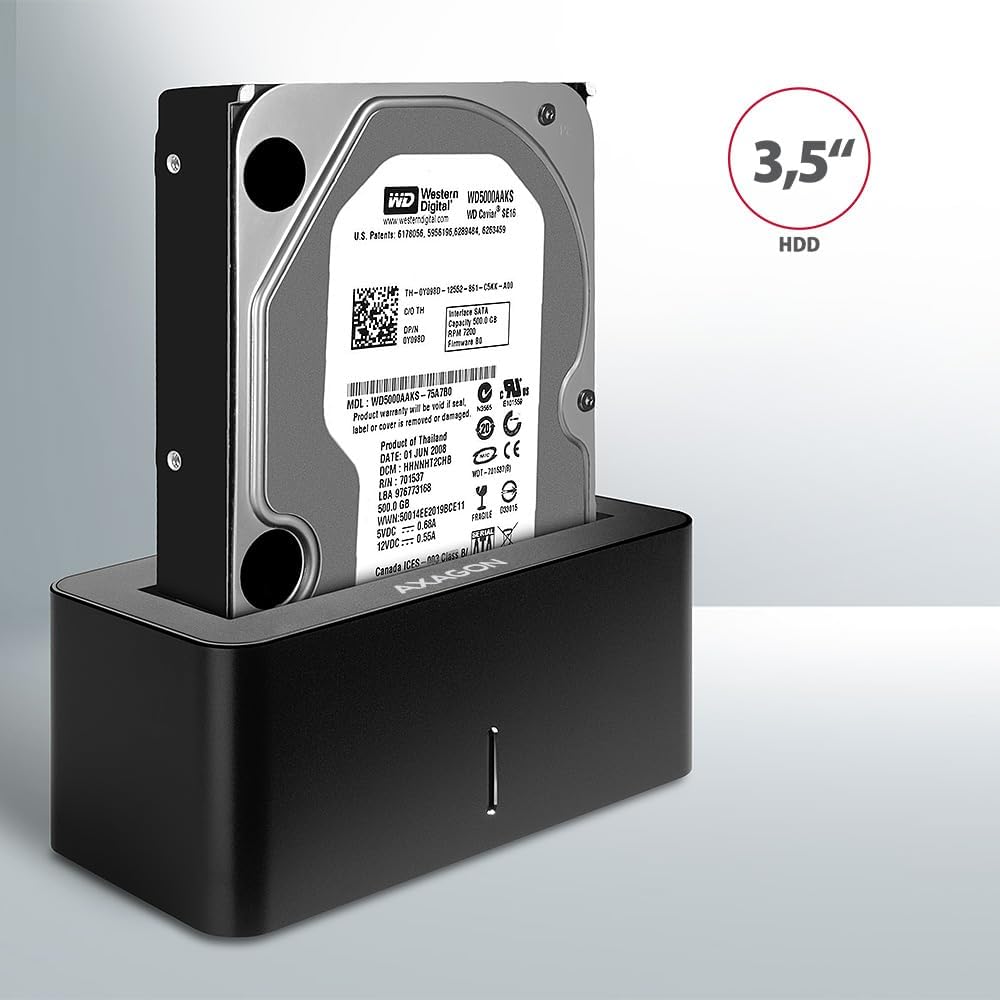
Image: A 3.5-inch HDD being inserted into the docking station, demonstrating compatibility with larger drives.
- Güç Açık: Press the power button located on the back of the docking station. The LED indicator on the front will illuminate.
Image: The rear panel of the docking station, showing the power button, USB Micro-B port, and power input for connection.
Kullanım Talimatları
Sürücü Tanıma
Once powered on and connected, your operating system should automatically detect the inserted drive. If it's a new drive, you may need to initialize and format it through Disk Management (Windows) or Disk Utility (macOS) before it appears in File Kaşif/Bulucu.
LED Göstergesi
The LED indicator on the front of the docking station provides status information:
- Katı mavi: Power on, drive idle.
- Yanıp Sönen Mavi: Drive activity (reading or writing data).
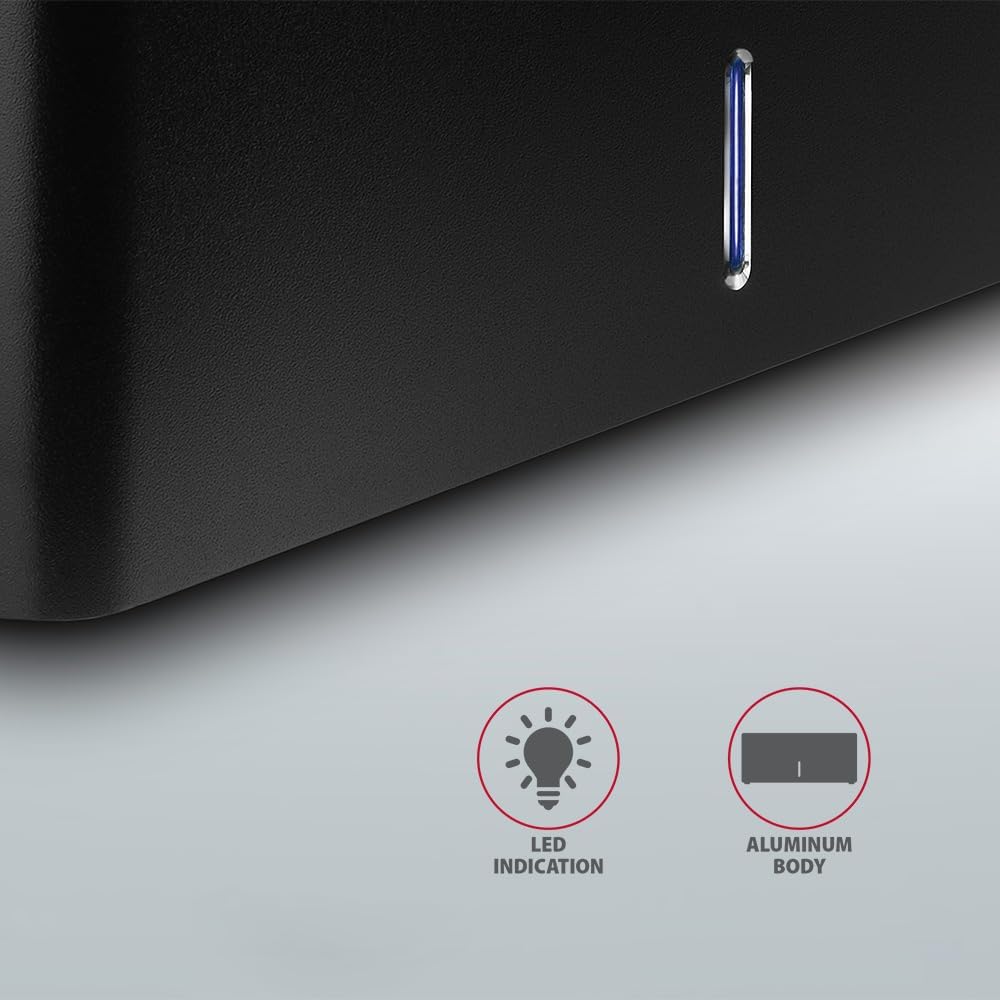
Resim: Yakın çekim view of the docking station's front panel, highlighting the LED indicator light.
Removing a Drive
Before removing a drive, always safely eject it from your operating system to prevent data corruption. After ejection, gently pull the drive straight out of the docking station slot.
HDD Auto Spindown
The docking station supports automatic spindown of the HDD when it is idle for a certain period, conserving power and extending drive lifespan. This feature is managed by the operating system or the drive itself.
Bakım
- Şarj istasyonunu temiz ve tozdan arındırılmış halde tutun. Temizlik için yumuşak, kuru bir bez kullanın.
- Cihazı aşırı sıcaklıklara, neme veya doğrudan güneş ışığına maruz bırakmaktan kaçının.
- Cihazı kendiniz sökmeye veya onarmaya çalışmayın. Yetkili servis personeline başvurun.
- Ensure proper ventilation around the docking station during operation.
Sorun giderme
- Sürücü algılanmadı:
- Güç adaptörünün güvenli bir şekilde bağlandığından ve yerleştirme istasyonunun açık olduğundan emin olun.
- Verify the USB cable is properly connected to both the docking station and the computer.
- Bilgisayarınızda farklı bir USB bağlantı noktası deneyin.
- Ensure the HDD/SSD is fully seated in the docking station's slot.
- Check Disk Management (Windows) or Disk Utility (macOS) to see if the drive is recognized but uninitialized/unformatted.
- Test with a different HDD/SSD to rule out a drive issue.
- Yavaş aktarım hızları:
- Ensure the docking station is connected to a USB 3.0 (or higher) port on your computer. USB 2.0 ports will limit speeds.
- İşletim sisteminizin ve sürücülerinizin güncel olduğundan emin olun.
- The actual speed depends on the drive's performance and your computer's USB controller.
- Sürücü rastgele bağlantı kesiyor:
- Tüm kablo bağlantılarını kontrol edin.
- Güç adaptörünün istikrarlı güç sağladığından emin olun.
- Disable USB power saving features in your computer's operating system settings.
Teknik Özellikler
| Özellik | Detay |
|---|---|
| Marka | AKSAGON |
| Model Numarası | ADSA-SN |
| Donanım Platformu | PC |
| Uyumlu Cihazlar | Dizüstü bilgisayar, Masaüstü bilgisayar |
| Sürücü Uyumluluğu | 2.5" / 3.5" SATA I/II/III SSD/HDD |
| Arayüz | USB 3.0 (USB 3.2 Gen 1) |
| Veri Aktarım Hızı | Up to 5 Gbps (USB 3.0), 6 Gbps (SATA III) |
| Toplam USB Bağlantı Noktaları | 1 (Micro-B) |
| Sürücü Bölmesi Sayısı | 1 |
| Renk | Siyah |
| Ürün Ağırlığı | 2.2 pound (yaklaşık 1 kg) |
| Paket Boyutları | 3.94 x 0.79 x 0.39 inç (yaklaşık 10 x 2 x 1 cm) |
| İlk Mevcut Tarih | 30 Mart 2021 |
Garanti ve Destek
Garanti bilgileri ve teknik destek için lütfen resmi AXAGON web sitesine başvurun. webWeb sitesini ziyaret edin veya yerel distribütörünüzle iletişime geçin. Garanti talepleri için satın alma belgenizi saklayın.


