1. Güvenlik Bilgileri
Lütfen bu multimetreyi kullanmadan önce tüm güvenlik bilgilerini ve kullanım talimatlarını okuyun ve anlayın. Bu talimatlara uyulmaması elektrik çarpmasına, yangına veya multimetrenin hasar görmesine neden olabilir.
- Herhangi bir ölçüm yapmadan önce test uçlarının doğru şekilde bağlandığından ve fonksiyon anahtarının doğru aralığa ayarlandığından emin olun.
- Hacmi ölçmeye çalışmayıntages or currents exceeding the maximum rated values for this meter.
- Canlı devrelerle çalışırken son derece dikkatli olun. Yüksek voltajtagtehlikeli olabilir.
- Never open the meter casing unless specifically instructed for battery or fuse replacement. Ensure test leads are disconnected before opening.
- Doğru okumalar sağlamak için düşük pil göstergesi göründüğünde pili değiştirin.
- Ölçüm cihazında hasar varsa veya test uçlarındaki yalıtım bozulmuşsa cihazı kullanmayın.
Şekil 1: Arka view of the Rebel MIE-RB-830 Multimeter, showing the battery compartment cover and a warning label. The label advises removing test leads before opening the case to avoid electrical shock and to install fuses with correct amp/volt ratings. It also indicates the power supply is a 9V battery, type NEDA 1604 9V 6F22.
2. Ürün Bittiview
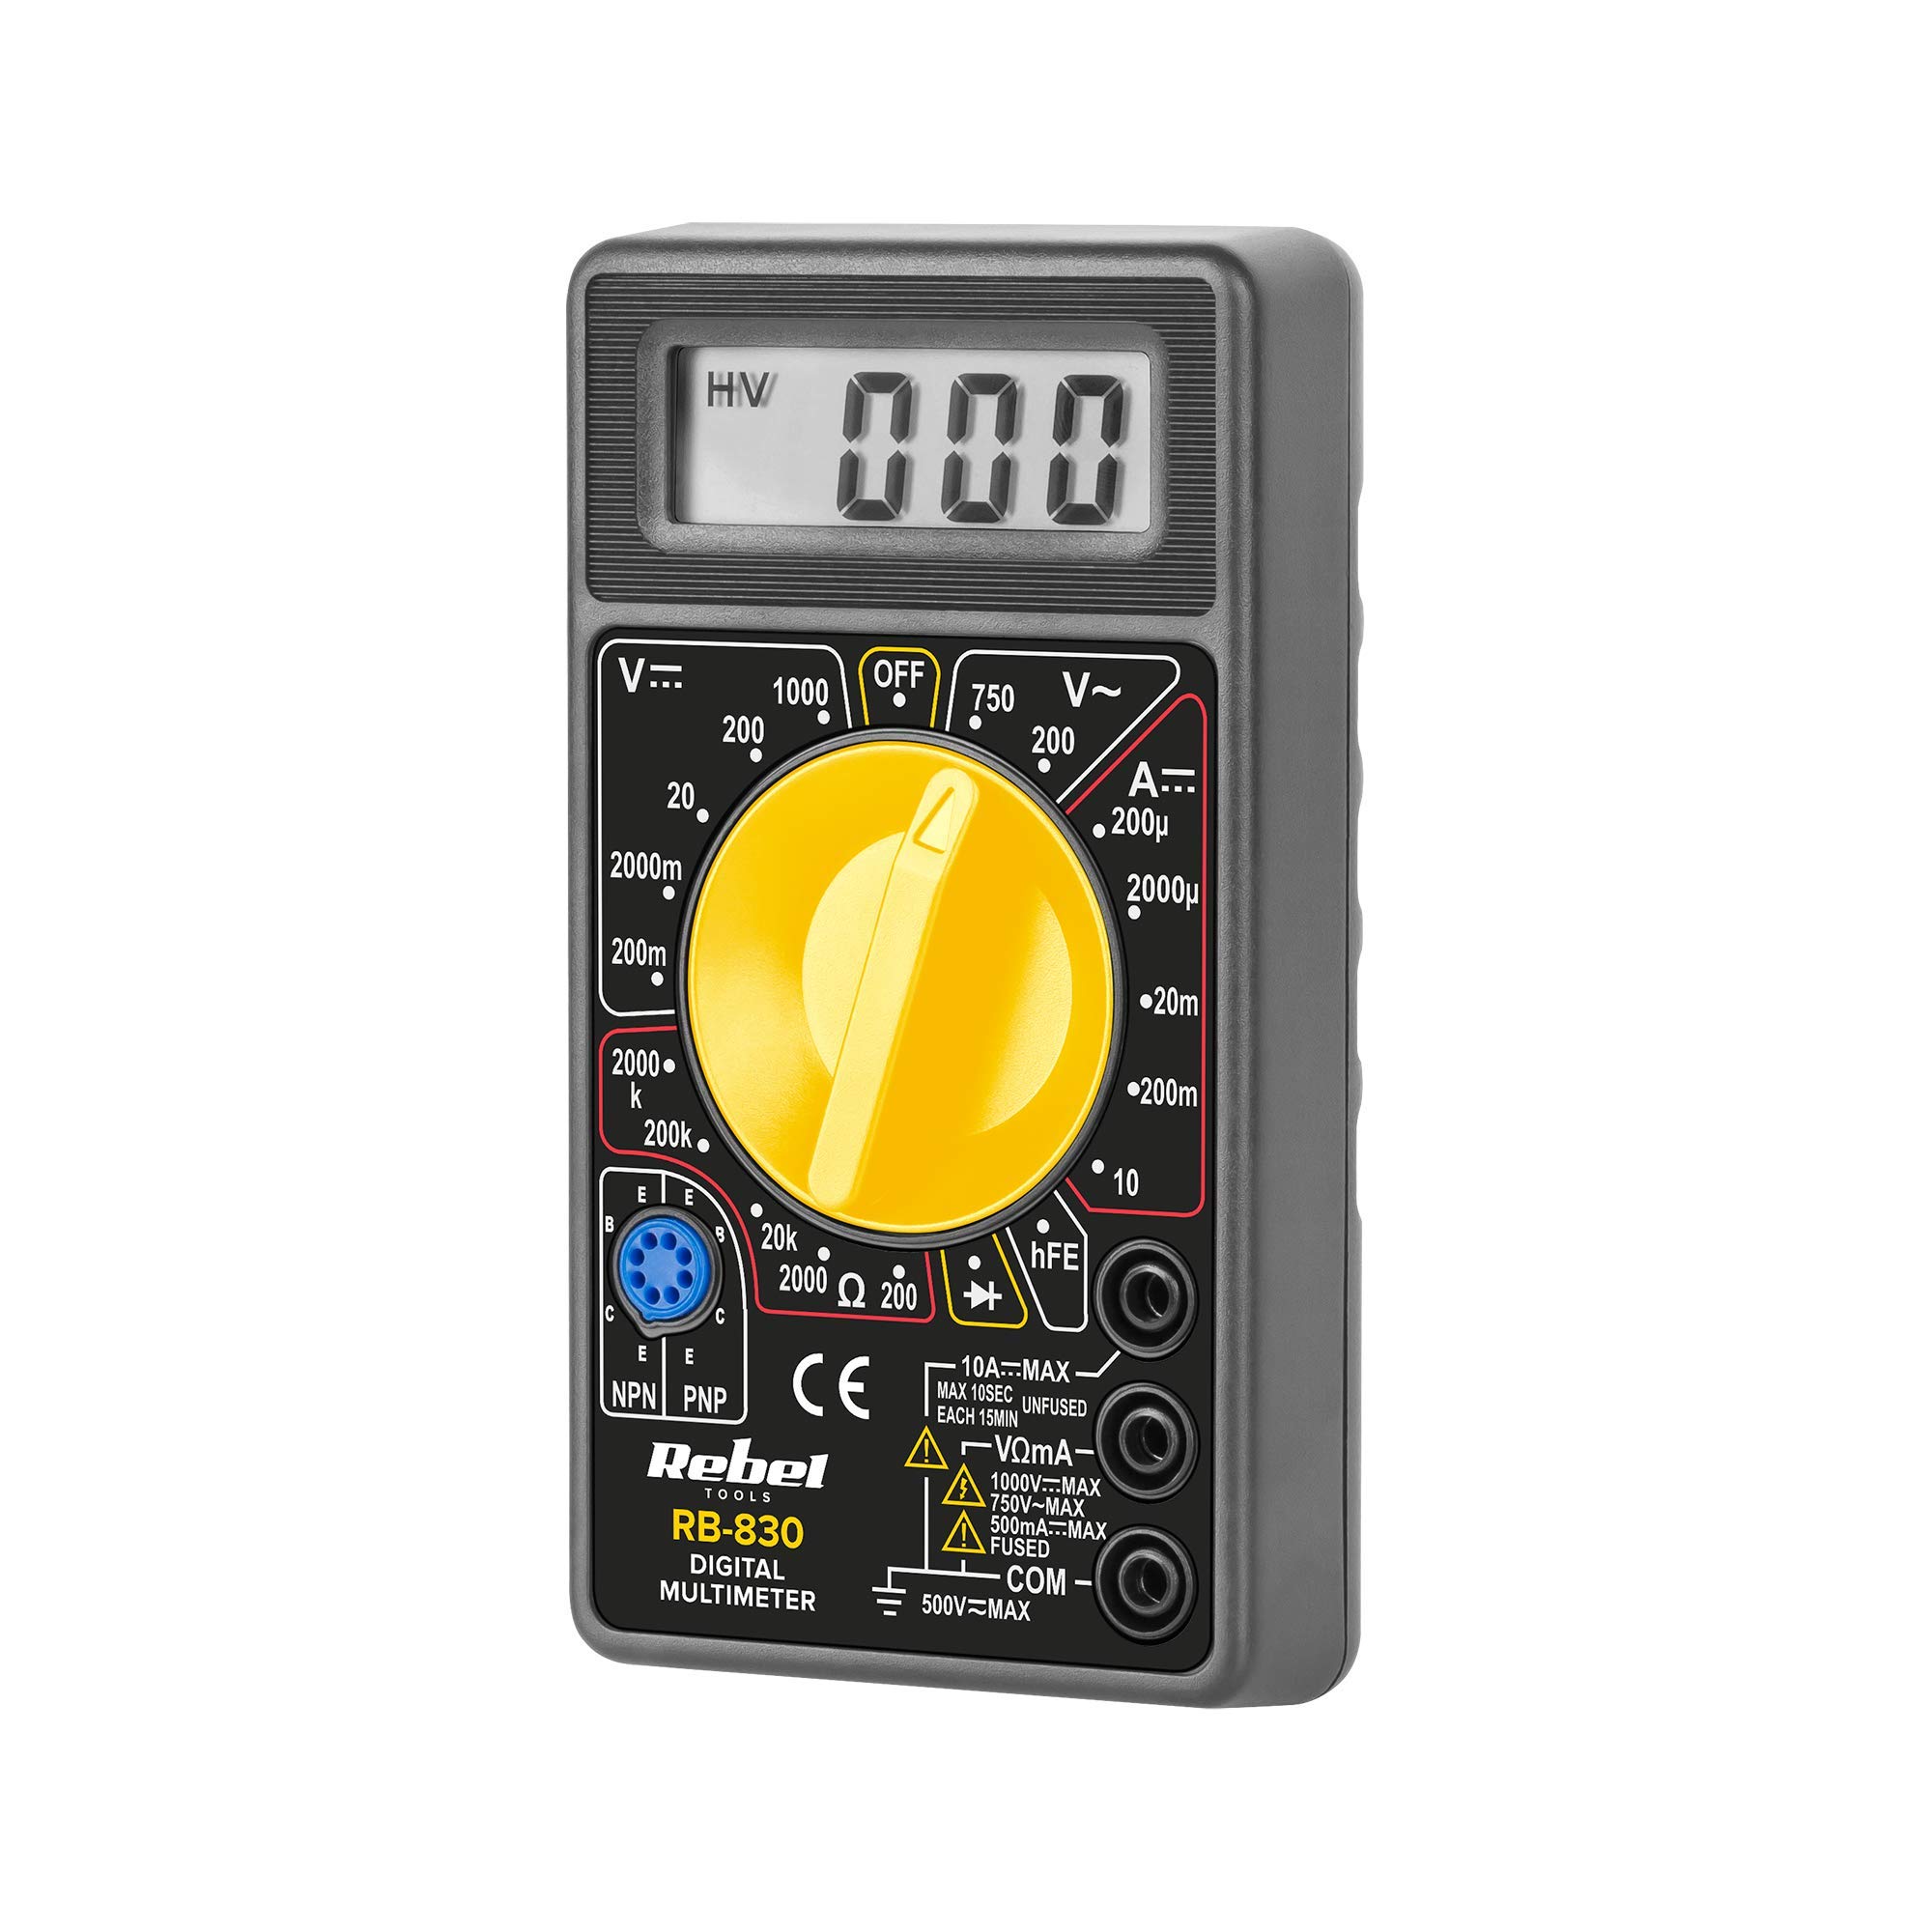
The Rebel MIE-RB-830 is a compact, battery-operated digital multimeter designed for measuring DC/AC voltage, DC current, resistance, diode, and transistor (hFE) values. It is suitable for general electrical testing and troubleshooting.
2.1. Bileşenler
- Digital Multimeter Unit
- Test Kabloları (Kırmızı ve Siyah)
- 9V Battery (may be included or sold separately)
- Kullanım Kılavuzu (bu belge)

Şekil 2: The Rebel MIE-RB-830 Digital Multimeter shown with its accompanying red and black test leads. The multimeter features a large LCD display and a rotary function switch.

Şekil 3: Kapatmak view of the red and black test leads. These leads are essential for connecting the multimeter to the circuit under test.
3. Kurulum
3.1. Pil Kurulumu
- Multimetrenin KAPALI olduğundan ve tüm test uçlarının çıkarıldığından emin olun.
- Ölçüm cihazının arka tarafındaki pil bölmesi kapağını bulun (Şekil 1'ye bakın).
- Sabitleme vidasını/vidalarını sökün ve kapağı dikkatlice çıkarın.
- Insert a new 9V battery (NEDA 1604 or 6F22 type), observing the correct polarity (+ and -).
- Pil bölmesi kapağını yerine takın ve vida(lar) ile sabitleyin.
3.2. Test Uçlarını Bağlama
- Bağlan kırmızı test lead to the "VΩmA" input jack.
- Bağlan siyah test lead to the "COM" (common) input jack.
- For current measurements exceeding 200mA (up to 10A), connect the red test lead to the "10A" input jack.
4. Kullanım Talimatları
4.1. Fonksiyon Seçimi
Turn the rotary switch to the desired measurement function and range. Always start with a higher range if the approximate value is unknown to prevent overloading the meter.
4.2. DC Vol Ölçümütage (V–)
- Döner anahtarı istenen DC Vol değerine ayarlayıntage (V–) range (e.g., 20V, 200V).
- Kırmızı test ucunu devrenin pozitif (+) tarafına, siyah test ucunu ise negatif (-) tarafına bağlayın.
- Cildi okutagLCD ekranda e değeri.
4.3. AC Hacmini Ölçmetage (V∼)
- Döner anahtarı istenen AC Vol değerine ayarlayıntage (V∼) range (e.g., 200V, 750V).
- Test uçlarını AC voltaj regülatörüne bağlayın.tage kaynak.
- Cildi okutagLCD ekranda e değeri.
4.4. Measuring DC Current (A–)
Dikkat: To measure current, the meter must be connected in series with the circuit. Never connect the meter in parallel with a voltage source when in current mode, as this can damage the meter and the circuit.
- Set the rotary switch to the desired DC Current (A–) range (e.g., 20mA, 200mA, 10A).
- For currents up to 200mA, ensure the red lead is in the "VΩmA" jack. For currents up to 10A, move the red lead to the "10A" jack.
- Akımın ölçüleceği devreyi açın ve ölçüm cihazını seri olarak bağlayın.
- LCD ekranda mevcut değeri okuyun.
4.5. Direncin Ölçülmesi (Ω)
Dikkat: Ensure the circuit or component under test is de-energized before measuring resistance.
- Set the rotary switch to the desired Resistance (Ω) range (e.g., 200Ω, 2kΩ, 200kΩ).
- Test uçlarını ölçülecek bileşene veya devreye bağlayın.
- LCD ekranda direnç değerini okuyun.
4.6. Diyot Testi (→|–)
- Set the rotary switch to the Diode Test (→|–) position.
- Connect the red test lead to the anode of the diode and the black test lead to the cathode.
- Ekranda ileri volüm gösterilecektirtage düşüşü (silikon diyotlar için tipik olarak 0.5V ila 0.8V).
- Reverse the leads. The display should show "OL" (Open Loop) for a good diode.
4.7. Transistor (hFE) Test
- Döner anahtarı hFE konumuna getirin.
- Transistörün NPN mi yoksa PNP mi olduğunu belirleyin.
- Insert the transistor's emitter, base, and collector leads into the corresponding sockets on the hFE test socket.
- Ekranda hFE (DC akım kazancı) değerini okuyun.
5. Bakım
5.1. Pil Değişimi
When the low battery indicator appears on the display, replace the 9V battery as described in Section 3.1. Using a low battery can lead to inaccurate readings.
5.2. Sigortanın Değiştirilmesi
If the current measurement function stops working, the fuse may need replacement. This operation should only be performed by qualified personnel.
- Multimetrenin KAPALI olduğundan ve tüm test uçlarının çıkarıldığından emin olun.
- Arka kapağı açın.asing of the meter (this may involve more screws than just the battery compartment).
- Locate the blown fuse and replace it with a fuse of the exact same type and rating (e.g., F200mA/250V for mA range, F10A/250V for 10A range). Refer to the internal markings or specifications for precise fuse ratings.
- Carefully reassemble the meter, ensuring all screws are tightened.
5.3. Temizlik
Sayaçları reklamla silinamp cloth and mild detergent. Do not use abrasives or solvents. Keep the meter dry.
6. Sorun Giderme
| Sorun | Olası Neden | Çözüm |
|---|---|---|
| Ekran yok veya soluk ekran | Düşük veya bitmiş pil | 9V pili değiştirin. |
| Yanlış okumalar | Low battery; Incorrect range selection; Poor test lead connection | Replace battery; Select appropriate range; Ensure leads are firmly connected. |
| Mevcut ölçüm çalışmıyor | Blown fuse; Incorrect lead connection for current | Replace fuse (see Section 5.2); Ensure red lead is in "VΩmA" or "10A" jack as appropriate. |
| "OL" (Aşırı Yük) görüntülendi | Measured value exceeds selected range; Open circuit (for resistance/continuity) | Daha yüksek bir aralık seçin; devrede kopukluk olup olmadığını kontrol edin. |
7. Özellikler
| Ölçüm Fonksiyonu | Menzil | Kesinlik |
|---|---|---|
| DC Hacmitage (V–) | 200mV, 2V, 20V, 200V, 1000V | ±(0.5% + 2 basamak) |
| AC Hacmitage (V∼) | 200V, 750V | ±(1.2% + 10 basamak) |
| DC Akımı (A–) | 200µA, 2mA, 20mA, 200mA, 10A | ±(1.0% + 2 basamak) |
| Direnç (Ω) | 200Ω, 2kΩ, 20kΩ, 200kΩ, 2MΩ | ±(0.8% + 2 basamak) |
| Diyot Testi | Evet | ileri sestage damla |
| Transistör (hFE) Testi | Evet | hFE value |
| Güç Kaynağı | 9V Battery (NEDA 1604 or 6F22) | |
| Görüntülemek | 3½ Digit LCD, Max. 1999 | |
| Boyutlar | Yaklaşık. 13.5 x 10 x 4 cm | |
| Ağırlık | Approx. 107 grams (without battery) | |
| Çalışma Sıcaklığı | 0°C ila 40°C (32°F ila 104°F) | |
| Depolama Sıcaklığı | -10°C ila 50°C (14°F ila 122°F) | |
| Güvenlik Standartları | CE, RoHS |
8. Garanti ve Destek
This Rebel MIE-RB-830 Digital Multimeter is covered by a standard manufacturer's warranty against defects in materials and workmanship. Please refer to the warranty card included with your purchase or contact your retailer for specific warranty terms and conditions.
For technical support or service inquiries, please contact the point of purchase or visit the official Rebel webiletişim bilgileri için site.