1. Giriş
This manual provides instructions for the installation, operation, and maintenance of your OHLUX Smart WiFi Light Bulbs. These LED bulbs offer advanced features including color-changing capabilities, dimming, and smart control via an app or voice assistants.
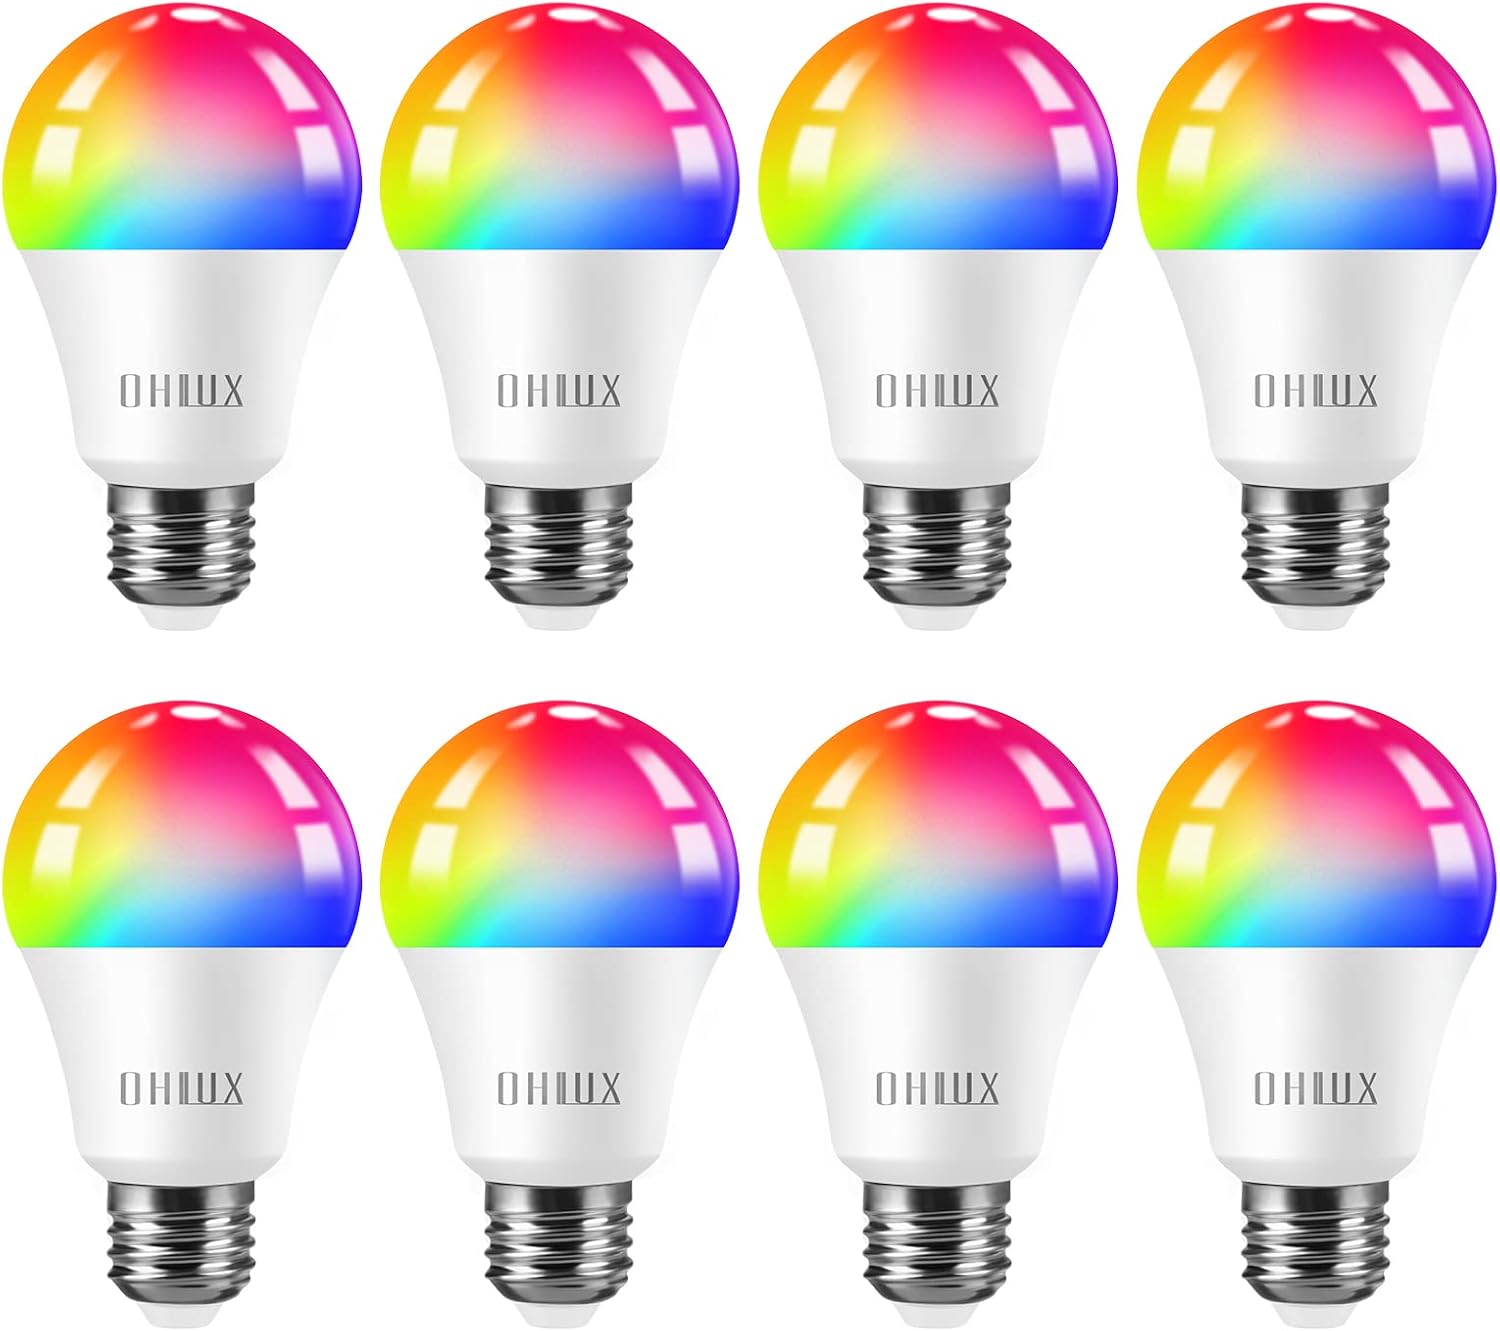
Figure 1: OHLUX Smart WiFi Light Bulbs (A19 E26)
2. Güvenlik Bilgileri
- Turn power off before installing or removing the bulbs.
- These bulbs are designed for indoor use only and are not waterproof.
- Operate with 100-240 Volts AC. Avoid higher voltage hasarı önlemek için.
- Read the user manual completely before installation and use.
3. Paket İçeriği
- OHLUX Smart WiFi Light Bulb(s) (Quantity as purchased)
- Kullanıcı Kılavuzu
4. Özellikler
| Marka | OHLUX |
| Model Adı | SQPA6009-A |
| Hafif Tip | NEDEN OLMUŞ |
| Netage | 10 Watt |
| Akkor Eşdeğeri | 80 Watt |
| Ampul Şekli Boyutu | A19 |
| Ampul Tabanı | E26 |
| Parlaklık | 900 Lümen |
| Açık Renk | Multicolor (2700-6500K adjustable) |
| Cilttage | 120 Volt (AC) |
| Ortalama Hayat | 30,000 Saat |
| Kontrol Yöntemi | App, Voice (Alexa, Google Home, Siri) |
| İç/Dış Mekan Kullanımı | Kapalı |
5. Kurulum ve Kurulum
5.1 Fiziksel Kurulum
- Ensure the power to the light fixture is turned off at the switch before installation.
- Carefully screw the OHLUX Smart WiFi Light Bulb into a standard E26 socket.
- Turn the power back on at the switch. The bulb should light up.
5.2 Uygulama İndirme ve Eşleştirme
To control your smart bulbs, download the "Smart Life" app from your device's app store (Google Play Store for Android or Apple App Store for iOS). Alternatively, scan the QR code provided in the product packaging to download the app.
- Open the Smart Life app and register/log in.
- Ensure your mobile device's Wi-Fi and Bluetooth are enabled. The bulbs require a 2.4GHz Wi-Fi network for connection.
- To enter pairing mode, turn the light switch OFF-ON-OFF-ON-OFF-ON (3-5 times) until the bulb begins to blink rapidly.
- In the app, tap the "+" icon in the top right corner to add a device. The app should automatically discover the blinking bulb.
- Follow the on-screen prompts to connect the bulb to your 2.4GHz Wi-Fi network. You will need to enter your Wi-Fi password.
- Bağlantı kurulduktan sonra, daha kolay kontrol için ampulü yeniden adlandırabilirsiniz.
Video 1: Customer connect experience with Smart Life app. This video demonstrates the process of connecting the OHLUX Smart WiFi Light Bulb to the Smart Life application, including entering Wi-Fi details and device discovery.
Video 2: How to turn on Wi-Fi, Bluetooth, and location on your cellphone for device pairing. This video guides users through enabling necessary phone settings to facilitate the pairing process with the smart bulb.
6. Kullanım Talimatları
6.1 Uygulama Kontrolü
Once connected, you can control your OHLUX Smart WiFi Light Bulbs directly from the Smart Life app:
- Açık/Kapalı: Tap the power icon next to the bulb's name.
- Parlaklık: Adjust the brightness slider from 1% to 100%.
- Renk Sıcaklığı: In "White Mode," adjust the slider to change the white light from warm (2700K) to cool (6500K).
- Renk Seçimi: In "Color Mode," choose from 16 million colors using the color wheel. Adjust saturation and brightness as desired.
- Sahne Modları: Select from various preset scene modes (e.g., Night, Reading, Working, Leisure) or create custom scenes.
- Müzik Senkronizasyonu: The bulbs can change color and brightness in sync with music detected by your phone's microphone.

Figure 2: App interface showing 16 million color options and tunable white light.
6.2 Ses Kontrolü
The OHLUX Smart WiFi Light Bulbs are compatible with popular voice assistants. Link your Smart Life account to your Alexa, Google Home, or Siri account to enable voice commands.
- Example Komutları:
- "Alexa, oturma odasının ışığını aç."
- "Hey Google, yatak odası ışığını maviye ayarla."
- "Siri, dim the kitchen light to 50%."

Figure 3: Voice control integration with smart home devices.
6.3 Grup Kontrolü
In the Smart Life app, you can create groups of bulbs to control multiple lights simultaneously. This is useful for rooms with several bulbs or for controlling lights across different areas of your home.

Figure 4: Managing multiple smart bulbs with group control via the app.
6.4 Zamanlayıcı ve Program
Set schedules for your bulbs to turn on/off or change settings at specific times. Use the timer function for automatic shut-off after a set duration. Features like "Sunrise & Sunset" can automate lighting based on natural light cycles.

Figure 5: Setting timers and schedules for automated lighting.
7. Bakım
- Temizlemeden önce gücün kapalı olduğundan emin olun.
- Wipe the bulb with a soft, dry cloth. Do not use liquid cleaners.
- Avoid disassembling the bulb, as this will void the warranty.
8. Sorun Giderme
8.1 Bağlantı Sorunları
- Bulb not blinking: Ensure the power cycle (OFF-ON 3-5 times) is performed quickly and consistently.
- App not finding the bulb:
- Confirm your Wi-Fi network is 2.4GHz. These bulbs do not support 5GHz networks.
- Telefonunuzun Wi-Fi ve Bluetooth özelliğinin etkin olduğundan emin olun.
- Bring your phone closer to the bulb and Wi-Fi router during pairing.
- Wi-Fi yönlendiricinizi yeniden başlatın ve tekrar deneyin.
- Bulb frequently disconnects:
- Check your Wi-Fi signal strength in the bulb's location.
- Ensure your router is not overloaded with too many devices.
- Update the Smart Life app to the latest version.
8.2 Light Functionality Issues
- Bulb not responding to commands:
- Check if the bulb is connected to the app and online.
- İnternet bağlantınızın stabil olduğundan emin olun.
- For voice control, ensure the Smart Life skill/service is linked correctly in your voice assistant app.
- Yanlış renkler veya titreme:
- Perform a factory reset by repeating the OFF-ON cycle until the bulb blinks, then re-pair it.
- Ensure the bulb is not in an enclosed fixture that could cause overheating.
9. Garanti ve Destek
OHLUX products are designed for reliability and performance. For warranty information or technical support, please refer to the contact details provided on your product packaging or visit the official OHLUX website. Customer satisfaction is a priority, and support is typically available within 24 hours.


