1. Kurulum ve İlk Kullanım
This section guides you through the initial setup of your NEC VersaPro VK26TX-G laptop.
1.1 Kutudan Çıkarma ve İnceleme
Carefully remove the laptop and all accessories from the packaging. Verify that all components are present and undamaged. The standard package includes the laptop, AC adapter, and power cord.
1.2 Gücün Bağlanması
- Connect the AC adapter to the power input port on the side of the laptop.
- Güç kablosunu AC adaptörüne, ardından da duvardaki prize takın.
- İlk kullanımdan önce veya pil göstergesi yeterli şarj seviyesini gösterene kadar pilin en az 30 dakika şarj olmasına izin verin.

Image 1.1: The NEC VersaPro VK26TX-G laptop in an open position, displaying the Windows 10 desktop environment. This view shows the screen, keyboard, and touchpad, ready for initial setup.
1.3 İlk Önyükleme ve Windows Kurulumu
Press the power button located above the keyboard to turn on the laptop. Follow the on-screen instructions to complete the Windows 10 Pro setup process. This typically involves selecting your region, language, creating a user account, and connecting to a Wi-Fi network.
1.4 Çevre Birimlerini Bağlama
Dizüstü bilgisayarınızda harici cihazları bağlamak için çeşitli bağlantı noktaları bulunmaktadır:
- USB Bağlantı Noktaları: For mice, keyboards, external storage, and other USB devices.
- VGA Bağlantı Noktası: Harici monitörlere veya projektörlere bağlanmak için.
- LAN Bağlantı Noktası: Kablolu ağ bağlantıları için.
- Ses Jakları: Kulaklık veya harici hoparlörler için.

Resim 1.2: A view of the left side of the laptop, highlighting various connectivity ports such as USB, VGA, and the LAN port, essential for connecting external devices and networks.

Resim 1.3: A view of the right side of the laptop, showing additional USB ports and the integrated DVD-ROM drive, useful for optical media.
2. Dizüstü Bilgisayarınızı Çalıştırma
This section covers the basic operation of your NEC VersaPro VK26TX-G.
2.1 Açma/Kapama ve Uyku Modu
- Güç Açık: Güç düğmesine basın.
- Kapat: Başlat düğmesine, ardından Güç > Kapat seçeneğine tıklayın.
- Tekrar başlat: Başlat düğmesine tıklayın, ardından Güç > Yeniden Başlat'ı seçin.
- Uyumak: Başlat düğmesine tıklayın, ardından Güç > Uyku seçeneğine gidin veya dizüstü bilgisayarın kapağını kapatın.
2.2 Klavye ve Dokunmatik Yüzey
The laptop features a full-sized keyboard and a multi-touch touchpad for navigation.
- Klavye: Standard QWERTY layout with function keys (F1-F12) for various shortcuts (e.g., volume, brightness).
- Dokunmatik yüzey: Supports gestures like scrolling (two fingers), zooming (pinch), and right-click (two-finger tap or press bottom-right).
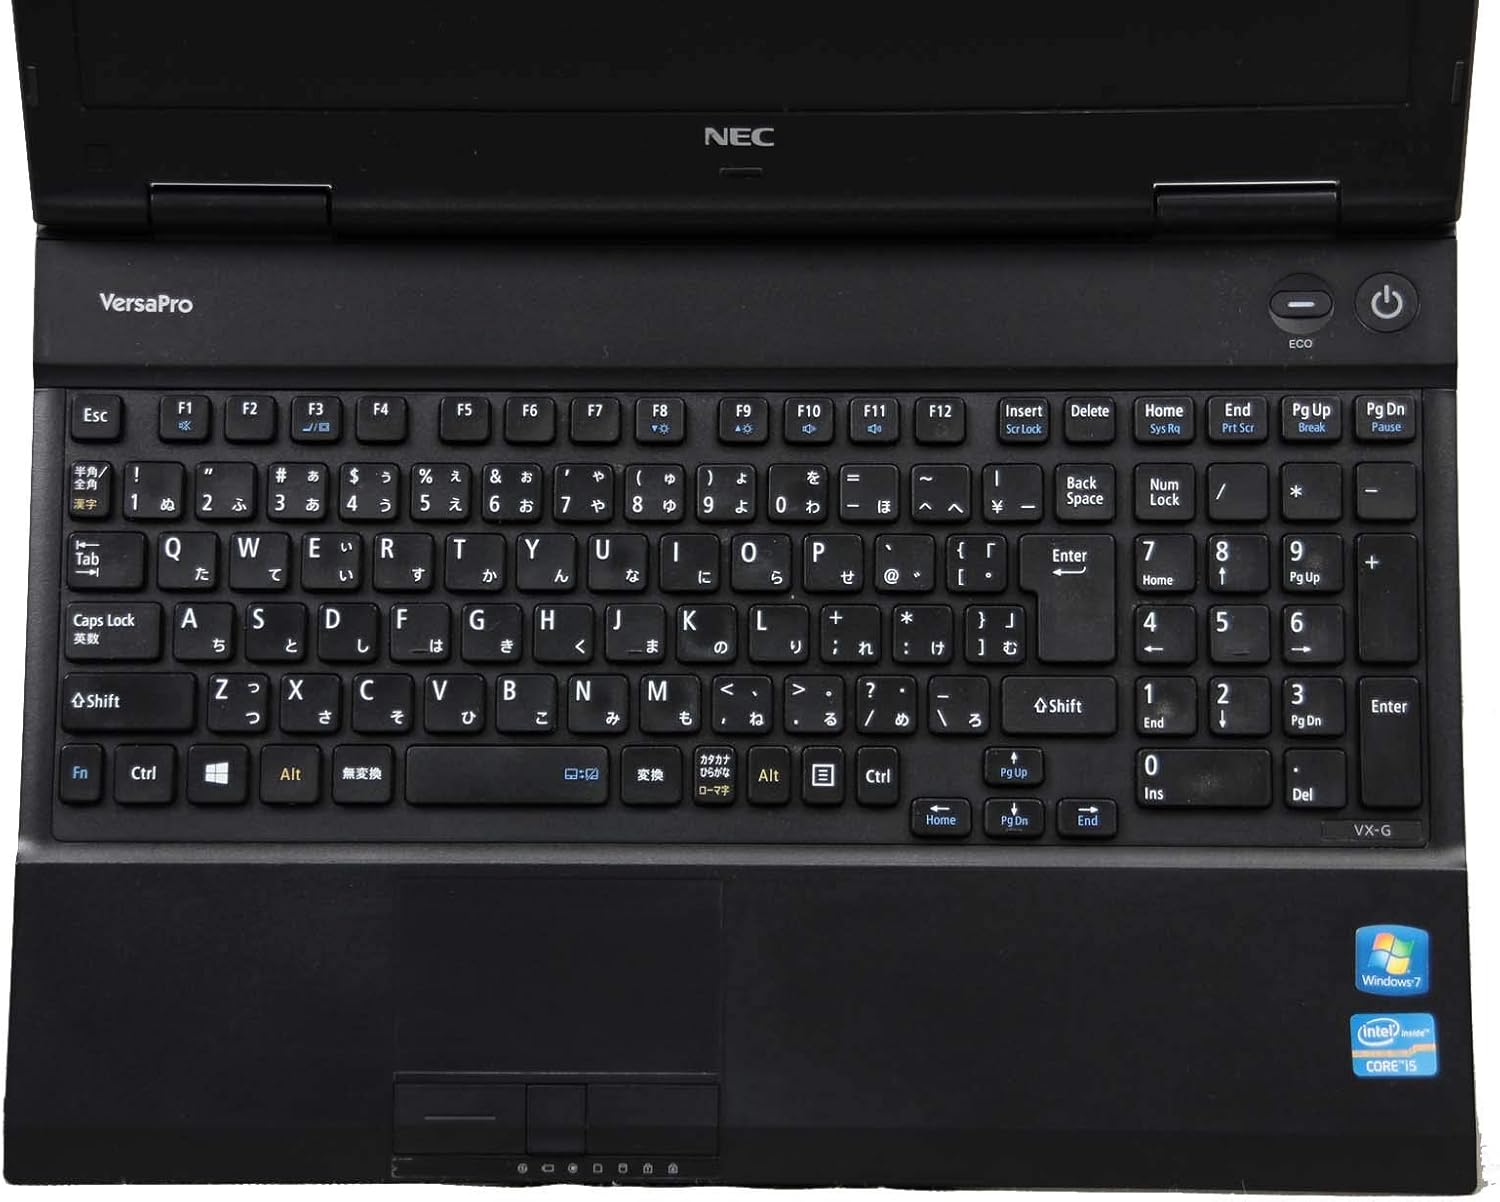
Resim 2.1: Yukarıdan aşağıya view of the laptop's keyboard and touchpad, illustrating the layout and input areas for user interaction.
2.3 Wi-Fi'ye Bağlanma
- Sistem tepsisindeki (ekranın sağ alt köşesinde) Wi-Fi simgesine tıklayın.
- İstediğiniz ağı listeden seçin.
- İstenirse ağ güvenlik anahtarını (parolayı) girin, ardından 'Bağlan'ı tıklayın.
2.4 Using the DVD-ROM Drive
The integrated DVD-ROM drive allows you to read optical discs. To open the tray, press the eject button located on the drive itself. Insert a disc, then gently push the tray back in. Windows will typically detect the disc automatically.
2.5 Windows 10 Pro and WPS Office
Dizüstü bilgisayarınız önceden yüklenmiş olarak gelir. Windows 10 Pro, offering advanced features for productivity and security. It also includes WPS Ofisi, a suite of applications compatible with Microsoft Office formats, for document creation, spreadsheets, and presentations.
3. Bakım ve Özen
Doğru bakım, dizüstü bilgisayarınızın uzun ömürlü olmasını ve optimum performans göstermesini sağlar.
3.1 Temizleme Talimatları
- Ekran: Özellikle elektronik cihazlar için tasarlanmış yumuşak, tiftiksiz bir bez kullanın.ampen it slightly with water or a screen cleaner. Do not spray liquid directly onto the screen.
- Klavye ve Şasi: Use a soft cloth, slightly dampened with water or a mild cleaning solution. For dust in crevices, use compressed air.
- Temizlemeden önce mutlaka dizüstü bilgisayarınızı kapatın ve fişini çekin.
3.2 Pil Bakımı
- Aşırı sıcaklıklardan kaçının.
- For optimal battery life, avoid constantly keeping the laptop plugged in at 100% charge. Occasionally allow the battery to discharge to around 20-30% before recharging.
- Dizüstü bilgisayarınızı uzun süre saklayacaksanız, pilin yaklaşık %50-60 oranında şarjlı olduğundan emin olun.
3.3 Yazılım Güncellemeleri
Regularly update your Windows operating system and device drivers to ensure security, stability, and performance. Windows Update can be accessed via Settings > Update & Security > Windows Update.
3.4 Veri Yedekleme
Veri kaybını önlemek için önemli verilerinizi düzenli olarak harici bir sürücüye veya bulut depolama alanına yedeklemeniz şiddetle tavsiye edilir.
4. Yaygın Sorunların Giderilmesi
Bu bölümde karşılaşabileceğiniz yaygın sorunlara yönelik çözümler sunulmaktadır.
4.1 Dizüstü Bilgisayar Açılmıyor
- AC adaptörünün hem dizüstü bilgisayara hem de çalışan bir elektrik prizine güvenli bir şekilde bağlandığından emin olun.
- Başka bir cihazı takarak elektrik prizinin çalışır durumda olduğunu doğrulayın.
- Pil tamamen boşalmışsa, açmayı denemeden önce birkaç dakika şarj olmasını bekleyin.
4.2 Ekranda Görüntü Yok
- Dizüstü bilgisayarın açık olup olmadığını kontrol edin.
- Adjust the screen brightness using the function keys (e.g., Fn + F2/F3).
- If an external monitor is connected, try disconnecting it or switching display modes (e.g., Fn + F7).
4.3 Wi-Fi Bağlantı Sorunları
- Wi-Fi'nin etkin olduğundan emin olun (sistem tepsisindeki Wi-Fi simgesini kontrol edin).
- Yönlendiricinizi ve modeminizi yeniden başlatın.
- Ağı unutun ve şifreyi tekrar girerek tekrar bağlanın.
- Run the Windows Network Troubleshooter (Settings > Network & Internet > Status > Network troubleshooter).
4.4 Yavaş Performans
- Arka planda çalışan gereksiz uygulamaları kapatın.
- Bekleyen Windows güncelleştirmelerini kontrol edin ve yükleyin.
- Run a disk cleanup and defragmentation (for HDD models).
- Kötü amaçlı yazılım veya virüs taraması yapın.
5. Özellikler
Detailed technical specifications for the NEC VersaPro VK26TX-G laptop.
| Özellik | Şartname |
|---|---|
| Marka | YÖK |
| Model Adı | VersaPro VK26TX G |
| Form Faktörü | Dizüstü bilgisayar |
| Ekran Boyutu | 15.6 inç |
| Çözünürlük | 1366 x 768 pixels (Full WXGA) |
| CPU Markası | Akıllı |
| CPU Türü | Çekirdek i5 |
| CPU Hızı | 2.6 GHz |
| RAM Kapasitesi | 4 GB |
| HDD Kapasitesi | 250 GB |
| Sabit Disk Türü | Sabit disk sürücüsü |
| İletişim | Wifi |
| İşletim Sistemi | Windows 10 Pro |
| Optik Sürücü | DVD-ROM |
6. Garanti ve Destek
Information regarding your product's warranty and available support services.
6.1 Ürün Garantisi
Bu ürün genellikle şunları içerir: 90 günlük garanti from the date of purchase. This warranty covers manufacturing defects and hardware malfunctions under normal use. Please refer to your purchase documentation for specific terms and conditions. Note that battery remaining capacity is generally not covered under warranty.

Image 6.1: An informational graphic highlighting the 90-day warranty period and the inclusion of a legitimate Windows OS license.
6.2 Müşteri Desteği
A dedicated support system is in place to assist you with any issues or inquiries. If you encounter a problem with the product, professional staff are available to help diagnose the situation, investigate the cause, and propose appropriate solutions, including exchanges or repairs if necessary.
For inquiries regarding the usage of software or applications, or for specific malfunctions, please contact the manufacturer's official support channels directly.
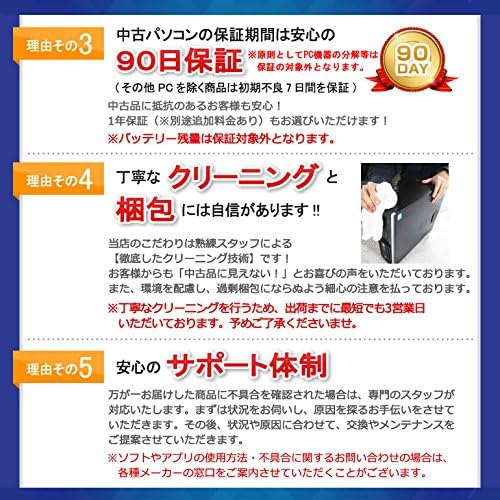
Image 6.2: An informational graphic outlining the comprehensive customer support system, including professional staff assistance for product issues.


