1. Giriş
This manual provides essential information for the proper installation, use, and maintenance of your Bianchi JPPTUBC Regular Tube. This inner tube is designed for bicycle tires, providing the necessary air retention to support the tire and allow for smooth riding. It is compatible with 700C bicycle wheels and tire widths between 28mm and 32mm.
2. Güvenlik Bilgileri
- Profesyonel Kurulum Önerilen: It is highly recommended to consult a bicycle shop with specialist knowledge when installing this product to ensure proper fitment and safety.
- Lastik Basıncı: Always inflate the tube to the pressure range specified on your bicycle tire sidewall. Do not overinflate or underinflate.
- Uyumluluk: Ensure the tube size (700C x 28/32C) and valve type (Presta) are compatible with your bicycle's wheel and tire specifications.
- Keskin Nesneler: Before installing a new tube, thoroughly inspect the inside of the tire for any sharp objects (glass, thorns, metal shards) that may have caused the previous puncture.
- Rim Strip: Verify that your rim strip is in good condition and properly covers the spoke holes to prevent punctures from the rim.
3. Ürün Özellikleri

Şekil 3.1: The Bianchi JPPTUBC Regular Tube, shown in its coiled packaging. This image displays the tube's compact form before installation, highlighting its black rubber material and the Bianchi branding visible on the side.
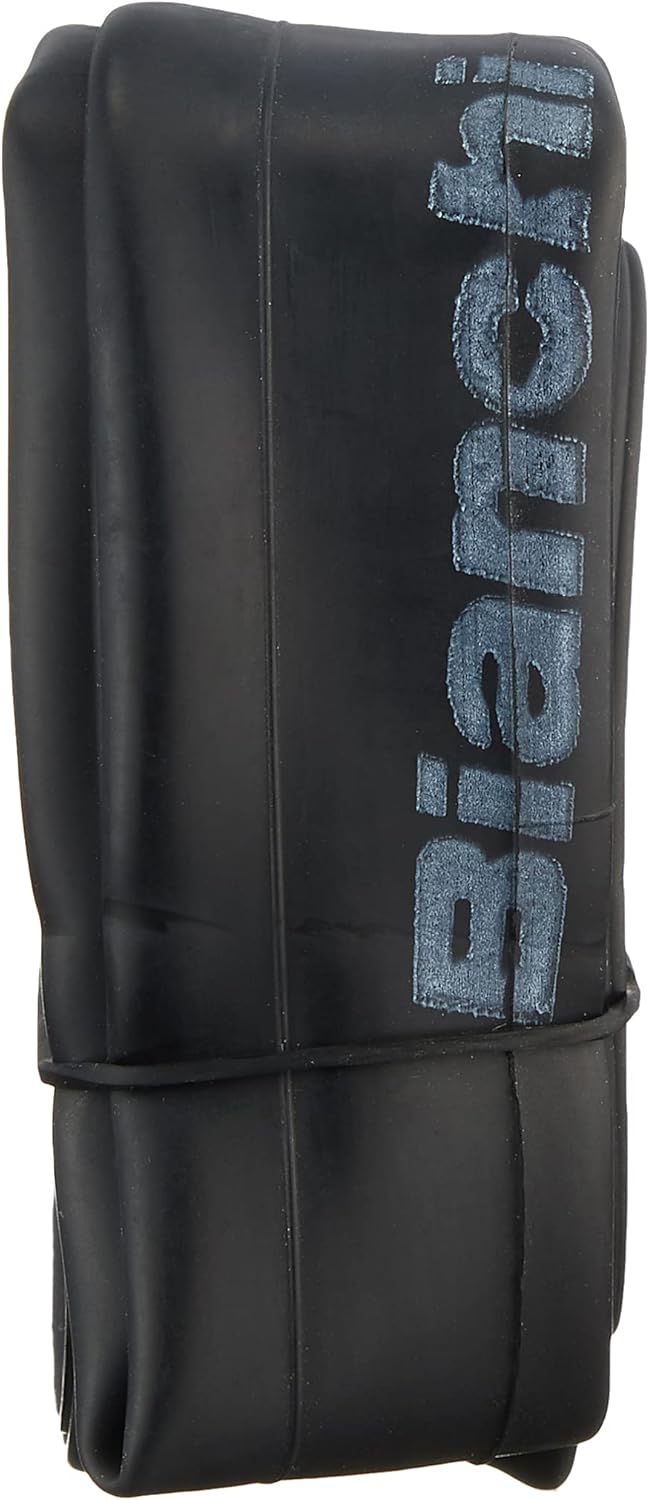
Şekil 3.2: Daha yakın view of the Bianchi JPPTUBC Regular Tube, folded to show the brand logo. This image emphasizes the texture of the rubber and the clear "Bianchi" lettering, indicating product authenticity.
- Valf Tipi: Presta Valve (French Valve) - known for its narrow profile and high-pressure capabilities.
- Compatible Size: 700C x 28-32C - suitable for 700C wheels with tires ranging from 28mm to 32mm in width.
- Valf Uzunluğu: 1.9 inches (48 mm) - appropriate for most standard road and hybrid bicycle rims.
- Malzeme: Durable Rubber construction for reliable air retention and puncture resistance.
- Ağırlık: Approximately 4.6 oz (130 g).
4. Kurulum Kılavuzu
Follow these steps carefully to install your Bianchi inner tube. For best results and safety, professional installation is recommended.
- Remove Wheel: Detach the wheel from your bicycle.
- Deflate and Remove Tire: If replacing an old tube, fully deflate the existing tube. Use tire levers to carefully pry one bead of the tire off the rim.
- Eski tüpü çıkarın: Pull out the old inner tube.
- Inspect Tire and Rim: Thoroughly inspect the inside of the tire for any sharp objects that may have caused a puncture. Check the rim strip for proper placement and condition.
- Slightly Inflate New Tube: Inflate the new Bianchi tube just enough to give it shape. This prevents it from twisting or pinching during installation.
- Valfi takın: Insert the Presta valve of the new tube through the valve hole in the rim. Ensure the valve is straight.
- Tuck Tube into Tire: Starting from the valve, carefully tuck the inner tube inside the tire, working your way around the rim. Ensure the tube is not twisted.
- Seat Tire Bead: Push the first tire bead fully onto the rim. Then, starting opposite the valve, carefully work the second tire bead onto the rim. Use your thumbs or tire levers, being careful not to pinch the tube.
- Sıkışma olup olmadığını kontrol edin: Before full inflation, push the valve stem up into the rim to ensure the tube's base is not caught under the tire bead. Work your way around the tire, gently pushing the tire bead away from the rim to ensure the tube is not pinched.
- Şişirmek: Slowly inflate the tube to the recommended pressure range indicated on your tire's sidewall. Check that the tire bead is evenly seated around the rim as you inflate.
- Tekerleği yeniden takın: Reattach the wheel to your bicycle, ensuring it is securely fastened.
5. Bakım İpuçları
- Düzenli Basınç Kontrolleri: Check your tire pressure before each ride. Proper inflation prevents pinch flats and improves riding performance.
- Lastikleri inceleyin: Periodically inspect your tires for cuts, cracks, or embedded debris. Remove any foreign objects to prevent future punctures.
- Uygun Şekilde Saklayın: When not in use, store your bicycle in a cool, dry place away from direct sunlight and extreme temperatures, which can degrade rubber.
- Valve Care: Keep the Presta valve cap on when not in use to protect the valve core from dirt and damage.
6. Yaygın Sorunların Giderilmesi
| Sorun | Olası Neden | Çözüm |
|---|---|---|
| Sık Sık Daireler | Sharp object in tire, worn rim strip, pinch flat from underinflation, incorrect tire pressure. | Inspect tire thoroughly for embedded debris. Replace worn rim strip. Maintain correct tire pressure. Ensure tube is not pinched during installation. |
| Vanadan Hava Kaçakları | Loose Presta valve core, damaged valve stem, dirt in valve. | Tighten the Presta valve core (clockwise). Clean valve area. If damaged, the tube may need replacement. |
| Lastikler Düzgün Oturmuyor | Tube pinched, tire bead not fully on rim. | Deflate slightly, push valve stem up, and work tire bead around the rim to ensure even seating. Re-inflate slowly. |
7. Özellikler
- Marka: Beyaz
- Model Adı: Tubing Regular 700 x 28/32C
- Parça Numarası: JPPTUBC
- Compatible Wheel Size: 700C
- Compatible Tire Width: 28 mm - 32 mm
- Valf Tipi: Presta
- Valf Uzunluğu: 48 mm (1.9 inç)
- Malzeme: Lastik
- Renk: Siyah
- Ağırlık: 130 gr (4.6 oz)
- Önerilen Kullanıcılar: Unisex-Yetişkin
- Paket Boyutları: 5.91 x 2.95 x 1.77 inç
- Üretici: Beyaz
- Model Yılı: 2017
8. Garanti ve Destek
Specific warranty information for the Bianchi JPPTUBC Regular Tube is not provided in this manual. For details regarding warranty coverage, returns, or technical support, please refer to the official Bianchi website or contact your authorized Bianchi dealer or the point of purchase. Always retain your proof of purchase for any warranty claims.
For additional assistance or inquiries, please visit the Bianchi Mağazası Amazon'da.


