giriiş
This manual provides instructions for the safe and efficient operation of your Reflecta 3-in-1 Slide, Negative, and Photo Scanner, Model 64220. Please read this manual thoroughly before using the device and keep it for future reference.
Güvenlik Talimatları
- Ensure the scanner is placed on a stable, flat surface.
- Do not expose the scanner to moisture or extreme temperatures.
- Use only the provided AC adapter and USB cable.
- Do not attempt to open or repair the scanner yourself. Refer all servicing to qualified personnel.
- Tarayıcıyı doğrudan güneş ışığından ve ısı kaynaklarından uzak tutun.
- Unplug the scanner from the power source when not in use for extended periods or during cleaning.
- Bu cihaz yalnızca iç mekanda kullanıma yöneliktir.
Paket İçeriği
Before first use, please check that all items are present in the package:
- Reflecta 3-in-1 Scanner Unit
- Slide Holder (for 4 slides)
- Negative Holder (for film strips up to 6 images)
- Photo Holder (for 9x13, 10x15, and 13x18 cm photos)
- AC Adaptörü
- USB kablosu

Şekil 1: Dahil Olan Aksesuarlar
This image displays the various holders for slides, negatives, and photos, along with the power adapter and USB cable that come with the Reflecta 3-in-1 Scanner.
Ürün Bittiview
The Reflecta 3-in-1 Scanner is designed to digitize various types of media.
- Ana Ünite: Contains the scanning sensor, display, control buttons, and media input slots.
- Ekran Görüntüsü: A 2.4-inch screen for previewing scans and navigating menus.
- Kontrol Düğmeleri: Buttons for power, navigation, and scanning functions.
- Media Slots: Dedicated slots for slide, negative, and photo holders.
- USB Bağlantı Noktası: For connecting to a computer and power.
- SD Kart Yuvası: For saving scanned images directly to an SD card.
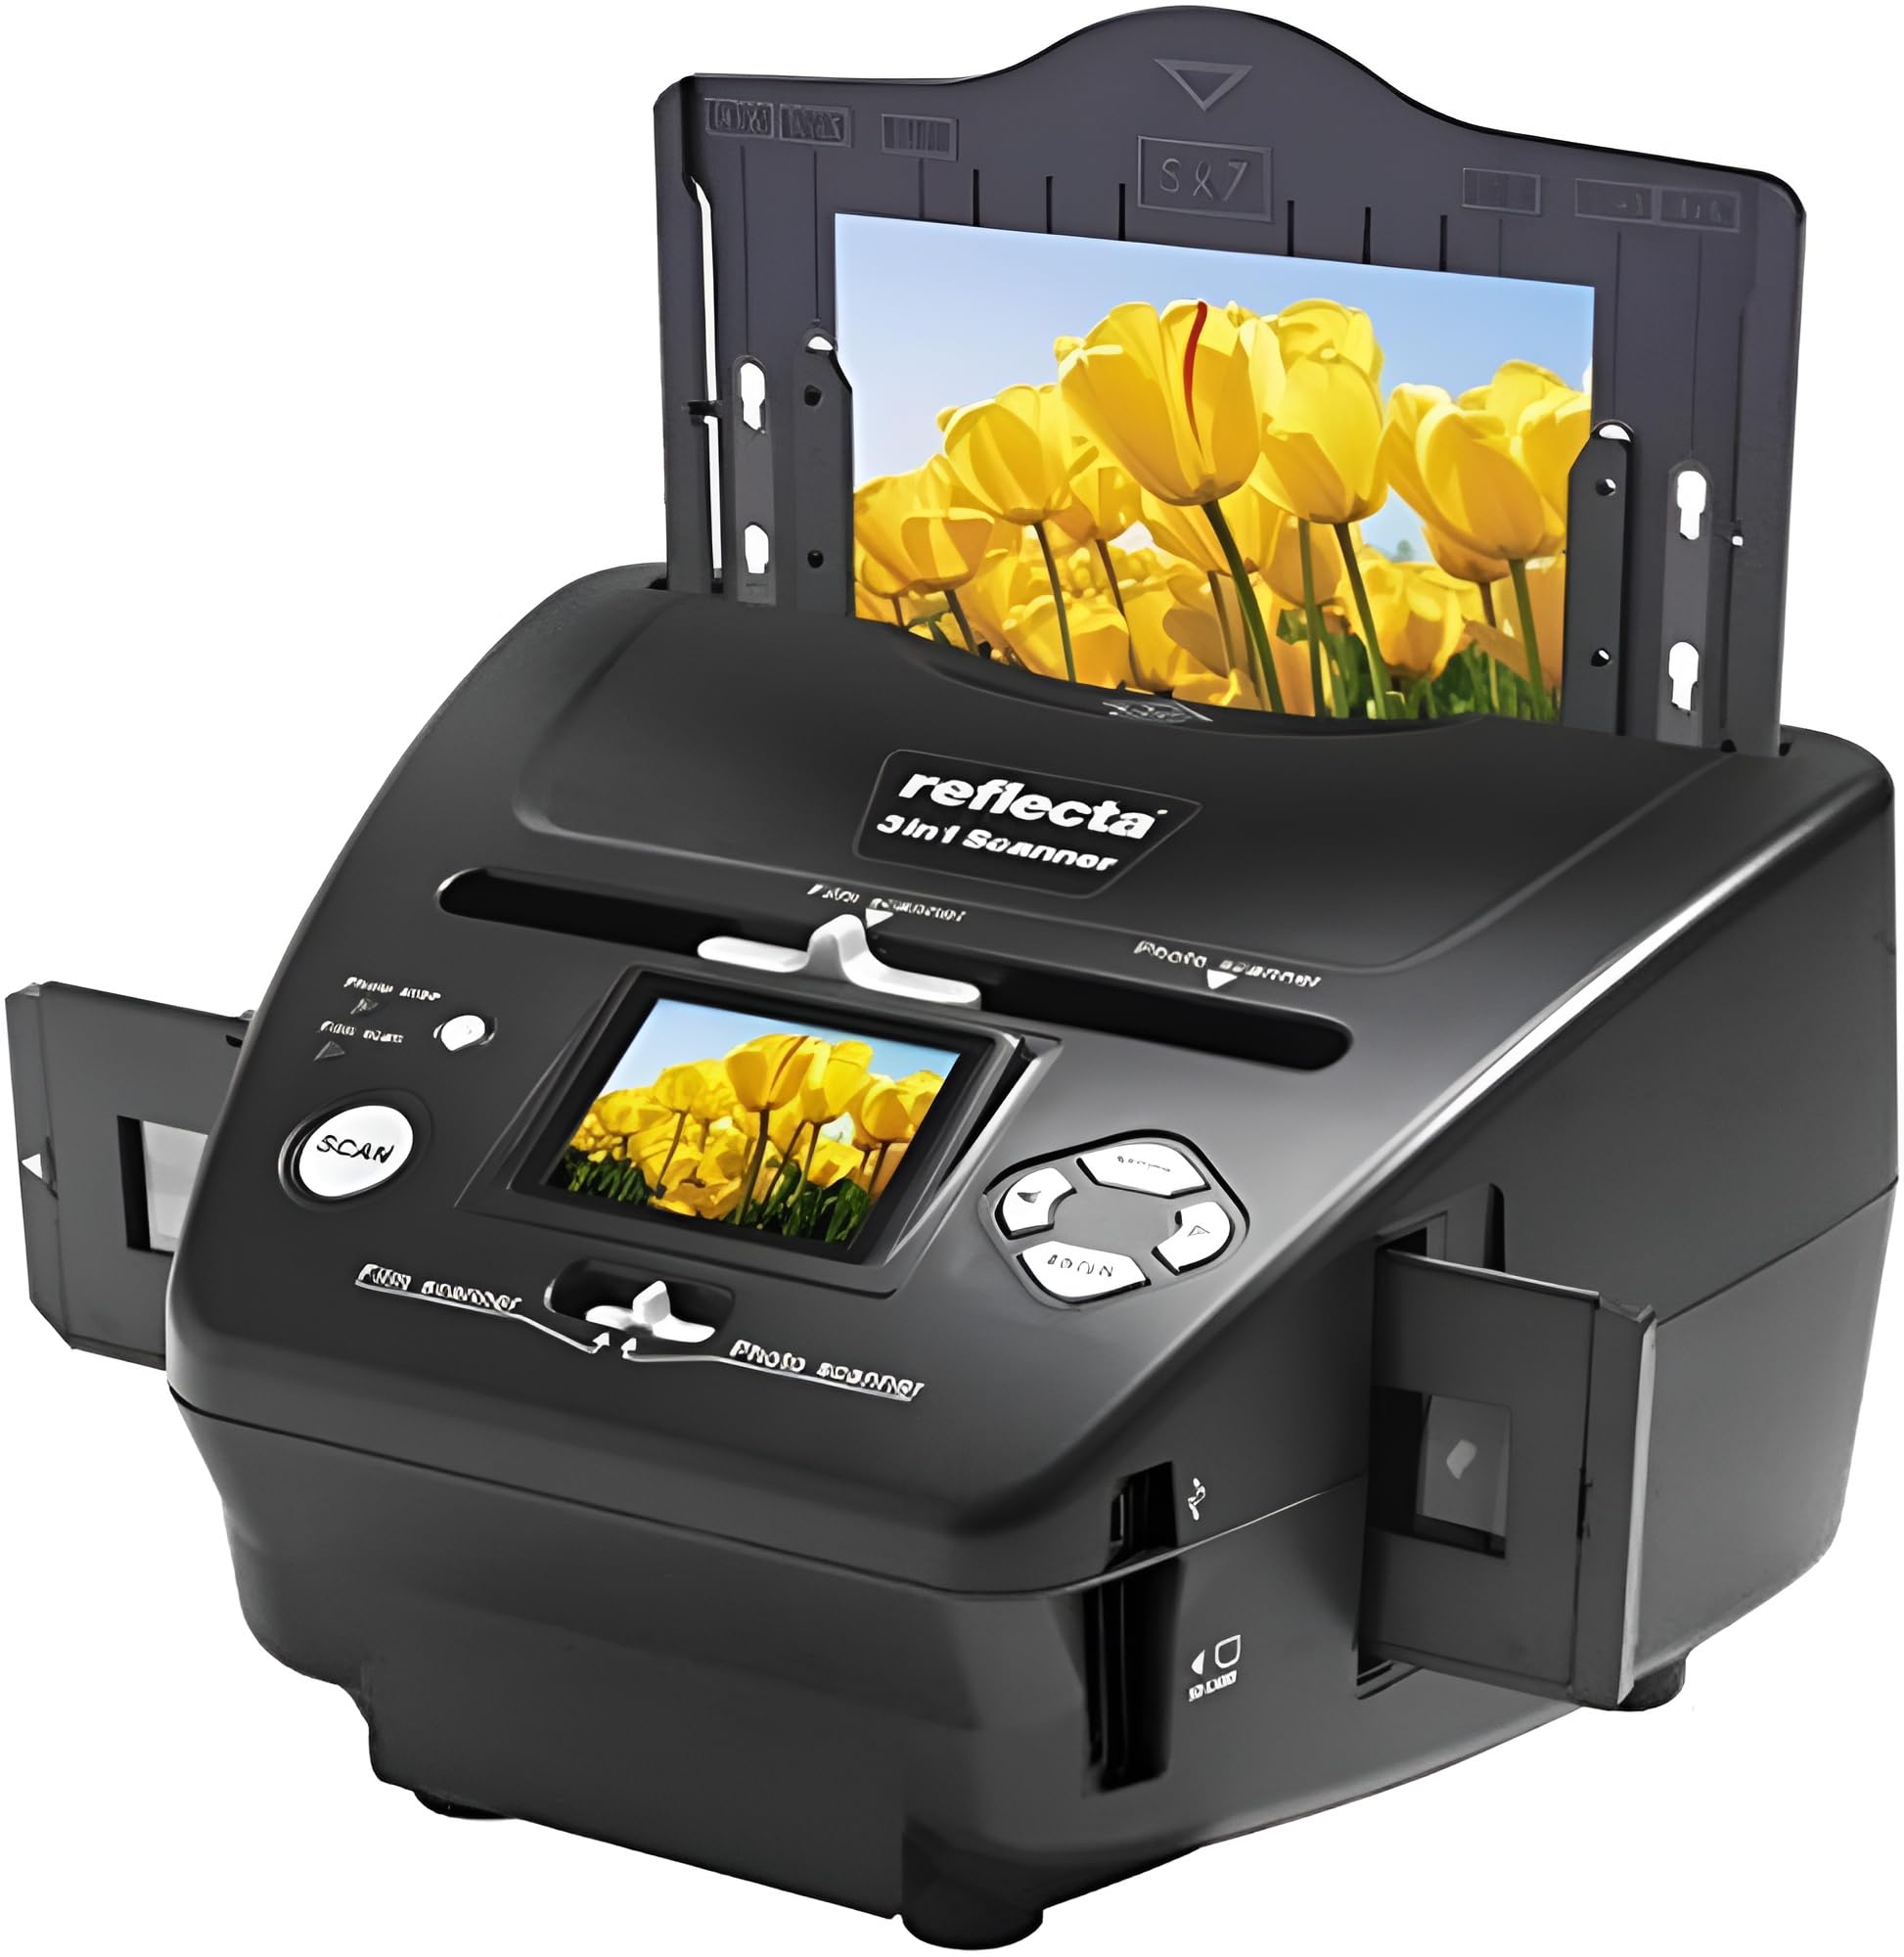
Figure 2: Reflecta 3-in-1 Scanner Front View
This image shows the main unit of the scanner, highlighting the central display screen, control buttons, and the slot for inserting media holders on the right side.
Kurmak
- Paketin açılması: Tüm bileşenleri dikkatlice ambalajından çıkarın.
- Atama: Tarayıcıyı sabit ve düz bir yüzeye yerleştirin.
- Güç Bağlantısı:
- USB kablosunun küçük ucunu tarayıcının USB bağlantı noktasına bağlayın.
- USB kablosunun kalın ucunu AC adaptörüne bağlayın.
- AC adaptörünü standart bir elektrik prizine takın.
- Alternatively, connect the large end of the USB cable directly to a powered USB port on your computer.
- SD Card Insertion (Optional): If you wish to save scans directly to an SD card, insert a compatible SD card into the SD card slot on the side of the scanner until it clicks into place. Ensure the card is inserted in the correct orientation.

Figure 3: Scanner Side Panel
This image illustrates the side of the scanner, clearly showing the USB port for power and data transfer, and the SD card slot for direct storage of scanned images.
Kullanım Talimatları
Açma/Kapatma:
- Press the Power button to turn the scanner on.
- Press and hold the Power button to turn the scanner off.
Menülerde Gezinme:
- Use the navigation buttons (Up, Down, Left, Right) to move through menu options on the 2.4-inch display.
- Press the 'OK' or 'Scan' button to select an option or confirm an action.
1. Scanning Slides
- Slayt tutucuyu açın.
- Carefully place up to four mounted slides into the designated slots in the slide holder. Ensure the slides are oriented correctly (emulsion side facing down, or as indicated by the holder).
- Close the slide holder securely.
- Insert the loaded slide holder into the scanner's slide input slot.
- On the scanner's display, select "Slide Scan" mode (if applicable, menu options may vary).
- Use the navigation buttons to preview each slide on the display.
- Press the 'Scan' button to capture the image.
- Repeat for all slides.
- Remove the slide holder when finished.

Figure 4: Scanning Slides
This image shows the Reflecta scanner with a slide holder fully inserted into its designated slot, indicating readiness for slide scanning operations.
2. Scanning Negatives
- Negatif tutucuyu açın.
- Carefully place a strip of negatives (up to 6 frames) into the designated channel in the negative holder. Ensure the negatives are flat and correctly aligned.
- Close the negative holder securely.
- Insert the loaded negative holder into the scanner's negative input slot.
- On the scanner's display, select "Negative Scan" mode (if applicable).
- Use the navigation buttons to preview each negative frame. The scanner will automatically convert the negative image to a positive on the display.
- Press the 'Scan' button to capture the image.
- Advance the film strip within the holder to the next frame and repeat.
- Remove the negative holder when finished.
3. Scanning Photos
- Open the photo holder.
- Place a photo (9x13 cm, 10x15 cm, or 13x18 cm) onto the photo holder's scanning area. Ensure the photo is flat and centered.
- Close the photo holder securely.
- Insert the loaded photo holder into the scanner's photo input slot.
- On the scanner's display, select "Photo Scan" mode (if applicable).
- Önview the photo on the display.
- Press the 'Scan' button to capture the image.
- Repeat for additional photos.
- Remove the photo holder when finished.
Saving Scans:
- Scanned images are typically saved to the inserted SD card.
- To transfer images to a computer, connect the scanner to your computer using the USB cable. The scanner should appear as a removable storage device.
- Alternatively, remove the SD card from the scanner and insert it into a compatible card reader connected to your computer.
Bakım
- Tarayıcının Temizlenmesi: Use a soft, dry, lint-free cloth to wipe the exterior of the scanner.
- Cleaning the Scanning Area: If dust or smudges appear on your scans, gently clean the glass scanning surface with a specialized lens cleaning cloth or air blower. Do not use abrasive cleaners or solvents.
- Holder Care: Keep the slide, negative, and photo holders clean and free of dust or debris to ensure optimal scanning quality.
Sorun giderme
- Tarayıcı açılmıyor:
- Check if the AC adapter is securely connected to both the scanner and the power outlet.
- If using USB power, ensure the USB cable is connected to a powered USB port.
- Scans are blurry or dusty:
- Ensure the slides, negatives, or photos are clean and free of dust.
- Clean the scanner's glass scanning surface as described in the Maintenance section.
- Ensure the media is correctly seated in its holder and the holder is fully inserted into the scanner.
- Cannot save images to SD card:
- Check if an SD card is properly inserted.
- SD kartın dolu olmadığından emin olun.
- Verify the SD card is not write-protected.
- Try formatting the SD card (this will erase all data on the card).
- Tarayıcı bilgisayar tarafından tanınmıyor:
- USB kablosunun hem tarayıcıya hem de bilgisayara güvenli bir şekilde bağlandığından emin olun.
- Bilgisayarınızda farklı bir USB bağlantı noktası deneyin.
- Bilgisayarınızı ve tarayıcınızı yeniden başlatın.
Özellikler
| Marka | Yansıtıcı |
| Üretici | Yansıtıcı |
| Model Numarası | 64220 |
| Ürün Boyutları | 20.8x22x14.7 cm |
| Ürün Ağırlığı | 1.2 kilo |
| Renk | Siyah |
| Standing Screen Size | 2.4 inç |
| Netage | 3600 watt (Note: This value may be a misinterpretation from the source data.) |
| Güç Kaynağı | USB |
| Lityum Pil Ağırlığı | 1200 Gram (Note: This device is USB-powered; this value may refer to internal components or be a data error.) |
| Tarayıcı Türü | Film (Slide, Negative, Photo) |
| Bağlantı Teknolojisi | USB 2.0 |
| Çözünürlük | 1800 dpi |
| Renk Derinliği | 36 bpp |
| Standart Kağıt Kapasitesi | 24 (Refers to media capacity, e.g., slides or negatives) |
Garanti ve Destek
- Garanti Bilgileri: For warranty details, please refer to the warranty card included with your product or visit the official Reflecta webalan.
- Yazılım Güncellemeleri: Guaranteed software updates until April 13, 2030.
- Müşteri Desteği: For technical assistance or service inquiries, please contact Reflecta customer support through their official website veya ürün dokümantasyonunuzda sağlanan iletişim bilgileri.


