1. Ürün Bittiview
The Lutron Maestro MS-OPS6M2N-DV-WH is an advanced occupancy/vacancy sensor switch designed to automatically control lighting in a room. This device utilizes passive infrared (PIR) technology to detect human motion and presence, ensuring lights are only on when needed. It combines the functionality of a standard light switch with an integrated motion sensor, offering convenience and energy savings.
Temel Özellikler:
- Passive infrared motion detection with Lutron XCT technology for fine motion sensing.
- 180-degree sensor field-of-view for comprehensive room coverage.
- Requires a neutral wire for installation.
- Occupancy version supports both auto-on/auto-off and manual-on/auto-off modes.
- Vacancy version is available to comply with CA Title 24 requirements.
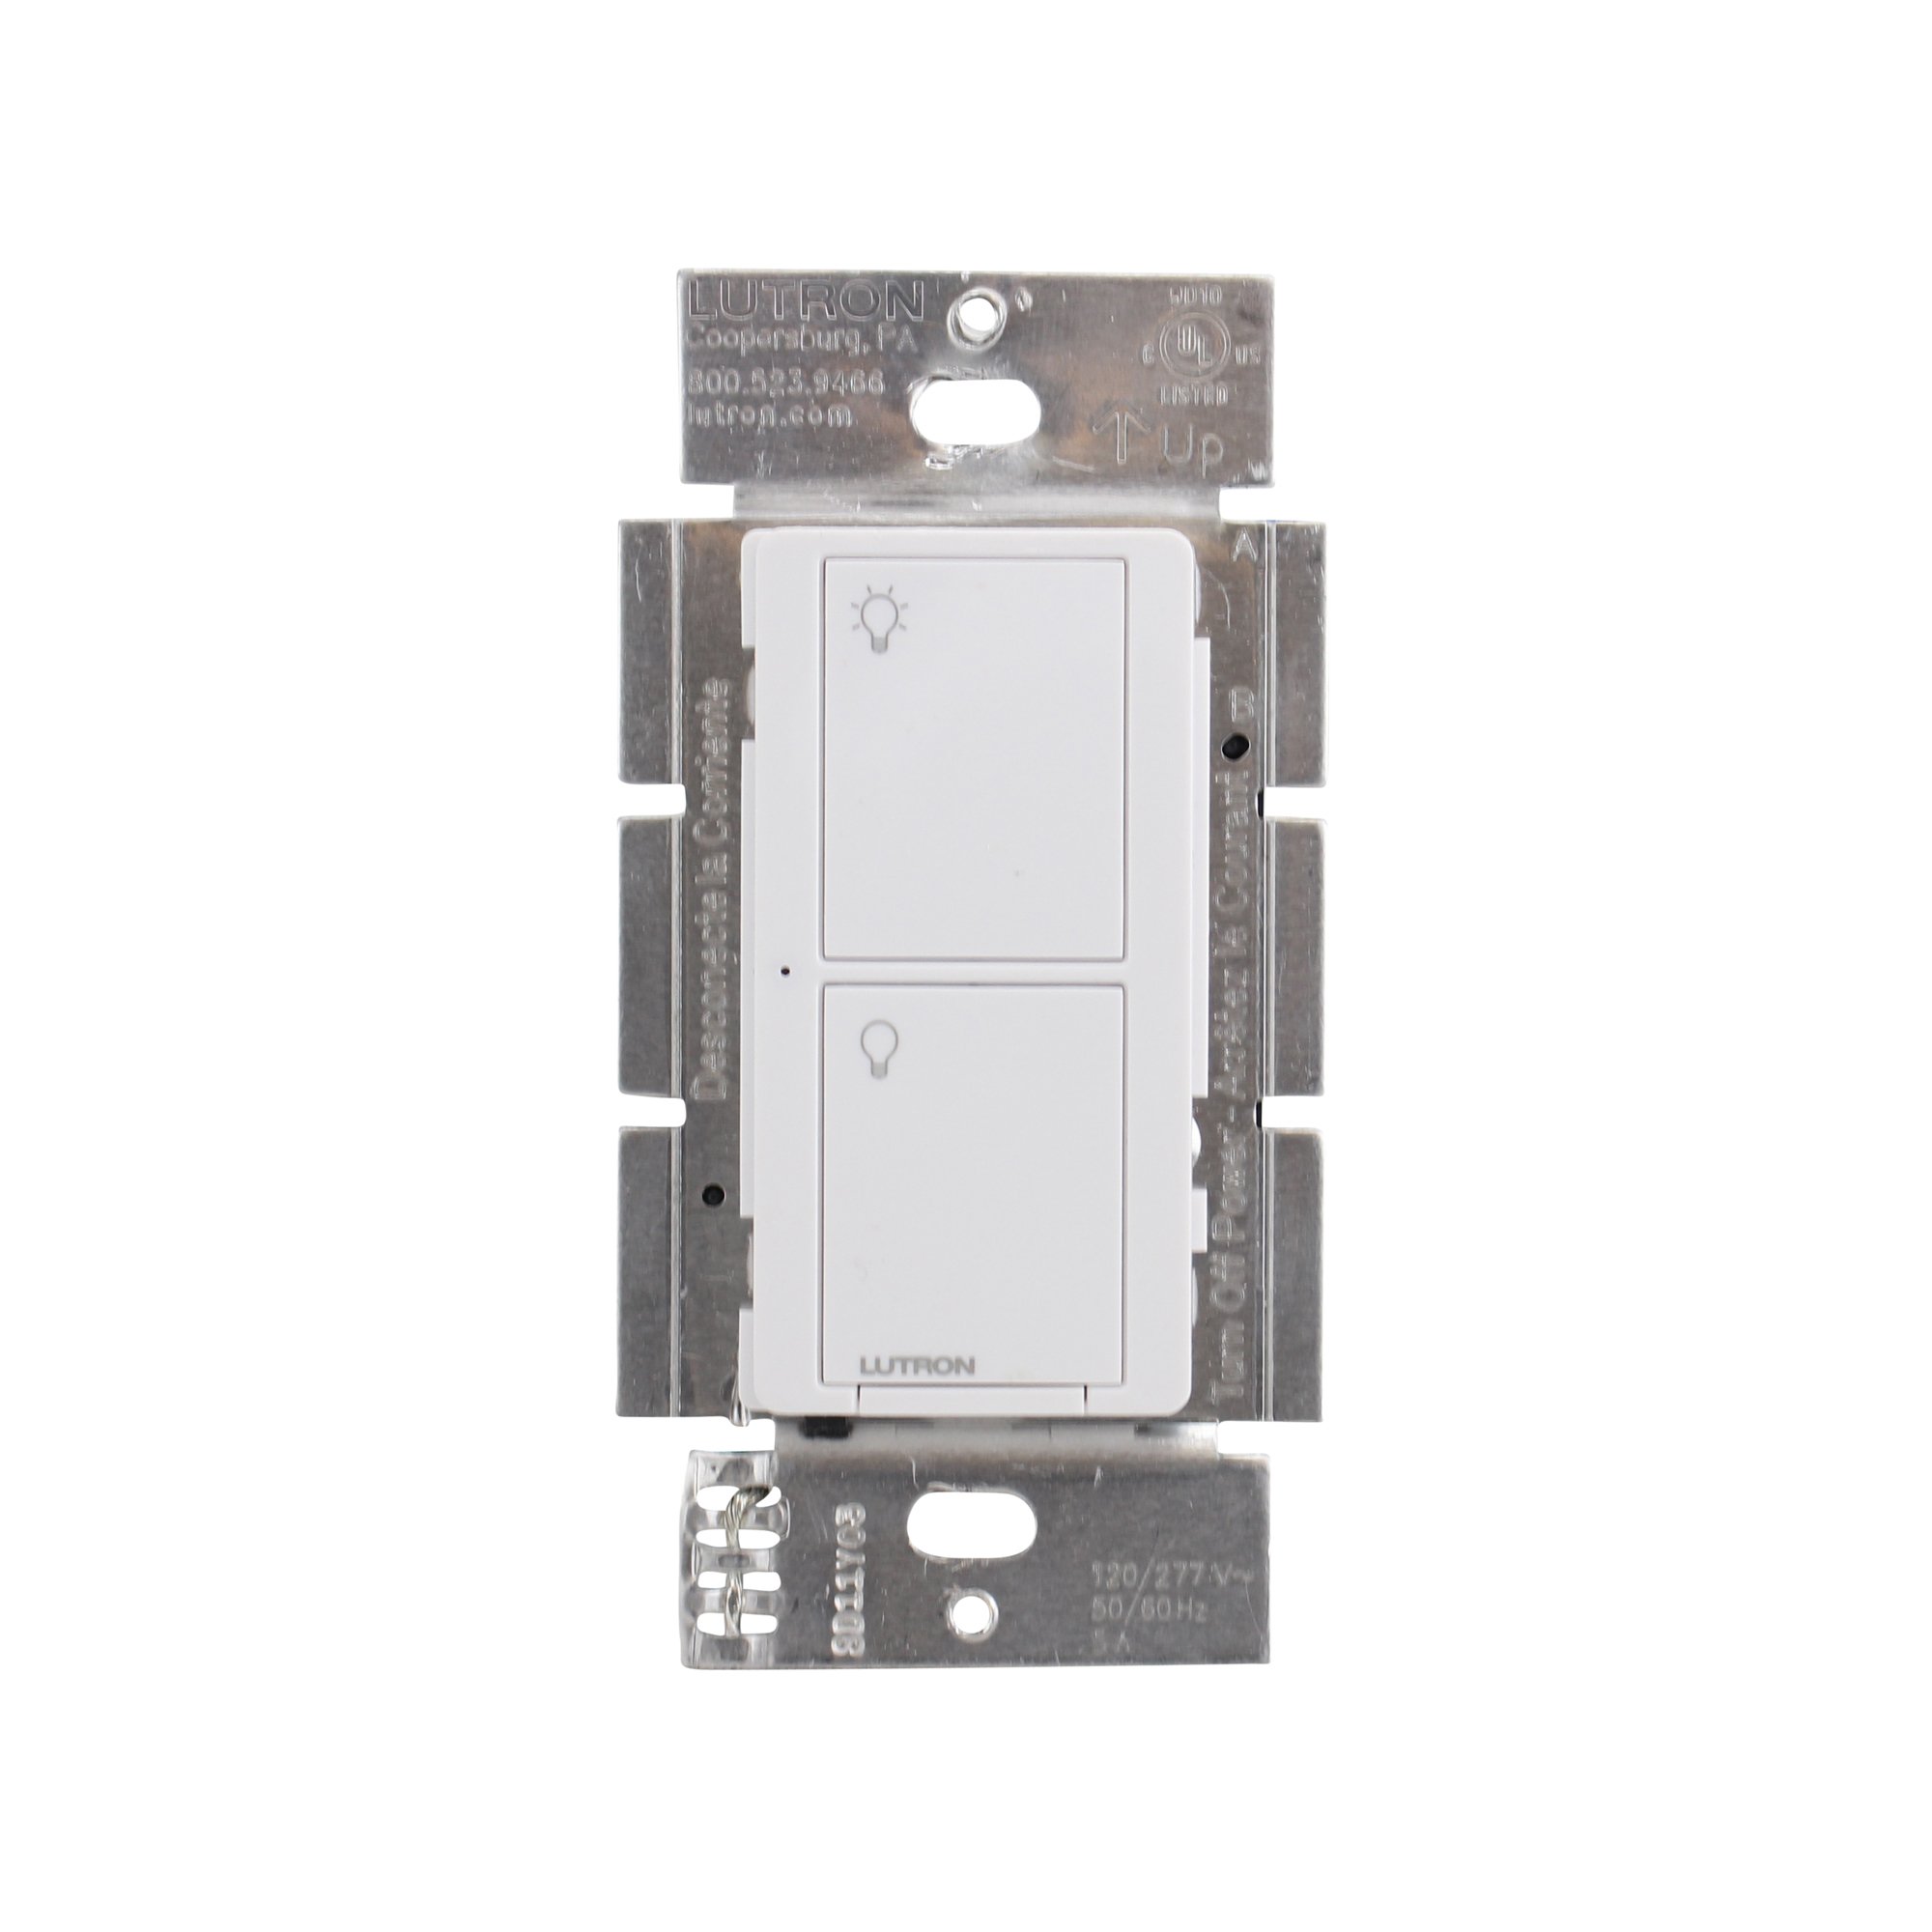
Şekil 1: Ön view of the Lutron Maestro MS-OPS6M2N-DV-WH sensor switch.
2. Kurulum ve Kurulum
Önemli Güvenlik Bilgileri: Before beginning installation, turn off power at the circuit breaker or fuse box. Incorrect installation can lead to electrical shock or fire. If you are unsure about any part of these instructions, consult a qualified electrician.
Gerekli Araçlar: Screwdriver (Phillips and flathead), wire strippers, electrical tape.
2.1 Kablolama Talimatları
- Gücü Kapatın: Değiştireceğiniz şalteri kontrol eden devre kesiciyi bulun ve KAPATIN. Ses seviyesi göstergesi kullanarak gücün kapalı olduğunu doğrulayın.tage test cihazı.
- Mevcut Anahtarı Kaldır: Duvar plakasını dikkatlice çıkarın ve mevcut anahtarı duvar kutusundan sökün. Eski anahtardan kabloları ayırın.
- Kabloları Tanımlayın:
- Hot (Line) Wire: Typically black, brings power from the circuit breaker.
- Yük Teli: Typically black, connects to the light fixture.
- Nötr Tel: Typically white, required for this switch.
- Topraklama kablosu: Genellikle ham bakır veya yeşil renktedir.
Note: If you are replacing a 3-way switch, you will also have traveler wires. This model supports 3-way circuits. Refer to the detailed wiring diagram for 3-way installations.
- Connect Wires to Maestro Switch:
- Bağlan topraklama teli from the wall box to the green ground wire on the Maestro switch.
- Bağlan nötr tel from the wall box to the white neutral wire on the Maestro switch.
- Bağlan hot (line) wire Ve load wire from the wall box to the two black wires on the Maestro switch. If the light does not function correctly, swap these two black wires.
- For 3-way applications, connect the traveler wires as per the specific 3-way wiring diagram provided with the product packaging.
- Güvenli Anahtar: Carefully push the wired switch into the wall box, ensuring wires are not pinched. Screw the switch into place.
- Duvar Plakasını Takın: Dekoratif duvar plakasını takın.
- Gücü Geri Yükle: Devre kesiciden gücü tekrar AÇIN.

Şekil 2: Ör.ample wiring diagram for a single-pole installation. Consult the included manual for 3-way wiring.
3. Kullanım Talimatları
The Maestro sensor switch offers flexible operation modes to suit various needs.
3.1 Çalışma Modları
- Occupancy Mode (Auto-On/Auto-Off): In this mode, the lights automatically turn ON when motion is detected and automatically turn OFF after a set time delay when no motion is detected. This is ideal for high-traffic areas where hands-free operation is desired.
- Vacancy Mode (Manual-On/Auto-Off): In this mode, the lights must be manually turned ON by pressing the switch button. They will then automatically turn OFF after a set time delay when no motion is detected. This mode is often used to meet energy codes and provides more control over when lights are initially activated.
3.2 Ayarların Yapılması
The Maestro sensor switch typically has small buttons or dip switches behind the wall plate for adjusting settings such as:
- Zaman Gecikmesi: How long the lights remain on after the last detected motion (e.g., 1, 5, 15, 30 minutes).
- Hassasiyet: The level of motion required to trigger the sensor.
- Çalışma Modu: Switching between Occupancy (Auto-On) and Vacancy (Manual-On) modes.
Refer to the detailed instructions included with your product for specific steps on how to access and adjust these settings.
4. Bakım
The Lutron Maestro sensor switch requires minimal maintenance to ensure optimal performance.
- Temizlik: To clean the surface of the switch, use a soft, damp Bez kullanın. Aşındırıcı temizleyiciler, çözücüler veya sert kimyasallar kullanmayın, çünkü bunlar yüzeye veya iç bileşenlere zarar verebilir.
- Sensör Engellenmesi: Ensure the sensor lens is not obstructed by furniture, curtains, or other objects that could block its field of view. A clear path to the sensor is crucial for accurate motion detection.
- Toz Birikimi: Periodically wipe the sensor lens to prevent dust accumulation, which can reduce sensitivity.
5. Sorun Giderme
If you encounter issues with your Maestro sensor switch, refer to the following common troubleshooting steps:
- Lights do not turn ON automatically (Occupancy Mode):
- Verify the sensor's field of view engellenmemiştir.
- Check the sensitivity setting; it might be too low.
- Ensure the switch is in Occupancy (Auto-On) mode.
- Confirm power is supplied to the switch.
- Lights do not turn OFF:
- Ensure there is no continuous motion within the sensor's range.
- Check the time delay setting; it might be set too long.
- Verify the switch is correctly wired, especially the load wire.
- Lights flicker or behave erratically:
- Confirm that a neutral wire is properly connected. This switch requires a neutral wire for stable operation.
- Tüm kablo bağlantılarının güvenli olduğundan emin olun.
- If in a 3-way setup, ensure compatible companion switches are used and wired correctly.
- Anahtar yanıt vermiyor:
- Turn off power at the circuit breaker for 15 seconds, then restore power. This can reset the switch.
- Tüm kablo bağlantılarının gevşek veya yanlış yerleştirilmiş olup olmadığını kontrol edin.
If these steps do not resolve the issue, contact Lutron customer support for further assistance.
6. Özellikler
| Özellik | Detay |
|---|---|
| Model Numarası | MS-OPS6M2N-DV-WH |
| Marka | Lutron |
| Çalışma Modu | Otomatik olarak |
| İletişim Türü | Normalde Açık |
| Bağlayıcı Türü | Vida Terminalleri |
| terminal | Vida |
| Ürün Boyutları (U x G x Y) | 2.2 x 2.2 x 4.5 inç |
| Devre tipi | 3 yollu |
| Aktüatör Tipi | Basmalı Düğme |
| İletişim Malzemesi | Bakır |
| Uluslararası Koruma Derecelendirmesi | IP54 |
| Kontrol Yöntemi | Dokunmak |
| Bağlantı Protokolü | Kızılötesi |
| Renk | Beyaz |
| Ürün Ağırlığı | 3.52 ons |
| Nötr Tel Gerekli | Evet |
7. Ürün Videoları
7.1 Lutron Maestro Sensor Switch Overview
Video 1: Bir overview of the Lutron Maestro sensor switch features and benefits. This video provides a general introduction to the product's capabilities.
7.2 Advanced Features and Configuration
Video 2: A detailed look into the advanced features and configuration options of the Lutron Maestro sensor switch, including setting adjustments.
8. Garanti Bilgileri
Lutron products typically come with a limited warranty covering defects in materials and workmanship. For specific warranty terms and conditions applicable to your MS-OPS6M2N-DV-WH sensor switch, please refer to the warranty card included in the product packaging or visit the official Lutron webSite. Satın alma belgenizi garanti talepleriniz için saklayın.
9. Müşteri Desteği
For technical assistance, troubleshooting, or product inquiries, please contact Lutron customer support. You can find contact information on the official Lutron website içinde veya ürün dokümanında.
Çevrimiçi Kaynaklar:
- Resmi ziyaret edin Lutron Store on Amazon Daha fazla ürün ve bilgi için.
- Refer to the comprehensive FAQs and support documents available on the Lutron corporate webalan.


