1. Giriş
This manual provides detailed instructions for the installation, operation, and maintenance of your Urmet 925/102 2-Button 1-Row Intercom Push Button Panel. This external unit is designed for wired intercom systems, offering reliable communication and access control for your property. Please read this manual carefully before installation and use to ensure proper function and safety.
2. Güvenlik Bilgileri
- Elektriksel Güvenlik: Installation should only be performed by qualified personnel to prevent electrical hazards. Ensure power is disconnected before any wiring work.
- Çevresel Koşullar: The unit has an IP33 protection rating, meaning it is protected against solid objects larger than 2.5 mm and against spraying water. It is not waterproof. Avoid direct exposure to heavy rain or submersion.
- Korozyon Direnci: The aluminum front panel is designed for corrosion resistance according to DIN 5342/64 standards.
- Doğru Kullanım: Use the product only for its intended purpose as an intercom push button panel. Any unauthorized modifications may void the warranty and pose safety risks.
3. Paket İçeriği
Paketin tüm bileşenlerinin mevcut olduğunu doğrulayın:
- Urmet 925/102 Push Button Panel (Front Panel)
- Sabitleme Çerçevesi
- Recessed Box
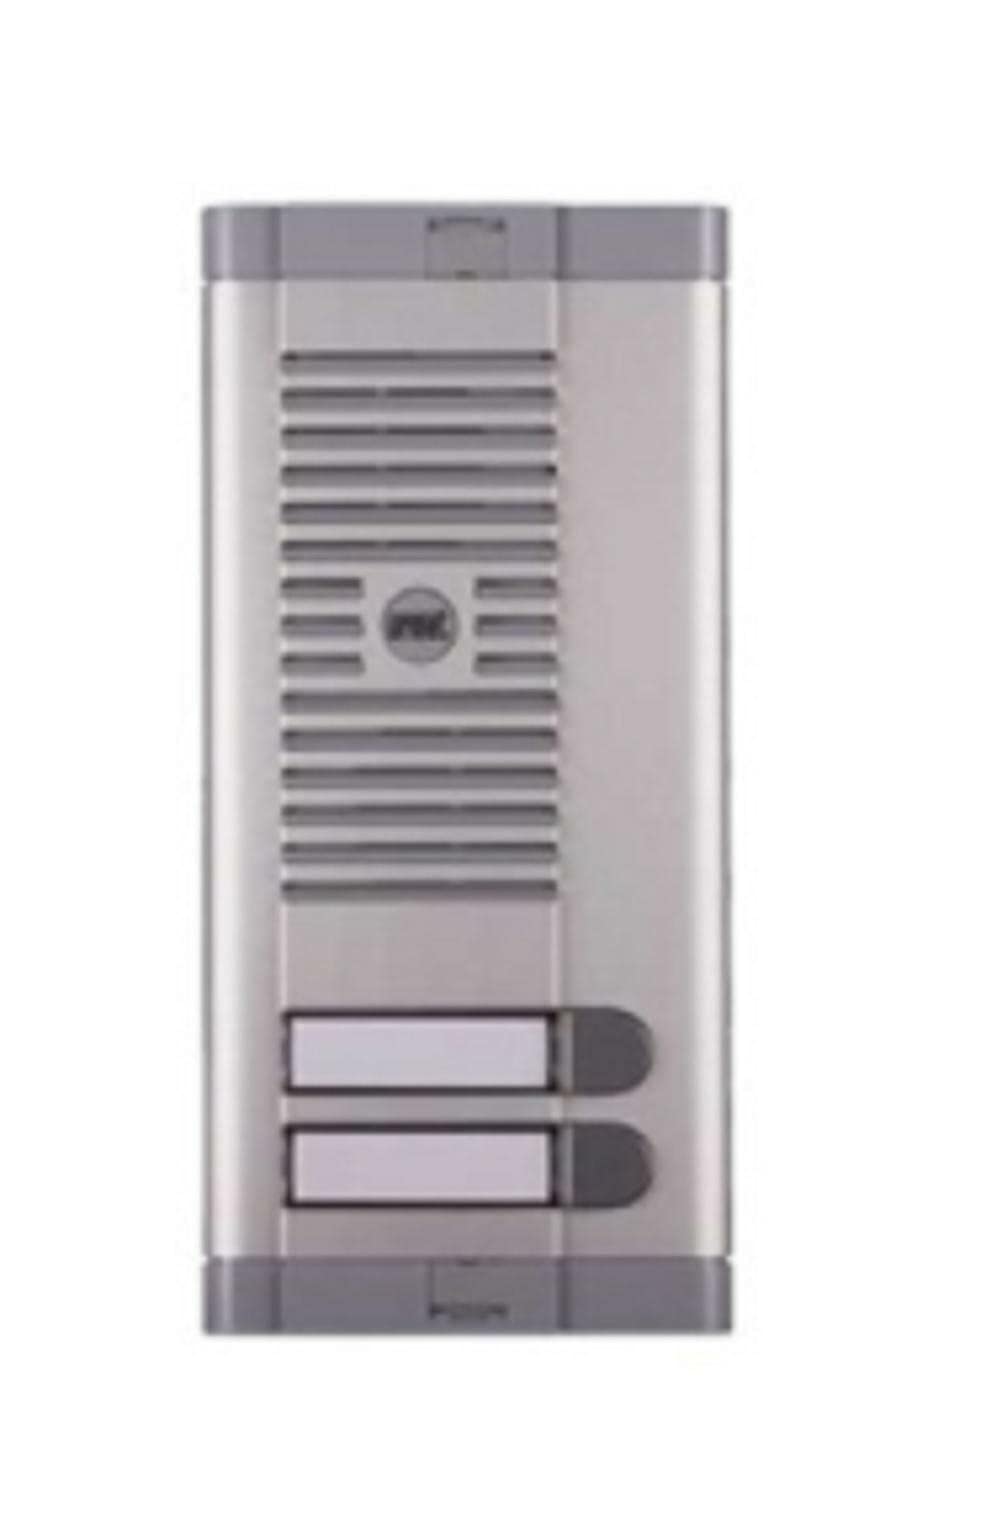
Image: Urmet 925/102 Intercom Push Button Panel, showing the front panel, fixing frame, and recessed box.
4. Ürün Bittiview
The Urmet 925/102 is a robust external push button panel designed for single-row installation. It features two buttons and is compatible with various Urmet external units. The front panel is made of durable aluminum, ensuring longevity and resistance to environmental factors.
- Ön Panel: Aluminum construction with two push buttons.
- İsim Plakası: Features backlighting via a 3W tubular bulb for visibility in low light conditions. Nameplate dimensions: 14.5 x 54.5 x 2 mm (H x W x D).
- Uyumluluk: Predisposed for Urmet external units such as 1128/500, 1128/510, 1072/19A, and 1038/7.
5. Kurulum
The Urmet 925/102 is designed for wall mounting with a recessed box. Follow these general steps for installation:
- Hazırlık: Choose a suitable location for the external unit. Ensure there is sufficient space for the recessed box and proper wiring.
- Recessed Box Installation: Create an opening in the wall according to the dimensions of the recessed box (225 x 102 x 43.5 mm H x W x D). Secure the recessed box firmly within the opening.
- Kablolama: Connect the 2-wire system cables to the appropriate terminals on the push button panel. Ensure all connections are secure and insulated. This unit uses a wired power source.
- Fixing Frame: Attach the fixing frame to the recessed box.
- Panel Montajı: Mount the push button panel onto the fixing frame, ensuring it is flush and securely fastened.
- Güç Açık: Once installation is complete and all connections are verified, restore power to the system.
Note: For detailed wiring diagrams and specific installation requirements, refer to the documentation provided with your Urmet external unit. Professional installation is highly recommended.
Video: This video demonstrates the installation of a 2-wire audio intercom kit, which can provide a general understanding of the wiring and mounting process for similar external panels. (Note: This video features a Bticino product and is for illustrative purposes only.)
Video: This video provides a guide on how to choose an intercom system, covering wired vs. wireless and audio vs. video options. It offers useful context for understanding different intercom technologies. (Note: This video features SCS Sentinel products and is for general information.)
6. Operasyon
The Urmet 925/102 push button panel is designed for straightforward operation:
- Çağrı: Press one of the two buttons to initiate a call to the corresponding internal unit.
- Nameplate Backlighting: The integrated 3W tubular bulb provides illumination for the nameplates, ensuring visitors can easily identify the correct button, especially during nighttime.
- Kontrol Yöntemi: The panel operates via touch, providing a responsive user experience.
7. Özellikler
| Özellik | Şartname |
|---|---|
| Örnek | 925/102 |
| Marka | Urmet |
| Front Panel Dimensions (H x W) | 240x113 mm |
| Recessed Box Dimensions (H x W x D) | 225x102x43.5 mm |
| Nameplate Dimensions (H x W x D) | 14.5x54.5x2 mm |
| Nameplate Backlighting | 3W tubular bulb |
| Koruma Derecesi | IP33 |
| Korozyon Direnci | DIN 5342/64'e göre |
| Su geçirmez | YANLIŞ |
| Kontrol Yöntemi | Dokunmak |
| Güç Kaynağı | Kablolu |
| Hoparlör Maksimum Çıkışı | 3 Vat |
| Bağlantı Teknolojisi | Yardımcı |
| Montaj Tipi | Duvara Montaj |
| Ağırlık | 520 gr |
8. Sorun Giderme
If you encounter issues with your Urmet 925/102 panel, consider the following:
- Güç Yok: Check the electrical connections and ensure the power supply to the intercom system is active.
- Yanıt Vermeyen Düğmeler: Inspect the buttons for any physical damage or obstruction. Verify internal wiring connections.
- Nameplate Light Not Working: Check the 3W tubular bulb. If it's faulty, it may need replacement by a qualified technician.
- İletişim Sorunları: Ensure all wiring connections between the external panel and the internal unit(s) are secure and correctly installed.
- Korozyon/Hasar: If the panel shows signs of significant physical damage or corrosion, it may require professional repair or replacement.
For persistent problems, contact a qualified electrician or Urmet customer support.
9. Bakım
To ensure the longevity and optimal performance of your Urmet 925/102 panel:
- Temizlik: Regularly clean the aluminum front panel with a soft, damp cloth. Avoid abrasive cleaners or solvents that could damage the finish or components.
- Denetleme: Periodically check for any loose connections, signs of wear, or damage to the panel.
- İsim Plakası: Ensure the nameplate is clean and legible. Replace the tubular bulb if it burns out.
10. Garanti ve Destek
For warranty information, technical support, or service requests, please refer to the warranty card included with your product or contact your Urmet dealer or customer service directly. Keep your purchase receipt as proof of purchase.


