1. Giriş
This manual provides essential information for the safe and efficient operation of your Hitachi CP-DX300 DLP Projector. Please read this manual thoroughly before using the projector and retain it for future reference. The Hitachi CP-DX300 is designed to deliver bright, clear, and detailed images for various applications, including business presentations and home entertainment.
3. Paket İçeriği
Aşağıda listelenen tüm öğelerin paketinizde bulunduğunu doğrulayın:
- Hitachi CP-DX300 DLP Projector
- Güç kablosu
- Uzaktan kumanda
- HDMI Kablosu
- VGA Cable (if included with specific models)
- Kullanım Kılavuzu (bu belge)
Note: Additional accessories may vary by region or retailer.
4. Ürün Bittiview
The Hitachi CP-DX300 is a compact and powerful DLP projector designed for versatility. Below are key physical features and connection ports.
Ön View
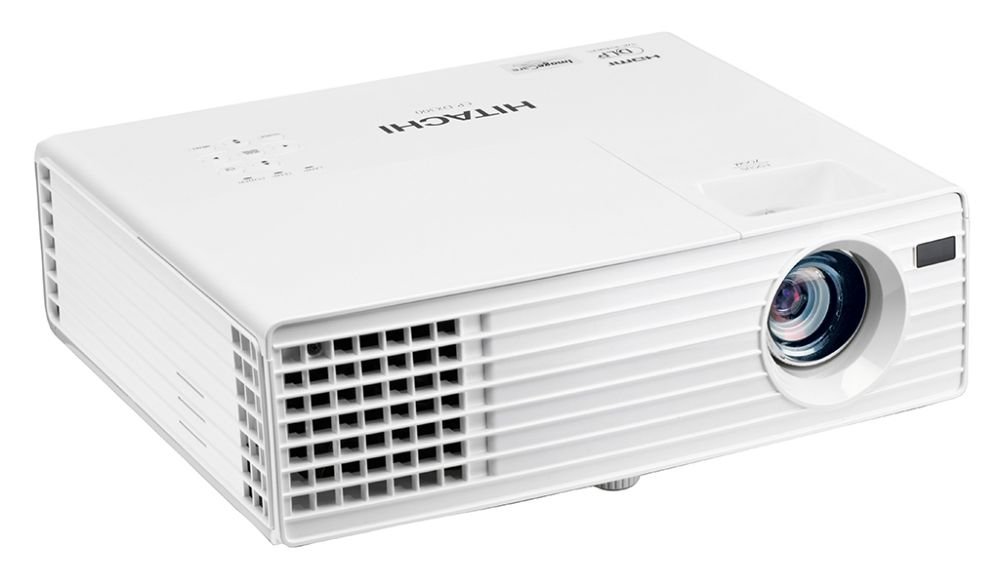
This image displays the front of the Hitachi CP-DX300 projector, highlighting the main projection lens and the front ventilation grille. The lens is centrally located, and the Hitachi brand logo is visible on the right side of the front panel.
Taraf View (Limanlar)

This image shows the side panel of the Hitachi CP-DX300 projector, detailing the various input and output ports. These include HDMI, VGA, S-Video, Composite Video, Component Video, and audio input/output jacks, providing comprehensive connectivity options.
Temel Özellikler:
- Projeksiyon Teknolojisi: 0.55" single chip DLP
- Çözünürlük: XGA - 1024 x 768
- Işık Çıkışı: 3,000 ANSI lümen
- Renkler: 1.07 milyar renk
- En Boy Oranı: Native 4:3 / 16:9 compatible
- Kontrast Oranı: 2500 : 1
- Lamp Hayat: Approximately 4,500 hours (standard mode), 6,000 hours (Eco mode)
- Hoparlör Çıkışı: 2W x 1
- Bağlantı: HDMI x 1 (HDCP compliant), Computer Input (15-pin mini D-sub) x 2, Computer Monitor Output (15-pin mini D-sub) x 1, S-Video Mini DIN 4-pin x 1, Composite Video RCA jack x 1, Component Video (shared with computer inputs), Audio Input (3.5 mm stereo mini jack) x 1, Audio Output (3.5 mm stereo mini jack) x 1.
6. Kullanım Talimatları
6.1 Güç Açma/Kapatma
- Güç Açık: Press the Power button on the projector or the remote control. The lamp will warm up, and the image will appear shortly.
- Kapat: Press the Power button again. A confirmation message may appear; press Power again to confirm shutdown. The projector will enter a cooling cycle before completely powering off.
6.2 Odak ve Trapez Düzeltme
- Odak: Projeksiyon cihazının merceğindeki odak halkasını, ekranda görüntü net ve berrak görünene kadar çevirin.
- Keystone Düzeltmesi: Use the keystone adjustment feature (typically found in the projector's menu or via dedicated buttons on the remote) to correct trapezoidal distortion, ensuring a rectangular image. The CP-DX300 supports +/- 30 Degree vertical keystone correction.
6.3 Kaynak Seçimi
Press the "Source" button on the projector or remote control to cycle through available input sources (HDMI, VGA, S-Video, Composite, etc.) until your desired source is displayed.
6.4 Ses Çıkışı
The projector has a built-in 2W speaker. For enhanced audio, connect external speakers or a sound system to the 3.5 mm stereo mini Audio Output jack.
6.5 3D Viewinmek
The Hitachi CP-DX300 is 3D capable. To enjoy 3D content, you will need compatible 3D glasses and a special graphic card (sold separately) connected to a 3D-enabled source device.
6.6 Wall Color Correction
This feature allows the projector to automatically adjust color output when projecting onto colored walls, ensuring accurate color reproduction without needing a white screen.
7. Bakım
7.1 Projektörün Temizlenmesi
- Dış: Wipe the projector's exterior with a soft, dry cloth. Do not use abrasive cleaners or solvents.
- Mercek: Lensi, lens temizleme bezi veya lens kağıdıyla nazikçe temizleyin. Lense doğrudan parmaklarınızla dokunmaktan kaçının.
- Havalandırma: Regularly check and clean the ventilation grilles to ensure proper airflow and prevent dust buildup.
7.2 Lamp Yenisiyle değiştirme
Lamp door is conveniently located on top of the model for easy maintenance. Refer to the detailed instructions in the full user manual for safe lamp replacement procedures. Always use genuine Hitachi replacement lamps.
Beklenen Lamp Hayat: Approximately 4,500 hours (standard mode), 6,000 hours (Eco mode).
7.3 Power Saving Standby Mode
The projector features a power-saving standby mode that reduces power consumption to less than 0.5W, contributing to energy efficiency.
7.4 Image Care Technology
Image Care is a lamp power control function that optimizes picture performance with maximum energy savings by decreasing energy usage, improving contrast ratio, and lengthening lamp life. This results in a lower total cost of ownership and decreased maintenance cost.
7.5 Intelligent Eco Mode
Bu mod, l'yi otomatik olarak ayarlaramp's brightness according to the screen's brightness level, further enhancing energy efficiency and lamp uzun ömürlülük.
8. Sorun Giderme
Projeksiyon cihazınızla ilgili sorunlarla karşılaşırsanız, aşağıdaki yaygın sorunlar ve çözümlerine göz atın:
- Resim Yok:
- Güç kablosunun güvenli bir şekilde bağlı olduğundan ve projektörün açık olduğundan emin olun.
- Giriş kaynağının doğru seçildiğinden ve kaynak aygıtın etkin olduğundan emin olun.
- Check the connection cable (HDMI, VGA) for damage or loose connections.
- Bulanık görüntü:
- Lens üzerindeki odaklama halkasını ayarlayın.
- Projeksiyon yüzeyinin düz ve projektörün sabit olduğundan emin olun.
- Görüntü yamuk şeklindedir:
- Görüntü şeklini ayarlamak için trapezoid düzeltme özelliğini kullanın.
- Ses Yok:
- Projektörün ses ayarlarını kontrol edin.
- Ensure external audio devices are properly connected and powered on if used.
- Verify the audio source is playing.
- Aşırı Isınma Uyarısı:
- Ensure ventilation grilles are not blocked.
- Clean any dust from the grilles.
- Projeksiyon cihazını iyi havalandırılmış bir alanda kullanın.
For more complex issues, please contact Hitachi customer support.
10. Garanti ve Destek
For warranty information and customer support, please refer to the documentation included with your product or visit the official Hitachi webalan. Garanti talepleri için satın alma makbuzunuzu saklayın.
Note: Returns may be subject to specific terms and conditions, especially for brand new items, as indicated by the seller. Technical issues are typically covered.


