giriiş
The LUX Minute Minder is a classic mechanical kitchen timer designed for simplicity and reliability. This manual will guide you through its proper use and care to ensure optimal performance.
Kurmak
The LUX Minute Minder requires no batteries or complex setup. Simply place it on a stable, flat surface in your kitchen or desired location.
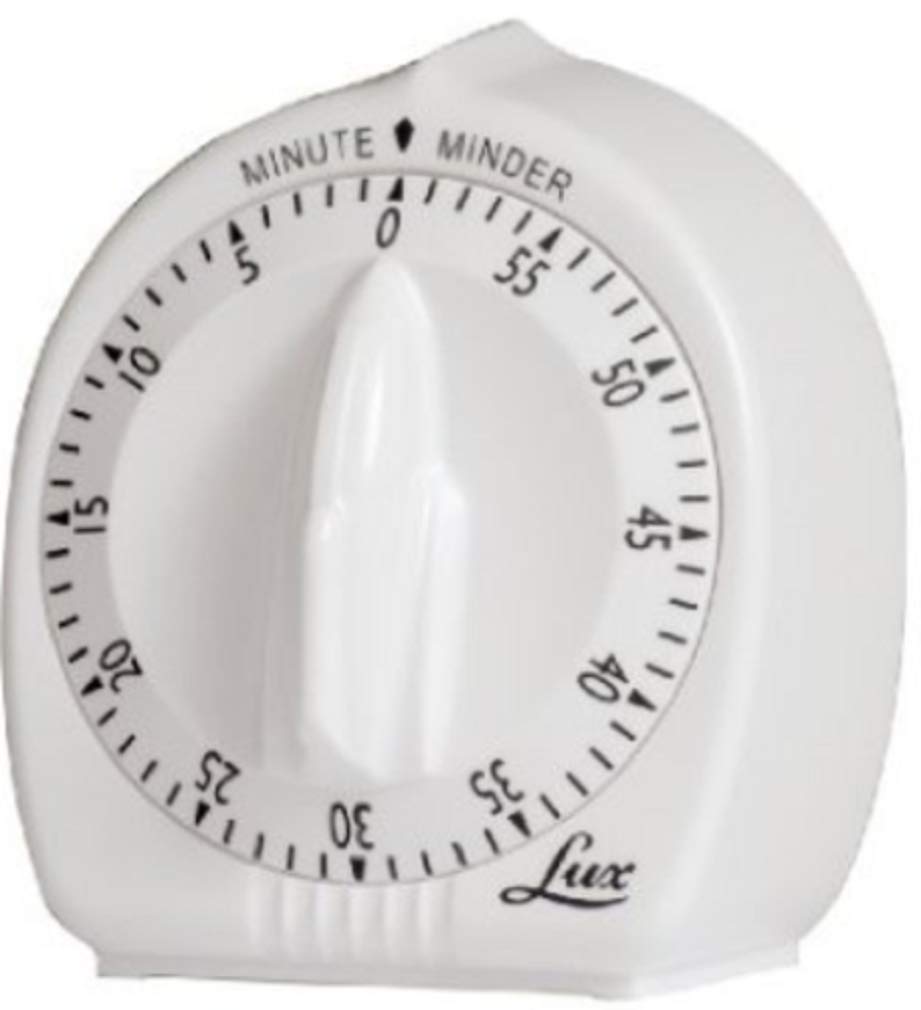
Image: The LUX Minute Minder mechanical kitchen timer, showing its simple white design and clear minute markings.
Kullanım Talimatları
- Wind Fully: To activate the timer mechanism, turn the dial clockwise completely to the 60-minute mark. This step is crucial for the timer to function correctly and for the bell to ring.
- Zaman Ayarı: After winding, turn the dial counter-clockwise to your desired time setting. The timer will begin counting down immediately.
- Alarm: The timer will emit an audible bell sound when the set time has elapsed.
Note: For optimal accuracy, especially for shorter durations, always ensure the timer is fully wound to 60 minutes before setting your desired time.
Bakım
- Temizlik: Zamanlayıcının dışını yumuşak bir bezle silin.amp Bez kullanın. Aşındırıcı temizleyiciler kullanmayın ve zamanlayıcıyı suya batırmayın.
- İşleme: Avoid dropping the timer, as impacts can damage the internal mechanical components and affect its accuracy or ringing function.
- Depolamak: Store the timer in a dry place away from extreme temperatures.
Sorun giderme
Problem: Timer does not ring or rings faintly.
Olası Çözümler:
- Ensure the timer was fully wound clockwise to the 60-minute mark before setting the desired time. This action charges the spring mechanism for the bell.
- Check for any obstructions around the ringer mechanism or the timer's base.
- If the issue persists, the internal mechanism may be damaged.
Problem: Timer is inaccurate.
Olası Çözümler:
- Always wind the timer fully to 60 minutes before setting your desired time.
- Mechanical timers may have slight variations in accuracy, especially for very short durations (e.g., under 5 minutes). For applications requiring pinpoint accuracy, a digital timer might be more suitable.
Özellikler
| Marka | LÜKS |
| Örnek | Dakika |
| Renk | Beyaz |
| Ürün Boyutları | 4.5"D x 12.5"G x 6.8"Y |
| Ürün Ağırlığı | 4 ons |
| UPC | 021079000678 |
| Screen Size (Dial Diameter) | 4.5 inç |
| Number of Settings (Intervals) | 11 (referring to major markings on the dial) |
Garanti Bilgileri
This LUX product is covered by a standard manufacturer's warranty. For specific details regarding warranty coverage, duration, and claims, please refer to the original product packaging or contact LUX customer support directly.
Müşteri Desteği
For further assistance, technical support, or any inquiries not covered in this manual, please contact LUX customer support. Contact information can typically be found on the product packaging or the official LUX webalan.


