1. Giriş ve Güvenlik Bilgileri
This manual provides essential instructions for the safe and efficient operation of your NEC NP-V300X projector. Please read this manual thoroughly before using the projector and retain it for future reference.
Önemli Güvenlik Önlemleri:
- Havalandırma açıklıklarını kapatmayın. Projektörün etrafında uygun hava akışı için yeterli alan olduğundan emin olun.
- l olduğunda projektör merceğine doğrudan bakmaktan kaçının.amp Parlak ışık gözlere zarar verebileceğinden, ışık açık bırakılmalıdır.
- Projektörü dengesiz bir araba, sehpa veya masa üzerine yerleştirmeyin.
- Disconnect the power cord from the wall outlet before cleaning.
- Tüm bakımları yetkili servis personeline yaptırın.
2. Projector Components Overview
Familiarize yourself with the main components of your NEC NP-V300X projector.
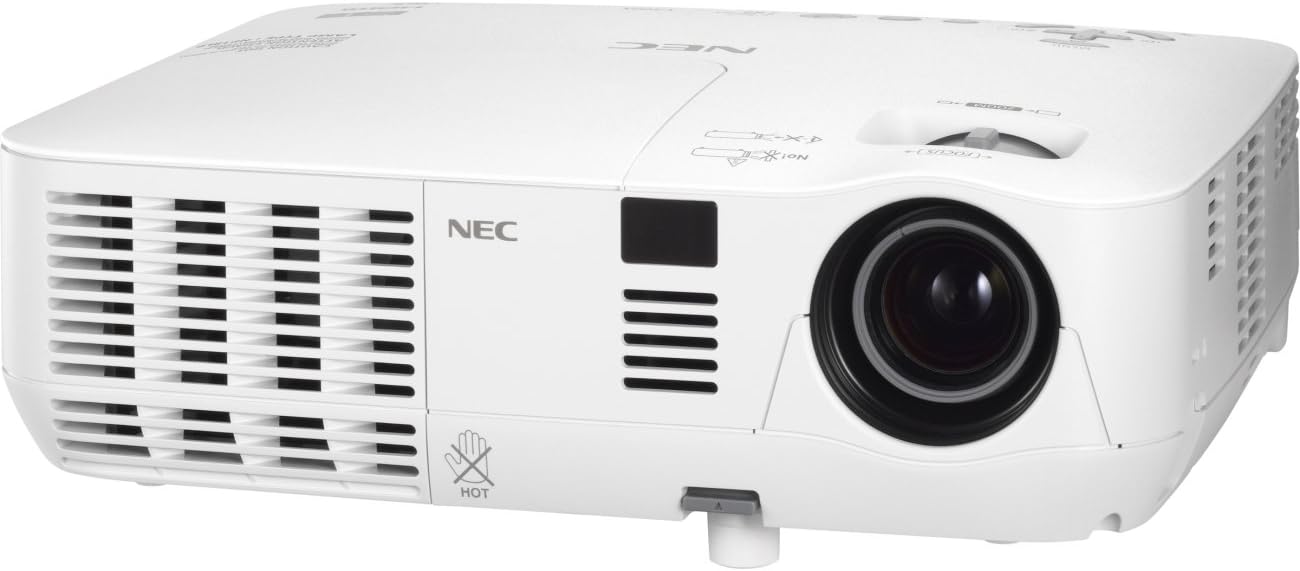
An image showing the front and left side of the white NEC NP-V300X projector, highlighting the lens, ventilation grilles, and control panel area.
Temel Bileşenler:
- Projeksiyon Merceği: Emits the image onto the screen. Features manual focus adjustment.
- Havalandırma Izgaraları: Located on the sides, these ensure proper cooling of the projector. Do not obstruct.
- Kontrol Paneli: Buttons for power, menu navigation, input selection, and image adjustments.
- Giriş Terminalleri: Various ports for connecting external devices (e.g., HDMI, VGA).
- Ayarlanabilir Ayak: Allows for minor height adjustments to align the projected image.
3. Kurulum Talimatları
Follow these steps to set up your projector for initial use.
3.1 Yerleştirme
- Projektörü sabit, düz bir yüzeye yerleştirin veya güvenli bir şekilde monte edin.
- Ensure the projector is positioned at an appropriate distance from the screen to achieve the desired image size.
- Adjust the projector's height using the adjustable foot to align the image with the screen.
3.2 Gücün Bağlanması
- Connect the supplied power cord to the projector's power inlet.
- Güç kablosunun diğer ucunu topraklı bir elektrik prizine takın.
3.3 Giriş Kaynaklarının Bağlanması
The NP-V300X supports various input sources, including HDMI.
- Connect your video source (e.g., laptop, Blu-ray player) to the appropriate input terminal on the projector (e.g., HDMI port).
- Ensure the connection cables are securely fastened.
4. Projektörün Çalıştırılması
Instructions for basic operation of your NEC NP-V300X projector.
4.1 Açma/Kapatma
- Açmak İçin: Press the power button on the projector's control panel or remote control. The power indicator light will change.
- Kapatmak İçin: Güç düğmesine tekrar basın. Bir onay mesajı görünebilir. Kapatmayı onaylamak için güç düğmesine ikinci kez basın. Fişi çekmeden önce projektörün soğumasını bekleyin.
4.2 Giriş Kaynağı Seçimi
Use the 'Input' button on the control panel or remote control to cycle through available input sources (e.g., HDMI, VGA).
4.3 Görüntü Ayarı
- Odak: Rotate the focus ring around the lens manually until the image appears sharp and clear.
- Yakınlaştır: Adjust the zoom ring (if present) to change the image size without moving the projector.
- Keystone Düzeltmesi: If the image is trapezoidal, use the keystone correction function in the projector's menu to square the image.
- Parlaklık/Kontrast: Adjust these settings via the on-screen display (OSD) menu to optimize image quality for your viewÇevre.
5. Bakım
Düzenli bakım, projektörünüzün en iyi performansı göstermesini sağlar ve kullanım ömrünü uzatır.
5.1 Projektörün Temizlenmesi
- Dış: Projektörü silinasinYumuşak, kuru ve tüy bırakmayan bir bezle silin. Aşındırıcı temizleyiciler veya çözücüler kullanmayın.
- Mercek: Gently clean the lens with a lens cleaning cloth or lens paper. Avoid touching the lens surface with your fingers.
- Havalandırma Izgaraları: Periodically clean the ventilation grilles to prevent dust buildup, which can lead to overheating. Use a soft brush or compressed air.
5.2 Lamp Bakım
projektör lamp sınırlı bir ömrü vardır.amp Gösterge ışığı yanarsa veya görüntü soluklaşırsa, lamp may need replacement. Refer to the on-screen display for lamp hour information. Always allow the projector to cool down completely before attempting any lamp Bakım.
6. Sorun Giderme
Bu bölümde, projektörünüzle ilgili karşılaşabileceğiniz yaygın sorunlar ele alınmaktadır.
Yaygın Sorunlar ve Çözümleri:
- Görüntülenen Resim Yok:
- Ensure the projector is powered on and the power indicator is active.
- Verify the input source is correctly selected and the cable is securely connected.
- Check if the connected device (e.g., laptop) is outputting a signal.
- Dim or Poor Image Quality:
- Adjust the focus and zoom settings.
- l'yi kontrol edinamp hours; the lamp Ömrünün sonuna yaklaşıyor olabilir.
- Projeksiyon merceğini temizleyin.
- Parlaklık ve kontrast ayarlarını düzenleyin.
- Projeksiyon Cihazı Aşırı Isınıyor:
- Ensure ventilation grilles are not blocked.
- Clean any dust from the grilles.
- Projeksiyon cihazını iyi havalandırılmış bir alanda kullanın.
Sorunlar devam ederse, müşteri desteğiyle veya yetkili bir servis teknisyeniyle iletişime geçin.
7. Teknik Özellikler
Detailed technical specifications for the NEC NP-V300X projector.
| Özellik | Şartname |
|---|---|
| Model Numarası | NP-V300X |
| Ekran Teknolojisi | DLP (0.55" DMD) |
| Yerel Çözünürlük | XGA 1024x768 |
| Maksimum Çözünürlük | UXGA 1600 x 1200 |
| Parlaklık | 3000 Lümen |
| Odak | Manuel |
| PC Sinyal Uyumluluğu | SVGA, XGA, WXGA, WXGA+, SXGA, SXGA+, UXGA |
| Fan Gürültüsü | 37 dB |
| Bağlantı Teknolojisi | HDMI |
| Özel Özellik | 3D-Ready, 3D-built-in |
| Ürün Boyutları | 12.2 x 3.78 x 9.72 inç |
| Ürün Ağırlığı | 5.51 pound |
| Üretici | YÖK |
8. Garanti ve Destek
For warranty information and technical support, please refer to the documentation provided with your purchase or visit the official NEC webSite. Satın alma belgenizi garanti talepleriniz için saklayın.
If you require assistance with troubleshooting or repairs beyond the scope of this manual, please contact NEC customer service or an authorized service center.


