1. Giriş
Thank you for choosing the Sealey WR05 Spanner Rack. This durable composite rack is designed to help organize your spanners, keeping your toolbox or workstation tidy and improving efficiency. Please read this manual carefully before use to ensure proper installation and operation.
2. Ürün Bittiview
The Sealey WR05 Spanner Rack is a robust tool organizer made from composite plastic. It features slots designed to securely hold up to 15 spanners, allowing for easy size identification and access. The rack can be used freestanding in a toolbox, carried, or mounted on a wall.
Temel Özellikler:
- Durable composite construction.
- Capacity for 15 spanners.
- Designed for easy size identification.
- Versatile use: toolbox, portable, or wall-mounted.

Şekil 1: Ön view of the Sealey WR05 Spanner Rack, showcasing its red composite material and 15 spanner slots.
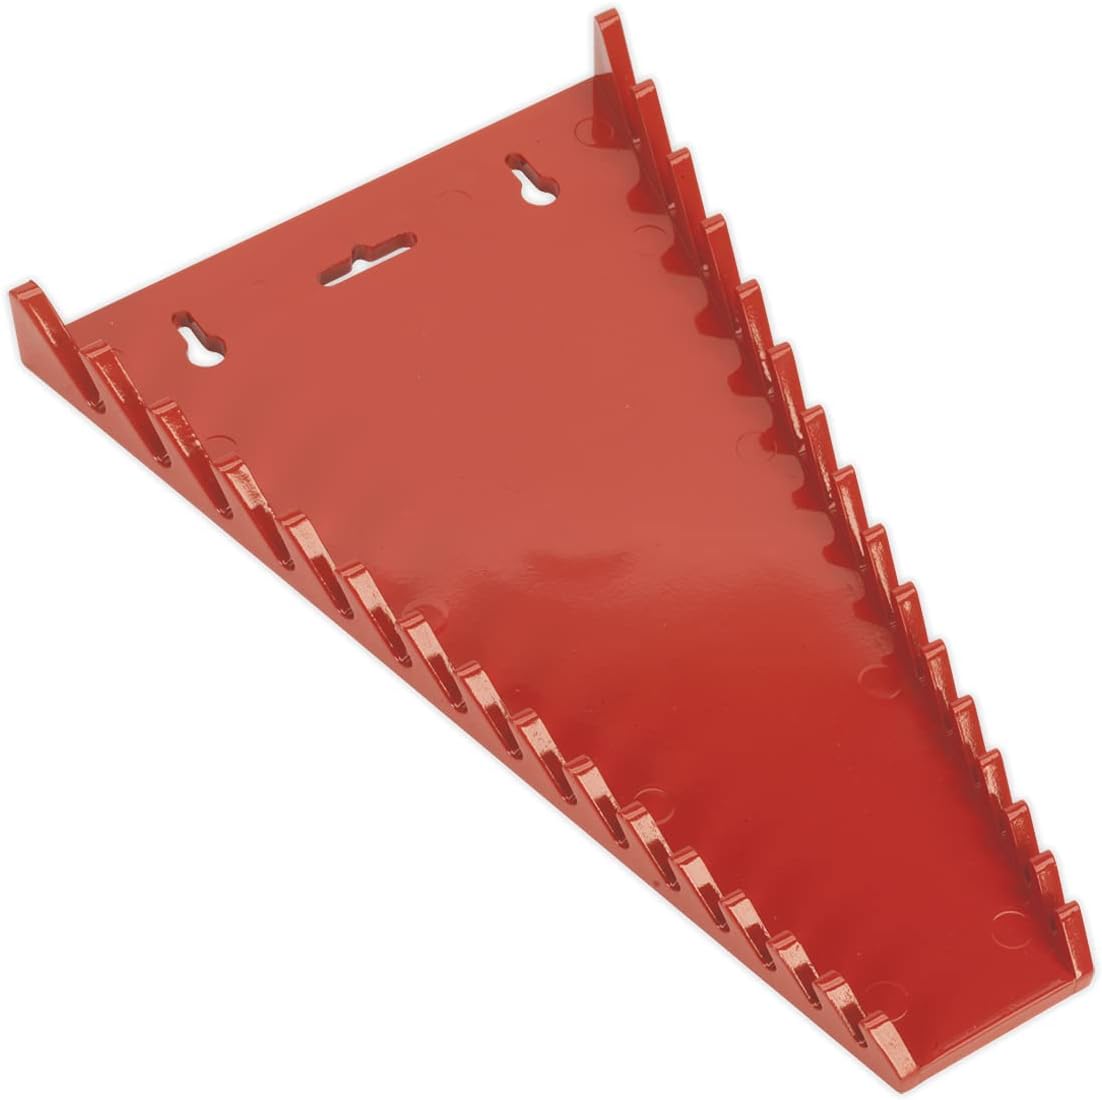
Şekil 2: Arka view of the Sealey WR05 Spanner Rack, highlighting the pre-drilled keyholes for wall mounting.
3. Kurulum
The Sealey WR05 Spanner Rack offers flexible setup options:
3.1. Toolbox or Portable Use
Simply place the spanner rack into your toolbox drawer or on your workbench. Its stable design allows it to stand upright or lay flat, depending on your storage needs. The composite material is lightweight, making it easy to carry with your spanners.
3.2. Duvara Montaj
For a more permanent storage solution, the spanner rack can be mounted on a wall. It features pre-drilled keyholes for this purpose.
- Konum Seçin: Choose a suitable wall location that can support the weight of the rack and your spanners.
- Delikleri İşaretle: Hold the rack against the wall and mark the positions of the keyholes with a pencil.
- Pilot Delikleri Delin: Drill appropriate pilot holes for your chosen wall anchors or screws. Ensure the drill bit size matches the anchor/screw specifications.
- Bağlantı Elemanlarını Takın: Insert wall anchors if necessary, then partially drive screws into the wall, leaving enough of the screw head exposed to fit into the keyholes.
- Montaj Rafı: Align the keyholes on the back of the rack with the exposed screw heads and slide the rack down to secure it. Ensure the rack is firmly seated and stable before placing spanners.
4. Kullanım Talimatları
Using the Sealey WR05 Spanner Rack is straightforward:
- Insert Spanners: Place the open end or ring end of each spanner into a slot on the rack. The slots are designed to accommodate various spanner sizes.
- Organize by Size: For optimal organization and quick access, arrange your spanners in ascending or descending order of size.
- Remove Spanners: To use a spanner, simply lift it out of its slot.
The angled design of the slots helps to keep spanners securely in place while allowing for easy removal and replacement.
5. Bakım
The Sealey WR05 Spanner Rack requires minimal maintenance:
- Temizlik: Rafı reklamla silinamp cloth to remove dust, dirt, or grease. Avoid using harsh abrasive cleaners that could damage the composite plastic.
- Denetleme: Periodically check the rack for any signs of damage or wear, especially if it is wall-mounted. Ensure mounting screws remain tight.
- Depolamak: Store the rack in a dry environment to prolong its lifespan.
6. Sorun Giderme
6.1. Spanners Not Fitting Securely
- Check Spanner Size: Ensure the spanner size is appropriate for the slot. While the rack accommodates various sizes, extremely large or small spanners may not fit optimally.
- Oryantasyon: Try adjusting the orientation of the spanner in the slot.
6.2. Rack Instability (Wall Mounted)
- Vidaları Sıkıştırın: Tüm montaj vidalarının güvenli bir şekilde sıkıldığından emin olun.
- Proper Anchors: Verify that appropriate wall anchors were used for your wall type (e.g., drywall, concrete).
- Eşit Ağırlık Dağılımı: Distribute spanners evenly across the rack to prevent uneven loading.
7. Özellikler
| Şartname | Detay |
|---|---|
| Model Numarası | WR05 |
| Spanner Capacity | 15 Spanners |
| Malzeme | Kompozit Plastik |
| Renk | Kırmızı |
| Yaklaşık Uzunluk | 393 mm (15.5 inç) |
| Yaklaşık Genişlik | 221 mm (8.7 inç) |
| Approximate Depth | 34 mm (1.3 inç) |
| Ürün Ağırlığı | 250 Gram (8.8 ons) |
| UPC | 791429471983 |
8. Garanti ve Destek
For information regarding warranty coverage, returns, or technical support for your Sealey WR05 Spanner Rack, please refer to the official Sealey website or contact your authorized Sealey dealer. Keep your purchase receipt as proof of purchase.


