1. Giriş
The Mitsubishi HC1500 is a high-definition 720p DLP home theater projector designed to deliver clear and vibrant images. This manual provides essential information for the proper setup, operation, and maintenance of your projector, ensuring optimal performance and longevity.
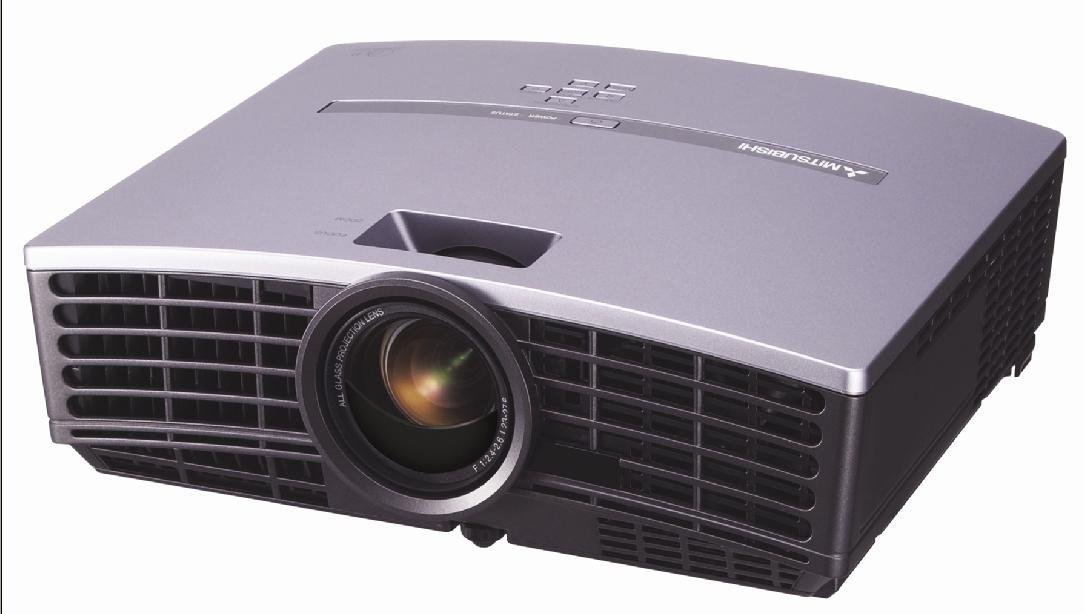
Şekil 1: Ön view of the Mitsubishi HC1500 projector. This image displays the projector's front panel, featuring the central projection lens and the prominent ventilation grilles on both sides, designed for efficient heat dissipation.
2. Güvenlik Bilgileri
Please read all safety instructions before operating the projector. Failure to follow these instructions may result in electric shock, fire, or damage to the projector.
- Havalandırma açıklıklarını kapatmayın. Projektörün etrafında uygun hava akışı için yeterli alan olduğundan emin olun.
- Projektör lensine doğrudan bakmayın.amp Parlak ışık gözlere zarar verebileceğinden, ışık açık bırakılmalıdır.
- Projektörü dengesiz bir araba, sehpa veya masa üzerine yerleştirmeyin.
- Unplug the projector from the power outlet before cleaning or when not in use for an extended period.
- Tüm bakımları yetkili servis personeline yaptırın.
3. Kutuda Neler Var?
Aşağıda listelenen tüm öğelerin paketinizde bulunduğunu doğrulayın:
- Mitsubishi HC1500 Projector
- AC Güç Kablosu
- RGB Kablosu
- RS-232C Kablosu
- Remote Unit with Battery
- Light Shade Cover
- Hızlı Başlangıç Kartı
- Kullanıcı Kılavuzu (bu belge)
- Güvenlik Kılavuzu
4. Kurulum
4.1 Yerleştirme
Position the projector on a stable surface or mount it to the ceiling. Ensure the projector is placed at an appropriate distance from the screen to achieve the desired image size. The HC1500 can project an image from 40 inches to 275 inches diagonally. Maintain clear space around the projector for ventilation.
4.2 Bağlantılar
Connect your video sources to the projector using the appropriate cables.
- HDMI: For high-definition digital video and audio signals. Use an HDMI 1.2 compatible cable for optimal performance.
- Bileşen: For high-definition analog video signals.
- RS-232C: For projector control via a computer or control system.
- 12-Volt Trigger: To control a compatible motorized screen.
4.3 Güç Açma/Kapatma
- Connect the AC power cable to the projector and a power outlet.
- Projeksiyon cihazındaki veya uzaktan kumandadaki güç düğmesine basarak cihazı açın. Güç gösterge ışığı yanacaktır.
- To turn off the projector, press the power button again. Confirm shutdown if prompted. The projector will enter a cooling cycle before fully powering down.
5. Projektörün Çalıştırılması
5.1 Uzaktan Kumanda
The included remote control allows for convenient operation of all projector functions, including power, input selection, menu navigation, and image adjustments. The remote features backlit buttons for use in dark environments.
5.2 Giriş Seçimi
Press the 'Input' or 'Source' button on the remote control or projector control panel to cycle through available input sources (e.g., HDMI, Component, RGB). Select the input corresponding to your connected device.
5.3 Görüntü Ayarı
- Odak Halkası: Rotate the focus ring on the projector lens to sharpen the image.
- Yakınlaştırma Halkası: Projektörü hareket ettirmeden görüntü boyutunu değiştirmek için yakınlaştırma halkasını ayarlayın.
- Keystone Düzeltmesi: Use the digital keystone correction feature (vertical and horizontal) via the on-screen menu to correct trapezoidal image distortion if the projector is not perfectly perpendicular to the screen.
5.4 Lamp Modlar
The projector offers different lamp modes to balance brightness and lamp hayat:
- Parlak mod: Provides maximum brightness (1600 ANSI lumens) for well-lit environments. Lamp life is approximately 2000 hours.
- Düşük Mod: Reduces brightness for darker environments, extending lamp life to approximately 3000 hours and reducing fan noise (25dBA).
6. Bakım
6.1 Lamp Yenisiyle değiştirme
The projector features a convenient side-loading lamp design for easy replacement. When the lamp life is nearing its end, a warning message will appear on the screen. Always use a genuine Mitsubishi replacement lamp. Refer to the detailed instructions in the full user manual for the lamp değiştirme prosedürü.
6.2 Temizlik
- Dış: Projektörü silinasinYumuşak ve kuru bir bezle silin. İnatçı kirler için hafif nemli bir bez kullanın.amp Yumuşak bir deterjanla bezle silin, ardından kurulayın.
- Mercek: Use a lens cleaning cloth and lens cleaning solution specifically designed for optical surfaces. Do not use abrasive cleaners.
- Havalandırma: Ensure the ventilation grilles are free from dust and obstructions. Use a soft brush or compressed air to gently clean the grilles.
7. Sorun Giderme
Projeksiyon cihazınızla ilgili sorunlarla karşılaşırsanız, aşağıdaki yaygın sorunlar ve çözümlerine göz atın:
| Sorun | Olası Neden | Çözüm |
|---|---|---|
| Resim görüntülenmiyor | Power cable disconnected; incorrect input source selected; source device not powered on. | Güç bağlantılarını kontrol edin; doğru giriş kaynağını seçin; kaynak cihazın açık olduğundan emin olun. |
| Görüntü bulanık | Lens odak dışı; projektör ekrana çok yakın/uzak. | Adjust the focus ring on the lens; reposition the projector or adjust the zoom. |
| Görüntü yamuk şeklindedir. | Projeksiyon cihazı ekrana dik açıda değil. | Use keystone correction in the projector menu or adjust projector angle. |
| Ses yok | No internal speaker; external audio system not connected or muted. | The HC1500 does not have an internal speaker. Connect an external audio system to your source device. |
| Projektör aşırı ısınıyor veya kapanıyor. | Blocked ventilation; high ambient temperature. | Ensure ventilation openings are clear; operate in a well-ventilated area. |
8. Özellikler
- Modeli: HÇ1500
- Ekran Teknolojisi: DLP (Dijital Işık İşleme)
- Yerel Çözünürlük: 1280x720 (720p)
- Parlaklık: 1600 ANSI Lümenleri
- Kontrast Oranı: 2500:1
- Lamp Hayat: Up to 3000 hours (Low Mode), 2000 hours (Bright Mode)
- Gürültü Seviyesi: 25dBA (Low Mode)
- Bağlantı: HDMI, Component, RS-232C, 12-Volt Trigger
- Projeksiyon Boyutu: 40 ila 275 inç (diyagonal)
- Keystone Düzeltmesi: Vertical and Horizontal Digital
- Boyutlar: Yaklaşık 16.3 x 13.9 x 14 inç
- Ağırlık: Yaklaşık 6.39 pound
9. Garanti ve Destek
9.1 Garanti Bilgileri
The Mitsubishi HC1500 projector is backed by a 1 yıllık sınırlı parça ve işçilik garantisi. The projector lamp is covered by a separate 90-day lamp garantiLütfen garanti talepleriniz için satın alma belgenizi saklayın.
9.2 Müşteri Desteği
For technical assistance, troubleshooting beyond this manual, or warranty service, please contact Mitsubishi customer support. Refer to the official Mitsubishi website or the quick start guide for current contact information.