giriiş
Welcome to the user manual for your Logitech X-240 2.1 Speaker System. This system is designed to transform your computer, iPod, MP3 player, or other compatible devices into a powerful digital music center. It features a control center with an integrated cradle for portable devices, a down-firing subwoofer for deep bass, and high-excursion satellite speakers for rich sound. Please read this manual carefully to ensure proper setup and optimal performance of your speaker system.
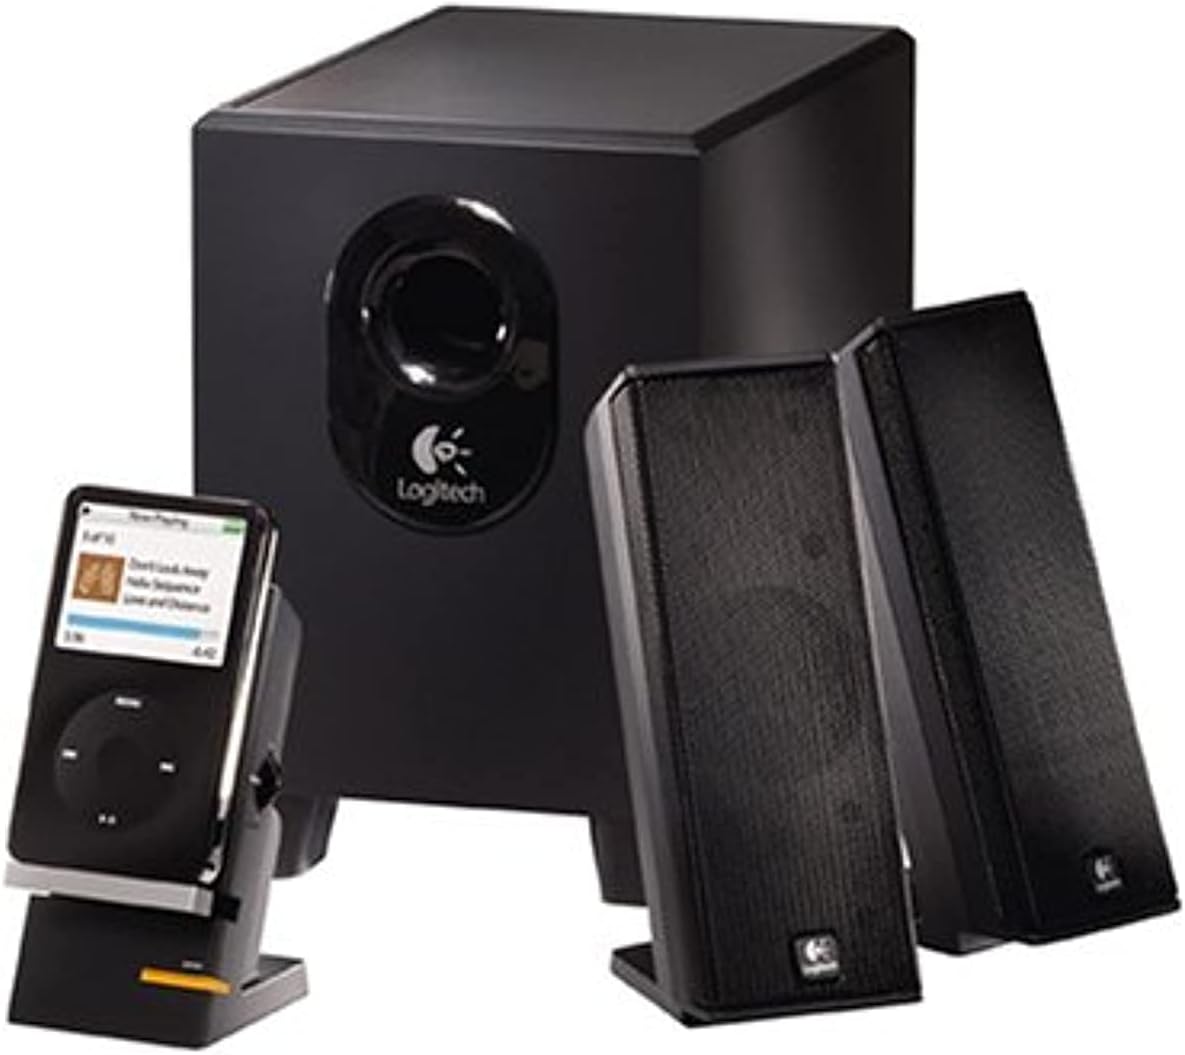
Şekil 1: The Logitech X-240 2.1 Speaker System, showcasing the subwoofer, two satellite speakers, and the control center with a portable media player docked.
Paket İçeriği
Başlamadan önce lütfen aşağıda listelenen tüm öğelerin paketinizde mevcut olduğundan emin olun:
- 1 Subwoofer
- 2 Uydu Hoparlör
- 1 Control Center with integrated MP3 player cradle
- 1 Color-coded audio cable
- 1 MP3 player cable (auxiliary input cable)
- iPod, iPod video, iPod nano adapters
- Microsoft Zune adapter
- Kullanıcı Kılavuzu (bu belge)
Kurulum Talimatları
Follow these steps to set up your Logitech X-240 speaker system:
- Subwoofer'ı Konumlandırın: Place the subwoofer on the floor, preferably under your desk or in a corner, to maximize bass response. Ensure adequate ventilation around the unit.
- Position the Satellite Speakers: Place the two satellite speakers on either side of your monitor or listening area. For optimal stereo imaging, ensure they are equidistant from your listening position.
- Uydu hoparlörleri subwoofer'a bağlayın: Connect the cables from the satellite speakers to the corresponding ports on the back of the subwoofer. The cables are typically color-coded for easy identification.
- Connect Control Center: Plug the cable from the control center into the designated speaker jack on the subwoofer.
- Ses Kaynağına Bağlan:
- For Computer: Connect the color-coded audio cable from the subwoofer to the audio output (usually green) on your computer's sound card.
- For MP3 Player/iPod/Zune: Use the provided MP3 player cable (auxiliary input cable) to connect your device to the auxiliary input on the control center. You can also use your device's USB/power cable with the integrated cradle and appropriate adapter for syncing and charging while playing.
- Gücü bağlayın: Plug the subwoofer's power cord into a standard electrical outlet.
- Güç Açık: Turn on the speaker system using the power button on the control center.
Hoparlör Sisteminizi Çalıştırma
The Logitech X-240 system is designed for user-friendly operation.
- Güç Açma/Kapatma: Use the dedicated power button on the control center to turn the system on or off.
- Ses Kontrolü: Adjust the master volume using the rotary knob on the control center.
- Kulaklık girişi: For private listening, plug your headphones into the 3.5mm headphone jack located on the control center. This will automatically mute the speakers.
- Cihaz Yuvası: The integrated cradle on the control center allows you to conveniently place your iPod, MP3 player, PDA, or mobile phone. Use your device's USB/power cable with the appropriate adapter (iPod, Zune) to sync, charge, or play music directly through the system's auxiliary input.
- Bas Ayarı: The system features dynamic, real-time bass equalization. While there isn't a separate bass knob, the system automatically optimizes bass response.
Bakım ve Özen
To ensure the longevity and optimal performance of your Logitech X-240 speaker system, follow these maintenance guidelines:
- Temizlik: Use a soft, dry cloth to clean the surfaces of the speakers and subwoofer. Avoid using liquid cleaners or abrasive materials, as they may damage the finish or internal components.
- Havalandırma: Ensure that the subwoofer and satellite speakers have adequate airflow. Do not block the subwoofer's port or place speakers in enclosed spaces that could lead to overheating.
- Atama: Avoid placing the speakers in direct sunlight, near heat sources, or in areas with high humidity.
- Kablo yönetimi: Keep cables tidy and untangled to prevent damage and ensure a clean setup.
Sorun giderme
If you encounter any issues with your speaker system, please refer to the following common troubleshooting steps:
| Sorun | Olası Neden | Çözüm |
|---|---|---|
| Ses yok |
|
|
| Bozuk ses |
|
|
| Subwoofer bas sesi üretmiyor. |
|
|
Teknik Özellikler
- Total FTC Power: 25 Watt RMS
- Subwoofer: 15 Watts RMS (into 8 ohms, @ 100Hz, @ 10% THD)
- Uydular: 5 Watts RMS x 2 (into 8 ohms, @ 1kHz, @ 10% THD)
- Toplam Tepe Gücü: 50 Watt
- Frekans Tepkisi: 40Hz - 20kHz
- Sinyal gürültü oranı: >96dB
- Sürücüler:
- Satellites: 2-inch high-excursion driver
- Subwoofer: 4-inch ported driver
- Hoparlör Boyutları (Y x G x D):
- Satellites: 6.9" x 2.6" x 3.8"
- Subwoofer: 8.7" x 5.9" x 8.7"
- Bağlantı: Wired (3.5mm auxiliary input)
- Uyumlu Cihazlar: MP3 Player, iPod, Zune, PC
- Model Numarası: 970285-0403
- UPC: 097855039866, 097855044693
Garanti Bilgileri
Your Logitech X-240 2.1 Speaker System comes with a 2 yıllık sınırlı garanti. This warranty covers defects in materials and workmanship under normal use. For specific terms and conditions, please refer to the warranty documentation included with your product or visit the official Logitech support webalan.
Müşteri Desteği
For further assistance, technical support, or to inquire about warranty claims, please visit the official Logitech support websitesine gidin veya müşteri hizmetleriyle iletişime geçin.
Logitech Desteği Webalan: www.logitech.com/support


