
1. Giriş
The diymore Battery Capacity Indicator is a versatile digital display designed to monitor the voltage ve ücret yüzdesitage of various battery types. It supports a wide voltage range from 7V to 100V, making it suitable for 12V, 24V, 36V, 48V, 60V, 72V, and 84V battery systems. This device is compatible with lithium batteries, lead-acid batteries, and lithium iron phosphate (LiFePO4) batteries. Its clear color display provides real-time information on battery status.
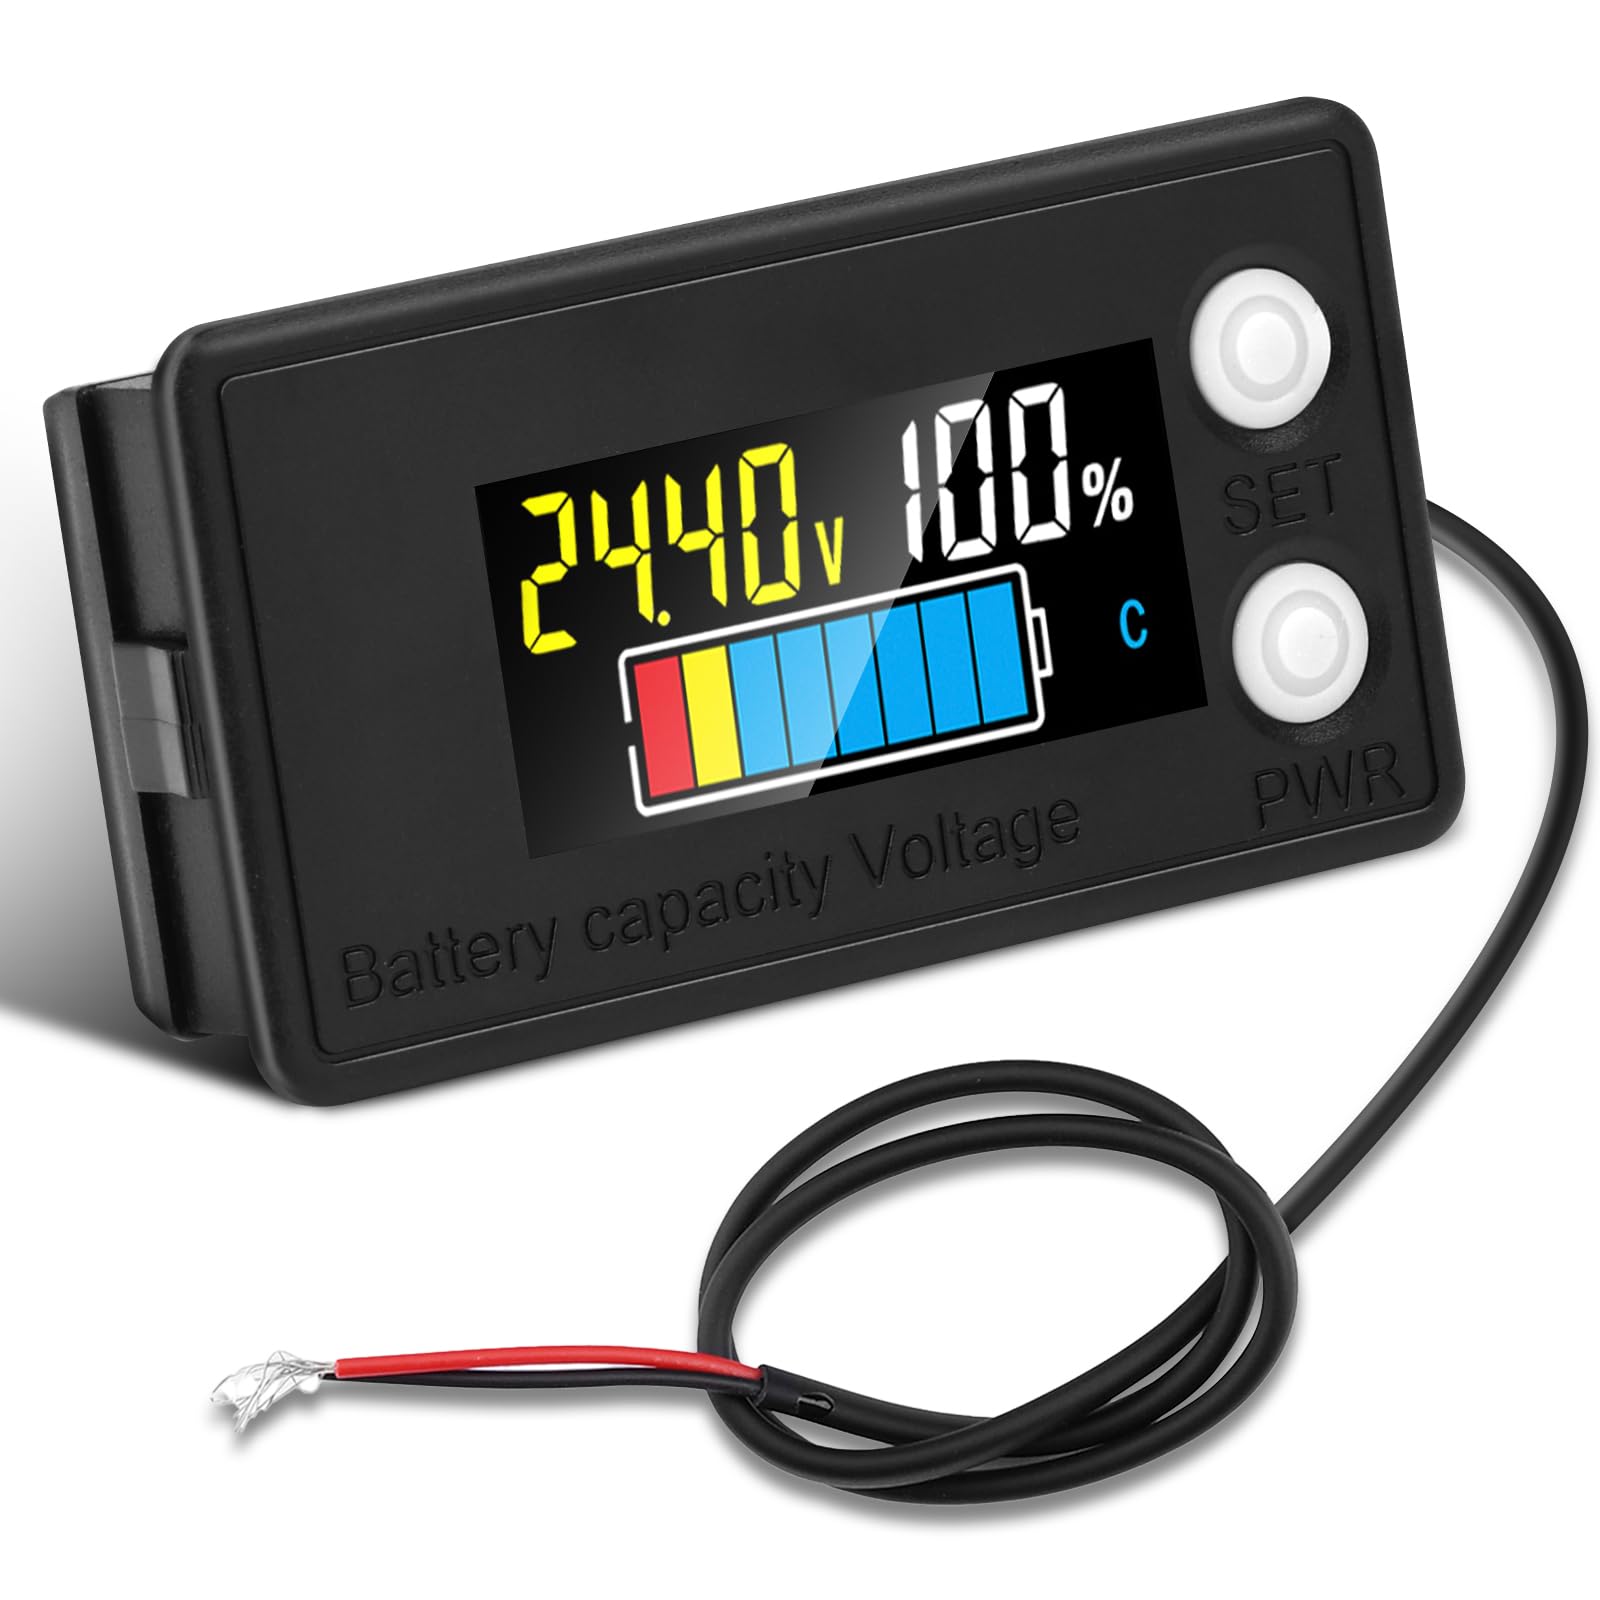
Image: The diymore Battery Capacity Indicator (Style 1) displaying 24.40V and 100% charge, with a colorful battery bar.
2. Ürün Özellikleri
- Geniş Uyumluluk: Suitable for lithium, lead-acid, and LiFePO4 batteries with voltages from 7V to 100V (12V, 24V, 36V, 48V, 60V, 72V, 84V).
- Clear Color Display: Provides clear readings of power and percentage.
- Six Setting Modes: Includes settings for lead-acid (P), lithium-iron (F), LiFePO4, custom high/low voltage, backlight adjustment, and low voltage alarmı.
- Kolay Kullanım: Simple button presses for display control and entering settings.
- Kapanma Belleği: Energy-saving function with power-off memory.
- Ters Polarite Koruması: Designed to prevent damage from incorrect wiring.
- IP67 Su Geçirmezlik Derecesi: Provides protection against water ingress (note: not for prolonged submersion).
3. Kurulum ve Kurulum
3.1 Fiziksel Boyutlar
Before installation, ensure the product dimensions are suitable for your intended mounting location.

Image: Diagram showing the dimensions of the battery capacity indicator: 63mm (2.48in) length, 34mm (1.34in) width, and 15mm (0.59in) depth. Also shows close-ups of the wiring connector and back vents.
3.2 Kablolama Bağlantısı
Connect the indicator to your battery system. The device features reverse polarity protection to prevent damage from incorrect wiring. Ensure proper connection for both series and parallel battery configurations.

Image: Wiring diagrams illustrating how to connect the battery capacity indicator to batteries in series and parallel configurations. The diagram highlights reverse polarity protection.
4. Kullanım Talimatları
4.1 Temel İşlemler
- Güç Açma/Kapatma: Briefly press the "PWR" button on the main side to turn the display on or off.
- Enter Settings Mode: Press and hold the "SET" button for 2 seconds to enter the mode setting function page.
4.2 Mode Setting Instructions
The device offers several setting modes to configure it for different battery types and preferences.

Image: A visual guide listing the available mode settings: Acid battery P measurement, Ternary lithium battery L measurement, Fe lithium battery F measurement, Custom voltage setting, Low voltage alarm setting, and Backlight setting.
4.2.1 Acid Battery (P) Measurement Setting
- On the main page, press and hold the "SET" button for 2 seconds to enter the mode setting function page for lead-acid battery settings.
- The display will show "SET-12 P" (for a 12V lead-acid battery).
- Short press the "PWR" button to make the number flash, then short press the "PWR" button again to select the required lead-acid battery voltage (12V, 24V, 36V, 48V, 60V, 72V, 84V).
- Hacmi seçtikten sonratage, short press the "SET" button to confirm (the number will light up and save after confirmation).
- Press and hold the "SET" button for 2 seconds again to return to the main page. The setting is now complete.

Image: The display showing "SET-12 P" with detailed steps for configuring the indicator for lead-acid batteries.
4.2.2 Ternary Lithium Battery (L) Setting
- On the main page, press and hold the "SET" button for 2 seconds to enter the mode setting function page.
- Short press the "SET" button to select the ternary lithium battery setting page: "SET-03L" (for a ternary lithium battery with 3 strings).
- Short press the "PWR" button to make the number flash, then short press the "PWR" button again to select the required number of ternary lithium battery strings (03/04/05...19/20 strings).
- After selecting the number of strings, short press the "SET" button to confirm (the number will light up and save after confirmation).
- Long press the "SET" button for 2 seconds again to return to the main page. The setting is now complete.

Image: The display showing "SET-03 L" with detailed steps for configuring the indicator for ternary lithium batteries.
4.2.3 Lithium Iron (F) Battery Setting
- On the main page, press and hold the "SET" button for 2 seconds to enter the mode setting function page.
- Short press the "SET" button to select the iron-lithium battery setting page: "SET-03 F" (for an iron-lithium battery with 3 strings).
- Short press the "PWR" button to make the number flash, then short press the "PWR" button again to select the required number of iron-lithium battery strings (03/04/05...24/25 strings).
- After selecting the number of strings, short press the "SET" button to confirm (the number will light up and save after confirmation).
- Long press the "SET" button for 2 seconds again to return to the main page. The setting is now complete.

Image: The display showing "SET-03 F" with detailed steps for configuring the indicator for lithium iron batteries.
4.2.4 Düşük Hacimtage Alarm Ayarı
- On the main page, press and hold the "SET" button for 2 seconds to enter the mode setting function page.
- Short press the "SET" button to select the low voltage alarm setting page: "00.00V" (low voltage alarm setting mode).
- Short press the "PWR" button to make the number flash, then short press the "SET" button to adjust the value.
- Short press the "PWR" button to switch between digits for setting.
- After all 4 digits are set, press and hold the "SET" button for 2 seconds to confirm (all 4 digits will remain lit and saved).
- Press and hold the "SET" button for 2 seconds again to return to the main page. The setting is now complete.

Image: The display showing "00.00V" with a lightning bolt icon and a low battery symbol, along with detailed steps for configuring the low voltage alarmı.
5. Bakım
The diymore Battery Capacity Indicator is designed for durability and features an IP67 waterproof rating. However, proper care is essential for its longevity.
- Suya Dayanıklılık: The device is waterproof, but it should not be exposed to water for prolonged periods or submerged.
- Temizlik: Ekranı ve ekranı temizlemek için yumuşak ve kuru bir bez kullanın.asing. Aşındırıcı temizleyicilerden veya çözücülerden kaçının.
- Depolamak: Store the device in a dry environment when not in use.

Image: The battery capacity indicator shown with water droplets, indicating its IP67 waterproof rating. A note warns against prolonged water exposure.
6. Sorun Giderme
If you encounter issues with your diymore Battery Capacity Indicator, please refer to the following common troubleshooting steps:
- Görüntü yok:
- Tüm kablo bağlantılarının sağlam ve doğru şekilde kutuplanmış olduğundan emin olun.
- Pil hacminintage is within the operating range of 7V-100V.
- Ensure the "PWR" button has been pressed to turn on the display.
- Yanlış Okumalar:
- Doğru pil tipi ve hacmini onaylayıntage/string settings have been configured in the settings menu (refer to Section 4.2).
- Pil hacmini test edintage with a separate multimeter to cross-reference readings.
- Ayarlar Kaydedilmiyor:
- Ensure you press and hold the "SET" button for 2 seconds to confirm and save settings after making changes.
Sorun devam ederse daha fazla yardım için müşteri desteğiyle iletişime geçin.
7. Özellikler
| Özellik | Şartname |
|---|---|
| Marka | diymore |
| Örnek | Stil 1 |
| Uygulanabilir Pil Türleri | Lithium, Lead-Acid, LiFePO4 |
| Çalışma Hacmitage Aralık | DC 7V-100V |
| Minimum Çalışma Hacmitage | 7 Volt (DC) |
| Ölçüm Türü | Voltmetre |
| Renk | Siyah |
| Dahil Bileşenler | Pil Kapasitesi Hacmitage Sayaç |
| Su Geçirmezlik Derecesi | IP67 (not for prolonged submersion) |
8. Uygulamalar
This battery capacity indicator is suitable for a wide range of applications where battery monitoring is essential, including:
- Electric Motorcycles
- Motosikletler
- Golf Arabaları
- Otomobiller
- Karavanlar (Eğlence Araçları)
- Tekneler
- Forkliftler
- Güneş Enerjisi Sistemleri
- Other DIY battery projects

Image: A collage showing the battery capacity indicator in the center, surrounded by images of a forklift, truck, RV, golf cart, and boat, illustrating its diverse applications.
9. Destek ve Garanti
diymore is committed to meeting your expectations with high-quality products and reliable customer service.
- Kalite Güvencesi: Products are manufactured with best quality and safest processing.
- Teknik Destek: A professional team of technicians is available for support.
- Müşteri Hizmetleri: Dedicated customer service is provided for any inquiries or issues.

Image: A banner displaying the diymore logo and the text "OUR PROMISE TO YOU: Meeting Your Expectations," with icons representing production quality, safety, and professional customer service.