
1. Giriş
This manual provides detailed instructions for the installation, operation, and maintenance of your REPTITRIP Dual Reptile Light Fixture. This device is designed to manage two lamp sockets independently: one with a PID dimming thermostat for precise temperature control and another with a programmable timer for day/night heating and lighting cycles. Proper use ensures a stable and healthy environment for your reptiles.
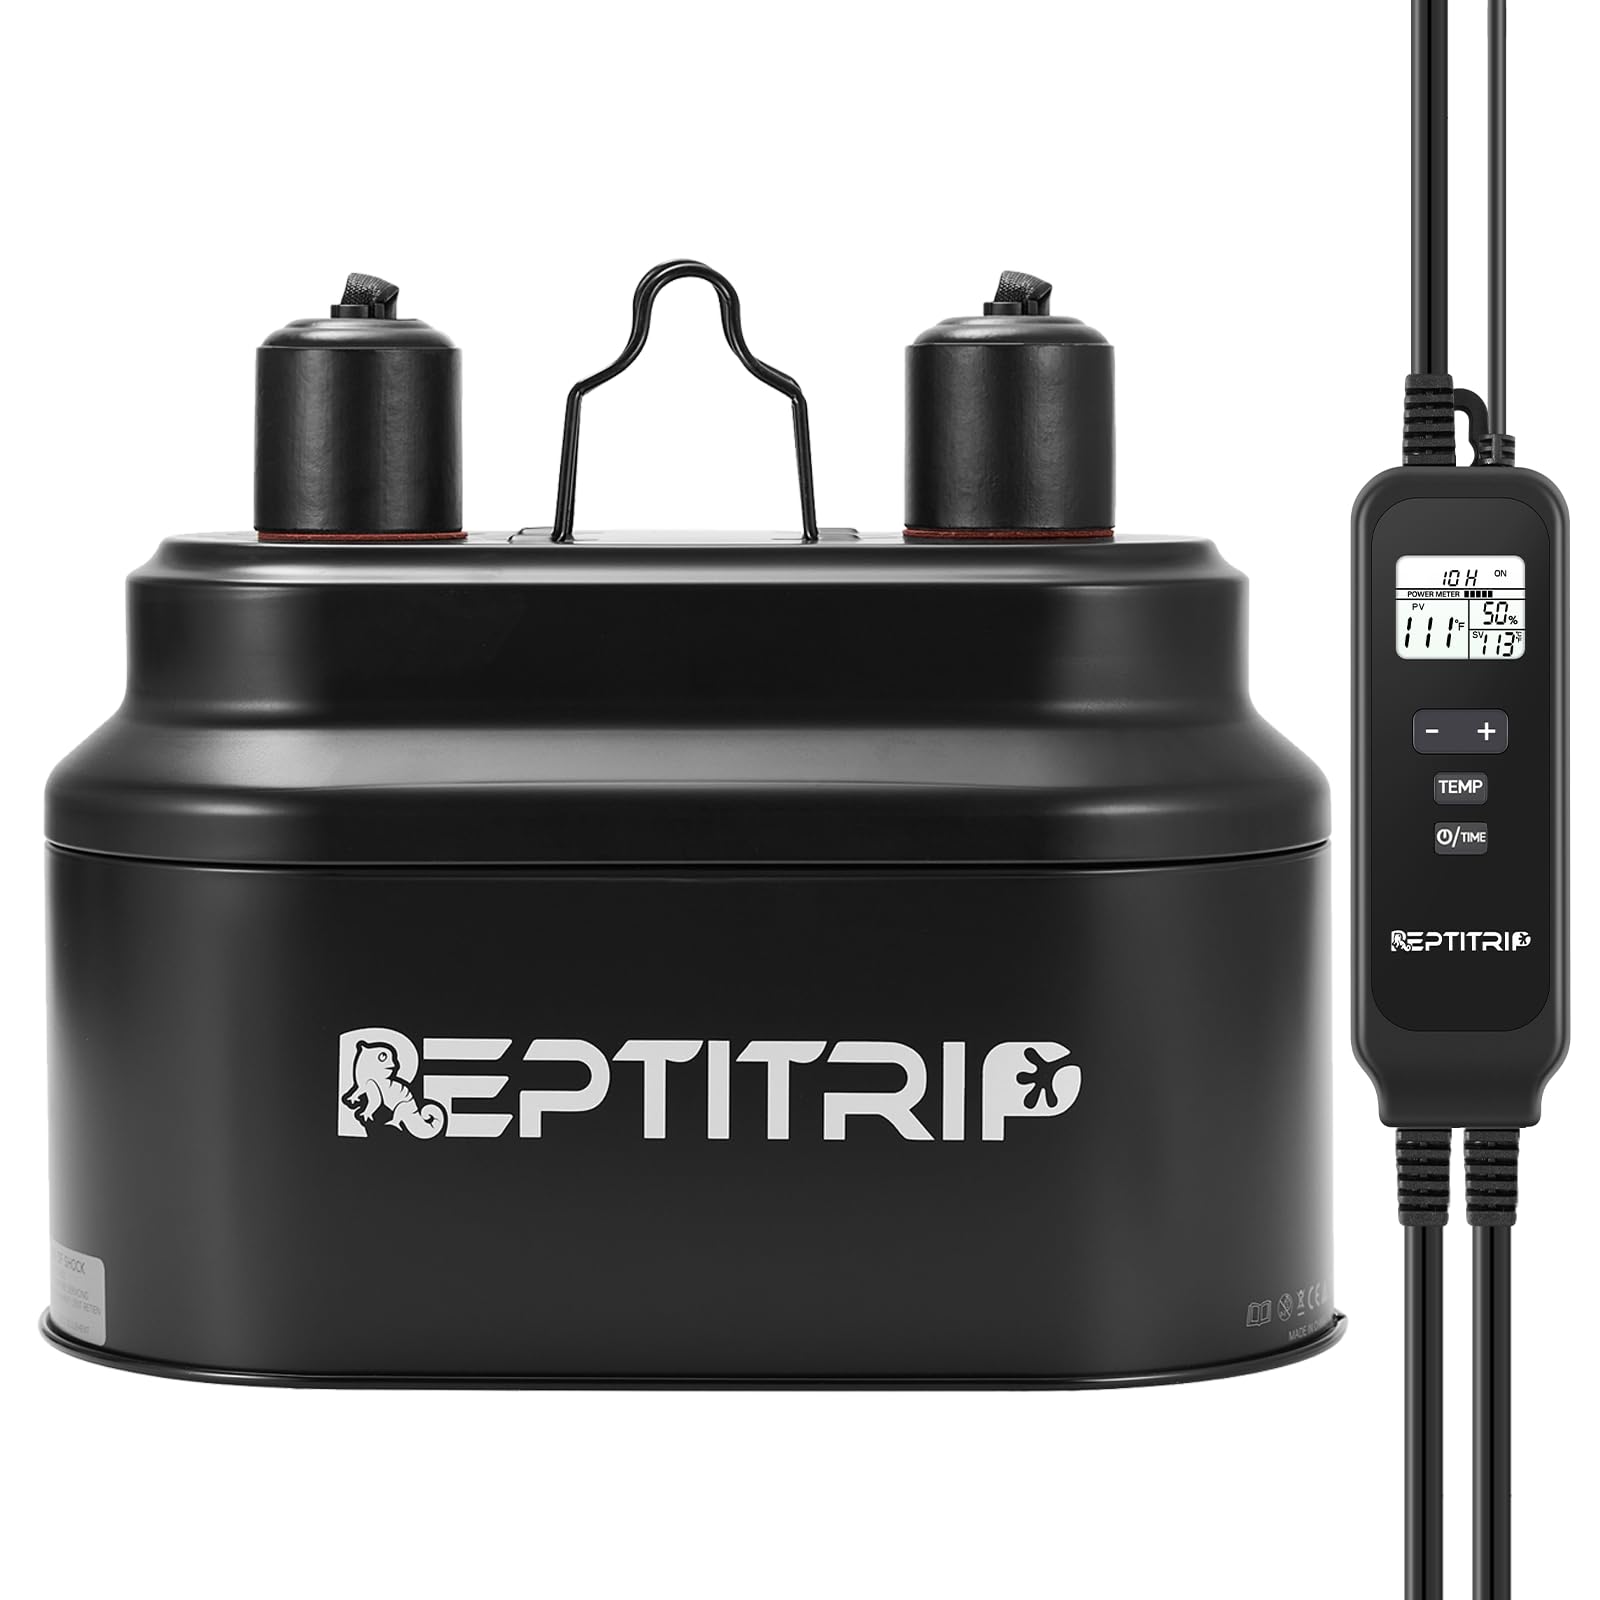
Image 1.1: REPTITRIP Dual Reptile Light Fixture with its integrated controller and temperature probe.
2. Güvenlik Bilgileri
Please read all safety instructions before operating the device to prevent injury or damage.
- Güç kaynağı hacmini sağlayıntage matches the device's requirements (100-120V, 50Hz).
- Maksimum su miktarını aşmayıntagSoket başına 160W.
- Thermostat Socket Warning: Do NOT use full-spectrum sun lamps, UVB bulbs, LED lights, or energy-saving bulbs in the thermostat socket. This socket is designed for heat-emitting bulbs only (e.g., ceramic heat emitters, infrared lamps, basking spot bulbs).
- Keep the device and power cords away from water and excessive moisture.
- Always unplug the device from the power outlet before performing any maintenance, cleaning, or bulb replacement.
- The high-temperature warning label on the lamp will turn red if the surface temperature exceeds 113°F (45°C). This indicates high heat and can also confirm bulb functionality.
- Aşırı ısınmayı önlemek için armatür çevresinde uygun havalandırma sağlayın.
3. Paket İçeriği
Paketin tüm bileşenlerinin mevcut olduğunu doğrulayın:
- Dual Reptile Light Fixture with integrated controller
- Sıcaklık Probu
- Kullanım Kılavuzu
4. Ürün Özellikleri
The REPTITRIP Dual Reptile Light Fixture offers advanced control for your terrarium environment:
- Dual Socket Control: Manages two lamp sockets independently for diverse environmental needs.
- PID Dimming Thermostat: One socket provides precise temperature regulation (50-140°F) by adjusting bulb brightness, ensuring stable heat without large fluctuations.
- Programlanabilir Zamanlayıcı: The second socket features a timed on/off function with a selectable duration of 1-24 hours, ideal for simulating natural day/night cycles.
- LCD Ekran: A clear screen shows set temperature, current probe temperature, output power, and timer duration for easy monitoring.
- Enhanced Reflection: The polished interior surface of the fixture optimizes light and UVB reflection, improving bulb efficiency.
- Verimli Isı Dağılımı: Multiple ventilation holes prevent bulb damage from overheating, extending bulb lifespan.

Resim 4.1: Üzeriview kumandanın ekranı ve düğmeleri.

Image 4.2: The aluminum dome interior designed for enhanced reflection.
5. Kurulum
Follow these steps to set up your REPTITRIP Dual Reptile Light Fixture:
- Montajı Yapın: Place the fixture securely on top of your terrarium mesh lid or suspend it using appropriate hanging accessories (not included).
- Ampulleri takın: Screw the desired bulbs into each socket. Ensure bulbs are compatible with the respective socket's function (refer to Section 4).
- Kontrol Ünitesini Bağlayın: Ensure the controller is securely connected to the fixture.
- Position Temperature Probe: Place the temperature probe inside the terrarium where you need to monitor and maintain the temperature. For accurate readings, position it directly under the heat source but out of direct contact with the bulb or animal.
- Eklenti: Elektrik fişini uygun bir elektrik prizine takın.

Image 5.1: Fixture installed over a terrarium with the controller in use.

Image 5.2: Visual guide for assembling the fixture components.

Image 5.3: Recommended temperature sensor placement.
6. Kullanım Talimatları
6.1. Thermostat Socket Operation
The thermostat socket regulates temperature using PID dimming control. It is suitable for ceramic heat emitters, infrared lamps, and basking spot bulbs (max 160W).

Image 6.1.1: Compatible bulb types for the thermostat socket.
- Hedef Sıcaklığı Ayarlayın: Press the 'TEMP' button on the controller. Use the '+' and '-' buttons to adjust the desired temperature between 50-140°F. The display will show the set temperature.
- İzleme: The controller will automatically adjust the power output to the bulb to maintain the set temperature, displaying the current probe temperature and output power percentage.
- Önemli Not: If the target temperature is not reached, consider using a higher wattage bulb (up to 160W). Ensure the temperature probe is correctly placed.

Image 6.1.2: How to set the target temperature.
6.2. Timer Socket Operation
The timer socket provides timed on/off functionality for lighting or heating elements. It is compatible with a wider range of bulbs including full-spectrum sun lamps, UVB bulbs, LED lights, and energy-saving bulbs (max 160W).

Image 6.2.1: Compatible bulb types for the timer socket.
- Set Timer Duration: Press the 'U/TIME' button on the controller. Use the '+' and '-' buttons to select the desired operating duration (1-24 hours). The cycle starts immediately after configuration.
- Zamanlayıcı Sıfırlama: If the timer loses power and is re-energized, the on/off time points will reset based on the re-powering time as the new starting point. Reconfigure the timer if this occurs.

Image 6.2.2: How to set the timer.
6.3. Ex'in Ayarlanmasıample

Resim 6.3.1: Örn.ample settings for a terrarium environment.
Örneğinample, to set a sun lamp for 8 hours daily and a ceramic heat emitter to maintain 85°F:
- Timer Socket (Sun Lamp): Set the timer to '8H'. The sun lamp will turn on for 8 hours from the moment the timer is set.
- Thermostat Socket (Ceramic Heat Emitter): Set the target temperature to '85°F'. The ceramic heat emitter will adjust its output to maintain this temperature continuously.
6.4. Eğitim Videosu
Video 6.4.1: A detailed video guide on how to set up and operate the REPTITRIP Dual Reptile Light Fixture's functions.
7. Bakım
Regular maintenance ensures optimal performance and longevity of your fixture:
- Temizlik: Disconnect power before cleaning. Wipe the exterior of the fixture and controller with a dry, soft cloth. Do not use abrasive cleaners or immerse any part in water.
- Ampul Değişimi: Ensure the fixture is unplugged and bulbs are cool before replacing. Screw in new bulbs gently to avoid damage.
- Prob Bakımı: Periodically check the temperature probe for any damage or debris. Clean gently if necessary.
8. Sorun Giderme
Sorunlarla karşılaşırsanız, aşağıdaki sorun giderme kılavuzuna bakın:
| Sorun | Olası Neden | Çözüm |
|---|---|---|
| Thermostat socket not heating / temperature too low | Incorrect bulb type; Bulb wattage too low; Probe misplaced or faulty. | Ensure a compatible heat-emitting bulb is used. Increase bulb wattage (up to 160W). Reposition probe directly under heat source. Check probe connection. |
| Timer socket not turning on/off as scheduled | Timer reset due to power interruption; Incorrect timer setting. | Reconfigure the timer settings. Ensure continuous power supply. |
| LCD ekran çalışmıyor | No power; Loose connection; Device malfunction. | Check power outlet and connections. Unplug and re-plug the device. If issue persists, contact support. |
| High-temperature warning label is red | Normal operation for high heat; Bulb too close to surface; Insufficient ventilation. | This can indicate normal operation. Ensure adequate distance between bulb and terrarium surface. Check for proper ventilation. |
9. Özellikler
| Özellik | Şartname |
|---|---|
| Model Adı | LFD02+PT02T |
| Marka | REPTITRIP |
| Cilttage | 100-120V |
| Sıklık | 50Hz |
| Maksimum Vattage Soket başına | 160W |
| Toplam Vattage | 320W |
| Ampul Tabanı | E26 |
| Thermostat Temp Range | 50-140°F |
| Zamanlayıcı Ayar Aralığı | 1-24 Saat |
| Kontrol Yöntemi | Dokunmatik Düğmeler |
| Malzeme | Metal |
| Boyutlar (G x Y) | 5.5"W x 7.5"H (Fixture only) |
| Ürün Ağırlığı | 1.7 pound |

Image 9.1: Physical dimensions of the fixture.
10. Garanti ve Destek
For warranty information, please refer to the manufacturer's warranty description provided with your purchase or visit the official REPTITRIP website. For technical support or further assistance, please contact REPTITRIP customer service through their official channels.