
GeekShare GC1201A
GeekShare Hall Effect Switch Controller (GC1201A) User Manual
Model: GC1201A
1. Giriş
The GeekShare Hall Effect Switch Controller is a versatile gaming controller designed for multi-platform compatibility, including Nintendo Switch (OLED/NS2/1/Lite), PC (Steam, Windows), and mobile devices (Android, iOS). It features dual-mode connectivity (Bluetooth and 2.4G wireless), a 1000mAh battery, 6-axis gyroscope, dual vibration motors, and customizable RGB lighting for an immersive gaming experience.
Paket İçeriği
- 1 x GeekShare Hall Effect Wireless Controller
- 1 x USB-C Şarj Kablosu
- 1 x 2.4G Kablosuz Alıcı
- 1 x Kullanım Kılavuzu
2. Temel Özellikler
- Hall Etkili Joystickler: Provides precise control and prevents stick drift.
- Çift Bağlantı Modu: Seamlessly switch between Bluetooth 5.0 for mobile and consoles, and 2.4G wireless with the included dongle for PC.
- Çoklu Platform Uyumluluğu: Supports Nintendo Switch (OLED/NS2/1/Lite), PC (Steam, Windows), Android, and iOS devices.
- Kapsamlı Geribildirim: Features a 6-axis gyroscope for motion control and dual vibration motors with 5-level adjustment for realistic haptic feedback.
- Uzun Ömürlü Pil: Integrated 1000mAh rechargeable battery offers up to 15 hours of continuous gameplay.
- Özelleştirilebilir RGB Aydınlatma: Enhance your gaming setup with personalized RGB light effects.
- Programlanabilir Düğmeler: Two back buttons (M1, M2) can be mapped to complex commands for quick execution.
- Turbo Fonksiyonu: Auto and manual turbo settings for rapid-fire actions.
Bağlantı Seçenekleri
The controller supports three connection methods: Bluetooth, 2.4G wireless (with dongle), and wired USB-C.

Programlanabilir Düğmeler
The M1 and M2 buttons on the back can be programmed to perform specific actions, allowing for quick execution of complex in-game commands.

Titreşimli geribildirim
Equipped with dual motors, the controller provides adjustable vibration feedback to enhance immersion. There are 5 levels of vibration intensity.

Pil Ömrü
The built-in 1000mAh battery provides extended gameplay. A full charge takes approximately 2.5 hours and offers up to 20 hours of continuous use.

Turbo İşlev
The controller supports both automatic and manual turbo functions, allowing for rapid, repeated input of a button press. This is typically activated by pressing the 'M' button along with a desired action key.

Hareket Kontrolü
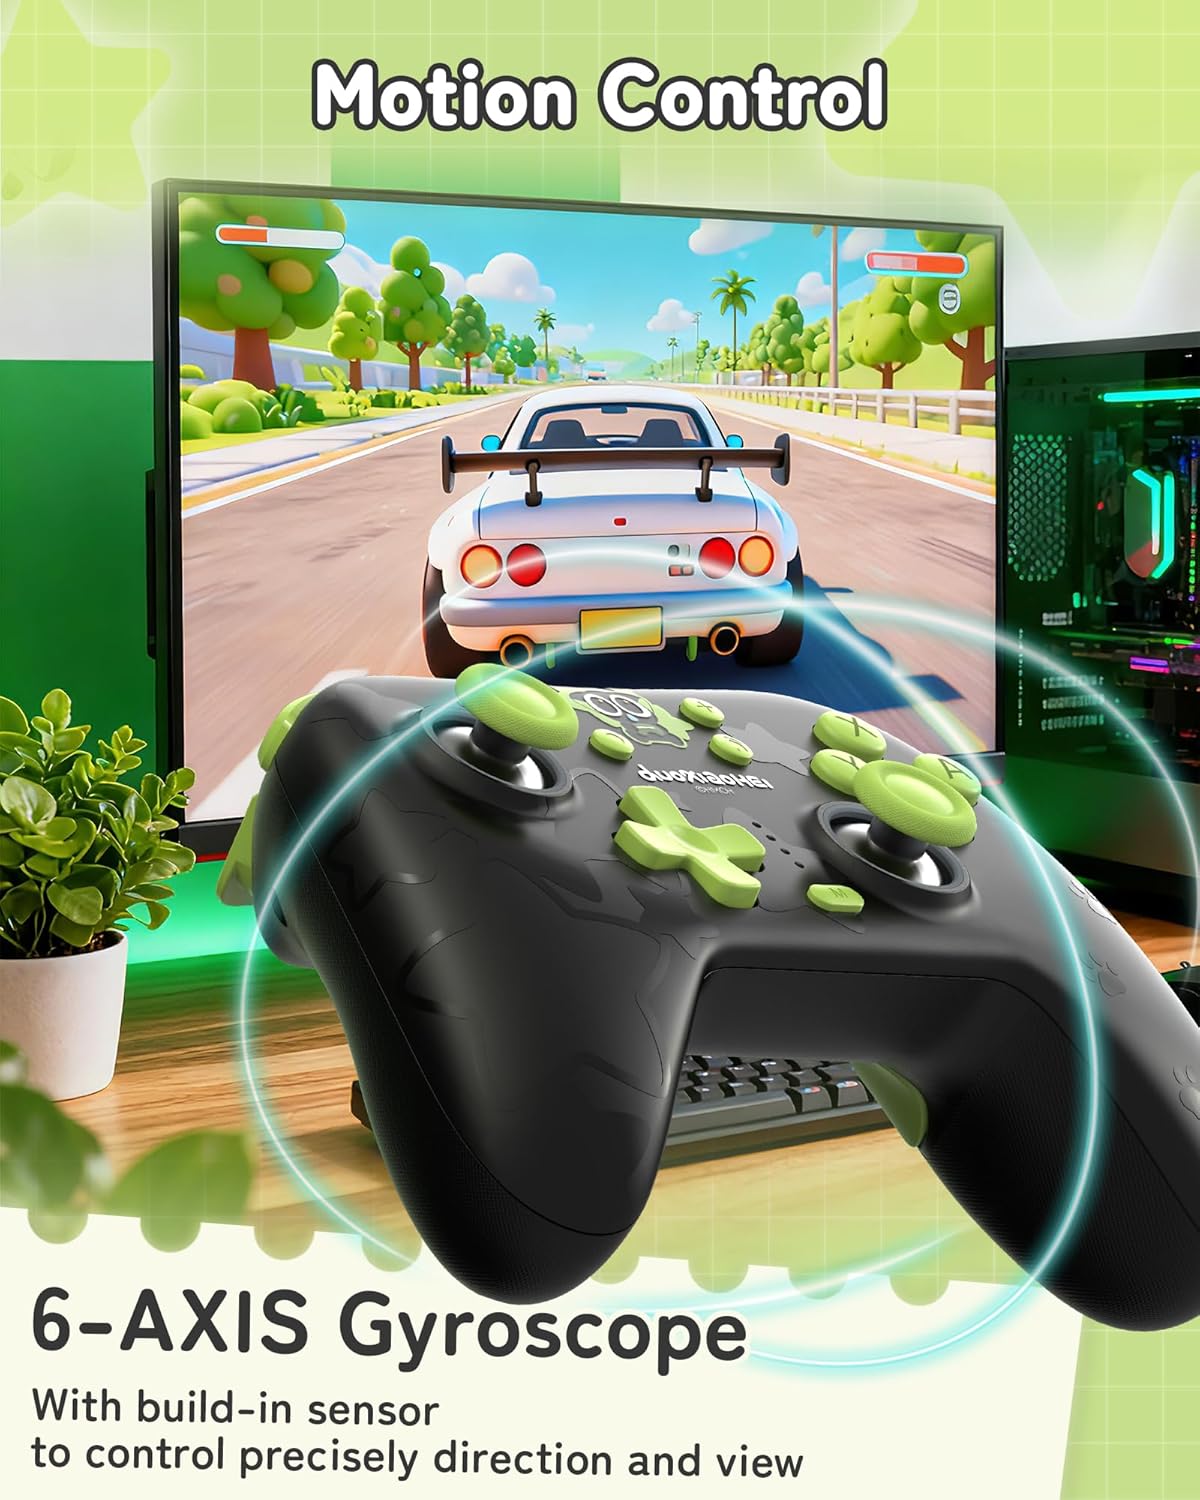
A built-in 6-axis gyroscope enables precise motion control, allowing for intuitive direction and view adjustments in compatible games.
3. Kurulum ve Bağlantı
3.1 Kontrol Ünitesinin Şarj Edilmesi
Before first use, fully charge the controller. Connect the included USB-C cable to the controller's charging port and the other end to a USB power source (e.g., console, PC, or USB wall adapter). The indicator lights will show charging status and turn off when fully charged.
3.2 Connecting to Nintendo Switch (Bluetooth)
- Nintendo Switch'inizde ANA MENÜ'ye gidin.
- Select "Controllers" > "Change Grip/Order".
- Press and hold the Pairing button on the top of the GeekShare controller until the indicator lights begin to flash rapidly.
- The Switch will detect the controller. Once paired, the indicator light(s) on the controller will remain solid.
- Note: This controller may not support waking up the Switch console from sleep mode. You may need to manually wake the console before connecting.
3.3 Connecting to PC (2.4G Wireless)
- Insert the 2.4G wireless receiver into an available USB port on your PC.
- Turn on the GeekShare controller.
- The controller should automatically connect to the receiver. The indicator light(s) on the controller will remain solid once connected.
- If connection fails, press the pairing button on the controller and the button on the 2.4G receiver simultaneously to initiate pairing.
3.4 Connecting to Mobile Devices (Bluetooth)
- Android veya iOS cihazınızda Bluetooth'un etkinleştirildiğinden emin olun.
- On your device, go to Bluetooth settings and scan for new devices.
- Press and hold the Pairing button on the top of the GeekShare controller until the indicator lights begin to flash rapidly.
- Select "GeekShare Controller" (or similar name) from the list of available devices.
- Once paired, the indicator light(s) on the controller will remain solid.
3.5 Kablolu Bağlantı
Connect the controller directly to your device (Switch dock, PC) using the USB-C cable. The controller will function as a wired controller and will also charge simultaneously.
4. Kullanım Talimatları
4.1 Temel Kontroller
The controller features standard button layouts including A/B/X/Y buttons, D-pad, Left/Right joysticks, L/R/ZL/ZR shoulder buttons, and Home/Capture/Plus/Minus buttons. Refer to in-game prompts for specific button functions.
4.2 Programming M1/M2 Buttons
The M1 and M2 buttons on the back can be assigned to replicate other button presses or sequences. Consult the full user manual (included in the box) for detailed programming instructions, as the process may vary based on desired complexity.
4.3 Turbo Function Activation
To activate the Turbo function for a specific button:
- Press and hold the 'M' button.
- While holding 'M', press the desired action button (e.g., A, B, X, Y, L, R, ZL, ZR).
- Release both buttons. The selected button will now have the Turbo function enabled.
To adjust between manual and auto turbo, or to clear the turbo setting, refer to the detailed instructions in the included user manual.
4.4 Titreşim Yoğunluğunun Ayarlanması
The controller offers 5 levels of vibration intensity. Specific button combinations (e.g., 'M' button + D-pad Up/Down) are typically used to cycle through these levels. Refer to the included user manual for the exact key combinations.
4.5 RGB Aydınlatma Kontrolü
The RGB lighting can be customized. This usually involves pressing a dedicated button or a combination of buttons to change colors, patterns, or turn the lighting on/off. Consult the included user manual for specific instructions.
5. Bakım ve Özen
- Kontrol ünitesini kuru tutun ve aşırı sıcaklıklardan uzak tutun.
- Kumanda ünitesini yumuşak, kuru bir bezle temizleyin. Sert kimyasallar veya aşındırıcı malzemeler kullanmayın.
- Kumandayı düşürmekten veya şiddetli darbelere maruz bırakmaktan kaçının.
- Store the controller in a clean, dust-free environment when not in use.
- Charge the controller regularly, even if not used frequently, to maintain battery health.
6. Sorun Giderme
6.1 Denetleyici Bağlanmıyor
- Kontrol cihazının yeterli şarja sahip olduğundan emin olun.
- Verify that the correct connection mode (Bluetooth, 2.4G, Wired) is selected or attempted for your device.
- For Bluetooth, ensure your device's Bluetooth is on and the controller is in pairing mode (flashing lights).
- For 2.4G, ensure the receiver is properly inserted into the PC and try re-pairing if necessary.
- Hem kontrol cihazını hem de bağlanmaya çalıştığınız cihazı yeniden başlatmayı deneyin.
- If connecting to Switch, ensure you are in the "Change Grip/Order" menu.
6.2 Giriş Gecikmesi veya Bağlantı Kesilmeleri
- Yakınlarda güçlü elektromanyetik girişim kaynaklarının olmadığından emin olun.
- Move closer to the connected device (for wireless connections).
- For PC, ensure the 2.4G receiver is in a clear line of sight and not obstructed.
- Kablosuz paraziti ortadan kaldırmak için kablolu bir bağlantı deneyin.
6.3 Düğmeler veya Joystickler Tepkisiz
- Kumandanın doğru şekilde bağlı ve açık olduğundan emin olun.
- Restart the controller and the gaming device.
- Düğmelerin veya kumanda kollarının etrafında herhangi bir kalıntı birikmediğinden emin olun.
- If the issue persists, a factory reset (if available, consult the included manual) might be necessary.
6.4 Kumanda Şarj Olmuyor
- Ensure the USB-C cable is securely connected to both the controller and the power source.
- Farklı bir USB-C kablosu veya güç kaynağı deneyin.
- Güç kaynağının aktif olduğundan ve yeterli güç sağladığından emin olun.
7. Özellikler
| Model Numarası | GC1201A |
| Bağlantı | Bluetooth 5.0, 2.4G Wireless (with receiver), USB-C Wired |
| Uyumluluk | Nintendo Switch (OLED/NS2/1/Lite), PC (Windows), Android, iOS |
| Pil Kapasitesi | 1000mAh |
| Oyun zamanı | Up to 15-20 hours (approx.) |
| Şarj Süresi | Yaklaşık 2.5 saat |
| Hareket Sensörü | 6 eksenli Jiroskop |
| Titreşim | Dual Motors with 5-level adjustment |
| Özel Özellikler | Hall Effect Joysticks, Programmable M1/M2 buttons, Turbo function, RGB Lighting |
8. Garanti ve Destek
For warranty information and technical support, please refer to the official GeekShare website or contact their customer service directly. Details can typically be found on the product packaging or the included user manual.
GeekShare Official Webalan: Visit GeekShare Store on Amazon
Ask a question about this manual
Ask about setup, troubleshooting, compatibility, parts, safety, or missing instructions. Manuals+ will review the question and use this page’s manual context to help answer it.