
1. Giriş
The JONR H2 Pro is a versatile wet and dry vacuum cleaner designed for efficient home cleaning. It combines powerful suction, wet mopping, and water recovery in a single device. Key features include an innovative odor-preventing structure, a 180° flat design for cleaning under furniture, and an automatic self-cleaning system with PTC hot air drying.
Video: JONR H2 Pro Product Overview. This video provides a brief introduction to the vacuum cleaner's main features and benefits.
2. Paket İçeriği
Kuruluma devam etmeden önce pakette tüm öğelerin mevcut olduğundan emin olun.
- JONR H2 Pro Wet and Dry Vacuum Cleaner Main Unit
- Dedicated Charging Stand
- Maintenance Cleaning Brush Set
- Dedicated Cleaning Solution
- Güç Adaptörü
- Kullanım Kılavuzu (Japonca)

Image: The JONR H2 Pro package contents, including the main unit, charging stand, cleaning tools, and user manual.
3. Kurulum
3.1 Kol Grubu
- Align the handle with the connection port on the main unit.
- Securely tighten the handle.
- Ensure the sealing ring (gasket) is fitted into the groove without any gaps to prevent leaks.
3.2 Charging Stand Setup
- Şarj standını elektrik prizine yakın, uygun bir yere yerleştirin.
- Connect the power adapter to the charging stand and plug it into a wall outlet.
3.3 Temiz Su Deposunun Doldurulması
- Temiz su deposunu ana üniteden çıkarın.
- Open the tank cap and fill with clean water, optionally adding the dedicated cleaning solution.
- Close the tank cap securely and reattach the tank to the main unit.

Image: A user filling the clean water tank with water and cleaning solution.
3.4 İlk Şarj
Place the assembled vacuum cleaner onto the charging stand. The LED display will indicate charging status. Ensure the unit is fully charged before first use.
Video: JONR H2 Pro Assembly and Disassembly. This video demonstrates how to assemble the vacuum cleaner and its components, including the dirty water tank.
4. Operasyon
4.1 Güç Açma/Kapatma ve Mod Seçimi
Press the power button to turn the unit on or off. Use the mode selection button to switch between cleaning modes, including standard wet/dry cleaning and a dedicated bathroom mode for wet areas.
4.2 Cleaning Under Furniture and Edges
The H2 Pro features a 180° flat design, allowing it to easily reach under furniture with gaps as small as 11cm. Its edge-cleaning design ensures thorough cleaning along walls and furniture legs, preventing missed spots.

Image: The JONR H2 Pro demonstrating its 180-degree flat design for cleaning under low furniture.

Image: The JONR H2 Pro cleaning along the edges of a wall, highlighting its edge-cleaning capability.
4.3 Voice Guidance and LED Display
The vacuum cleaner provides real-time voice guidance and visual information on its LED display, making operation intuitive and user-friendly.
Video: JONR H2 Pro Wet and Dry Vacuum Cleaner in Action. This video demonstrates the vacuum cleaner's cleaning capabilities on various surfaces and spills.
5. Bakım
5.1 Automatic Self-Cleaning and PTC Hot Air Drying
After cleaning, place the unit on its charging stand to initiate the automatic self-cleaning cycle. The double comb structure prevents hair tangles on the roller brush, and 40 spray holes ensure thorough cleaning. The integrated PTC thermal management system then automatically dries the roller brush with hot air, preventing bacterial growth and odors.

Image: The JONR H2 Pro undergoing its automatic self-cleaning and hot air drying process on the charging stand.
5.2 Kirli Su Deposunun Boşaltılması ve Temizlenmesi
Regularly empty and clean the dirty water tank to maintain hygiene and prevent odors. The tank is designed for easy removal and rinsing.
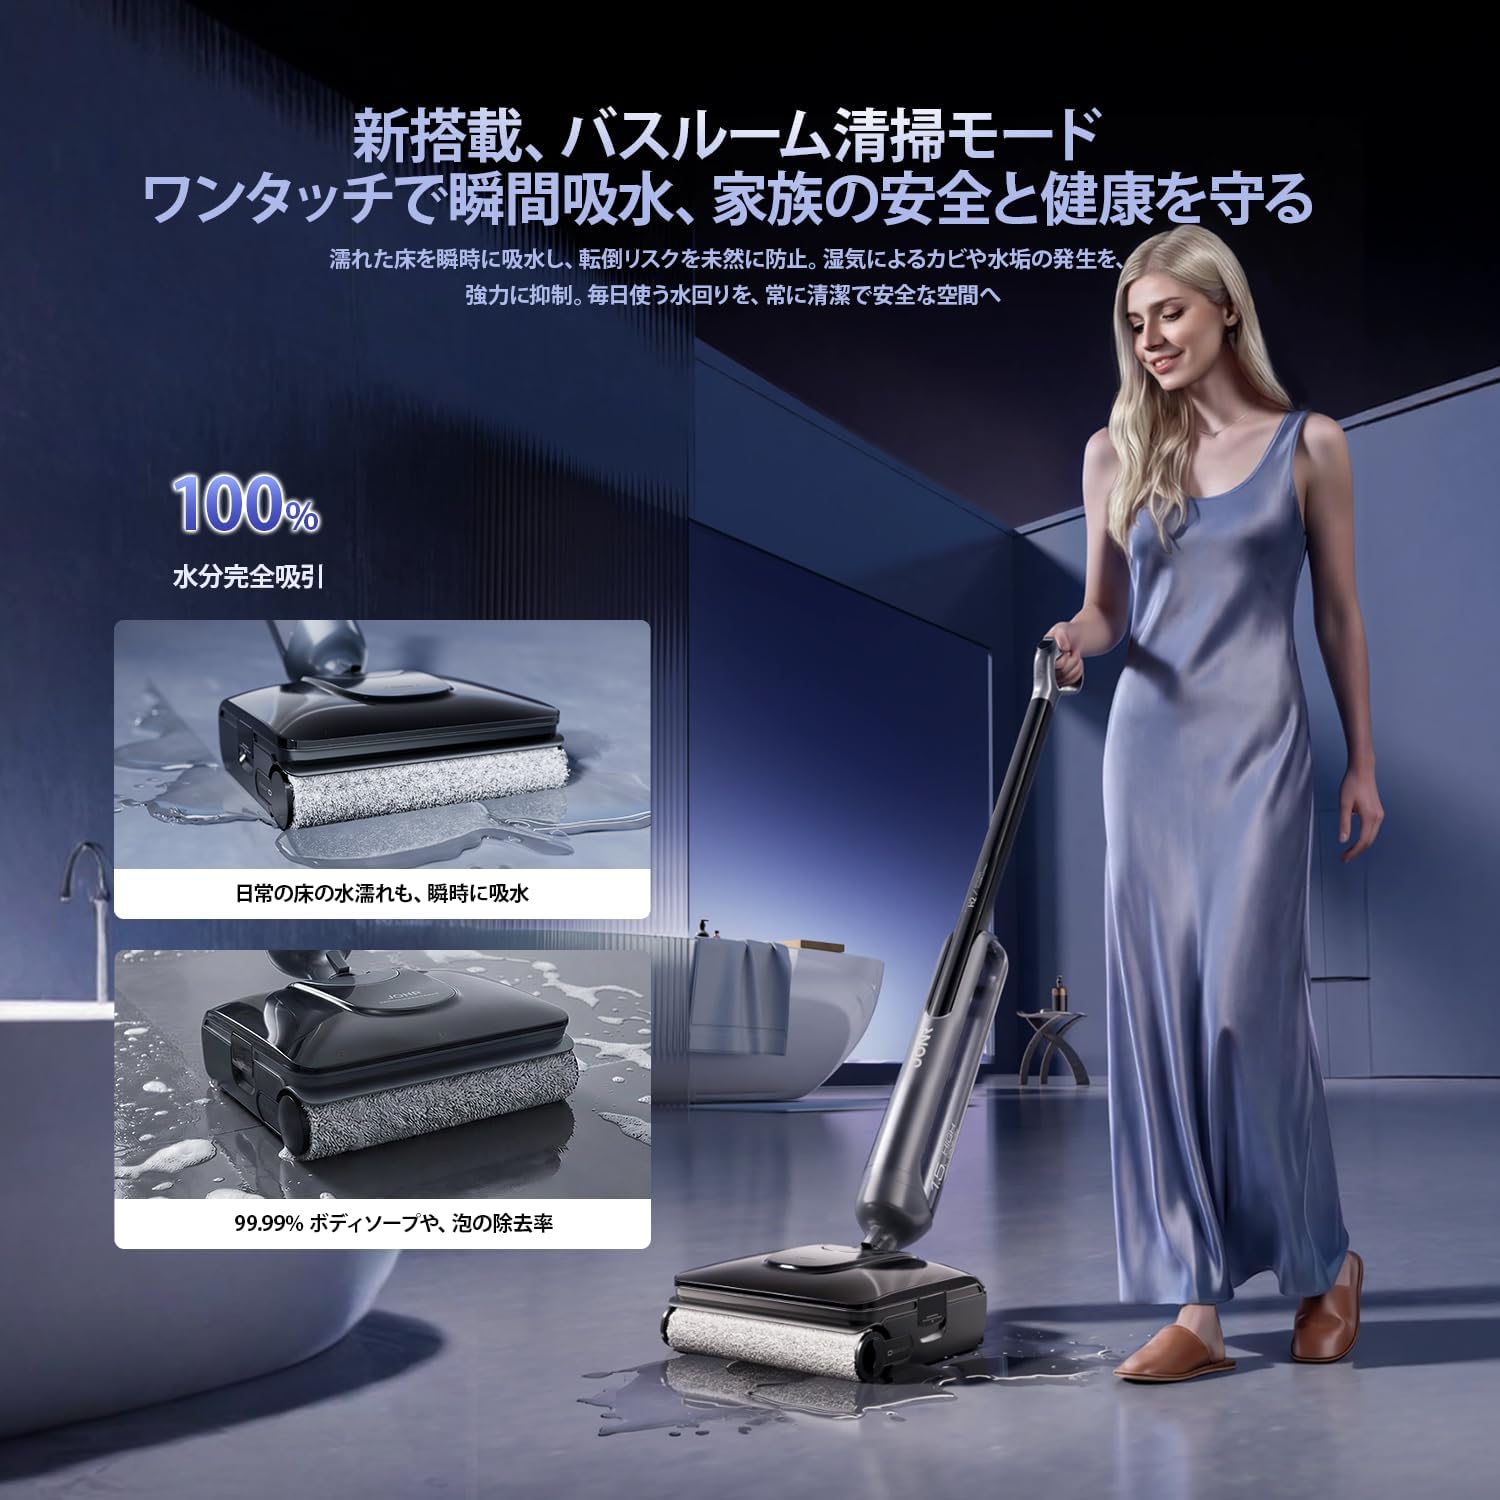
Image: A user emptying the dirty water tank into a sink.
5.3 Rulo Fırça ve Filtrenin Temizlenmesi
For optimal performance, periodically remove and clean the roller brush and HEPA filter. Use the provided cleaning brush to remove any tangled hair or debris.
6. Sorun Giderme
- Azaltılmış Emiş Gücü: If suction power decreases, check and remove any debris from the filter, roller brush, or suction port. Ensure the dirty water tank is empty (below the safety line) and correctly installed before automatic cleaning.
- Hoş Olmayan Kokular: Ensure the dirty water tank is regularly emptied and thoroughly cleaned. The PTC hot air drying function helps prevent odors by drying the roller brush.
- Su sızıntısı: Verify that all tanks are correctly installed and sealed. Check the handle connection and sealing ring for proper fit.
- Pil Şarj olmuyor: Ensure the power adapter is securely plugged into both the charging stand and the wall outlet. Confirm the unit is correctly placed on the charging stand.
7. Özellikler
| Marka | JONR |
| Örnek | H2 Pro |
| Tip | Islak ve Kuru Elektrikli Süpürge |
| Emiş Gücü | 20,000 Pa |
| Çalışma zamanı | 45 dakikaya kadar |
| Kapsama Alanı | Approx. 300㎡ |
| Operasyonel Ağırlık | Approx. 750g (felt weight) |
| Boyutlar (U x G x Y) | 20x5x110 cm |
| Güç Kaynağı | Pil ile çalışan |
| Filtre Türü | HEPA Filtre |
| Özel Özellikler | Wet/Dry Function, Cordless, Automatic Self-Cleaning, PTC Hot Air Drying, 180° Flat Design, Edge Cleaning, LED Display, Voice Guidance, Smart Overcharge Protection |
8. Garanti ve Destek
The JONR H2 Pro comes with a 1 yıllık üretici garantisi from the date of purchase. This warranty covers initial defects and natural failures. For any questions regarding product usage or in the event of a malfunction, please contact our customer support team.
8.1 Çevrimiçi Destek
You can easily reach our dedicated customer support team through your Amazon account:
- Git Sipariş Geçmişi.
- Locate your JONR H2 Pro order.
- Click on the 'Seller' information.
- Select 'Ask a Question' to send a message to our support team.
8.2 Uzatılmış Garanti
If you wish to inquire about an extended warranty, please have your sipariş numarası ready and contact customer support for further details.