
HAPPRUN J7 Pro
HAPPRUN J7 Pro Akıllı Projeksiyon Cihazı Kullanım Kılavuzu
Model: J7 Pro
1. Giriş
This manual provides essential instructions for the safe and efficient operation of your HAPPRUN J7 Pro Smart Projector. Please read this manual thoroughly before using the product and retain it for future reference.

Figure 1: HAPPRUN J7 Pro Smart Projector Overview
2. Güvenlik Bilgileri
Projeksiyon cihazına zarar gelmesini önlemek ve kullanıcı güvenliğini sağlamak için aşağıdaki güvenlik önlemlerine uyun:
- Havalandırma açıklıklarını kapatmayın.
- Yalnızca üretici tarafından belirtilen aparatları/aksesuarları kullanın.
- Tüm bakımları yetkili servis personeline yaptırın.
- Projektör lensinin doğrudan gözlerinize temas etmesinden kaçının.
- Projeksiyon cihazını yağmur veya neme maruz bırakmayın.
3. Paket İçeriği
Paketleri açtığınızda tüm eşyaların mevcut olduğundan emin olun:
- HDMI Kablosu
- Güç Kablosu
- Uzak
- Kullanıcı Kılavuzu
- Temizlik Kiti
4. Ürün Bittiview
The HAPPRUN J7 Pro is a smart projector featuring Google TV, designed for versatile home theater and outdoor use. Key features include:
- Officially Licensed Google TV: Access streaming apps like Netflix, Prime Video, YouTube, and Hulu directly.
- Google Sesli Asistanı: Control the projector with voice commands via the remote.
- Visionary Picture Quality: Native 1080P resolution with 1500 ANSI lumens, supporting 4K input and HDR10+ for sharp, vibrant images.
- Otomatik Ayarlamalar: 3-second auto focus and auto keystone correction for effortless setup.
- Dolby Audio & Hi-Fi Speakers: Integrated dual speakers with Dolby certification for immersive sound.
- Gelişmiş Bağlantı: Dual-band Wi-Fi 6 for lag-free screen mirroring (iOS, Android, Windows) and Bluetooth 5.2 for external audio devices.
- Büyük Ekran Projeksiyon: Adjustable display size from 40 to 200 inches with 50%-100% digital zoom.
- Çoklu Cihaz Uyumluluğu: HDMI, USB, and 3.5mm audio jack for connecting phones, laptops, PCs, TV sticks, gaming consoles, and more.
- Çok Yönlü Kurulum: Supports desktop, tripod, wall, or ceiling mounting.

Figure 2: Google TV Interface with various streaming apps.
Video 1: Bittiview of HAPPRUN 1500ANSI Official Licensed Google TV Smart Projector features.
5. Kurulum Talimatları
5.1 İlk Güç Açma ve Uzaktan Eşleştirme
- Güç kablosunu projektöre ve elektrik prizine takın.
- Projektörü açmak için projektör üzerindeki veya uzaktan kumandadaki güç düğmesine basın.
- Follow the on-screen instructions to pair the remote control. Typically, this involves holding specific buttons (e.g., Back and Home) for 3 seconds while moving the remote closer to the projector.
5.2 Ağ Bağlantısı
- Şuraya gidin: Ayarlar menu on the Google TV interface.
- Seçme Ağ ve İnternet.
- Choose your Wi-Fi network and enter the password to connect.
5.3 Yerleştirme ve Görüntü Ayarlaması
The projector offers flexible placement options:
- Desktop/Tabletop: Projektörü düz ve sabit bir yüzeye yerleştirin.
- Tripod Dağı: Use the standard threaded hole on the bottom to attach a camera tripod.
- Tavan montalama: Secure the projector to the ceiling using a compatible mount. Adjust projection mode in settings if mounted upside down.
- Wall Projection: Project directly onto a smooth, light-colored wall.

Figure 3: Versatile installation methods for the projector.
The projector features automatic focus and keystone correction. For manual adjustments:
- Otomatik odaklama: The projector automatically adjusts focus upon startup or movement.
- Manuel Odaklama: Use the remote control's focus buttons (often +/- or dedicated focus buttons) to fine-tune the image clarity.
- Otomatik Çarpıklık Düzeltme: Automatically adjusts the image to a rectangular shape.
- Manuel Keystone Düzeltme: Bu seçeneğe şuradan erişin: Settings > Projector > Image Correction to manually adjust the four corners of the projected image.
- Zoom & Shift: Adjust the screen size proportionally and reposition the image within the display area via Settings > Projector > Image Correction.
6. Kullanım Talimatları
6.1 Google TV Arayüzü
The projector's main interface is Google TV, providing access to a wide range of streaming services and apps. Navigate using the remote control:
- Ana Ekran: Displays recommended content and your installed apps.
- Uygulamalar: Access the Google Play Store to download additional applications.
- Canlı: View free live TV channels provided by Google TV Freeplay.
- Kütüphane: Find your purchased, rented, or watchlisted content.
6.2 Google Voice Assistant
Press the microphone button on your remote control and speak your commands to control the projector, search for content, or adjust settings.
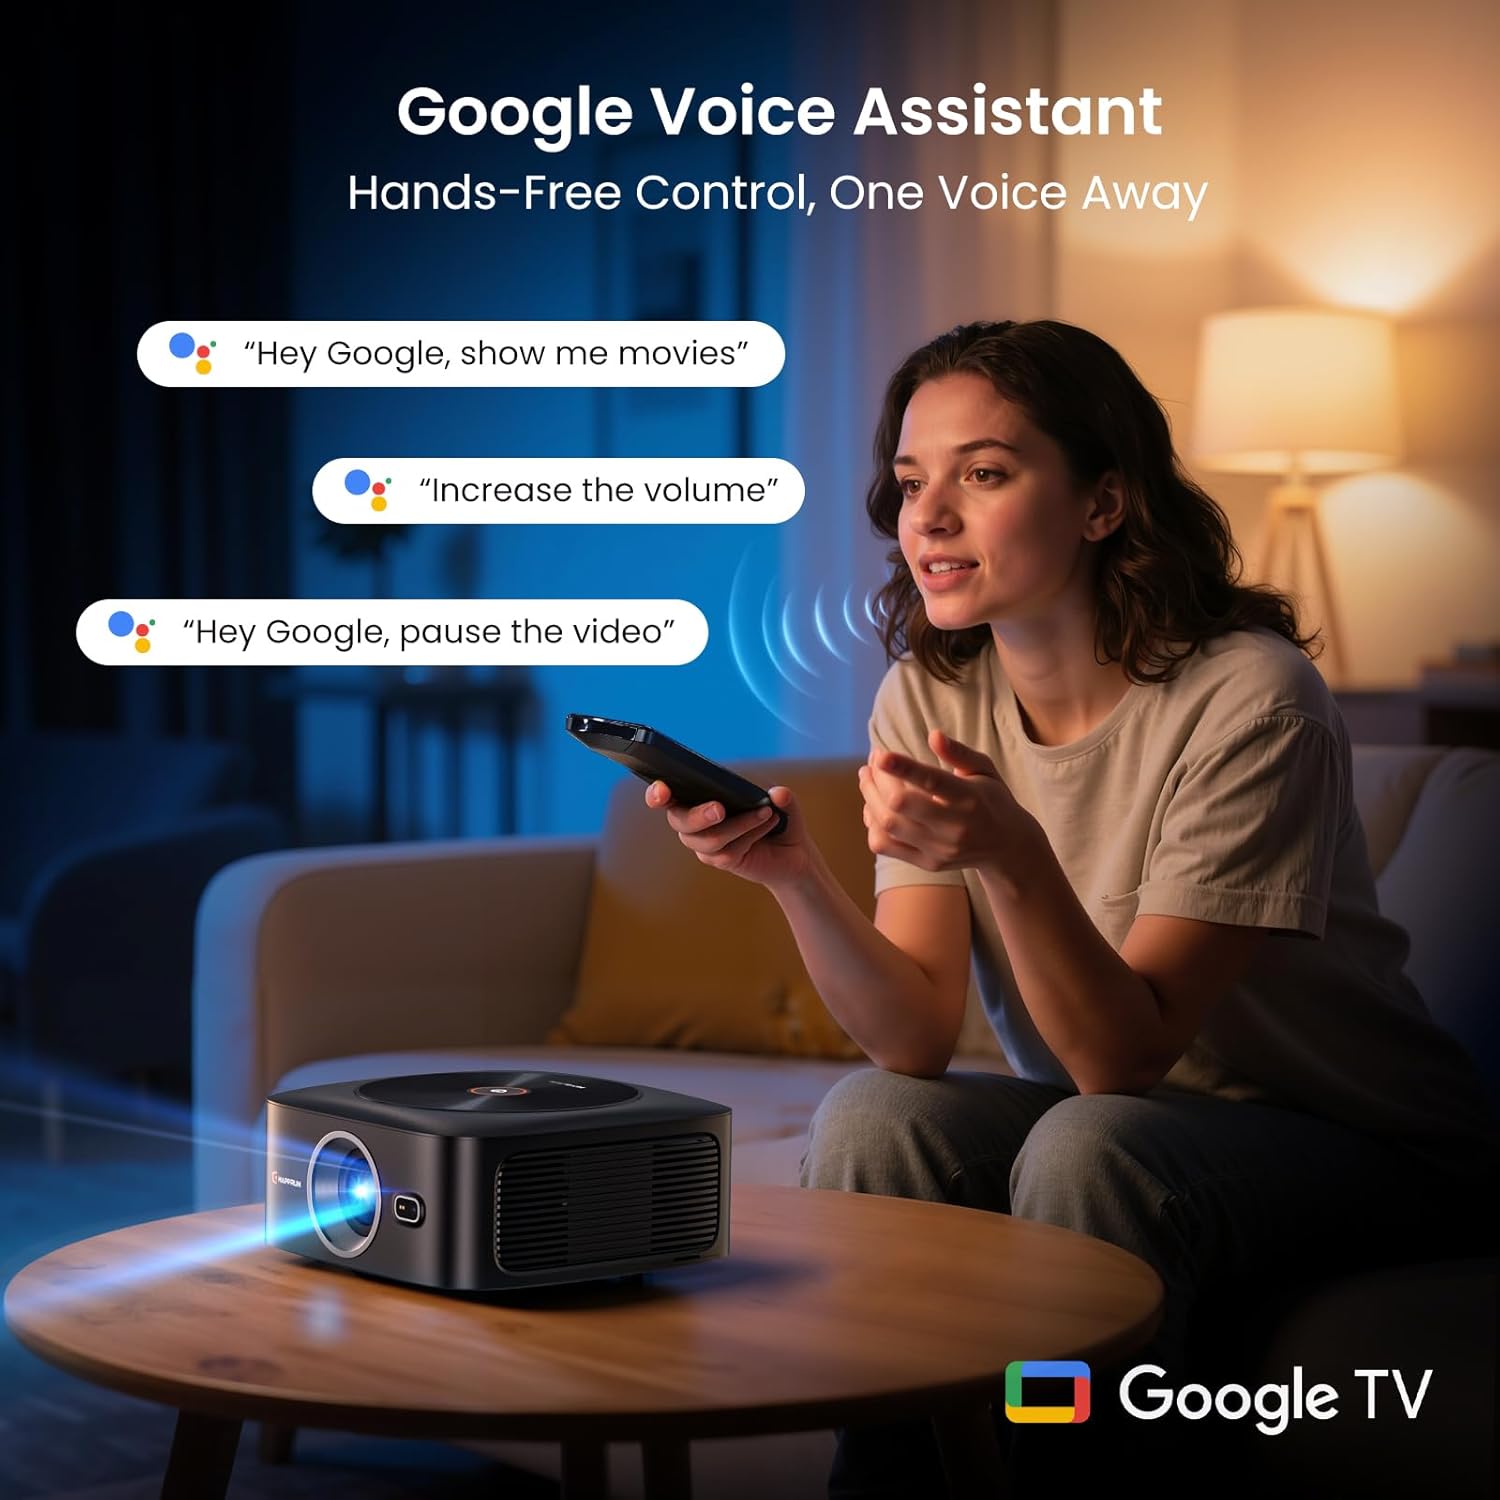
Figure 4: Using the Google Voice Assistant for hands-free control.
6.3 Ekran Yansıtma
Utilize Wi-Fi 6 technology for seamless screen mirroring from your iOS, Android, or Windows devices. Access casting options in the system settings.

Figure 5: Lag-free wireless casting via Wi-Fi 6.
6.4 Harici Cihaz Bağlantısı
Mevcut bağlantı noktalarını kullanarak çeşitli cihazları bağlayın:
- HDMI: Connect laptops, gaming consoles (PS5, Switch), TV sticks, etc.
- USB BAĞLANTI: Medya oynatın fileUSB sürücülerden doğrudan.
- 3.5 mm Ses Jakı: Harici kulaklık veya hoparlör bağlayın.
- Bluetooth 5.2: Wirelessly connect to Bluetooth speakers or headphones for enhanced audio.
Video 2: Short demonstration of the projector's high-quality display.
6.5 Görüntü ve Ses Ayarları
Adjust display and audio preferences via the Ayarlar Menü:
- Resim Modu: Choose from Standard, Vivid, Movie, Game, or Custom modes. Custom allows adjustment of contrast, saturation, sharpness, color temperature, and gamma.
- Ses modu: Select from Standard, Movie, Music, Sport, or Custom. Enable Surround Sound or adjust expert settings.
- Projeksiyon Modu: Adjust for Front, Front Ceiling, Rear, or Rear Ceiling projection based on installation.
7. Bakım
7.1 Temizlik
- Mercek: Use the provided cleaning kit or a soft, lint-free cloth specifically designed for optical lenses. Do not use abrasive cleaners.
- Dış: Projektörün dış yüzeyini yumuşak, kuru bir bezle silin. Sert kimyasallar kullanmaktan kaçının.
- Havalandırma: Regularly check and clean the air inlet to ensure proper airflow and prevent overheating.
7.2 Lamp Hayat
The HAPPRUN J7 Pro uses a durable LED light source with an estimated lamp life of 10,000 hours. No user-replaceable lamp gereklidir.
8. Sorun Giderme
| Sorun | Olası Neden | Çözüm |
|---|---|---|
| Görüntü yok veya görüntü bulanık | Loose cable connection, incorrect focus, keystone distortion. | Check HDMI/USB connections. Use auto or manual focus. Adjust keystone correction in settings. |
| Ses yok | Ses seviyesi çok düşük, ses çıkışı hatalı, harici cihaz sorunu. | Increase volume. Check sound settings for correct output. Ensure external audio devices are properly connected and powered. |
| Uzaktan kumanda yanıt vermiyor | Low battery, remote not paired, obstruction. | Replace batteries. Re-pair the remote control (refer to Initial Power-On). Ensure no objects block the signal path. |
| Wi-Fi/Bluetooth bağlantı sorunları | Out of range, interference, incorrect password. | Ensure projector is within range of router/device. Check for interference. Verify Wi-Fi password. Re-pair Bluetooth devices. |
9. Özellikler
| Özellik | Detay |
|---|---|
| Marka | MUTLULUK |
| Model Numarası | J7 Pro |
| Parlaklık | 1500 ANSI Lümen (38,000 Lümen) |
| Yerel Çözünürlük | 1920x1080 (Tam HD) |
| Desteklenen Giriş Çözünürlüğü | 4K'ya kadar |
| Kontrast Oranı | 2000:1 with HDR10+ |
| Projeksiyon Boyutu | 50"–200" |
| Yakınlaştır | 50%–100% Digital Zoom |
| Akıllı Ayarlama | Auto Focus & Auto Keystone Correction |
| Kablosuz Bağlantı | Dual-band 5G/2.4G Wi-Fi 6 |
| Bluetooth | İki yönlü Bluetooth 5.2 |
| Döküm | Google Cast, AirPlay & Google Phone Mirroring |
| Ses | Hi-Fi Speakers with Dolby Audio |
| Soğutma Sistemi | Advanced Low-Noise Cooling System |
| Lamp Hayat | 10,000 hours durable LED light source |
| Bağlantı Teknolojisi | 3.5 mm Jak, Bluetooth, HDMI, USB, Wi-Fi |
| Ürün Ağırlığı | 3.43 pound |
| Ürün Boyutları | 7.8 x 7.8 x 3.85 inç |
10. Garanti ve Destek
For any questions or support regarding your HAPPRUN J7 Pro Smart Projector, please contact customer service:
- ABD Telefonu: 1-888-986-2646
- ABD E-postası: service@happrunlife.com
- AB E-postası: service.eu@happrunlife.com
- Birleşik Krallık E-postası: service.uk@happrunlife.com
Please refer to the product packaging or official HAPPRUN webayrıntılı garanti bilgileri için site.
İlgili Belgeler - J7 Pro
 |
HAPPRUN H1 Projektör Kullanım Kılavuzu HAPPRUN H1 projektörünün kurulumu, bağlantıları, özellikleri, teknik özellikleri ve optimum performans için ayarları hakkında ayrıntılı bilgi içeren kapsamlı kullanım kılavuzu. |
 |
HAPPRUN H1 Multimedya Projeksiyon Cihazı: Kullanım Kılavuzu ve Kurulum Rehberi HAPPRUN H1 multimedya projektörü için kapsamlı kullanım kılavuzu. Bu LED projektörün kurulumu, bağlantıları, ayarları, sorun giderme ve teknik özellikleri hakkında bilgi edinin. |
 |
HAPPRUN H1 Projektör: Hızlı Başlangıç Kılavuzu HAPPRUN H1 projektörün kurulumu ve kullanımı hakkında kısa bir kılavuz; güç, görüntü ayarı, çeşitli cihazların bağlanması (dizüstü bilgisayar, telefon, akış çubuğu) ve Bluetooth eşleştirme konularını kapsar. İletişim bilgileri de dahildir. |
 |
HAPPRUN KC7 Pro Kullanım Kılavuzu: Kurulum, Özellikler ve Teknik Özellikler HAPPRUN KC7 Pro projektör için kapsamlı kullanım kılavuzu. Güvenlik, kurulum, ekran ayarı gibi özellikler, bağlantı (Wi-Fi, Bluetooth, HDMI, USB), ekran yansıtma ve teknik özellikler hakkında bilgi edinin. |
 |
HAPPRUN H1 Taşınabilir Projektör Kullanım Kılavuzu - Kurulum, Özellikler ve Ayarlar HAPPRUN H1 Taşınabilir Projektör için kapsamlı kullanım kılavuzu. Güvenlik, projektör ve uzaktan kumanda açıklamaları, teknik özellikler, çeşitli cihazlar için bağlantı kılavuzları, multimedya formatları ve ayrıntılı ayarları kapsar. |
 |
HAPPRUN JQ820 Projektör Kullanım Kılavuzu HAPPRUN JQ820 projektörünüz için kurulum, çalıştırma, teknik özellikler ve sorun giderme konularını kapsayan kapsamlı kullanıcı kılavuzu. JQ820 projektörünüzü gelişmiş bir deneyim için nasıl kuracağınızı ve kullanacağınızı öğrenin. viewDeneyim. |
Ask a question about this manual
Ask about setup, troubleshooting, compatibility, parts, safety, or missing instructions. Manuals+ will review the question and use this page’s manual context to help answer it.