
1. Giriş
This manual provides detailed instructions for the operation and maintenance of your KEPLUG MX9 Sunrise Alarm Clock. This device combines a digital alarm clock, a sunrise simulation wake-up light, a dimmable bedside night light, and a white noise machine with 30 soothing sounds. Please read this manual thoroughly before use to ensure proper functionality and safety.
2. Güvenlik Bilgileri
- Cihazın sabit, düz bir yüzeye yerleştirildiğinden emin olun.
- Cihazı suya veya aşırı neme maruz bırakmayın.
- Yalnızca verilen güç adaptörünü ve kablosunu kullanın.
- Çocukların ve evcil hayvanların erişemeyeceği yerde saklayınız.
- Cihazı kendiniz sökmeye veya onarmaya çalışmayın. Servis için yetkili personele başvurun.
- Yıldırımlı havalarda veya uzun süre kullanılmayacaksa cihazınızın fişini çekin.
3. Paket İçeriği
Paketin içinde tüm öğelerin mevcut olduğundan emin olun:
- KEPLUG MX9 Sunrise Alarm Clock
- Güç Adaptörü
- Güç kablosu
- Kullanım Kılavuzu (bu belge)
4. Ürün Bittiview
Familiarize yourself with the main components and control buttons of your KEPLUG MX9 Sunrise Alarm Clock.

Resim 1: Ön view of the KEPLUG MX9 Sunrise Alarm Clock, showing the main light dome, digital time display, and control buttons at the base.
The device features a large light dome, a digital time display, and several touch-sensitive buttons for control:
- Alarm butonu: Used to set and activate alarms.
- Zaman Düğmesi: Used to set the current time and 12/24-hour format.
- Erteleme/Işık Düğmesi: Activates snooze during an alarm, or turns on/off and adjusts the night light.
- Artı (+) Düğmesi: Increases values (time, volume, brightness) or navigates options.
- Eksi (-) Düğmesi: Decreases values (time, volume, brightness) or navigates options.
- Müzik Notası Düğmesi: Selects soothing sounds or white noise.
5. Kurulum
5.1 Güç Bağlantısı
- Connect the power cable to the DC input port on the back of the alarm clock.
- Güç adaptörünü standart bir elektrik prizine takın.
- The digital display will illuminate, indicating the device is powered on.
5.2 Geçerli Saati Ayarlama
- Basılı tutun Zaman Düğmesi for 3 seconds to enter time setting mode. The hour digits will flash.
- Kullanın Artı (+) or Minus (-) Buttons Saati ayarlamak için
- Basın Zaman Düğmesi Tekrar saati onaylayın ve dakika ayarına geçin. Dakika rakamları yanıp sönecektir.
- Kullanın Artı (+) or Minus (-) Buttons dakikayı ayarlamak için
- Basın Zaman Düğmesi a third time to confirm the minutes and select 12-hour or 24-hour format.
- Kullanın Artı (+) or Minus (-) Buttons Tercih ettiğiniz saat biçimini seçmek için.
- Basın Zaman Düğmesi one last time to exit time setting mode.
6. Kullanım Talimatları
6.1 Setting an Alarm (Sunrise Simulation & Sound)
The KEPLUG MX9 allows you to set multiple alarms with customizable sunrise simulation and sound options.
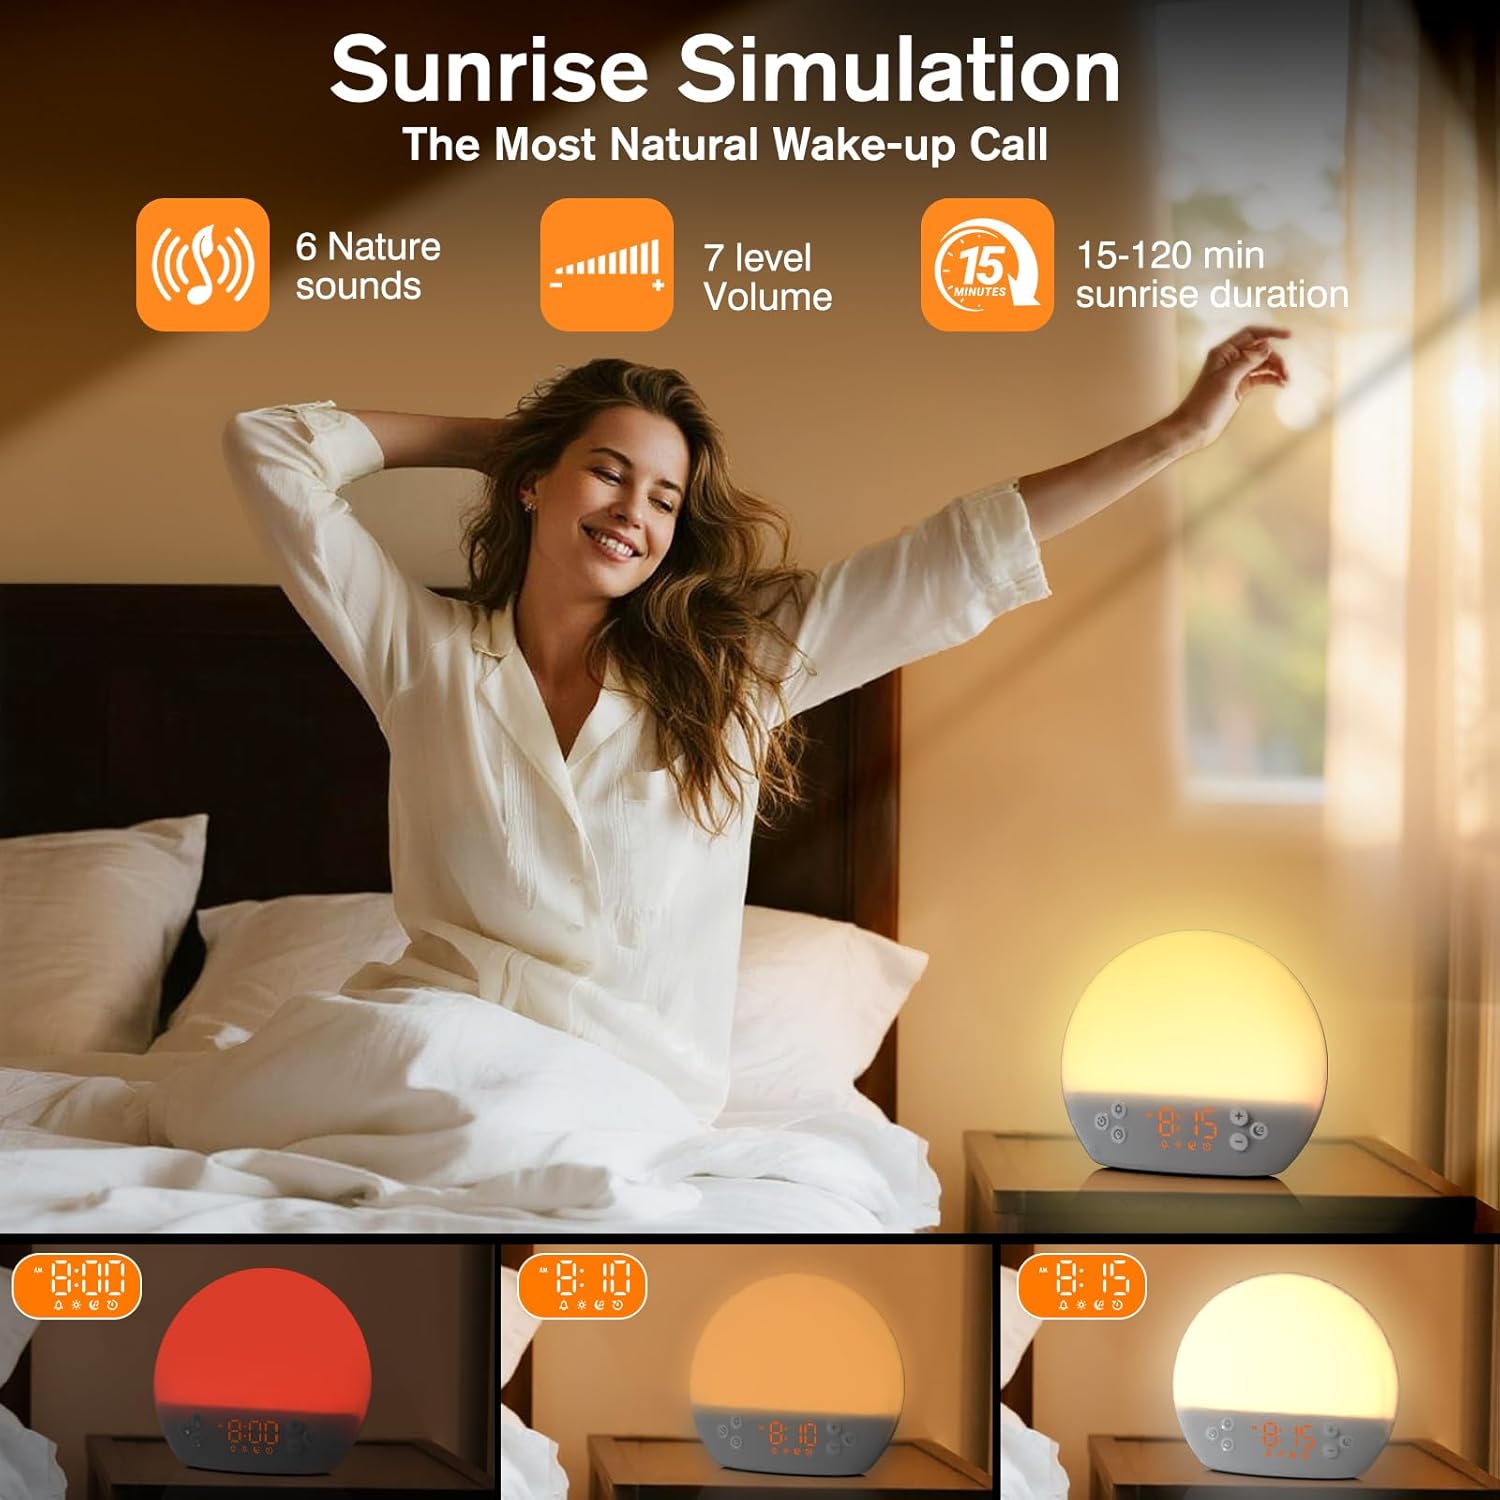
Image 2: Illustration of the sunrise simulation feature, where the light gradually brightens over a set period, mimicking a natural sunrise.
- Basın Alarm butonu to select an alarm slot (e.g., Alarm 1, Alarm 2).
- Basılı tutun Alarm butonu for 3 seconds to enter alarm setting mode. The alarm hour digits will flash.
- Kullanın Artı (+) or Minus (-) Buttons İstediğiniz alarm saatini ayarlamak için
- Basın Alarm butonu to confirm the hour and set the minutes.
- Kullanın Artı (+) or Minus (-) Buttons İstediğiniz alarm dakikasını ayarlamak için.
- Basın Alarm butonu to confirm minutes and set the sunrise duration (15-120 minutes). This is the time before the alarm sound when the light will gradually brighten.
- Kullanın Artı (+) or Minus (-) Buttons to select the sunrise duration.
- Basın Alarm butonu to confirm duration and select the wake-up sound.
- Kullanın Artı (+) or Minus (-) Buttons to cycle through the available wake-up sounds (e.g., nature sounds, melodies).
- Basın Alarm butonu to confirm the sound and set the alarm volume.
- Kullanın Artı (+) or Minus (-) Buttons to adjust the alarm volume (7 levels).
- Basın Alarm butonu one last time to save the alarm settings and activate the alarm. An alarm icon will appear on the display.
6.2 Erteleme İşlevi
Alarm çaldığında, tuşuna basın. Erteleme/Işık Düğmesi to activate the snooze function. The alarm will pause for 9 minutes and then sound again. You can snooze multiple times.
6.3 Turning Off an Alarm
To turn off a sounding alarm, press any button other than the Erteleme/Işık Düğmesi. To deactivate an alarm completely, press the Alarm butonu until the alarm icon disappears from the display.
6.4 Night Light / Bedside Lamp İşlev
The device can function as a dimmable night light with various colors.
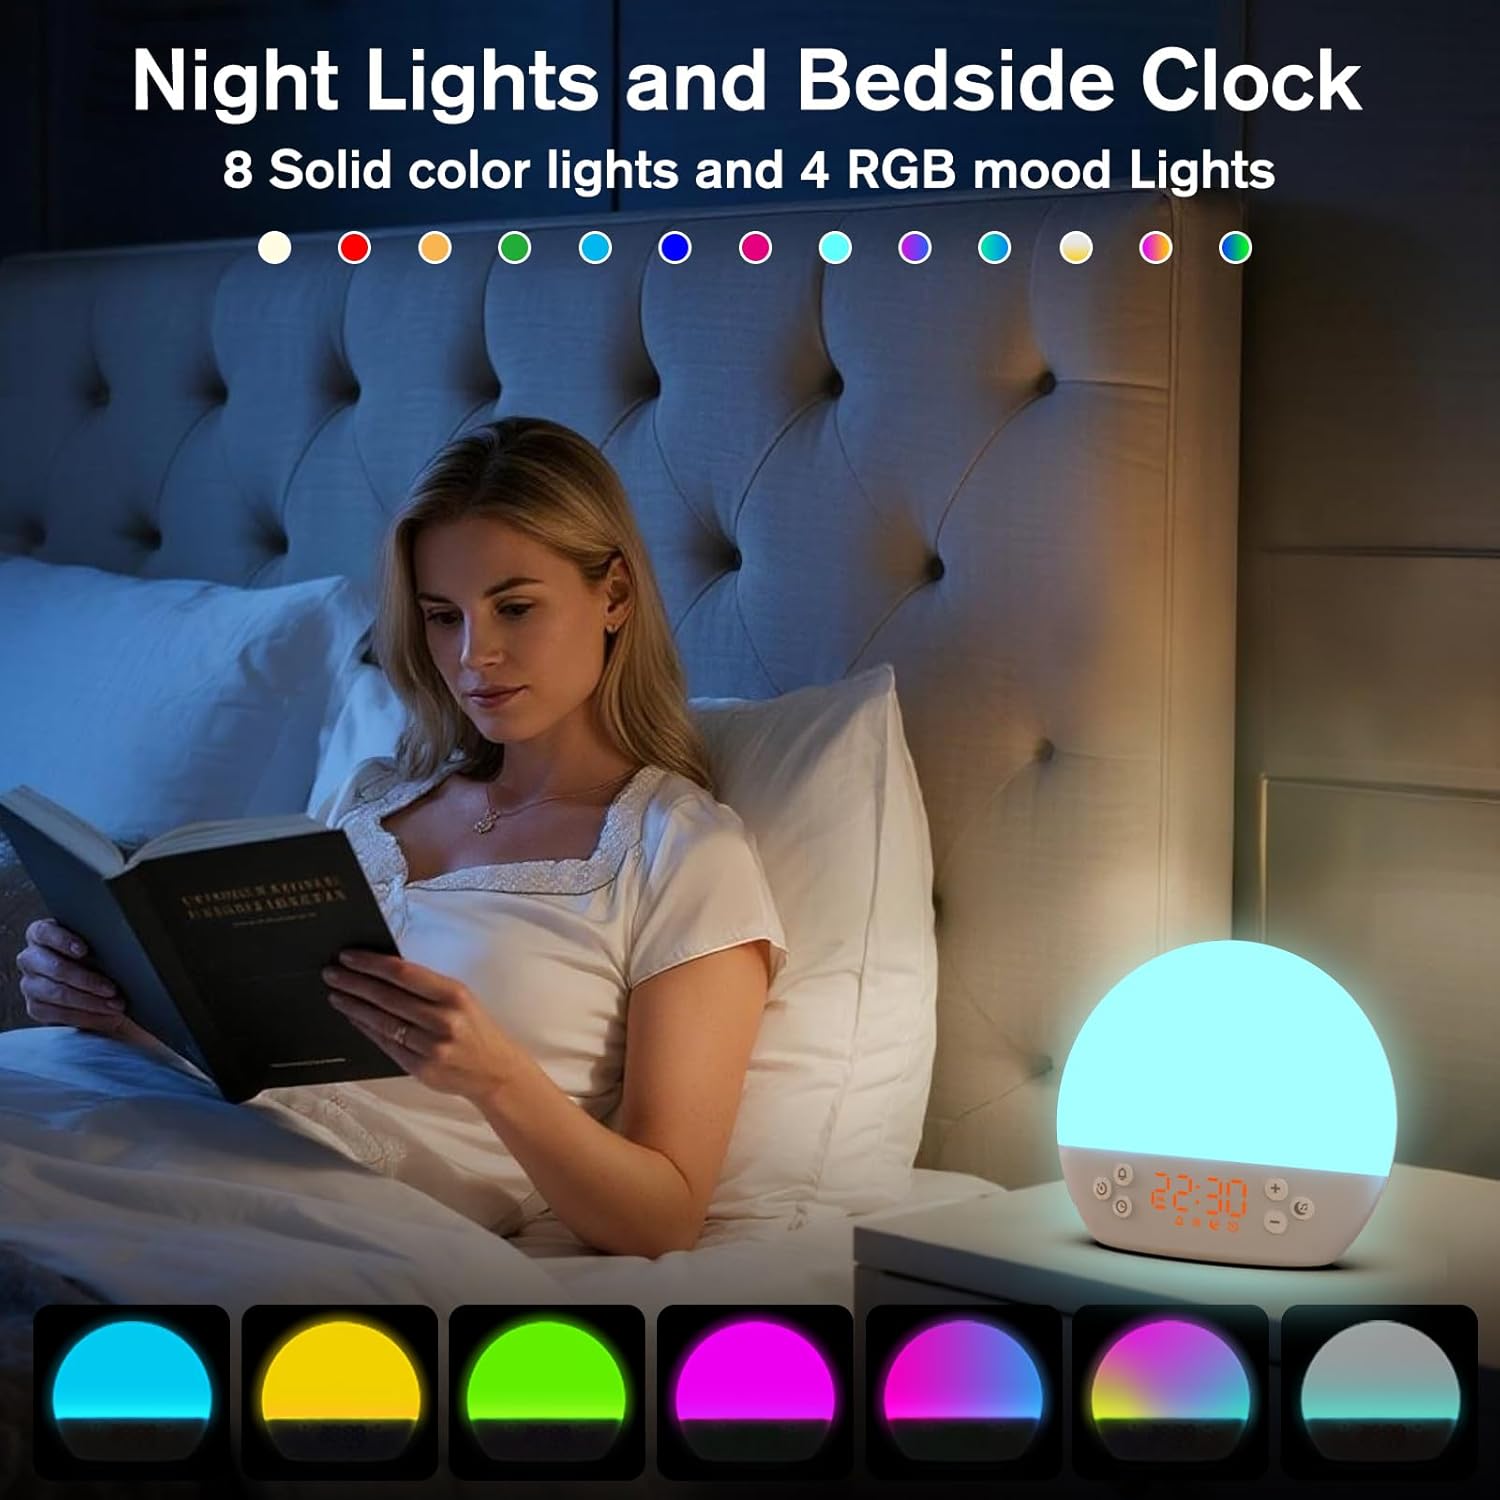
Image 3: The alarm clock used as a bedside lamp, displaying various solid colors and mood lighting options.
- Basın Erteleme/Işık Düğmesi once to turn on the light.
- Basın Erteleme/Işık Düğmesi repeatedly to cycle through different solid colors (8 options) and RGB mood lights (4 options).
- To adjust the brightness of the selected light, press and hold the Erteleme/Işık Düğmesi, sonra şunu kullanın Artı (+) or Minus (-) Buttons to increase or decrease brightness. Release the Erteleme/Işık Düğmesi bittiğinde.
- Basılı tutun Erteleme/Işık Düğmesi Işığı kapatmak için tekrar
6.5 White Noise Machine & Soothing Sounds
The device offers 30 soothing sounds for relaxation or sleep aid.

Image 4: Visual representation of the 30 smooth sounds for sleep, including white noise, nature sounds, and lullabies.
- Basın Müzik Notası Düğmesi to turn on the sound machine. It will start playing the last selected sound.
- Basın Müzik Notası Düğmesi repeatedly to cycle through the 30 available sounds.
- Kullanın Artı (+) or Minus (-) Buttons Sesin seviyesini ayarlamak için.
- To set a timer for the sound playback, press and hold the Müzik Notası Düğmesi. The timer options (e.g., 15 min, 30 min, 60 min, continuous) will appear. Use the Artı (+) or Minus (-) Buttons to select a duration. The sound will automatically turn off after the selected time.
- Basılı tutun Müzik Notası Düğmesi Ses makinesini kapatmak için tekrar
6.6 Sunset Simulation (Sleep Aid)
The sunset simulation feature gradually dims the light and can play soothing sounds to help you fall asleep.
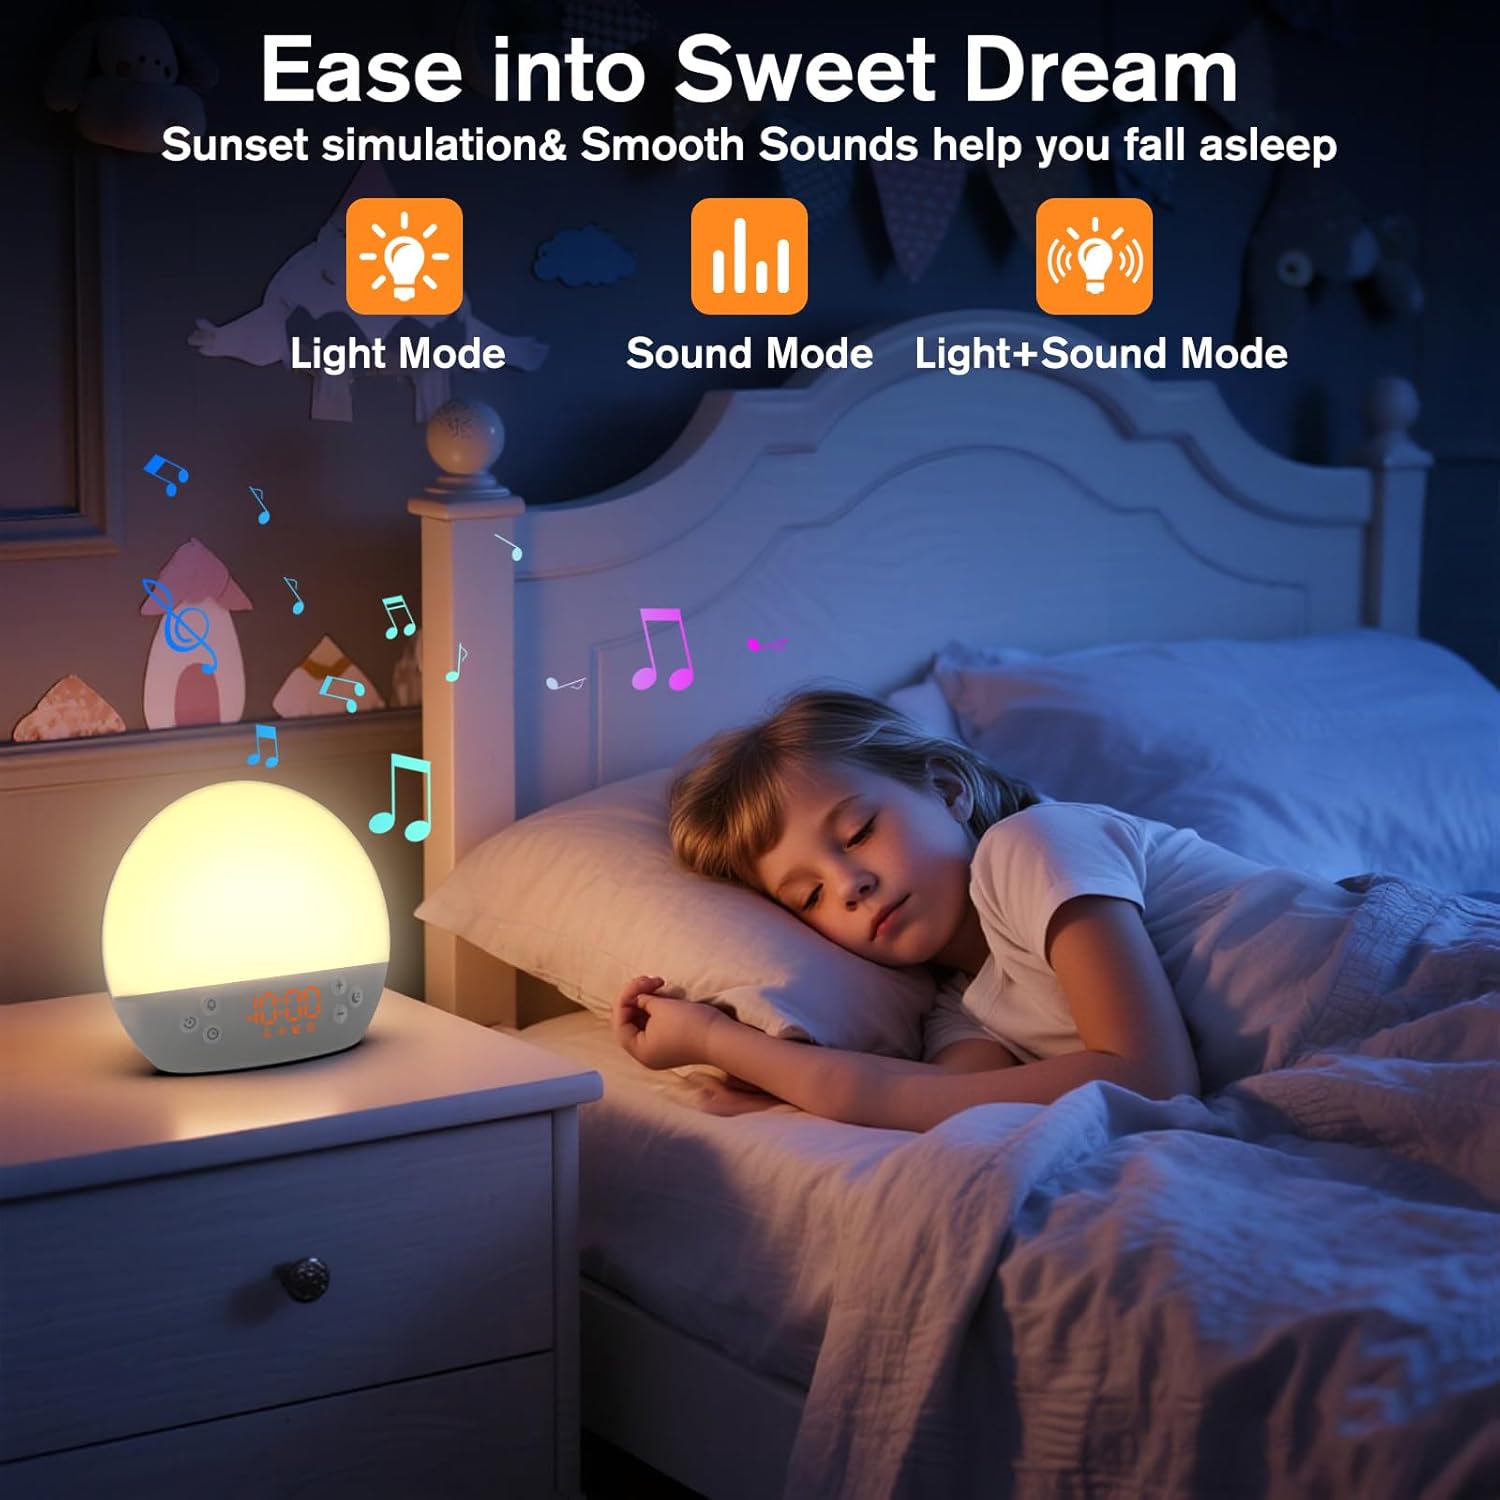
Image 5: The alarm clock in sunset simulation mode, providing a calming light and sound environment to aid sleep.
- To activate sunset simulation, press and hold the Zaman Düğmesi until the sunset icon appears.
- Kullanın Artı (+) or Minus (-) Buttons to set the duration of the sunset simulation (e.g., 15, 30, 60 minutes).
- Basın Zaman Düğmesi to confirm the duration. You can then choose to have light only, sound only, or both light and sound.
- Kullanın Artı (+) or Minus (-) Buttons to select the desired mode (Light Mode, Sound Mode, Light+Sound Mode).
- If Light+Sound Mode is selected, you can choose a specific soothing sound and adjust its volume.
- Basın Zaman Düğmesi again to start the sunset simulation. The light will gradually dim, and sounds will fade out over the set duration.
6.7 Ekran Parlaklığı Ayarı
The brightness of the digital time display can be adjusted to your preference.
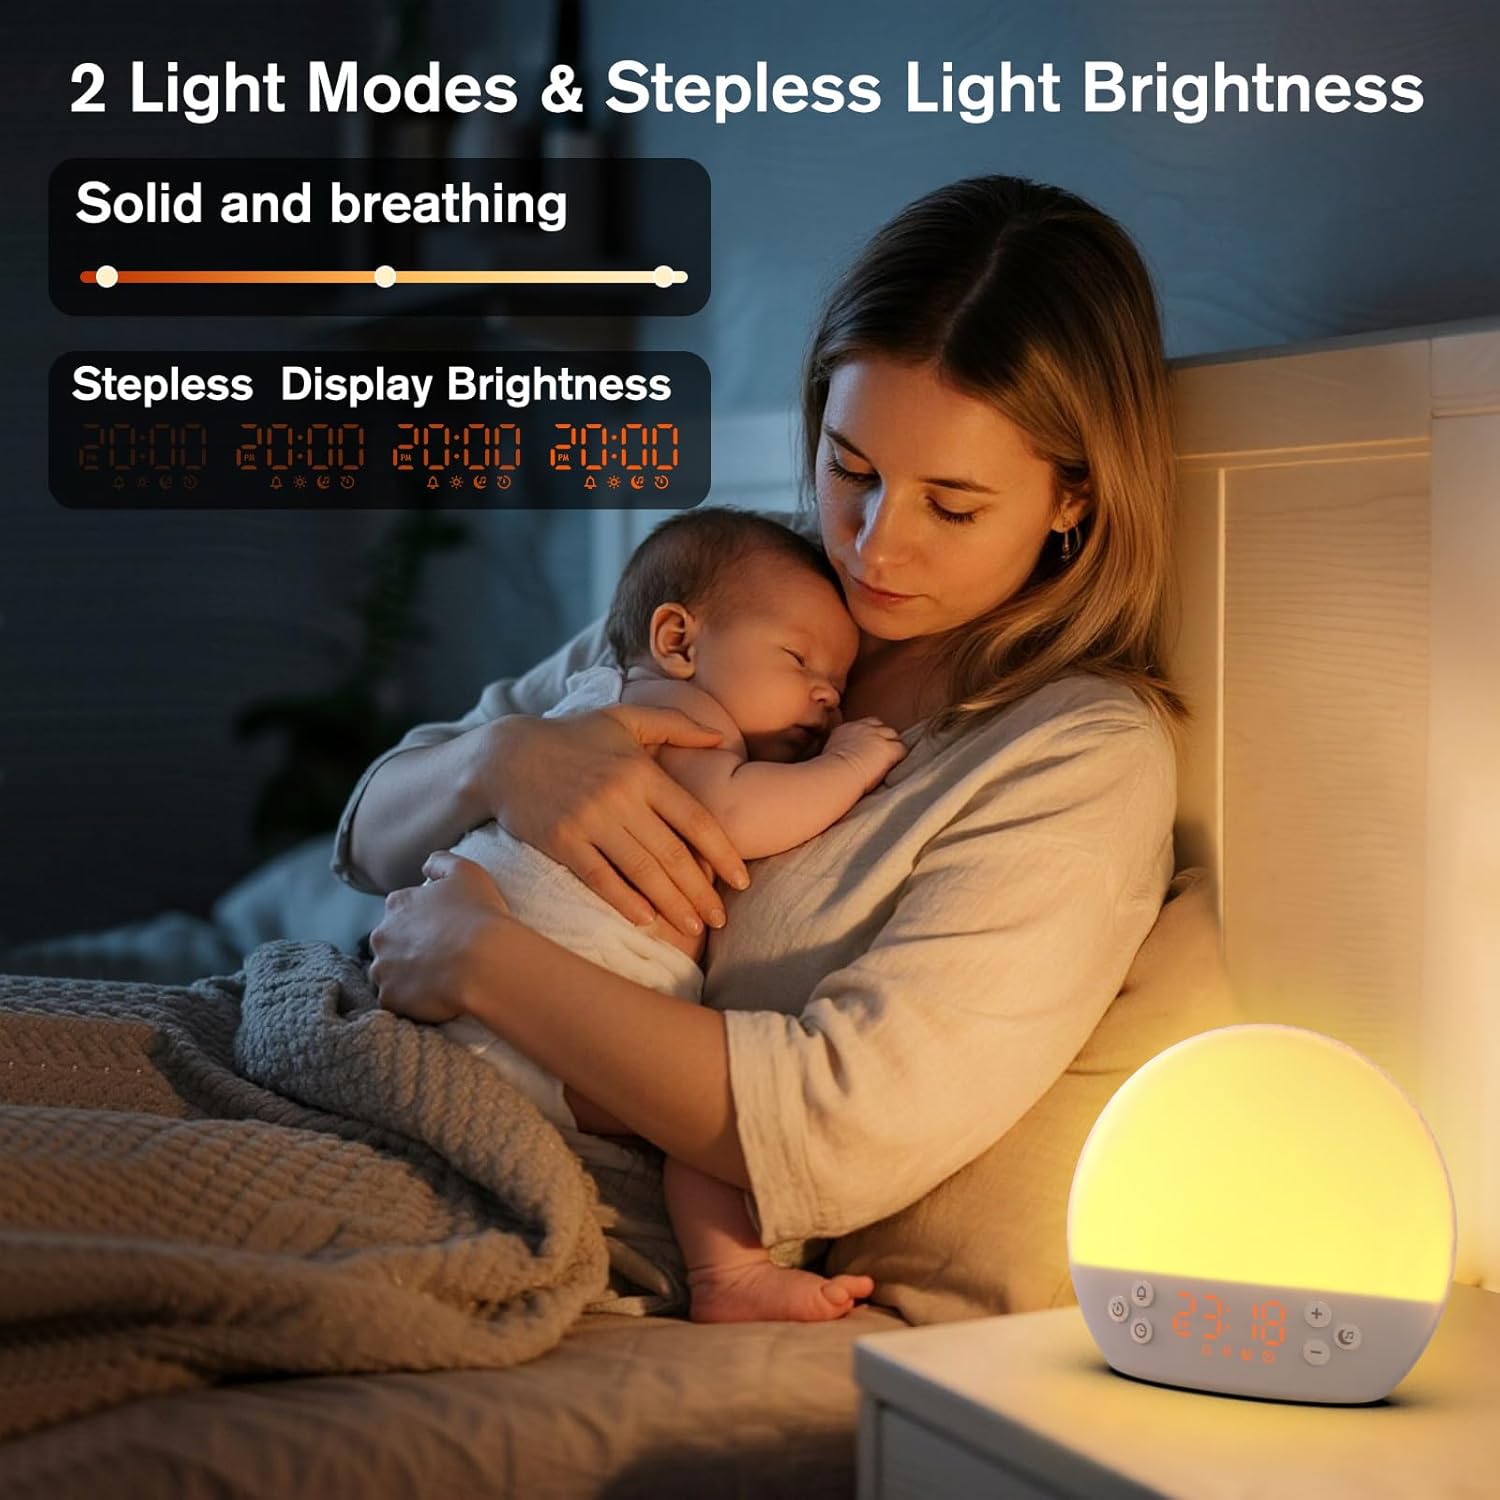
Image 6: The alarm clock demonstrating stepless display brightness adjustment, from very dim to bright.
Ekran parlaklığını ayarlamak için kısa süreliğine basın. Zaman Düğmesi (do not hold). Each press will cycle through different brightness levels (e.g., bright, medium, dim, off). Select the level that suits your environment.
7. Bakım
- Temizlik: Unplug the device before cleaning. Use a soft, dry cloth to wipe the surface. Do not use abrasive cleaners or solvents.
- Depolamak: Uzun süre kullanılmayacaksa, cihazın fişini çekin ve serin, kuru bir yerde saklayın.
8. Sorun Giderme
| Sorun | Olası Neden | Çözüm |
|---|---|---|
| Cihaz açılmıyor. | Güç kablosu düzgün bağlanmamış veya elektrik prizi arızalı. | Güç kablosu bağlantısını kontrol edin. Farklı bir priz deneyin. |
| Alarm çalmıyor. | Alarm not activated or volume is too low. | Ensure the alarm icon is visible on the display. Increase alarm volume during setup. |
| Işık açılmıyor. | Işık fonksiyonu kapalı veya parlaklık minimuma ayarlanmış. | Basın Erteleme/Işık Düğmesi to turn on. Adjust brightness using Artı (+) or Minus (-) Buttons while holding the Erteleme/Işık Düğmesi. |
| Sesler çalmıyor. | Sound machine is off or volume is too low. | Basın Müzik Notası Düğmesi to turn on. Increase volume using Artı (+) Düğme. |
| Time display is too bright/dim. | Ekran parlaklığı ayarının yapılması gerekiyor. | Kısaca basın Zaman Düğmesi to cycle through display brightness levels. |
9. Özellikler
| Özellik | Detay |
|---|---|
| Model Adı | MX9 |
| Marka | KEPÇE |
| Malzeme | Plastik |
| Renk | Beyaz |
| Güç Kaynağı | Kablolu Elektrik |
| Ürün Ağırlığı | 258 Gram (9.1 ons) |
| Ürün Boyutları | 2.36 x 5.59 x 6.3 inç (6 x 14.2 x 16 cm) |
| Işık Kaynağı Sayısı | 2 |
| Özel Özellik | Ayarlanabilir Hacim |
| Sunrise Simulation Duration | 15-120 dakika |
| Rahatlatıcı Sesler | 30 seçenek |
| Alarm Ses Seviyeleri | 7 seviye |
10. Garanti ve Destek
Your KEPLUG MX9 Sunrise Alarm Clock is covered by a standard manufacturer's warranty. For specific warranty details, please refer to the product packaging or contact KEPLUG customer support. If you encounter any issues not covered in the troubleshooting section, or require further assistance, please reach out to our customer service team through the retailer where you purchased the product or visit the official KEPLUG webdestek iletişim bilgileri için site.