1. Giriş
The Victrola Wave turntable offers high-fidelity vinyl playback with advanced connectivity features. This manual provides essential information for setting up, operating, and maintaining your turntable to ensure optimal performance and longevity.
2. Paket İçeriği
Aşağıda listelenen tüm öğelerin paketinizde bulunduğunu doğrulayın:
- Victrola Wave Record Player
- Toz Kapağı
- 45 RPM Adaptör
- slipmat
- RCA Kablosu
- Güç Adaptörü
3. Kurulum
3.1 İlk Montaj
Carefully unpack all components. Place the turntable on a stable, level surface away from direct sunlight, heat sources, or excessive vibration.
- Install the Platter and Belt: Place the platter onto the spindle. Locate the drive belt and carefully stretch it around the motor pulley and the inner rim of the platter.
- Install the Slipmat: Place the included slipmat on top of the platter.
- Kartuşu takın: The Audio-Technica AT-VM95E cartridge is pre-installed on the headshell. Ensure it is securely attached.
- Balance the Tonearm: Adjust the counterweight at the rear of the tonearm until the tonearm floats horizontally. Then, set the tracking force according to the cartridge manufacturer's specifications (typically 1.8g to 2.2g for the AT-VM95E).
- Anti-Skate ayarını yapın: Adjust the anti-skate dial to match the tracking force setting.
- Attach the Dust Cover: Carefully attach the dust cover to the hinges at the rear of the turntable.

Image: The Victrola Wave Turntable in black with its dust cover open, showcasing the platter, tonearm, and controls. This image illustrates the turntable's overall design and readiness for use.

Image: A blue Victrola Wave Turntable with key features labeled, including the removable dust cover, 2-speed belt-driven turntable, Audio-Technica AT-VM95E cartridge, premium build materials, Bluetooth output, Auracast Broadcast Audio, user-friendly controls, integrated switchable phono pre-amp, and RCA output with included cable.
3.2 Güce Bağlama
Connect the power adapter to the DC input on the rear of the turntable, then plug it into a wall outlet.
4. Kullanım Talimatları
4.1 Plak Çalma
- Güç Açık: Press the power button on the front of the turntable.
- Hızı Seçin: Choose the appropriate speed (33 1/3 or 45 RPM) using the speed selector switch. Use the 45 RPM adaptor for 7-inch singles.
- Yer Kaydı: Plakınızı dikkatlice plak çalara yerleştirin.
- Kolu Kaldır: Use the cueing lever to gently lift the tonearm.
- Position Stylus: Manually move the tonearm over the desired track on the record.
- Alt Kol: Slowly lower the cueing lever to drop the stylus onto the record. The platter will begin to spin automatically.
- Otomatik Durdurma Özelliği: The turntable features an auto-stop function that will stop the platter from spinning once the record reaches its end.
4.2 Bluetooth Bağlantısı
The Victrola Wave can stream audio wirelessly to Bluetooth-enabled speakers or headphones. It supports hi-res audio with compatible aptX Adaptive and aptX HD devices.
- Eşleştirmeyi Etkinleştir: With the turntable powered on, press and hold the Bluetooth pairing button until the indicator light flashes, indicating pairing mode.
- Eşleştirme Cihazı: On your Bluetooth speaker or headphones, enable Bluetooth pairing mode. Select "Victrola Wave" from the list of available devices.
- Onay: Once connected, the Bluetooth indicator light on the turntable will become solid.

Image: A green Victrola Wave Turntable wirelessly streaming audio to two matching green Victrola Tempo speakers, demonstrating its Bluetooth output capability. The image highlights the modern convenience of wireless audio.
4.3 Auracast Yayın Sesi
Utilize Auracast Broadcast technology to transmit your music to multiple compatible Auracast speakers or headphones simultaneously for a shared listening experience.
- Activate Auracast: Refer to your turntable's specific instructions for activating Auracast broadcast mode.
- Connect Auracast Devices: Ensure your Auracast-compatible speakers or headphones are in listening mode and within range. They will automatically connect to the broadcast.

Image: A blue Victrola Wave Turntable with a diagram illustrating Auracast multi-speaker streaming. Yellow lines connect the turntable to multiple speaker icons placed throughout a floor plan, symbolizing the ability to broadcast audio to various compatible devices in different rooms.
4.4 RCA Çıkışı
The turntable includes an RCA output with a switchable pre-amp, allowing connection to powered speakers, an external pre-amp, or traditional stereo systems.
- RCA Kablolarını Bağlayın: Plug the included RCA cable into the RCA output jacks on the rear of the turntable (red to red, white to white).
- Ses Sistemine Bağlan: Connect the other end of the RCA cable to the corresponding input on your powered speakers, external pre-amp, or stereo receiver.
- Select Pre-amp Mod: Use the LINE/PHONO switch on the rear of the turntable to select the appropriate mode. Choose ASTAR if connecting to powered speakers or an amplifier with a built-in phono input. Choose KULAKLIK if connecting to an external phono pre-amp or a receiver with a dedicated phono input.

Image: A close-up rear view of a green Victrola Wave Turntable, highlighting the RCA output jacks (red and white) and the LINE/PHONO switch. This image demonstrates the wired connectivity options for integrating the turntable into various audio setups.
4.5 User-Friendly Controls
The Victrola Wave is designed for ease of use, featuring intuitive controls for both beginners and experienced vinyl enthusiasts.
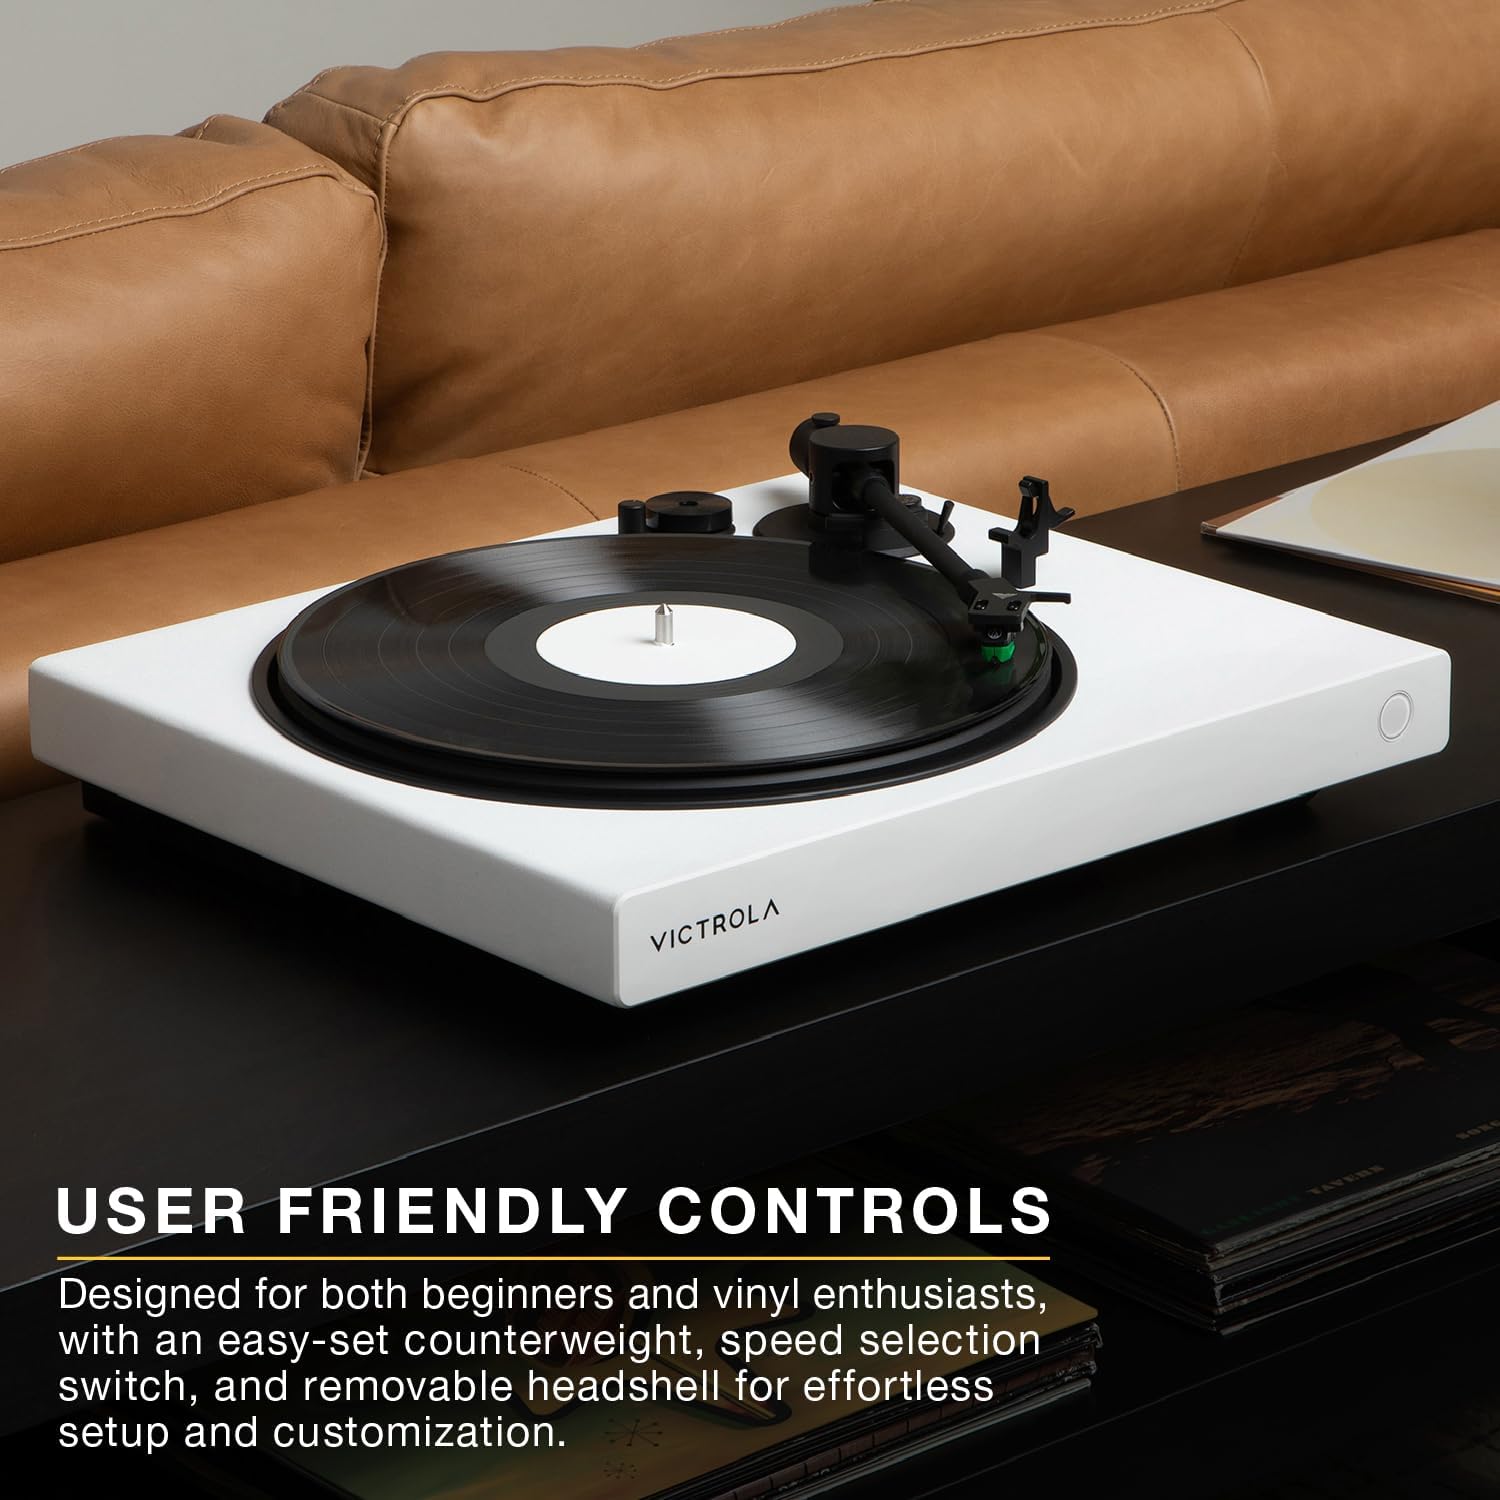
Image: A white Victrola Wave Turntable on a dark table, showcasing its minimalist design and user-friendly controls on the front panel. The image emphasizes the simplicity and accessibility of the turntable's operation.

Image: A detailed close-up of the Audio-Technica AT-VM95E cartridge on the tonearm, positioned over a spinning vinyl record. This image highlights the precision engineering of the cartridge, crucial for balanced and distortion-free playback.
4.6 Resmi Ürün Videosu
Video: An official product video titled "Victrola Wave Record Player" by INNOVATIVE TECHNOLOGY ELECTRONICS, LLC. This video provides a visual overview of the Victrola Wave turntable, demonstrating its features and functionality.
5. Bakım
5.1 Kalem Bakımı
The stylus is a delicate component. Clean it regularly using a soft brush designed for stylus cleaning, brushing from back to front. Avoid touching the stylus with your fingers.
5.2 Dust Cover Care
Wipe the dust cover with a soft, dry cloth. Avoid using abrasive cleaners or solvents, as they may damage the surface.
6. Sorun Giderme
- Güç Yok: Ensure the power adapter is securely connected to both the turntable and a working power outlet.
- Ses Yok: Check all audio connections (RCA, Bluetooth). Verify the LINE/PHONO switch is in the correct position. Ensure your connected speakers or headphones are powered on and at an audible volume.
- Skipping or Distortion: Check if the record is clean and free of dust. Ensure the tonearm is properly balanced and the tracking force and anti-skate settings are correct.
- Bluetooth Eşleştirme Sorunları: Ensure the turntable is in pairing mode (flashing light) and your receiving device is also in pairing mode. Try restarting both devices.
7. Özellikler
| Özellik | Şartname |
|---|---|
| Model Numarası | VPT-1520-BLK |
| Boyutlar (U x G x Y) | 19 x 16.7 x 8.2 inç (48.26 x 42.42 x 20.83 cm) |
| Ürün Ağırlığı | 20.7 pound (9.41 kg) |
| Kartuş | Audio-Technica AT-VM95E |
| Hızlar | 33 1/3, 45 dev/dak |
| Bağlantı | Bluetooth (aptX Adaptive, aptX HD), Auracast, RCA Output |
| Malzeme | Plastic (MDF Plinth) |
| Dahil Bileşenler | Record Player, Dust Cover, 45 RPM Adaptor, Slipmat, RCA Cable |

Image: A black Victrola Wave Turntable with its key dimensions (length, width, height) overlaid in white text, providing a clear visual reference for its physical size.
8. Garanti ve Destek
For warranty information and customer support, please refer to the official Victrola webSite üzerinden satın alabilir veya doğrudan müşteri hizmetleriyle iletişime geçebilirsiniz. Satın alma fişinizi, garanti talepleriniz için satın alma belgesi olarak saklayın.
Üretici: Yenilikçi Teknoloji Elektronik LLC


