
PGST PG108-US4G-A
PGST Home Security System 8-Piece Kit User Manual
Model: PG108-US4G-A
1. Giriş
This user manual provides detailed instructions for the installation, operation, and maintenance of your PGST Home Security System 8-Piece Kit, Model PG108-US4G-A. Please read this manual thoroughly before using the system to ensure proper functionality and safety.
2. Paket İçeriği
Aşağıda listelenen tüm öğelerin paketinizde bulunduğunu doğrulayın:
- 1 x Control Panel (Host)
- 1 x Motion Sensor (Infrared Sensor)
- 1 x Door/Window Sensor (Magnetic Sensor)
- 2 x RFID Kartları
- 2 x Uzaktan Kumanda
- 1 x Siren
- Güç Adaptörü
- Montaj Donanımı
- Kullanıcı Kılavuzu

Image: All components included in the PGST Home Security System 8-Piece Kit.
3. Güvenlik Bilgileri
- Do not expose the system to extreme temperatures, humidity, or direct sunlight.
- Keep the system away from water and other liquids.
- Yalnızca verilen güç adaptörünü kullanın.
- Do not attempt to disassemble or repair the system yourself. Contact customer support for assistance.
- Ensure all sensors are securely mounted to prevent accidental detachment.
4. Kurulum Kılavuzu
4.1. İlk Güçlendirme
- Connect the control panel to a power outlet using the provided power adapter.
- The system will power on automatically. Follow the on-screen prompts for initial language and time settings.
4.2. Uygulama Yükleme ve Ağ Bağlantısı
The PGST Home Security System supports dual connectivity via Wi-Fi (2.4GHz) and 4G/GSM (with a SIM card, not included). This allows for remote monitoring and alerts even without Wi-Fi.
- Download the "Smart Life" or "Tuya" app from your mobile device's app store.
- Bir hesap kaydedin ve giriş yapın.
- On the control panel, navigate to the Wi-Fi settings and connect to your 2.4GHz Wi-Fi network.
- To enable 4G/GSM functionality, insert a compatible 4G SIM card into the designated slot on the control panel. Ensure the SIM card is active and has credit for calls/SMS if you intend to use these features.
- Follow the app's instructions to add your security system as a new device.
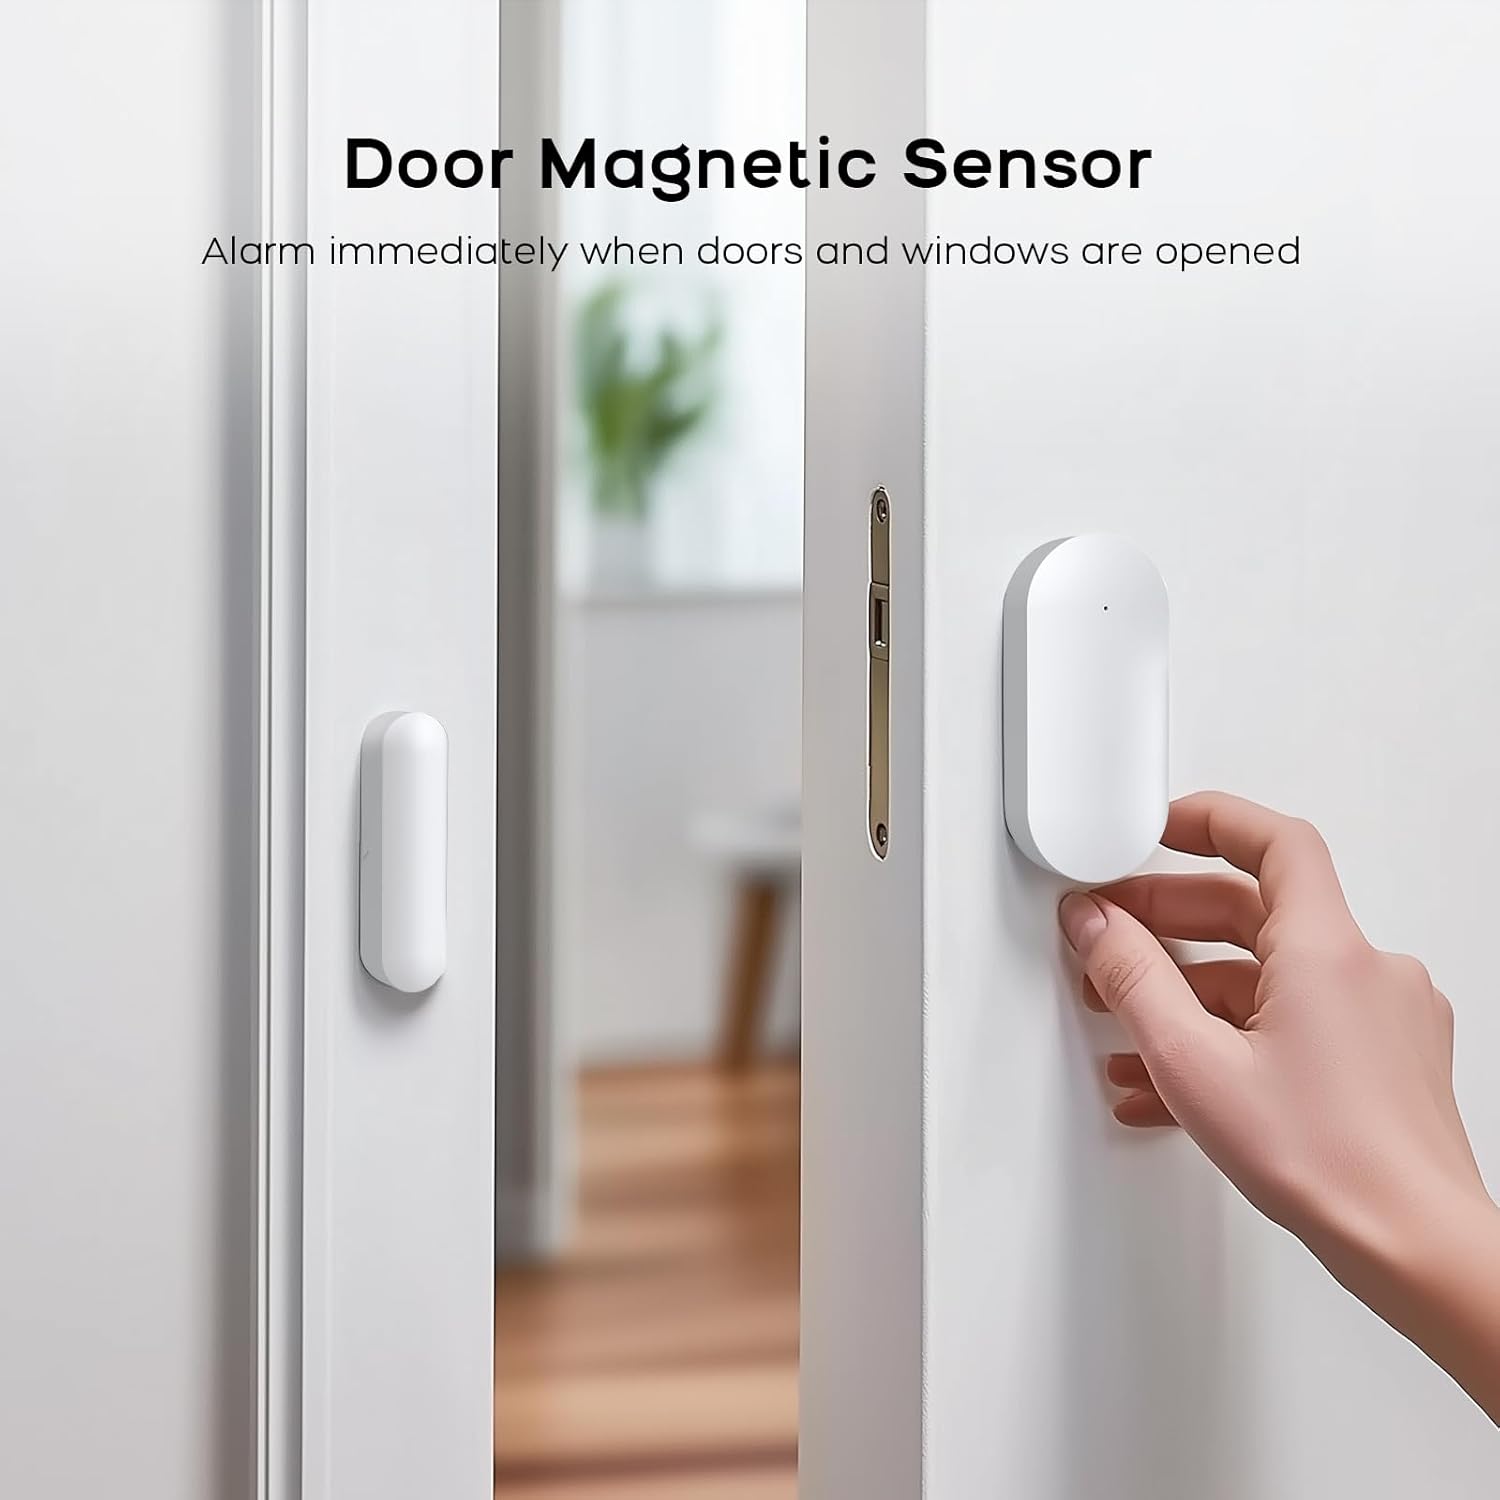
Image: Wi-Fi and 4G Dual Support for the PGST Home Security System.
4.3. Setting the Keypad Lock Password
To enhance security, set a keypad lock password for your control panel. This prevents unauthorized access to system settings.
Video: Instructions on how to set and manage the keypad lock password on the PGST control panel.
- Ana menüden şuraya gidin: Ayarlar.
- Seçme Şifre, Daha sonra Kullanıcı.
- Enter your desired 4-digit password and confirm.
- You can also toggle the keypad lock on or off via Settings > Switch > Keypad Lock.
4.4. Aksesuarların Eşleştirilmesi
This section details how to pair the various sensors and remote controls with your PGST Home Security System. For a visual guide, refer to the accessory connection video below.
Video: Detailed instructions on connecting various accessories, including remote controls, RFID cards, motion sensors, and door magnetic sensors, to the PGST alarm system.
4.4.1. Uzaktan Kumanda Eşleştirme
- Kontrol panelinde şuraya gidin: Menu > Sensors > Remote > Add.
- Press any button on the remote control you wish to pair. The panel will confirm successful pairing.

Image: Remote controls for arming, disarming, and SOS activation.
4.4.2. RFID Card Pairing
- Kontrol panelinde şuraya gidin: Menu > Sensors > RFID > Add.
- Tap the RFID card against the RFID reader area on the control panel. The panel will confirm successful pairing.
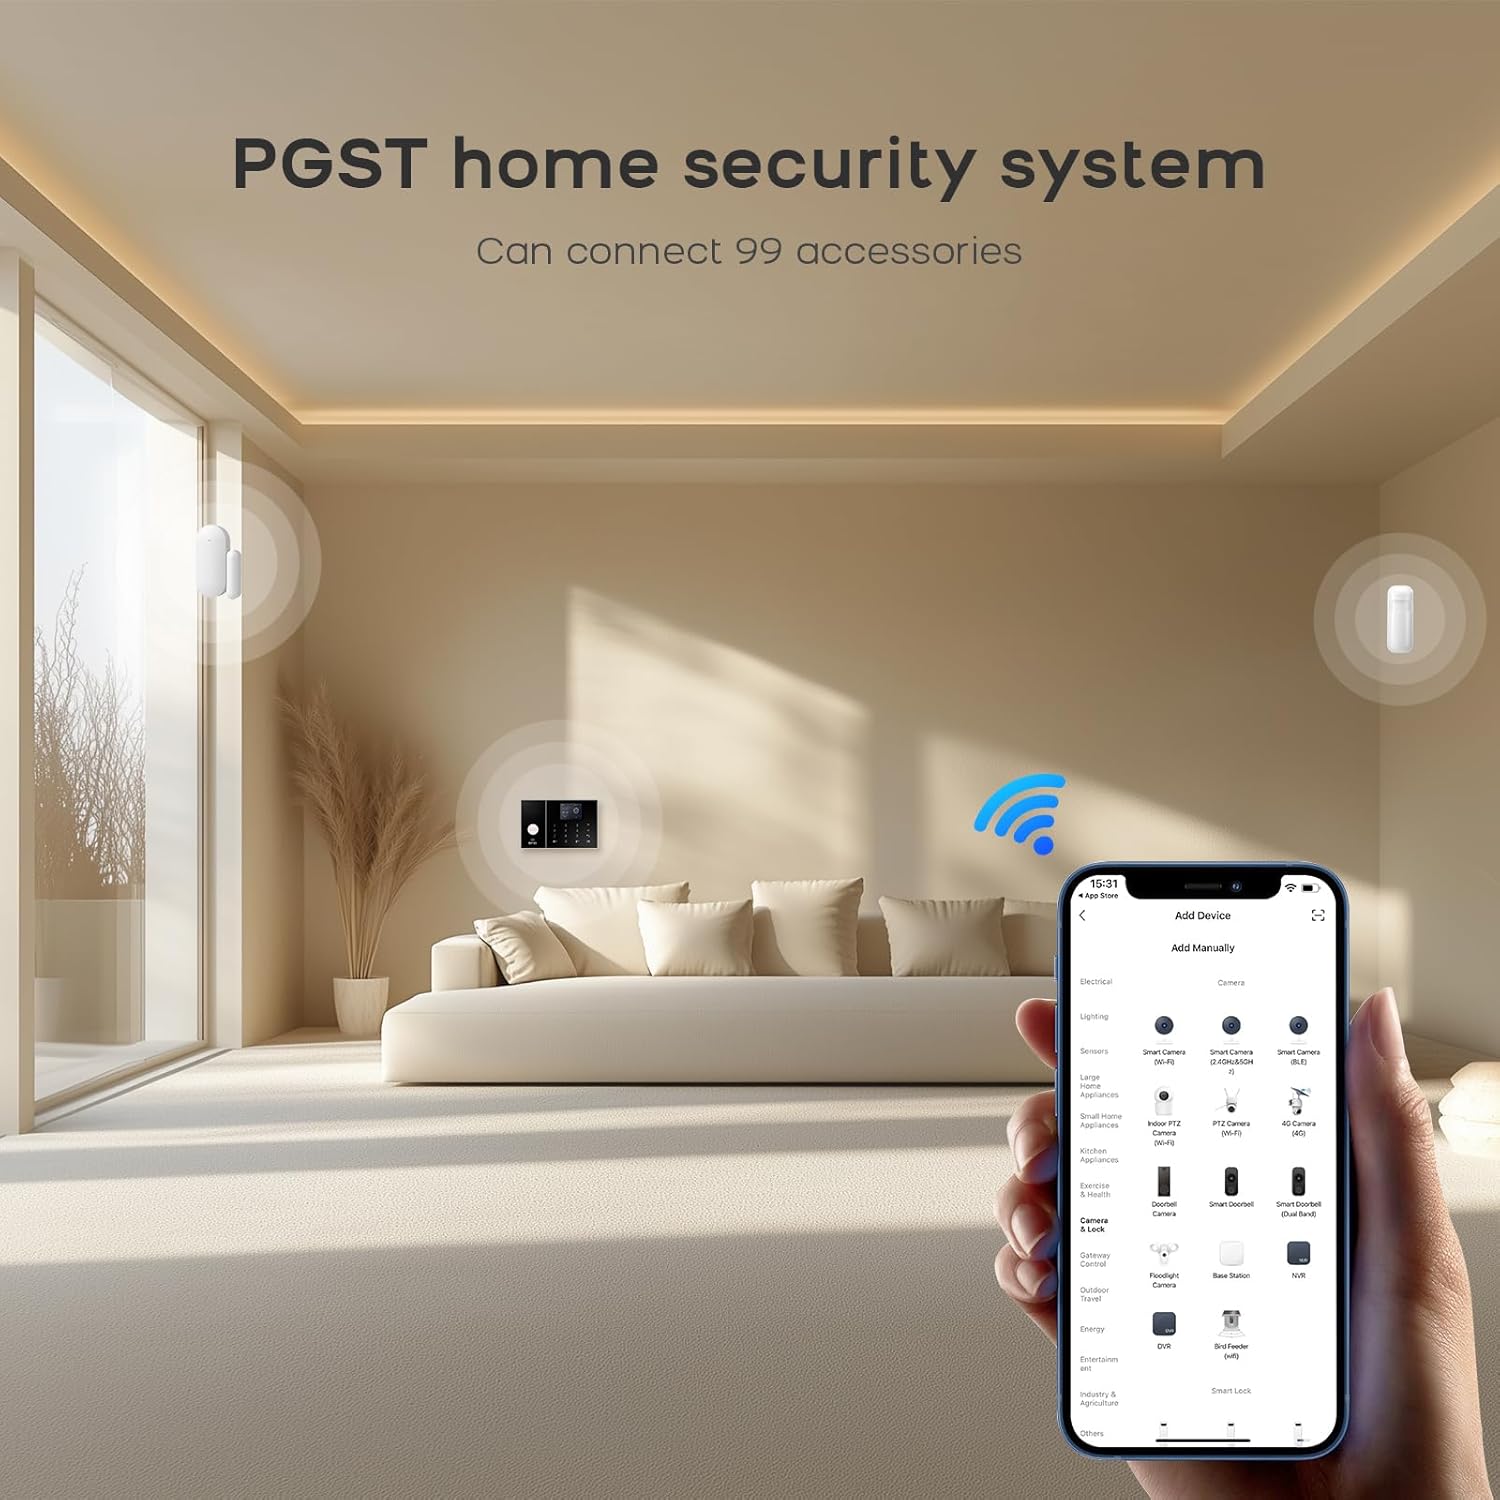
Image: RFID cards for quick arming and disarming.
4.4.3. Motion Sensor (Infrared Sensor) Pairing
- Turn on the infrared sensor switch. Wait approximately 30 seconds for the red light to flash rapidly twice, indicating it's ready for pairing.
- Kontrol panelinde şuraya gidin: Menu > Sensors > Add.
- Trigger the motion sensor by waving your hand in front of it. The panel will confirm successful pairing.
- Set the sensor type to Sistem Alarmı or Kol Aktif Kalın ihtiyaç duyulduğu takdirde.

Image: Motion sensor with wide detection range.
4.4.4. Door/Window Sensor (Magnetic Sensor) Pairing
- Open the switch on the door magnetic sensor.
- Kontrol panelinde şuraya gidin: Menu > Sensors > Add.
- Separate the two parts of the door sensor. The panel will confirm successful pairing.
- Set the sensor type to Kapı Alarmı or Kol Aktif Kalın uygun olduğu şekilde.

Image: Door magnetic sensor for immediate alerts when doors or windows are opened.
5. Kullanım Talimatları
5.1. Sistemin Devreye Alınması ve Devre Dışı Bırakılması
The system can be armed or disarmed using multiple methods:
- Kontrol Paneli: Use the keypad to enter your password and select the desired arming mode (Arm, Stay Arm, Disarm).
- Uzaktan kumanda: Press the corresponding button on the remote control for Arm, Disarm, Home (Stay Arm), or SOS.
- RFID Kartı: Tap a paired RFID card on the control panel's RFID reader to quickly arm or disarm the system.
- Mobil Uygulama: Use the Smart Life or Tuya app to remotely arm, disarm, or trigger alerts from anywhere.
- Ses Kontrolü: Integrate with Amazon Alexa or Google Assistant for hands-free control. For example, say "Alexa, arm my home!"

Resim: Amazon Alexa ve Google Asistan ile sesli kontrol işlevi.
5.2. SOS Fonksiyonu
In case of an emergency, press the SOS button on the control panel or remote control. The system will immediately trigger the siren and send alerts to pre-programmed contacts.
5.3. Real-time Alerts and Anti-Tamper
When a sensor is triggered, the 120dB siren will activate to deter intruders, and the Smart Life app will send real-time notifications to your smartphone. The control panel also features physical anti-tamper protection; any forced removal will trigger an instant alarm.
6. Bakım
6.1. Pil Değişimi
Sensors are battery-powered. When a sensor's battery is low, the system will notify you via the control panel and the mobile app. Replace batteries promptly to ensure continuous protection. Refer to individual sensor manuals for specific battery types and replacement procedures.
6.2. Temizlik
Wipe the control panel and sensors with a soft, dry cloth. Avoid using abrasive cleaners or solvents that could damage the surfaces.
7. Sorun Giderme
| Sorun | Olası Neden | Çözüm |
|---|---|---|
| Sistem açılmıyor. | Güç adaptörü bağlı değil veya arızalı. | Ensure the power adapter is securely connected to the control panel and a working power outlet. |
| Sensörler eşleşmiyor. | Sensor not in pairing mode or too far from the control panel. | Ensure the sensor is in pairing mode (refer to section 4.4) and within range of the control panel. Replace sensor batteries if necessary. |
| No app notifications. | No Wi-Fi/4G connection, app permissions, or notification settings. | Check Wi-Fi/4G connectivity on the control panel and your phone. Ensure the Smart Life/Tuya app has notification permissions enabled on your phone. Verify notification settings within the app. |
| Yanlış alarmlar. | Improper sensor placement or environmental factors. | Review sensor placement to avoid areas with drafts, direct sunlight, or pets (for motion sensors). Adjust sensitivity settings if available. |
8. Özellikler
- Marka: PGST
- Model Numarası: PG108-US4G-A
- Güç Kaynağı: Battery Powered (Control Panel includes 1 Lithium Polymer battery)
- Bağlantı Teknolojisi: Wired (for power), Wi-Fi (2.4GHz), 4G/GSM
- Öğe Boyutları (U x G x Y): 1 x 1 x 1 inches (Control Panel)
- Ürün Ağırlığı: 1.51 pounds (Control Panel)
- Dahil Bileşenler: Control Panel, Door Magnetic Sensor, Infrared Sensor, Remote control, RFID cards, Siren.
- Siren Çıkışı: 120dB
- Uygulama Uyumluluğu: Smart Life, Tuya
- Sesli Asistan Uyumluluğu: Amazon Alexa, Google Asistan
9. Garanti ve Destek
PGST is committed to providing reliable security solutions. Your PGST Home Security System comes with:
- Ömür Boyu Teknik Destek: For any technical issues or questions, please contact PGST customer service.
- Hızlı Yanıt: Expect prompt assistance within 365 days of purchase.
For further assistance, please visit the official PGST store or contact their customer support channels.
Ask a question about this manual
Ask about setup, troubleshooting, compatibility, parts, safety, or missing instructions. Manuals+ will review the question and use this page’s manual context to help answer it.