
1. Giriş
This manual provides detailed instructions for the installation, operation, and maintenance of your ANNKE AU-DT81DX200-V1 4K 8-Channel Digital Video Recorder (DVR). This DVR is designed for security surveillance systems, offering 4K (8MP) high-definition live viewing and recording capabilities. It features advanced H.265+ video compression, AI human/vehicle detection, and supports various camera types for flexible integration.

Image 1.1: The ANNKE 4K 8CH DVR connected to a display, illustrating its 4K Ultra HD video capability.
2. Paket İçeriği
Verify that all items listed below are included in your package. If any items are missing or damaged, contact ANNKE customer support.
- 1x ANNKE 4K 8CH DVR with 2TB Hard Drive
- 1x 5.9 ft/1.8 m HDMI Cable
- 1x 3.2 ft/1 m Ethernet Cable
- 1x Güç Adaptörü
- 1x USB Fare
- 1x Kullanım Kılavuzu (bu belge)
- 1 adet Duvar Çıkartması

Image 2.1: Visual representation of all components included in the ANNKE 4K 8CH DVR package.
3. Sistem Bittiview
The ANNKE AU-DT81DX200-V1 DVR is a hybrid 5-in-1 system, supporting various camera technologies. It can operate in two primary modes:
- DVR Modu: Supports up to 8 BNC (TVI/AHD/CVI/CVBS) cameras and an additional 4 IP cameras.
- NVR Mode: Can be configured to support up to 12 IP cameras exclusively.
This flexibility allows for integration with existing analog systems while providing options for future IP camera expansion.
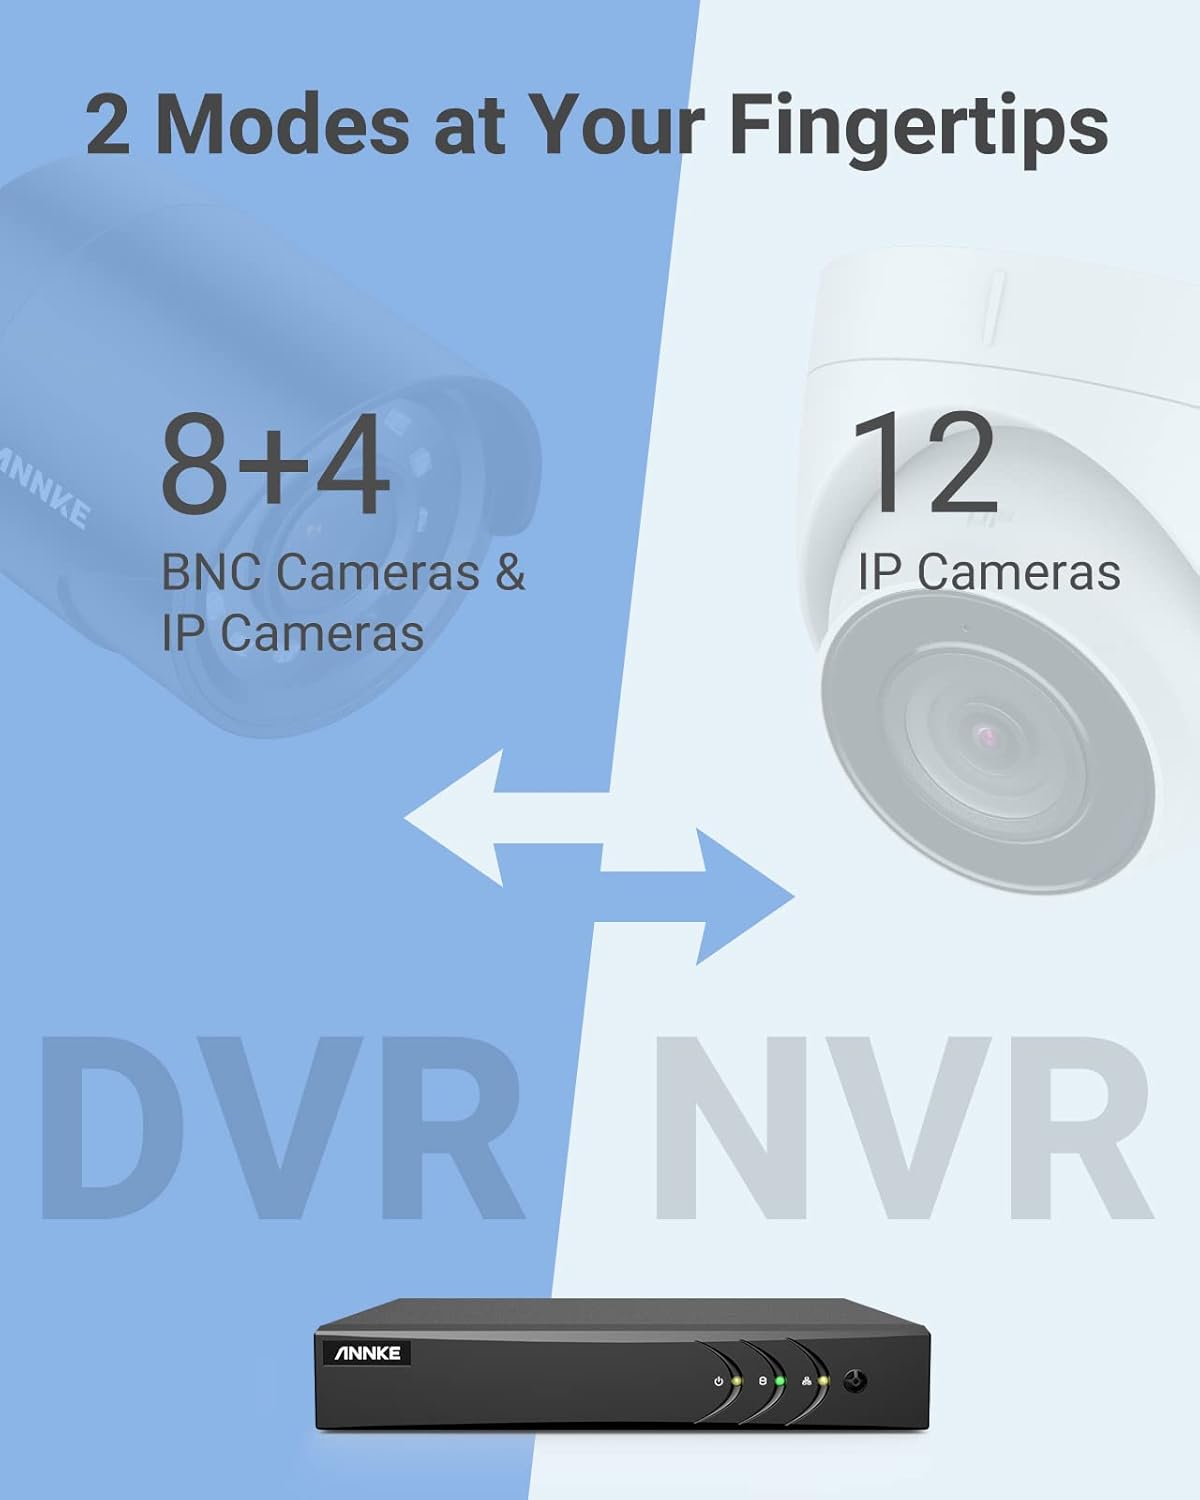
Image 3.1: Illustration of the DVR's dual operational modes, supporting both BNC and IP cameras or IP cameras exclusively.
4. Kurulum Kılavuzu
4.1 Fiziksel Kurulum
- Kameraları Bağlayın: Connect your security cameras to the BNC video input ports on the back of the DVR. For IP cameras, connect them to your network switch/router, and ensure the DVR is also connected to the same network via the Ethernet cable.
- Monitörü Bağla: Verilen HDMI kablosunu veya VGA kablosunu (dahil değildir) kullanarak DVR'ın HDMI veya VGA çıkış portuna bir monitör bağlayın.
- USB Fareyi Bağlayın: USB fareyi DVR üzerindeki USB bağlantı noktalarından birine takın.
- Gücü bağlayın: Güç adaptörünü DVR'ın güç girişine bağlayın ve ardından bir elektrik prizine takın. DVR otomatik olarak açılacaktır.
4.2 İlk Yapılandırma
Upon first boot, the DVR will guide you through an initial setup wizard. Follow the on-screen prompts to:
- Set up a strong password for the administrator account.
- Ağ ayarlarını yapılandırın (çoğu kullanıcı için DHCP önerilir).
- Tarih ve saati ayarlayın.
- Scan and add IP cameras if applicable.
5. DVR'ın çalıştırılması
5.1 Canlı View
İlk kurulumdan sonra DVR canlı görüntüyü görüntüler view from connected cameras. Use the USB mouse to navigate the interface. Right-click to access the main menu.
5.2 Kayıt
The DVR is pre-configured for continuous recording. You can customize recording schedules, motion-triggered recording, or alarm-triggered recording via the main menu under Record > Schedule.
5.3 Oynatma
Yırttıview kaydedilmiş footage:
- canlı yayından view, sağ tıklayın ve seçin Playback.
- Select the desired camera(s) and date.
- Use the timeline to navigate through recordings. Events (like motion detection) are often marked on the timeline for quick access.

Image 5.1: The DVR's playback interface, demonstrating how to locate and review recorded events on a timeline.
6. Gelişmiş Özellikler
6.1 Yapay Zeka İnsan/Araç Tespiti
The DVR incorporates deep learning-based motion detection 2.0, which can differentiate between human and vehicle movements. This significantly reduces false alarms caused by environmental factors such as leaves or light changes.
- Yapılandırma: Enable and configure AI detection for each analog channel via the main menu under AI > Motion Detection 2.0.
- Smart Events: Supports line crossing and intrusion detection for specific areas.
- Uyarılar: Configure the DVR to send app push notifications, email alerts, or trigger a buzzer when human or vehicle motion is detected.
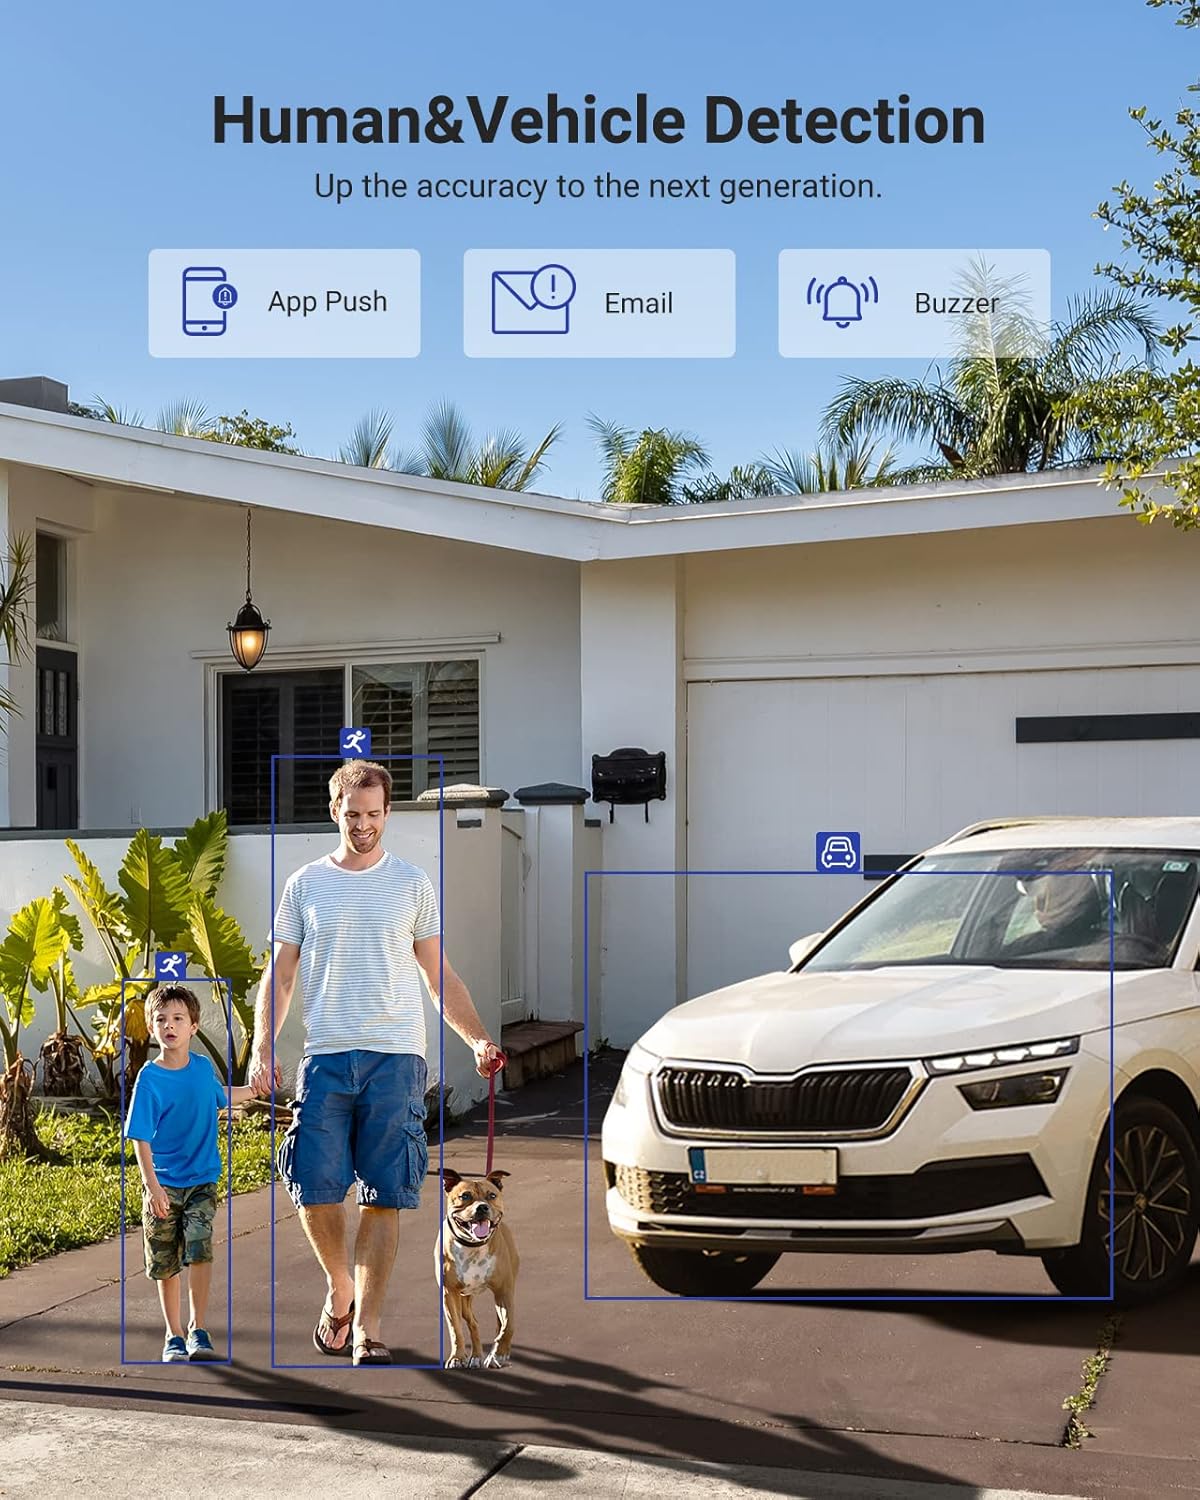
Image 6.1: Visual demonstration of the AI human and vehicle detection capability, showing how the system identifies and distinguishes between people and vehicles.
6.2 Uzaktan Erişim
Access your DVR remotely from anywhere using the ANNKE Vision App or a web tarayıcı.
- ANNKE Vision App: Download the app from the App Store (iOS) or Google Play Store (Android). Register an account and add your DVR by scanning the QR code or entering its serial number.
- Web Tarayıcı: Access the DVR's web IP adresini bir ara yüze girerek web Bilgisayarınızdaki tarayıcı.
- Uyumluluk: The system is compatible with various devices including smartphones, tablets, laptops, and personal computers. It also supports integration with Alexa for voice control.

Image 6.2: Remote access via the ANNKE Vision App, showing compatibility with mobile devices and Alexa.
7. Video Yönetimi
7.1 H.265+ Video Sıkıştırma
The DVR utilizes advanced H.265+ video compression technology. This technology significantly reduces file sizes, saving up to 80% of storage space compared to H.264 compression, while maintaining video quality. This allows for longer recording durations on the same 2TB hard drive.

Image 7.1: Comparison illustrating the storage efficiency of H.265+ compression versus H.264.
8. Uyumluluk
The ANNKE AU-DT81DX200-V1 is a versatile 5-in-1 hybrid DVR, designed to be compatible with a wide range of security cameras:
- HD TVI Input: Supports 8 MP@15 fps, 5 MP@20 fps, 3K@20 fps, 4 MP@30 fps.
- AHD Input: Supports 5 MP@20 fps, 4 MP@30 fps, 1080p@25 fps, 1080p@30 fps.
- HD CVI Input: Supports 4 MP@30 fps, 4 MP@25 fps, 1080p@25 fps, 1080p@30 fps.
- CVBS Girişi: Supports PAL/NTSC standards.
- IPC Input: Supports up to 8MP IP cameras.
This broad compatibility ensures that the DVR can integrate with both older analog cameras and modern IP cameras, providing a flexible upgrade path for existing surveillance systems.

Image 8.1: The DVR's compatibility with various camera technologies, including TVI, CVI, AHD, and IP cameras.
9. Özellikler
| Özellik | Şartname |
|---|---|
| Marka | ANNE |
| Model Numarası | AU-DT81DX200-V1 |
| Bağlantı Teknolojisi | Kablolu |
| Video Yakalama Çözünürlüğü | 4K (8MP) |
| Kanal Sayısı | 8 (Analog) + 4 (IP) or 12 (IP) |
| Video Sıkıştırma | H.265 Pro+/H.265 Pro/H.265/H.264+/H.264 |
| Desteklenen Kamera Türleri | TVI, AHD, CVI, CVBS, IPC |
| AI Özellikleri | Human Detection, Vehicle Detection, Line Crossing, Intrusion Detection |
| Bellek Depolama Kapasitesi | 2 TB HDD (Up to 10 TB supported) |
| Uzaktan Erişim | ANNKE Vision App, Web Tarayıcı |
| Uyumlu Cihazlar | Kameralar, Dizüstü Bilgisayarlar, Kişisel Bilgisayarlar, Akıllı Telefonlar, Tabletler |
| Güç Kaynağı | Kablolu Elektrik |
| Renk | Siyah |
| Ürün Boyutları | 17.13 x 12.4 x 3.86 inç |
10. Bakım
Düzenli bakım, DVR sisteminizin optimum performans göstermesini ve uzun ömürlü olmasını sağlar.
- Temizlik: Keep the DVR free from dust. Use a soft, dry cloth to clean the exterior. Do not use liquid cleaners.
- Havalandırma: DVR'ın aşırı ısınmasını önlemek için iyi havalandırılan bir alana yerleştirildiğinden emin olun. Havalandırma açıklıklarını kapatmayın.
- Donanım Yazılımı Güncellemeleri: ANNKE resmi sitesini düzenli olarak kontrol edin. website for firmware updates. Keeping your DVR's firmware updated can improve performance, add new features, and enhance security.
- Veri Yedekleme: Önemli video dosyalarınızı düzenli olarak yedekleyin.tage harici bir depolama aygıtına.
- Sabit Disk Sağlığı: The DVR's menu may offer options to check the health status of the installed hard drive. Monitor this periodically.
11. Sorun Giderme
Bu bölümde DVR'ınızda karşılaşabileceğiniz yaygın sorunlar ele alınmaktadır.
- Video Çıkışı Yok:
- Hem DVR'a hem de monitöre giden HDMI/VGA kablo bağlantılarını kontrol edin.
- Monitörün doğru giriş kaynağına ayarlandığından emin olun.
- Verify the DVR is powered on (power indicator light should be active).
- Kamera Görüntüsü Yok:
- Check camera power supply and video cable connections.
- For IP cameras, ensure they are on the same network as the DVR and properly added in the DVR's camera management settings.
- Verify camera compatibility with the DVR (refer to Section 8).
- Uzaktan Erişim Çalışmıyor:
- DVR'ın internete bağlı olduğundan emin olun.
- Check network settings on the DVR (e.g., DHCP enabled, correct IP address).
- Verify the ANNKE Vision App is updated to the latest version.
- Ensure the DVR is properly added to your ANNKE Vision account.
- False Motion Alarms:
- Adjust the sensitivity of motion detection in the DVR settings.
- Utilize the AI Human/Vehicle Detection feature (Section 6.1) to filter out irrelevant movements.
- Define specific detection zones to exclude areas with frequent non-threatening movement.
If you continue to experience issues, please contact ANNKE customer support.
12. Garanti ve Destek
ANNKE products typically come with a limited warranty. Please refer to the warranty card included in your package or visit the official ANNKE webBölgenize özgü ayrıntılı garanti şartları ve koşulları için siteyi ziyaret edin.
For technical support, product inquiries, or warranty claims, please contact ANNKE customer service through their official website or the contact information provided in your product documentation. Have your model number (AU-DT81DX200-V1) and purchase details ready when contacting support.
ANNKE Official Webalan: www.annke.com