
giriiş
Welcome to the ULTRICS Digital Multimeter D2 user manual. This device is designed for precise and reliable electrical measurements, suitable for professionals and DIY enthusiasts. It accurately measures AC/DC voltage, DC current, resistance, continuity, and diodes. This manual provides essential information for safe and effective operation, helping you to maximize the utility of your new multimeter.
Güvenlik Bilgileri
UYARI: Always exercise extreme caution when working with electrical circuits. Improper use of this multimeter can result in electric shock, personal injury, or damage to the device.
- Herhangi bir aralık için maksimum giriş değerlerini aşmayın.
- Do not use the multimeter if it or the test leads appear damaged. Inspect them before each use.
- Ensure the function switch is in the correct position before making measurements. Changing ranges while connected to a live circuit can cause damage.
- Disconnect power to the circuit before measuring resistance, continuity, or diodes.
- Vol ile çalışırken dikkatli oluntag30V AC RMS, 42V tepe veya 60V DC'nin üzerinde. Bu hacimtages pose a significant shock hazard.
- Always connect the common (COM) test lead first, then the live lead. Disconnect the live lead first, then the common lead.
- Replace the battery when the low battery indicator appears to ensure accurate readings and proper device function.
This multimeter is rated CAT II 600V, indicating its suitability for measurements on circuits directly connected to the low-voltage kurulum.
Paket İçeriği
Paketin içinde tüm öğelerin mevcut olduğundan emin olun:
- 1 x ULTRICS Digital Multimeter D2
- 2 adet test kablosu (kırmızı ve siyah)
- 1 x 9V Pil
- 1 x Kullanım Kılavuzu (bu belge)
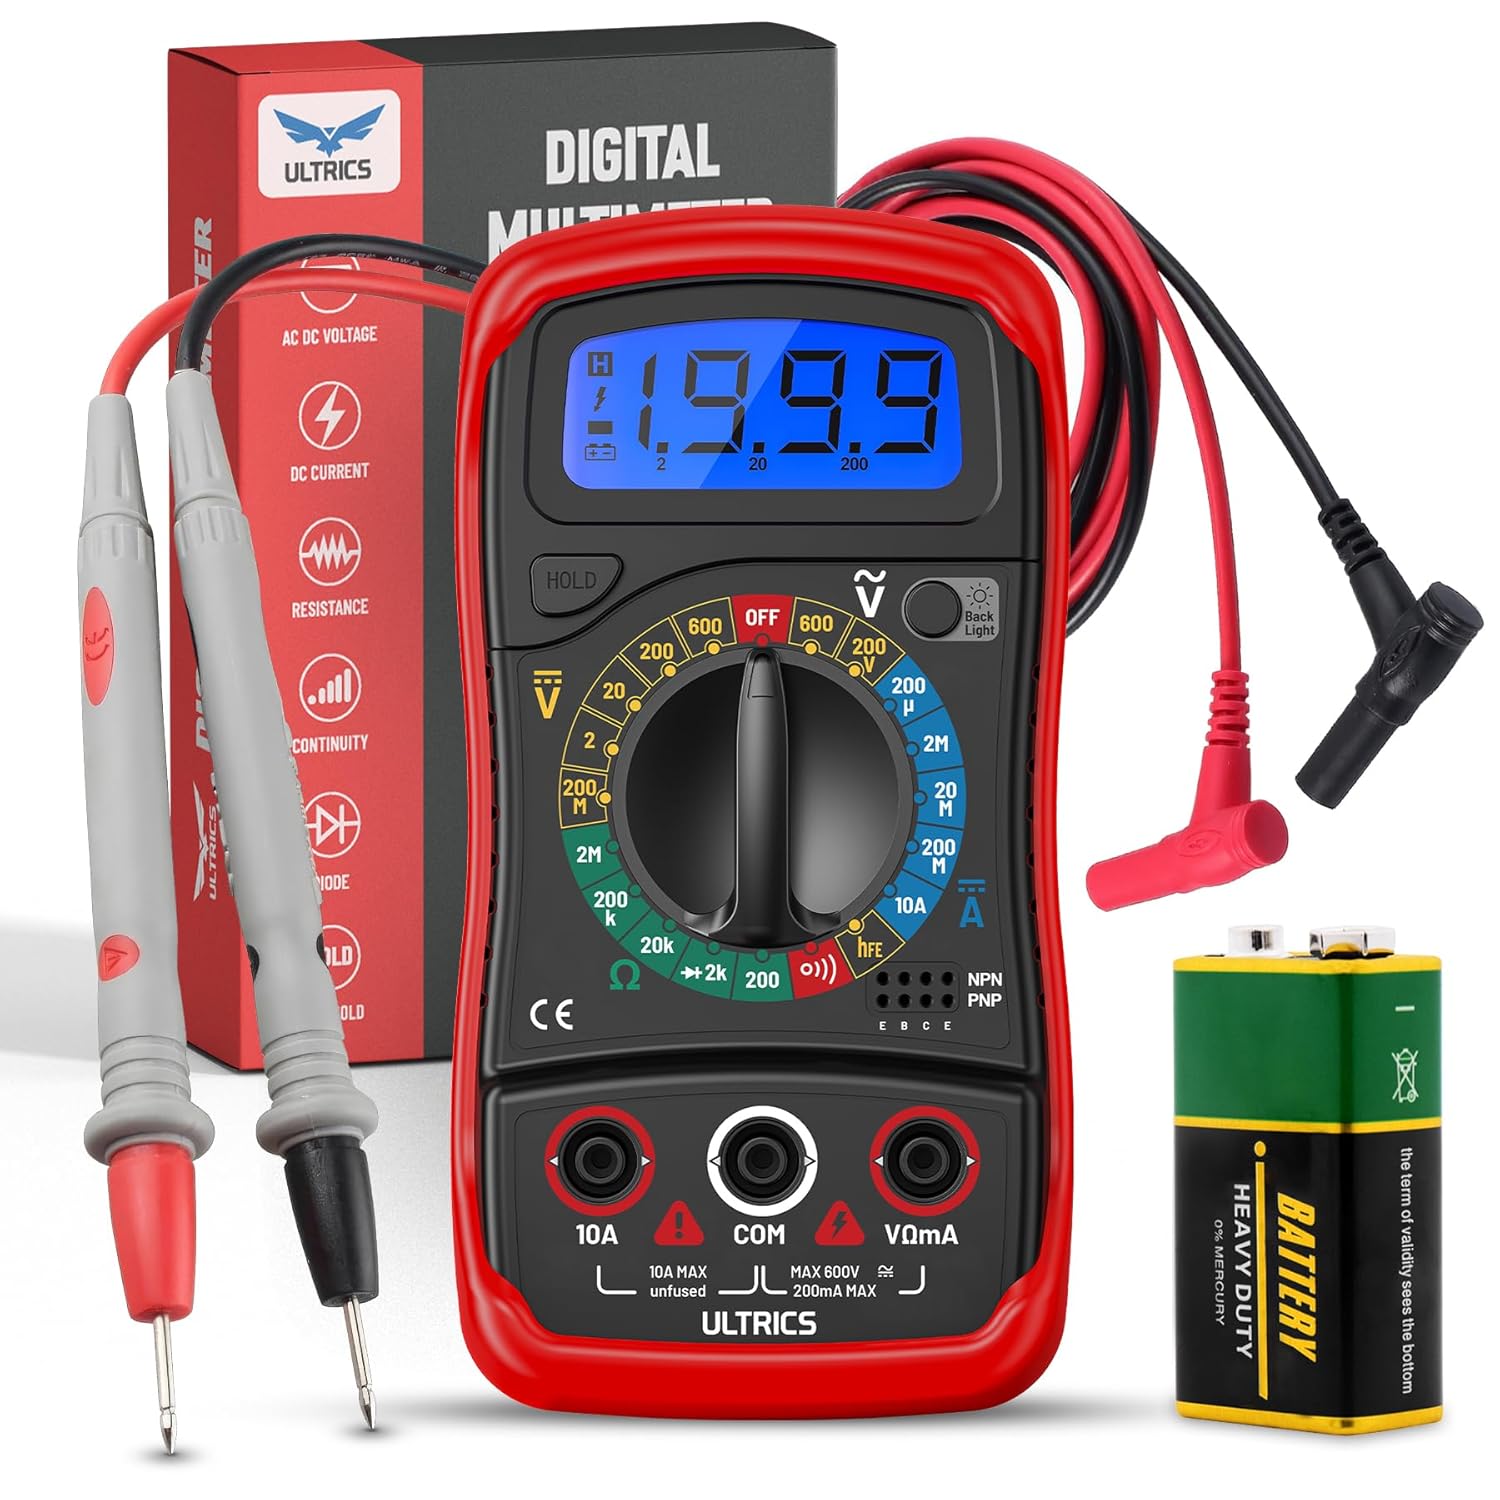
Image: Contents of the ULTRICS Digital Multimeter D2 package, including the multimeter, red and black test leads, and a 9V battery.
Ürün Bittiview
Familiarize yourself with the components of your ULTRICS Digital Multimeter D2.

Image: Detailed diagram of the ULTRICS Digital Multimeter D2, highlighting its key components such as the LCD display, data hold button, backlight button, function switch, test lead jacks, and protective rubber shell.
- LCD Ekran: Shows measurement readings, units, and polarity. Features a bright backlight for low-light conditions.
- Veri Tutma Düğmesi: Freezes the current reading on the display for easier recording.
- Arka Işık Düğmesi: Ekran arka ışığını etkinleştirir veya devre dışı bırakır.
- Function Switch (Rotary Dial): Selects the desired measurement function and range.
- 10A Giriş Jakı: Used for measuring DC current up to 10 Amporada.
- COM (Common) Input Jack: The negative (-) input for all measurements. Always connect the black test lead here.
- VΩmA Giriş Jakı: The positive (+) input for voltage, direnç ve milliampere current measurements. Connect the red test lead here.
- Transistor Test Jacks (hFE): Used for testing NPN and PNP transistors.
- Protective Rubber Shell: Provides durability and protection against minor impacts and splashes.
- Katlanabilir Ayaklık: Allows for hands-free operation and easy viewaçı.
Kurmak
Pilin Takılması
The ULTRICS Digital Multimeter D2 requires one 9V battery (included).
- Multimetrenin arkasındaki pil bölmesini bulun.
- Pil kapağını sabitleyen vidayı çıkarmak için bir tornavida kullanın.
- Pil kapağını yavaşça çıkarın.
- Connect the 9V battery to the battery clips, ensuring correct polarity (+ to + and - to -).
- Pili bölmenin içine yerleştirin.
- Pil kapağını yerine takın ve vidayla sabitleyin.
Test Uçlarını Bağlama
Always ensure test leads are securely connected before taking measurements.
- Insert the black test lead's banana plug into the Bİlgİ (Ortak) giriş jakı.
- Çoğu ölçüm için (hacim)tage, resistance, continuity, diode, small current), insert the red test lead's banana plug into the VΩmA Giriş jakı.
- For high current measurements (up to 10A DC), insert the red test lead's banana plug into the 10A Giriş jakı.
Kullanım Talimatları
This section details how to perform various measurements using your multimeter.
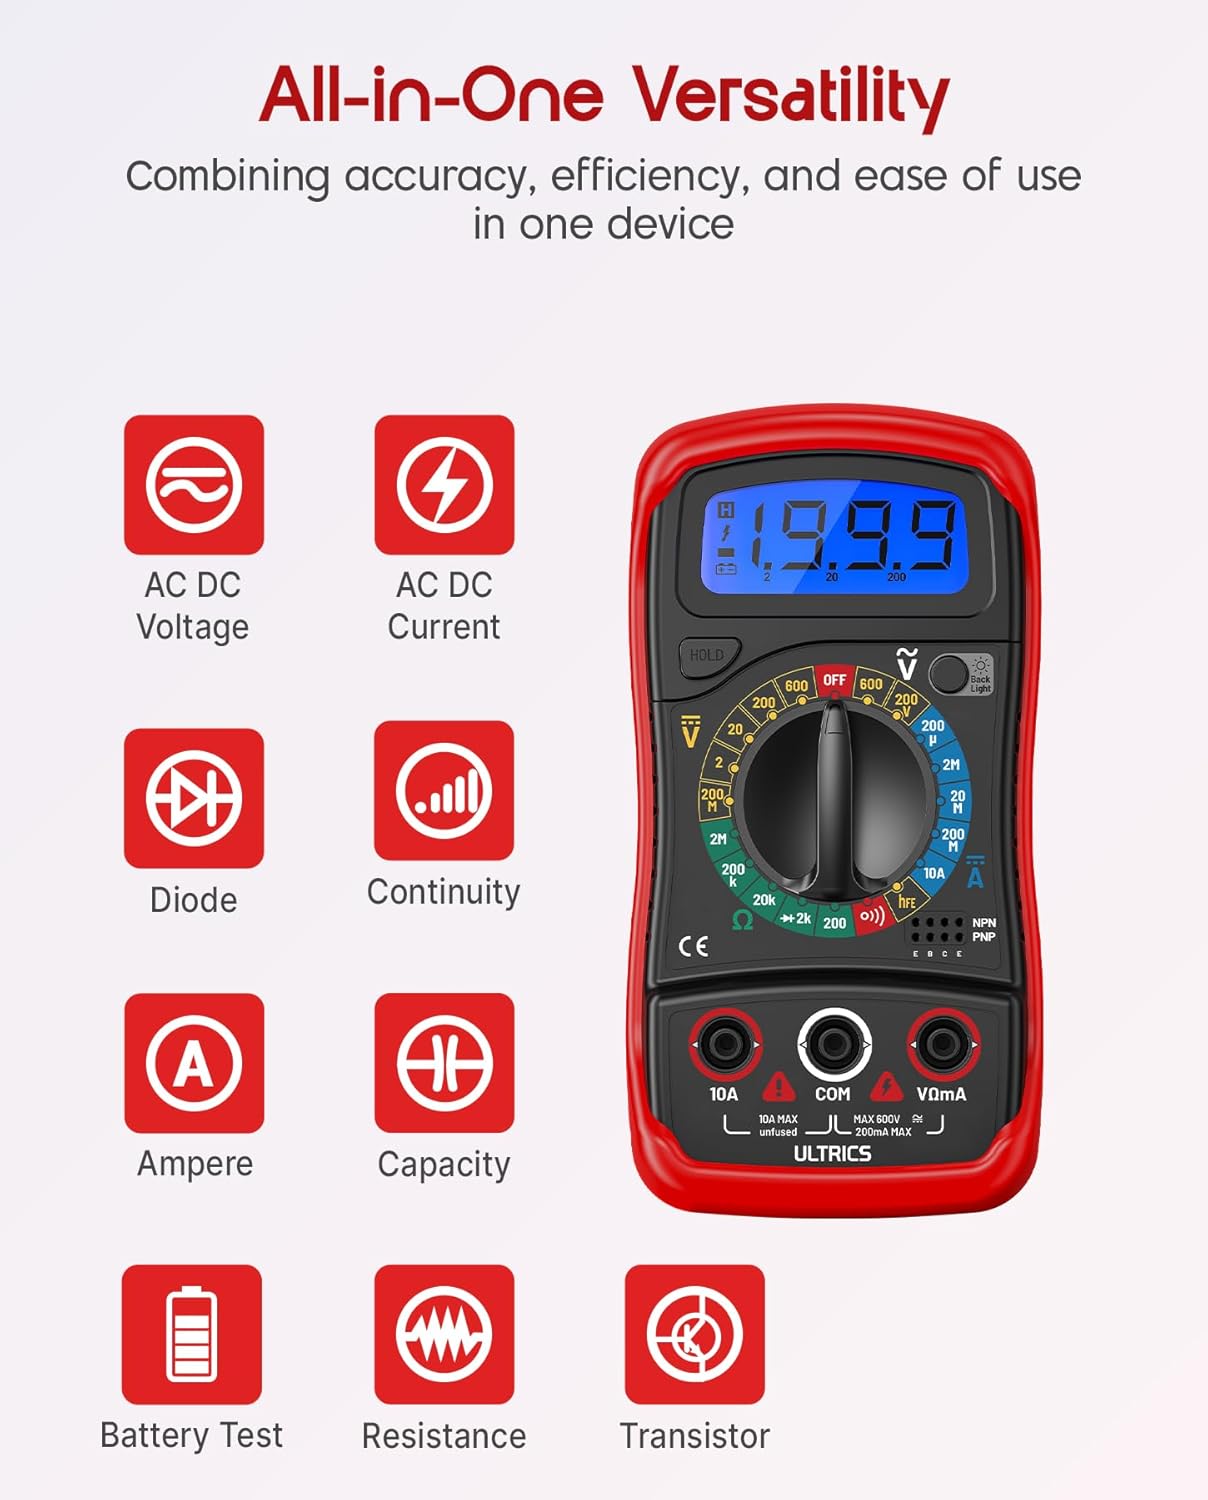
Image: Visual representation of the multimeter's versatile functions, including AC/DC Voltage, AC/DC Current, Diode, Continuity, Ampere, Capacity, Battery Test, Resistance, and Transistor measurements.
DC Hacmi Ölçümütage (VDC)
- Siyah test ucunu Bİlgİ Jack ve kırmızı test kurşunu VΩmA kriko.
- Turn the function switch to the desired VDC range (e.g., 200mV, 2V, 20V, 200V, 600V). If unsure, start with the highest range and decrease as needed.
- Ölçülecek bileşen veya devre boyunca test uçlarını paralel olarak bağlayın.
- Cildi okutagLCD ekranda e değeri.
AC Hacmi Ölçümütage (VAC)
- Siyah test ucunu Bİlgİ Jack ve kırmızı test kurşunu VΩmA kriko.
- Turn the function switch to the desired Boş zaman range (e.g., 200V, 600V).
- Test uçlarını AC voltaj regülatörüne paralel olarak bağlayın.tage kaynak.
- Cildi okutagLCD ekranda e değeri.
Measuring DC Current (ADC)
DİKKAT: Never connect the multimeter in parallel when measuring current. Always connect it in series with the circuit. Improper connection can damage the multimeter or the circuit.
- Devreye giden gücü kapatın.
- 200mA'e kadar olan akımlar için, siyah test ucunu şuraya bağlayın: Bİlgİ Jack ve kırmızı test kurşunu VΩmA kriko.
- 10A'e kadar olan akımlar için, siyah test kablosunu şuraya bağlayın: Bİlgİ Jack ve kırmızı test kurşunu 10A kriko.
- Turn the function switch to the desired ADC range (e.g., 200µA, 2mA, 20mA, 200mA, 10A).
- Devreyi kesin ve multimetreyi devreye seri bağlayın.
- Devreye giden gücü açın.
- LCD ekranda mevcut değeri okuyun.
- Turn off power to the circuit before disconnecting the multimeter.
Direnç Ölçümü (Ω)
DİKKAT: Ensure the circuit is completely de-energized before measuring resistance. Measuring resistance on a live circuit can damage the multimeter.
- Siyah test ucunu Bİlgİ Jack ve kırmızı test kurşunu VΩmA kriko.
- Turn the function switch to the desired Ω range (e.g., 200Ω, 2kΩ, 20kΩ, 200kΩ, 2MΩ, 20MΩ).
- Direncini ölçmek istediğiniz bileşenin uçlarına test uçlarını bağlayın.
- LCD ekranda direnç değerini okuyun.
Süreklilik Testi
The continuity test checks for a complete circuit path. An audible buzzer will sound if continuity is detected.
- Siyah test ucunu Bİlgİ Jack ve kırmızı test kurşunu VΩmA kriko.
- Fonksiyon anahtarını konumuna çevirin Süreklilik (buzzer) position.
- Test uçlarını devreye veya bileşene bağlayın.
- Direnç yaklaşık 50Ω'un altındaysa, sürekliliği gösteren bir buzzer sesi duyulur.
Diyot Testi
Diyot testi ileri volümü ölçertagBir diyotun e düşüşü.
- Siyah test ucunu Bİlgİ Jack ve kırmızı test kurşunu VΩmA kriko.
- Fonksiyon anahtarını konumuna çevirin Diyot konum.
- Connect the red test lead to the anode (+) and the black test lead to the cathode (-) of the diode.
- İleri cildi okuyuntage drop on the LCD display. Reverse the leads; the display should show "OL" (Overload) for a good diode.
Transistör hFE Testi
This function tests the DC current gain (hFE) of NPN and PNP transistors.
- Fonksiyon anahtarını konumuna çevirin hFE konum.
- Identify the Emitter (E), Base (B), and Collector (C) leads of the transistor.
- Insert the transistor leads into the corresponding holes in the hFE socket on the multimeter, ensuring correct NPN or PNP type.
- LCD ekranda hFE değerini okuyun.
Veri Bekletme İşlevi
Basın TUTMAK Ekrandaki mevcut okumayı dondurmak için düğmeye basın. Dondurma işlemini kaldırmak ve canlı okumalara devam etmek için tekrar basın.
Arka Işık İşlevi
Basın Arka ışık button to turn the LCD backlight on or off, improving visibility in dim environments.

Resim: Yakın çekim view of the multimeter's LCD display, demonstrating its bright backlight feature for enhanced readability in various lighting conditions.
Bakım
Temizlik
Multimetreyi temizlemek için kasayı bir bezle silin.amp cloth and a mild detergent. Do not use abrasives or solvents, as these may damage the casing veya göster.
Pil Değişimi
When the low battery indicator appears on the display, replace the 9V battery as described in the "Installing the Battery" section to ensure continued accurate readings.
Sigorta Değişimi
If the current measurement function stops working, the fuse may need replacement. This multimeter is equipped with internal fuses for protection.
- Ensure the multimeter is OFF and all test leads are disconnected.
- Pil kapağını ve pili çıkarın.
- Carefully open the main casing (this may require removing additional screws, typically located under the rubber shell).
- Locate the fuse(s) on the circuit board. This model typically uses a 200mA/250V fuse for the mA range and a 10A/250V fuse for the 10A range.
- Replace the blown fuse with a fuse of the same type and rating. Never use a fuse with a different rating.
- Reassemble the multimeter, ensuring all screws are tightened and the casing is properly sealed.
Depolamak
If the multimeter is not used for a long period, remove the battery to prevent leakage and store the device in a cool, dry place, away from direct sunlight and extreme temperatures.
Sorun giderme
| Sorun | Olası Neden | Çözüm |
|---|---|---|
| Ekran yok veya soluk ekran | Pil bitmiş veya düşük | 9V pili değiştirin. |
| "OL" (Aşırı Yük) görüntülendi | Giriş değeri seçilen aralığı aşıyor; açık devre (direnç/süreklilik için) | Select a higher range; check for breaks in the circuit or component. |
| Yanlış okumalar | Incorrect function/range selected; poor test lead connection; low battery | Verify function switch position and range; ensure leads are firmly connected; replace battery. |
| Mevcut ölçüm çalışmıyor | Sigorta atmış | Replace the appropriate fuse (refer to Maintenance section). |
| No continuity buzzer | Open circuit; resistance too high | Ensure circuit is closed; check resistance value (buzzer typically activates below 50Ω). |
Özellikler
| Özellik | Detay |
|---|---|
| Örnek | Digital Multimeter D2 |
| Görüntülemek | 3 ½ digit LCD, 1999 counts, with backlight |
| DC Hacmitage | 200mV / 2V / 20V / 200V / 600V |
| AC Hacmitage | 200V / 600V |
| Doğru Akım | 200μA / 2mA / 20mA / 200mA / 10A |
| Rezistans | 200Ω / 2kΩ / 20kΩ / 200kΩ / 2MΩ / 20MΩ |
| Diyot Testi | Evet |
| Süreklilik Uyarı Cihazı | Evet |
| Transistör hFE Testi | Evet |
| Veri Tutma | Evet |
| Güç Kaynağı | 9V Pil |
| Güvenlik Derecelendirmesi | IEC CAT II 600V, CE, RoHS compliant |
| Boyutlar (U x G x Y) | 14.6 x 10 x 5 cm (5.75 x 3.94 x 1.97 inç) |
| Ağırlık | 240 gram (0.53 lb) |
Garanti ve Destek
ULTRICS provides a 12-month warranty for this product, covering manufacturing defects from the date of purchase. Please retain your proof of purchase for warranty claims.
For technical support, warranty claims, or any questions regarding your ULTRICS Digital Multimeter D2, please contact ULTRICS customer service through the retailer's platform or the official ULTRICS webDestek ekibiyle iletişime geçtiğinizde lütfen satın alma bilgilerinizi ve model numaranızı hazır bulundurun.
Üretici: ULTRİKLER
Model Numarası: Digital Multimeter D2
ASIN: B0DYP62MW7