
1. Giriş
This manual provides essential information for setting up, operating, and maintaining your new CyberpowerPC Gamer Xtreme VR Gaming PC. This system is equipped with an Intel Core Ultra 5 225F processor, NVIDIA GeForce RTX 5060 graphics, 64GB DDR5 memory, and a 2TB PCIe 4.0 NVMe SSD, running Windows 11 Home. Please read this manual thoroughly before using your computer to ensure proper functionality and longevity.
2. Güvenlik Bilgileri
- Güç Kaynağı: Use only the power cord provided with the system. Ensure the power outlet is properly grounded.
- Havalandırma: Do not block any ventilation openings on the computer case. Maintain adequate space around the PC for airflow to prevent overheating.
- Sıvı ve Nem: Keep the computer away from liquids and excessive moisture. Do not operate the PC with wet hands.
- Statik elektrik: Discharge static electricity from your body before touching internal components by touching a grounded metal object.
- Servis: Do not attempt to service the computer yourself unless specifically instructed. Refer all servicing to qualified service personnel.
- Atama: Place the computer on a stable, flat surface. Avoid placing it near heat sources or in direct sunlight.
3. Paket İçeriği
Aşağıda listelenen tüm öğelerin paketinizde bulunduğunu doğrulayın:
- CyberpowerPC Gamer Xtreme VR Gaming PC
- USB RGB Oyun Klavyesi
- USB Oyun Faresi
- Güç Kablosu
- Documentation (Quick Start Guide, Driver Discs if applicable)
4. Kurulum
4.1 Paketin Açılması ve İlk Muayene
Carefully remove the computer from its packaging. Inspect the exterior for any signs of damage. Open the side panel (if applicable, usually tempered glass) and remove any internal foam packaging designed to secure components during shipping. Ensure all cables inside are securely connected.

Resim: Dahili view of the PC showing RGB fans, motherboard, and graphics card. Remove internal foam before operation.
4.2 Çevre Birimlerini Bağlama
Monitörünüzü, klavyenizi, farenizi ve diğer çevre birimlerinizi bilgisayarınızın arka ve ön tarafındaki uygun portlara bağlayın.
- İzleme: Connect your monitor to the graphics card's HDMI or DisplayPort outputs. The graphics card (NVIDIA GeForce RTX 5060) has 1x HDMI and 3x DisplayPort outputs. Ensure you connect to the dedicated graphics card ports, not the motherboard's integrated graphics ports (if present).
- Klavye ve Fare: Connect the USB gaming keyboard and mouse to any available USB ports.
- Güç: Güç kablosunu bilgisayarınızın arkasındaki güç kaynağı ünitesine (PSU) bağlayın, ardından topraklı bir elektrik prizine takın.
- Ağ: For a wired connection, connect an Ethernet cable to the RJ45 LAN port. For wireless, ensure the Wi-Fi antennas (if included) are attached.
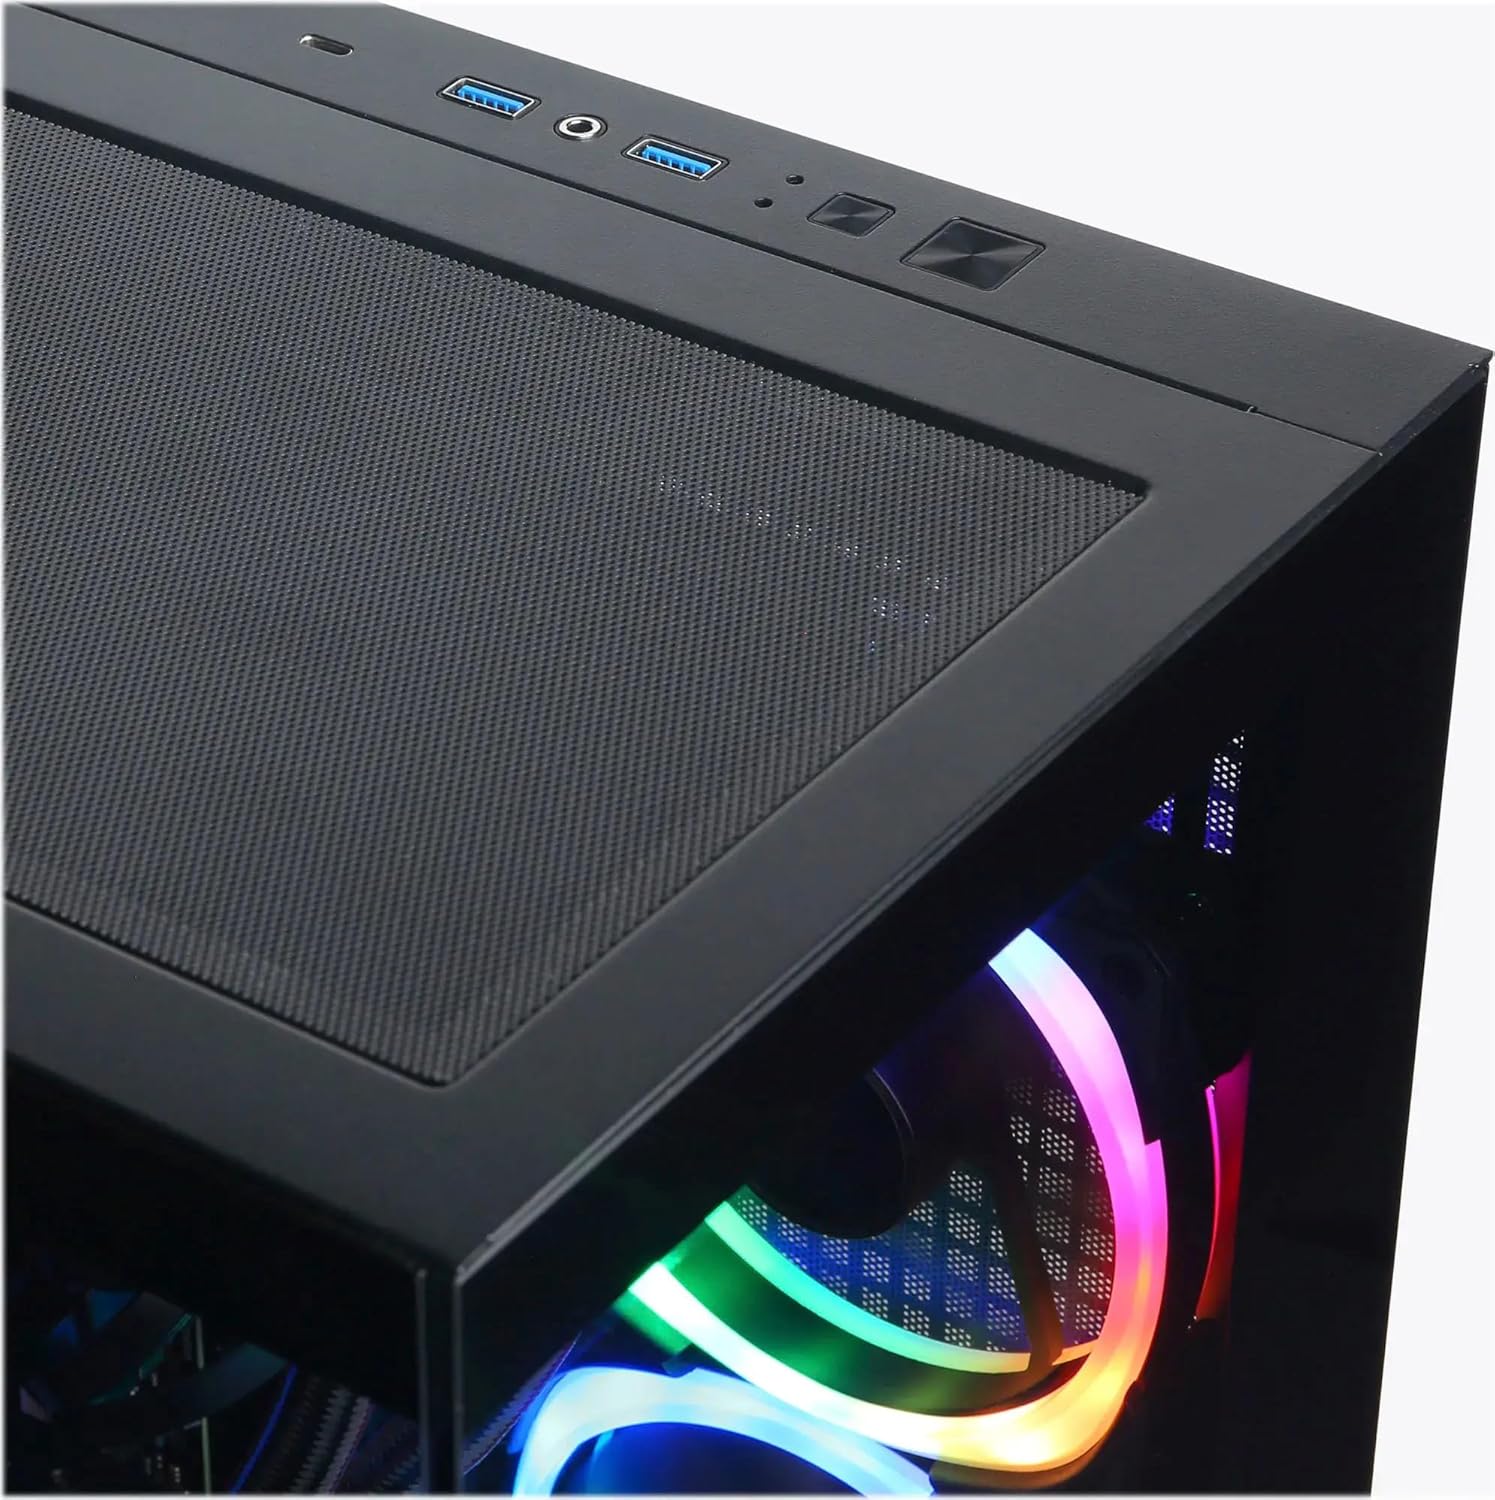
Image: Top I/O panel with USB ports, audio jacks, and power button.
4.3 Initial Boot-Up and Windows Setup
Press the power button located on the top of the case. The system will boot into Windows 11 Home. Follow the on-screen instructions to complete the initial Windows setup, including language, region, network connection, and user account creation.
5. Çalıştırma
5.1 Güç Açma/Kapatma
- Güç Açık: Press the power button on the top of the PC.
- Kapat: Click the Start button in Windows, then select Power > Shut down. Avoid directly holding the power button to shut down, as this can lead to data loss or system instability.
- Tekrar başlat: Windows'ta Başlat düğmesine tıklayın, ardından Güç > Yeniden Başlat'ı seçin.
5.2 Understanding I/O Ports
Your PC is equipped with various ports for connectivity:
- USB 3.1 Tip-C: 1 (Front) - For high-speed data transfer and compatible devices.
- USB 3.1 Tip-A: 5 (2 Front, 3 Rear) - For general USB devices like keyboards, mice, and external drives.
- USB 2.0: 2 (Rear) - For older USB devices or peripherals that do not require high-speed data.
- RJ45 LAN: 1 (Rear) - For wired Ethernet network connection.
- Ses Bağlantı Noktaları: 3 (Rear - Speaker / Microphone / Line In), 1 (Front - Headphone/Microphone Combo) - For audio input/output.
- HDMI2.1: 1 (Graphics Card) - For connecting to displays.
- Ekran Bağlantı Noktası 2.1: 3 (Graphics Card) - For connecting to displays.
5.3 RGB Aydınlatma Kontrolü
Your system features custom RGB lighting. Control software for the RGB lighting may be pre-installed or available for download from the CyberpowerPC website. Refer to the software's instructions for customizing lighting effects and colors.
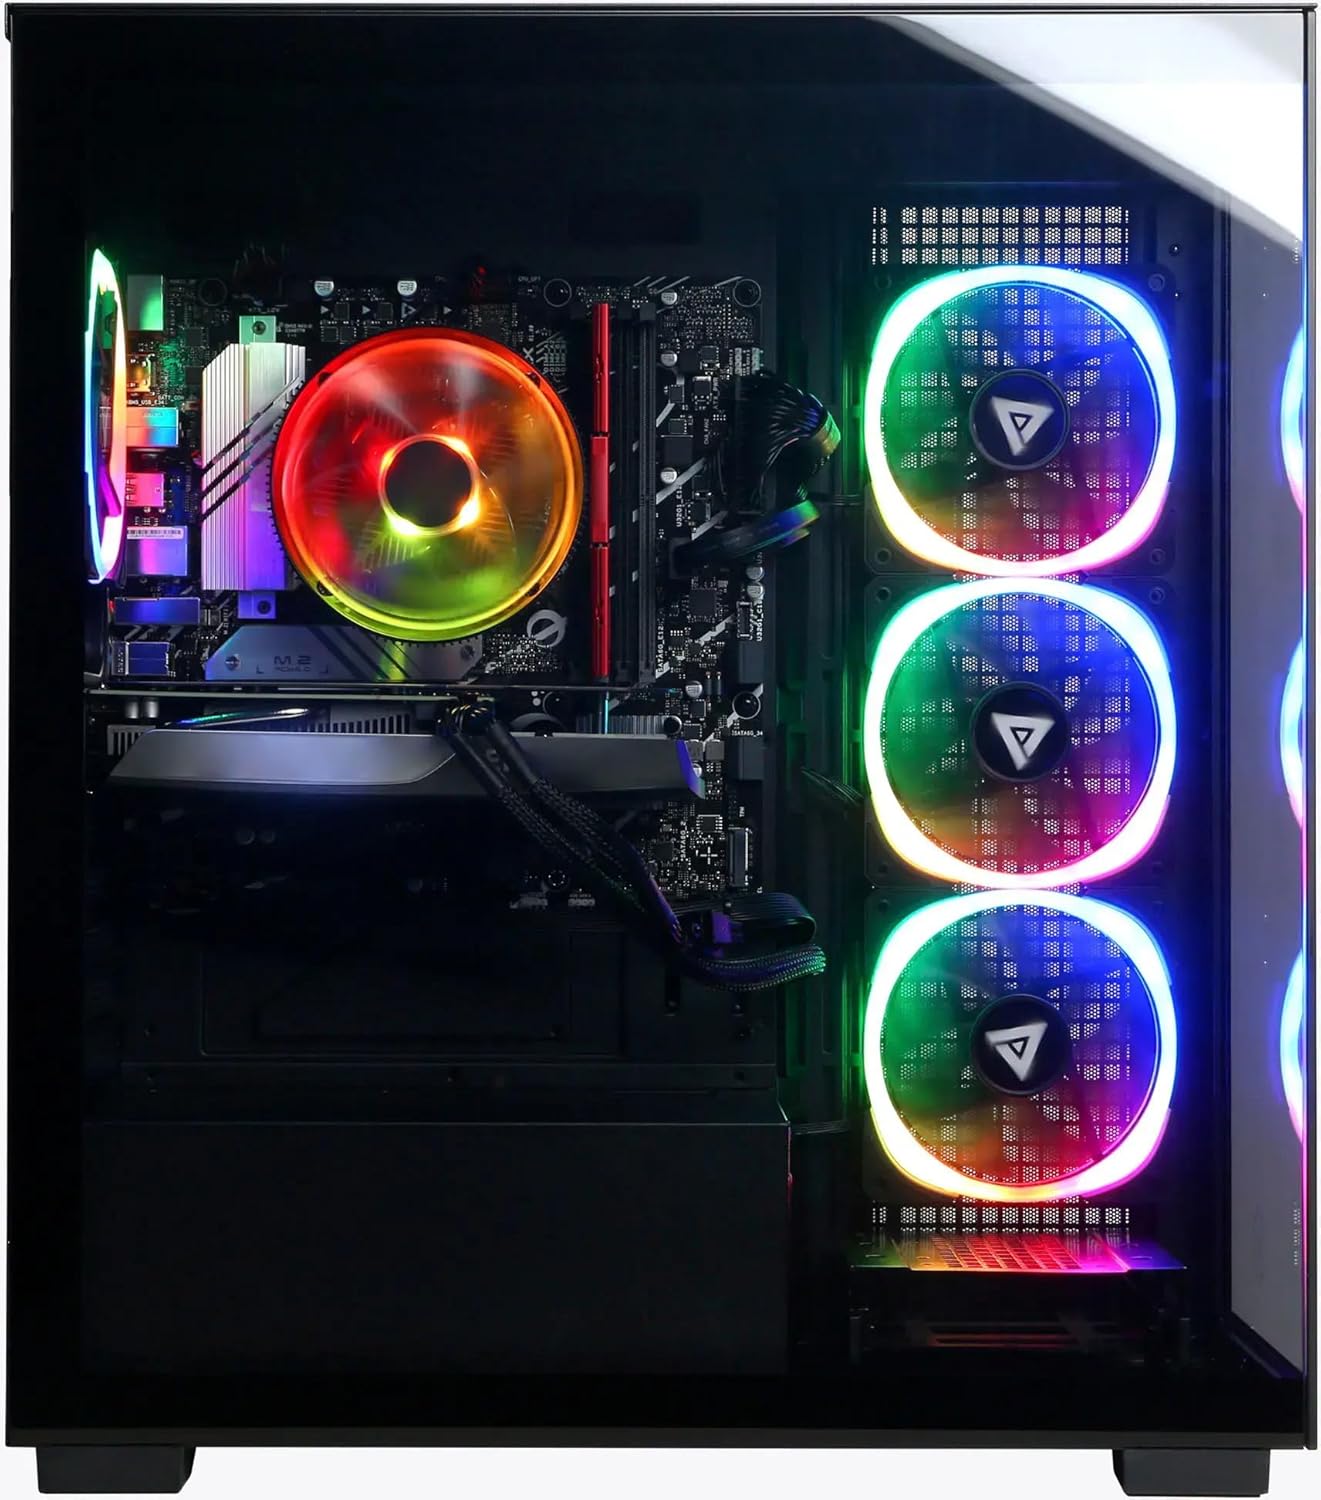
Resim: Ön ve yan view PC gösterisininasinÖzelleştirilebilir RGB aydınlatması.
6. Bakım
6.1 Temizlik
- Dış: Yumuşak bir d kullanınamp cloth to clean the exterior of the case. Avoid harsh chemicals.
- Toz: Periodically clean dust from the ventilation grilles and internal components using compressed air. Ensure the PC is powered off and unplugged before cleaning.
6.2 Yazılım Güncellemeleri
Regularly update your operating system (Windows Update), graphics drivers (NVIDIA website), and other software to ensure optimal performance and security.
6.3 Havalandırma
Ensure the PC has unobstructed airflow. Do not place the computer in an enclosed space or directly against a wall. Proper ventilation is crucial for preventing overheating and maintaining component lifespan.
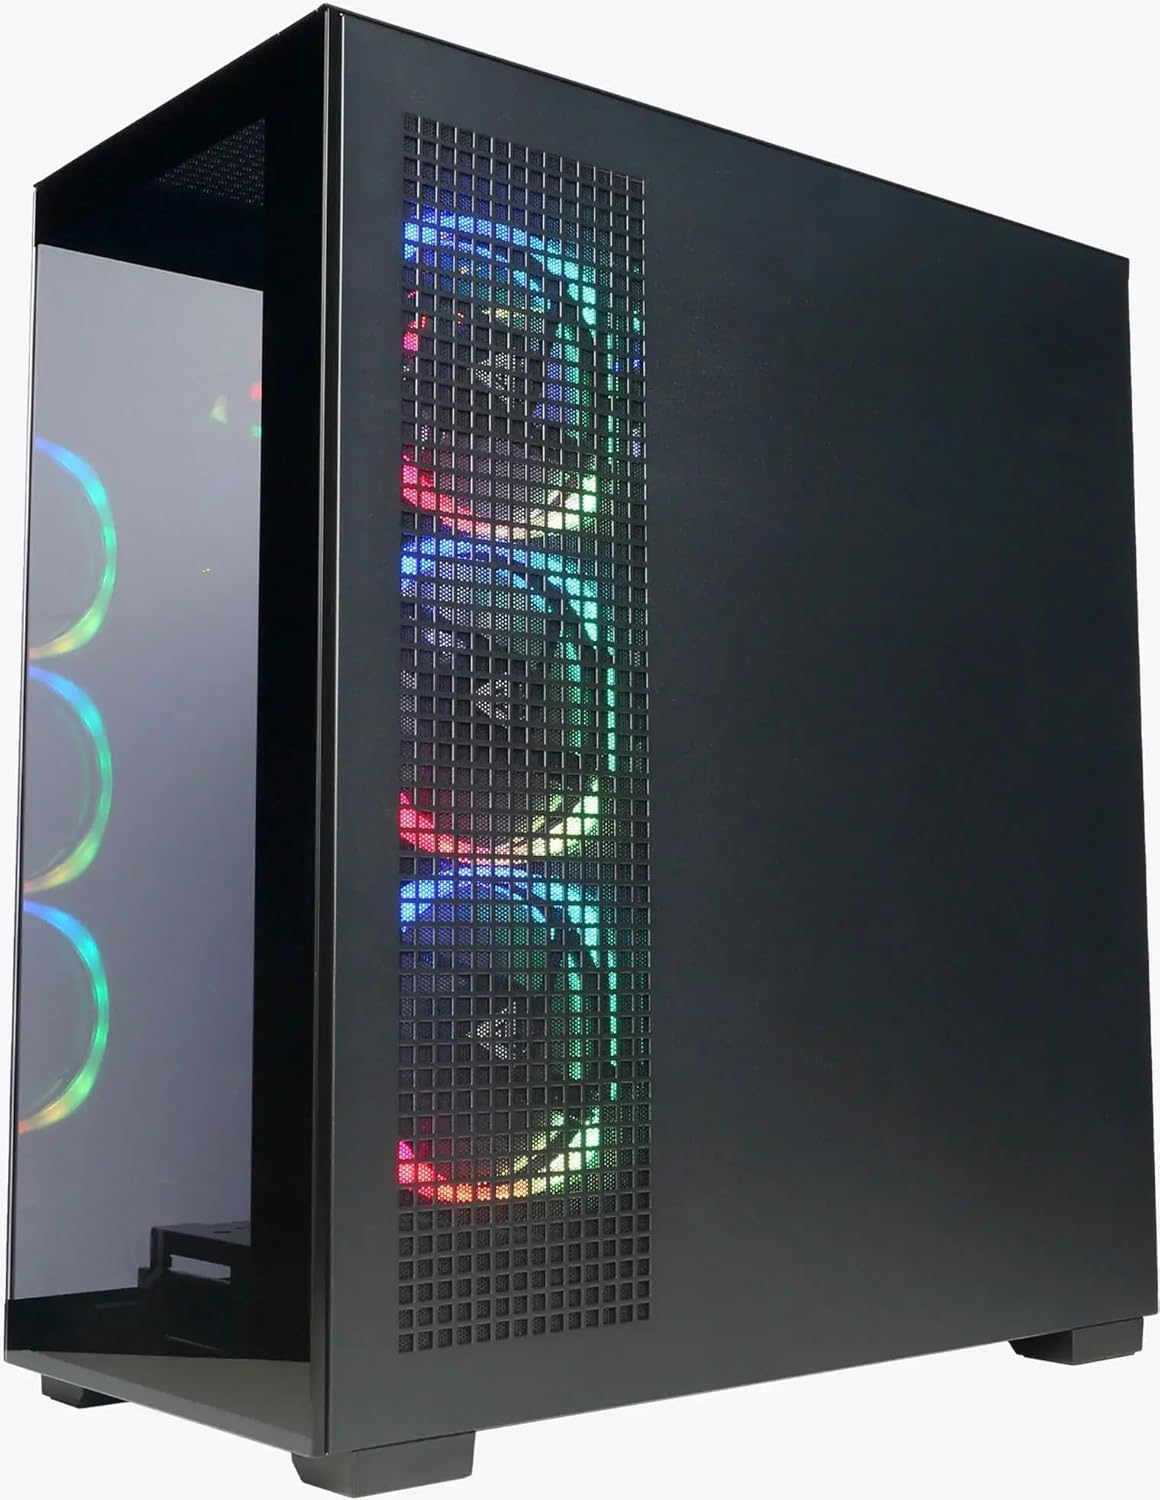
Resim: Yan view of the PC highlighting the mesh ventilation panel for airflow.
7. Sorun Giderme
If you encounter issues with your CyberpowerPC, consider the following basic troubleshooting steps:
- Güç Yok:
- Güç kablosunun hem bilgisayara hem de duvar prizine güvenli bir şekilde bağlı olduğundan emin olun.
- Verify the power switch on the PSU (at the back of the PC) is in the 'On' position.
- Başka bir elektrik prizini deneyin.
- Görüntü yok:
- Confirm the monitor is powered on and connected to the graphics card's output (HDMI or DisplayPort), not the motherboard's video output.
- Mümkünse farklı bir video kablosu veya monitör deneyin.
- Monitör giriş kaynağının doğru seçildiğinden emin olun.
- İnternet bağlantısı yok:
- For wired connections, check if the Ethernet cable is properly connected and your router/modem is working.
- For Wi-Fi, ensure Wi-Fi is enabled in Windows and you are connected to the correct network with the correct password.
- Check device drivers for network adapters in Device Manager.
- Sistem Yavaşlaması/Donması:
- Bilgisayarı yeniden başlatın.
- Check for background applications consuming excessive resources (Task Manager).
- Windows ve sürücülerin güncel olduğundan emin olun.
- Virüs/kötü amaçlı yazılım taraması yapın.
If these steps do not resolve the issue, please contact CyberpowerPC customer support.
8. Özellikler
| Bileşen | Detay |
|---|---|
| İşlemci | Intel Core Ultra 5 225F (3.3GHz base, Max 4.9GHz) |
| Anakart | Intel B860 Yonga Seti |
| Hafıza | 64GB DDR5 RAM |
| Depolamak | 2TB PCIe 4.0 NVMe SSD |
| Grafik Kartı | NVIDIA GeForce RTX 5060 8GB GDDR5 |
| İşletim Sistemi | Windows 11 Ev |
| Bağlantı | Wi-Fi 6, Bluetooth 5.3, 10/100/1000 Gigabit Ethernet LAN |
| G/Ç Bağlantı Noktaları (Ön) | 1x USB 3.1 Type-C, 2x USB 3.1 Type-A, 1x Headphone/Microphone Combo |
| G/Ç Bağlantı Noktaları (Arka) | 3x USB 3.1 Type-A, 2x USB 2.0, 1x RJ45 LAN, 3x Audio Ports (Speaker/Mic/Line In) |
| Video Çıkışları | 1x HDMI 2.1, 3x DisplayPort 2.1 (from Graphics Card) |
| CPU Soğutma | Air Cool |
| Güç Kaynağı | 600W 80 Plus Gold |
| Boyutlar (Y x G x D) | 19.9" x 8.6" x 17.7" (50.5 cm x 21.8 cm x 44.9 cm) |
| Ağırlık | 35 Pound (15.88 kg) |
9. Garanti ve Destek
9.1 Ürün Garantisi
Your CyberpowerPC Gamer Xtreme VR Gaming PC comes with a standard manufacturer's warranty. The specific terms and duration of the warranty are typically outlined in the documentation included with your product or available on the official CyberpowerPC webLütfen garanti talepleriniz için satın alma belgenizi saklayın.
9.2 Teknik Destek
For technical assistance, troubleshooting beyond this manual, or warranty inquiries, please contact CyberpowerPC customer support:
- Webalan: Visit the official CyberpowerPC webDestek kaynakları, SSS, sürücü indirmeleri ve iletişim bilgileri için site.
- Telefon/E-posta: Refer to the contact details provided on the CyberpowerPC support page.
Additional protection plans may be available for purchase, offering extended coverage. Refer to your purchase details for information on any such plans.