
1. Giriş
The Hello Kitty Sunrise Alarm Clock is designed to provide a gentle and natural waking experience with its sunrise simulation feature. This digital alarm clock includes multicolor lights, an LED display showing time, date, and temperature, a USB charging port, and a convenient snooze function. Its charming Cinnamoroll design adds a whimsical touch to any room.

Image 1: Hello Kitty Cinnamoroll Sunrise Alarm Clock with multicolor lighting.
2. Güvenlik Bilgileri
- Cihazı aşırı sıcaklıklara, doğrudan güneş ışığına veya yüksek neme maruz bırakmayın.
- Yalnızca ürünle birlikte verilen USB güç kablosunu veya onaylı bir eşdeğerini kullanın.
- Cihazı su veya diğer sıvılardan uzak tutun.
- Cihazı kendiniz sökmeye veya onarmaya çalışmayın. Yetkili servis personeliyle iletişime geçin.
- Cihazın sabit, düz bir yüzeye yerleştirildiğinden emin olun.
3. Paket İçeriği
Lütfen paketi aşağıdaki öğeler açısından kontrol edin:
- Hello Kitty Sunrise Alarm Clock (Cinnamoroll design)
- USB Güç Kablosu
- Kullanım Kılavuzu (bu belge)
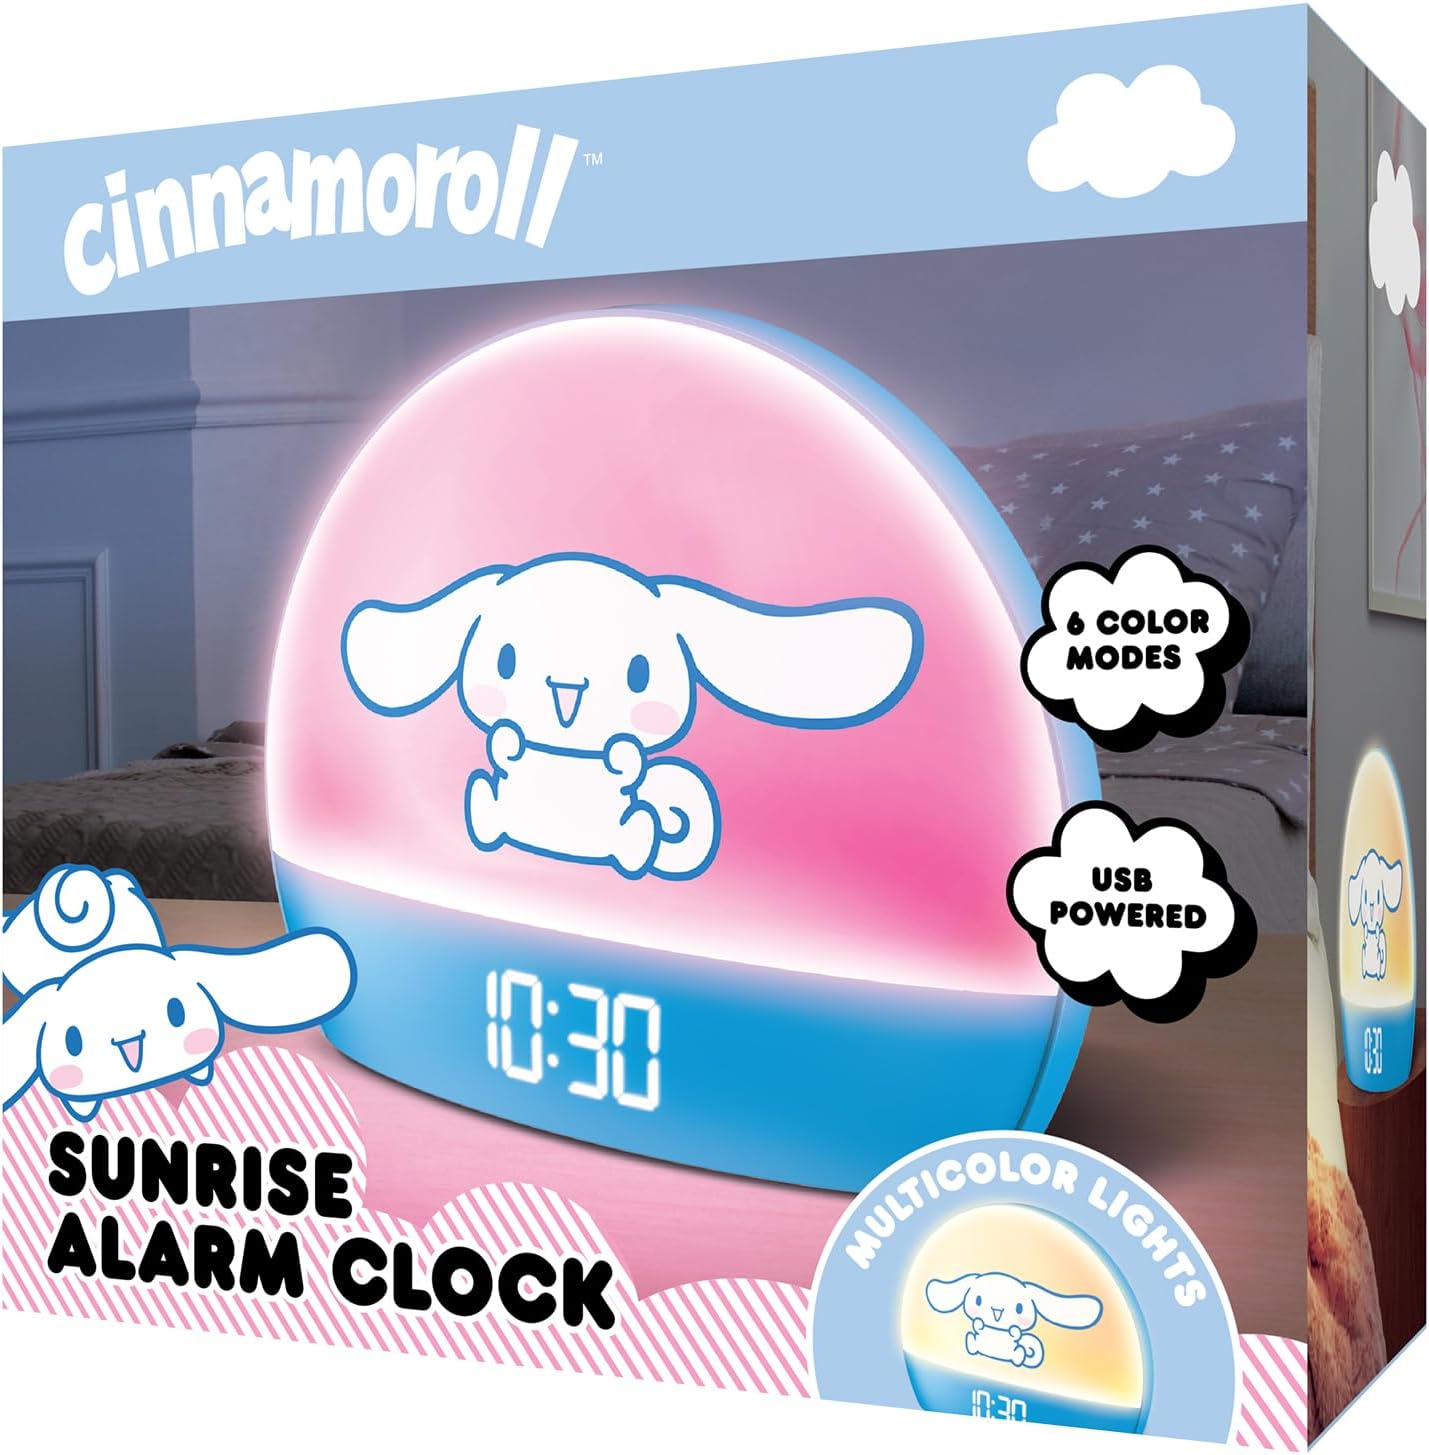
Image 2: Front packaging of the Hello Kitty Cinnamoroll Sunrise Alarm Clock.
4. Ürün Bittiview
Çalar saatinizin temel bileşenlerini tanıyın.
- LED ekran: Saati, tarihi ve sıcaklığı gösterir.
- Işık Paneli: Emits multicolor and sunrise simulation lights.
- Kontrol Düğmeleri: Located on the back or bottom for setting time, alarm, and light functions.
- USB Şarj Noktası: For powering the device and charging external devices.
- Erteleme Düğmesi: Typically a prominent button on the top or front.

Image 3: Hello Kitty Cinnamoroll Sunrise Alarm Clock in a bedroom setting.
5. Kurulum
5.1 Güç Bağlantısı
- Connect the provided USB power cable to the USB port on the back of the alarm clock.
- USB kablosunun diğer ucunu uyumlu bir USB güç adaptörüne (dahil değildir) veya güç sağlanan bir USB bağlantı noktasına takın.
- The LED display will light up, indicating the device is powered on.
5.2 Saat ve Tarihin Ayarlanması
Specific button names are not provided, so general instructions are given. Refer to the physical device for exact button labels.
- Press the "SET" or "TIME" button to enter time setting mode.
- Use the "UP" and "DOWN" buttons to adjust the hour. Press "SET" again to confirm.
- Adjust the minute using "UP" and "DOWN" buttons. Press "SET" to confirm.
- Yılı, ayı ve günü ayarlamak için bu işleme devam edin.
- The clock may offer 12-hour or 24-hour format selection. Follow on-screen prompts or consult the device's specific button functions.
6. Kullanım Talimatları
6.1 Alarmı Ayarlama
- Press the "ALARM" button to enter alarm setting mode.
- Use "UP" and "DOWN" buttons to set the desired alarm hour. Press "ALARM" to confirm.
- Adjust the alarm minute. Press "ALARM" to confirm.
- Some models may allow setting alarm volume or sound. Follow prompts if available.
- To activate/deactivate the alarm, look for an "ALARM ON/OFF" button or a toggle within the alarm setting menu.
6.2 Gün Doğumu Simülasyonu
The sunrise simulation feature gradually increases light intensity before your set alarm time, mimicking a natural sunrise.
- This feature is typically linked to the alarm function. When the alarm is active, the light will begin to brighten a set period (e.g., 30 minutes) before the alarm sounds.
- Consult the device's specific controls for adjusting the duration or intensity of the sunrise simulation, if applicable.
6.3 Çok Renkli Işık
The clock offers various color modes for ambient lighting.
- Press the "LIGHT" or "COLOR" button to cycle through different color options or activate a color-changing mode.
- Press and hold the "LIGHT" button to turn off the ambient light.
- Brightness of the display and ambient light can often be adjusted using dedicated buttons or by holding the "LIGHT" button.
6.4 Erteleme İşlevi
When the alarm sounds, press the large "SNOOZE" button (usually on top) to temporarily pause the alarm. The alarm will sound again after a short interval (e.g., 5-10 minutes).
6.5 USB Şarj Portu
The integrated USB port can be used to charge small electronic devices like smartphones or tablets. Simply connect your device's charging cable to the USB port on the alarm clock.
6.6 Sıcaklık Ekranı
The LED display shows the current room temperature. No specific action is usually required to view this, as it cycles with time and date or is displayed continuously.
7. Bakım
- Saati yumuşak, kuru bir bezle temizleyin. Aşındırıcı temizleyiciler veya çözücüler kullanmayın.
- Ensure the USB port is free from dust and debris.
- Saati uzun süre kullanmadığınız zamanlarda serin ve kuru bir yerde saklayın.
8. Sorun Giderme
| Sorun | Olası Neden | Çözüm |
|---|---|---|
| Saat açılmıyor. | USB cable not connected properly or power source issue. | Check USB cable connection. Try a different USB power adapter or port. Ensure the cable is securely inserted. |
| Time is incorrect or drifts. | Time not set correctly or internal clock issue. | Re-set the time following Section 5.2. If the issue persists, try disconnecting and reconnecting power. |
| Alarm çalmıyor. | Alarm etkinleştirilmemiş veya yanlış ayarlanmış. | Verify the alarm is set and activated (check for an alarm icon on the display). Ensure the volume is not set to zero if adjustable. |
| Düğmeler yanıt vermiyor. | Temporary software glitch or physical button issue. | Disconnect power for a few seconds and reconnect to reset the device. If buttons remain unresponsive, contact support. |
| USB şarj portu çalışmıyor. | Cable issue, device not fully powered, or port malfunction. | Ensure the clock is properly powered. Try a different USB charging cable. Check if the port is clean and free of debris. |
9. Özellikler
| Marka | Merhaba kedi |
| Model Numarası | HKCLK01CR-MFN |
| Renk | Tarçınlı rulo |
| Görüntü Türü | Dijital |
| Özel Özellikler | Adjustable Brightness, Alarm, Charging Port, LED Display, Temperature Display, Sunrise Simulation, Multicolor Lights |
| Ürün Boyutları | 7"G x 6"Y |
| Güç Kaynağı | Kablolu Elektrik (USB) |
| Malzeme | Plastik |
| Ürün Ağırlığı | 0.4 Kilogram (14 ons) |
| Bağlantı Teknolojisi | USB |
| Üretici | Güney Telekom |
10. Garanti ve Destek
For warranty information or technical support, please refer to the contact details provided on the product packaging or visit the official Hello Kitty product support webalan. Garanti talepleri için satın alma makbuzunuzu saklayın.