
1. Giriş
This manual provides detailed instructions for the installation, operation, and maintenance of your Luowice Solar Security Camera. This wireless outdoor camera features a 3W solar panel for continuous power, 360° pan and tilt functionality, 3MP color night vision, and is designed to be weatherproof for reliable outdoor use. Please read this manual thoroughly before use to ensure proper setup and functionality.

Image 1.1: Luowice Solar Security Camera with integrated solar panel.
2. Ürün Bittiview
2.1 Temel Özellikler
- 100% Wire-Free Setup: Operates on WiFi and powered by a 3W solar panel, eliminating the need for frequent battery charging and complex wiring.
- Geniş Açı Kapsama: Offers 355° horizontal and 90° vertical rotation for comprehensive area monitoring via the O-KAM PRO app.
- 3MP Color Night Vision: Provides clear, high-resolution video day and night, including full-color night vision with floodlights.
- Motion-Triggered Floodlights & Auto Tracking: Automatically activates floodlights and tracks human-shaped objects upon detection, enhancing security.
- İki Yönlü Ses: Allows real-time communication with visitors or deterrence of intruders.
- Yerel ve Bulut Depolama: Supports micro SD card (up to 128GB, not included) for 24/7 loop recording and optional cloud storage services.
- Hava koşullarına dayanıklı tasarım: IP66 rated, ensuring reliable performance in various severe weather conditions.
- Multi-User Sharing & Data Encryption: Securely share camera access with family members with advanced encryption.
2.2 Bileşenler
Paket genellikle şunları içerir:
- Luowice Solar Security Camera
- 3W Solar Panel (integrated or separate with mounting bracket)
- Montaj Braketi ve Vidaları
- USB Şarj Kablosu
- Kullanıcı Kılavuzu
3. Kurulum Talimatları
3.1 Pilin Şarj Edilmesi
Before initial use, fully charge the camera's internal battery using the provided USB cable. Connect the cable to the camera's charging port and a standard 5V USB power adapter (not included). The indicator light will show charging status.
3.2 Uygulama Yükleme ve Hesap Oluşturma
- İndir O-KAM PRO Akıllı telefonunuzun uygulama mağazasından (iOS veya Android) uygulamayı indirin.
- Uygulamayı açın ve yeni bir hesap oluşturmak için ekrandaki talimatları izleyin veya zaten bir hesabınız varsa giriş yapın.
3.3 Kamerayı Wi-Fi'ye Bağlama
- In the O-KAM PRO app, tap the "+" icon to add a new device.
- İstenirse kamera modelinizi seçin veya kameradaki QR kodunu tarayın.
- Follow the app's instructions to connect the camera to your 2.4 GHz Wi-Fi network. Ensure your phone is connected to the same 2.4 GHz network during setup.
- Once connected, the camera's indicator light will change, and you will receive a confirmation in the app.

Image 3.1: The camera supports 2.4 GHz Wi-Fi for stable data transmission.
3.4 Kamerayı Monte Etme
Choose a location with optimal sunlight exposure for the solar panel and a clear view of the area you wish to monitor. Ensure the camera is within range of your Wi-Fi network.
- Montaj braketini şablon olarak kullanarak delme yerlerini işaretleyin.
- Gerekirse delikler açın ve duvar dübelleri yerleştirin.
- Montaj braketini vidalarla duvara sabitleyin.
- Attach the camera to the mounting bracket. Adjust the angle of the solar panel to maximize sunlight exposure.

Image 3.2: Camera mounted outdoors, demonstrating continuous solar power.
4. Kullanım Talimatları
4.1 Canlı View ve Pan/Tilt Kontrolü
Open the O-KAM PRO app and select your camera to access the live view. Use the on-screen controls to pan (355° horizontal) and tilt (90° vertical) the camera to adjust its viewaçı.

Image 4.1: Remote pan and tilt control via the O-KAM PRO app.
4.2 İki Yönlü Ses
canlı yayından view, tap the microphone icon to speak through the camera's speaker. Tap the speaker icon to listen to audio from the camera's vicinity.

Image 4.2: Demonstrating two-way audio communication.
4.3 Hareket Algılama ve Uyarılar
The camera features advanced motion detection with human shape recognition. When motion is detected, the camera can automatically turn on floodlights, track the object, and send instant alerts to your phone.
- Setting Detection Sensitivity: In the app settings, adjust the detection sensitivity to minimize false alarms.
- Defining Detection Zones: Create specific detection zones to focus monitoring on critical areas and ignore irrelevant movements.
- Uyarılar: Receive instant app notifications and email alerts when motion is detected.

Image 4.3: Motion detection with intelligent recognition for humans, vehicles, and pets.

Image 4.4: Configuring custom motion detection zones.
4.4 Kayıt ve Depolama
Kamera iki temel depolama yöntemini destekler:
- Mikro SD kart: Insert a micro SD card (up to 128GB, not included) into the designated slot for continuous 24/7 loop recording, even without network access.
- Bulut Depolama: Optional cloud storage services are available through the O-KAM PRO app for secure, remote access to your footage.

Image 4.5: Micro SD card slot for local storage.
5. Bakım
5.1 Temizlik
- Kamera lensini ve güneş panelini düzenli olarak yumuşak bir bezle silin.amp cloth to remove dust and debris. This ensures optimal image clarity and solar charging efficiency.
- Sert kimyasallar veya aşındırıcı temizleyiciler kullanmayın.
5.2 Hava Koruması
The camera is IP66 weatherproof, designed to withstand rain, snow, and dust. However, extreme weather conditions may temporarily affect performance. Ensure all ports are securely sealed.
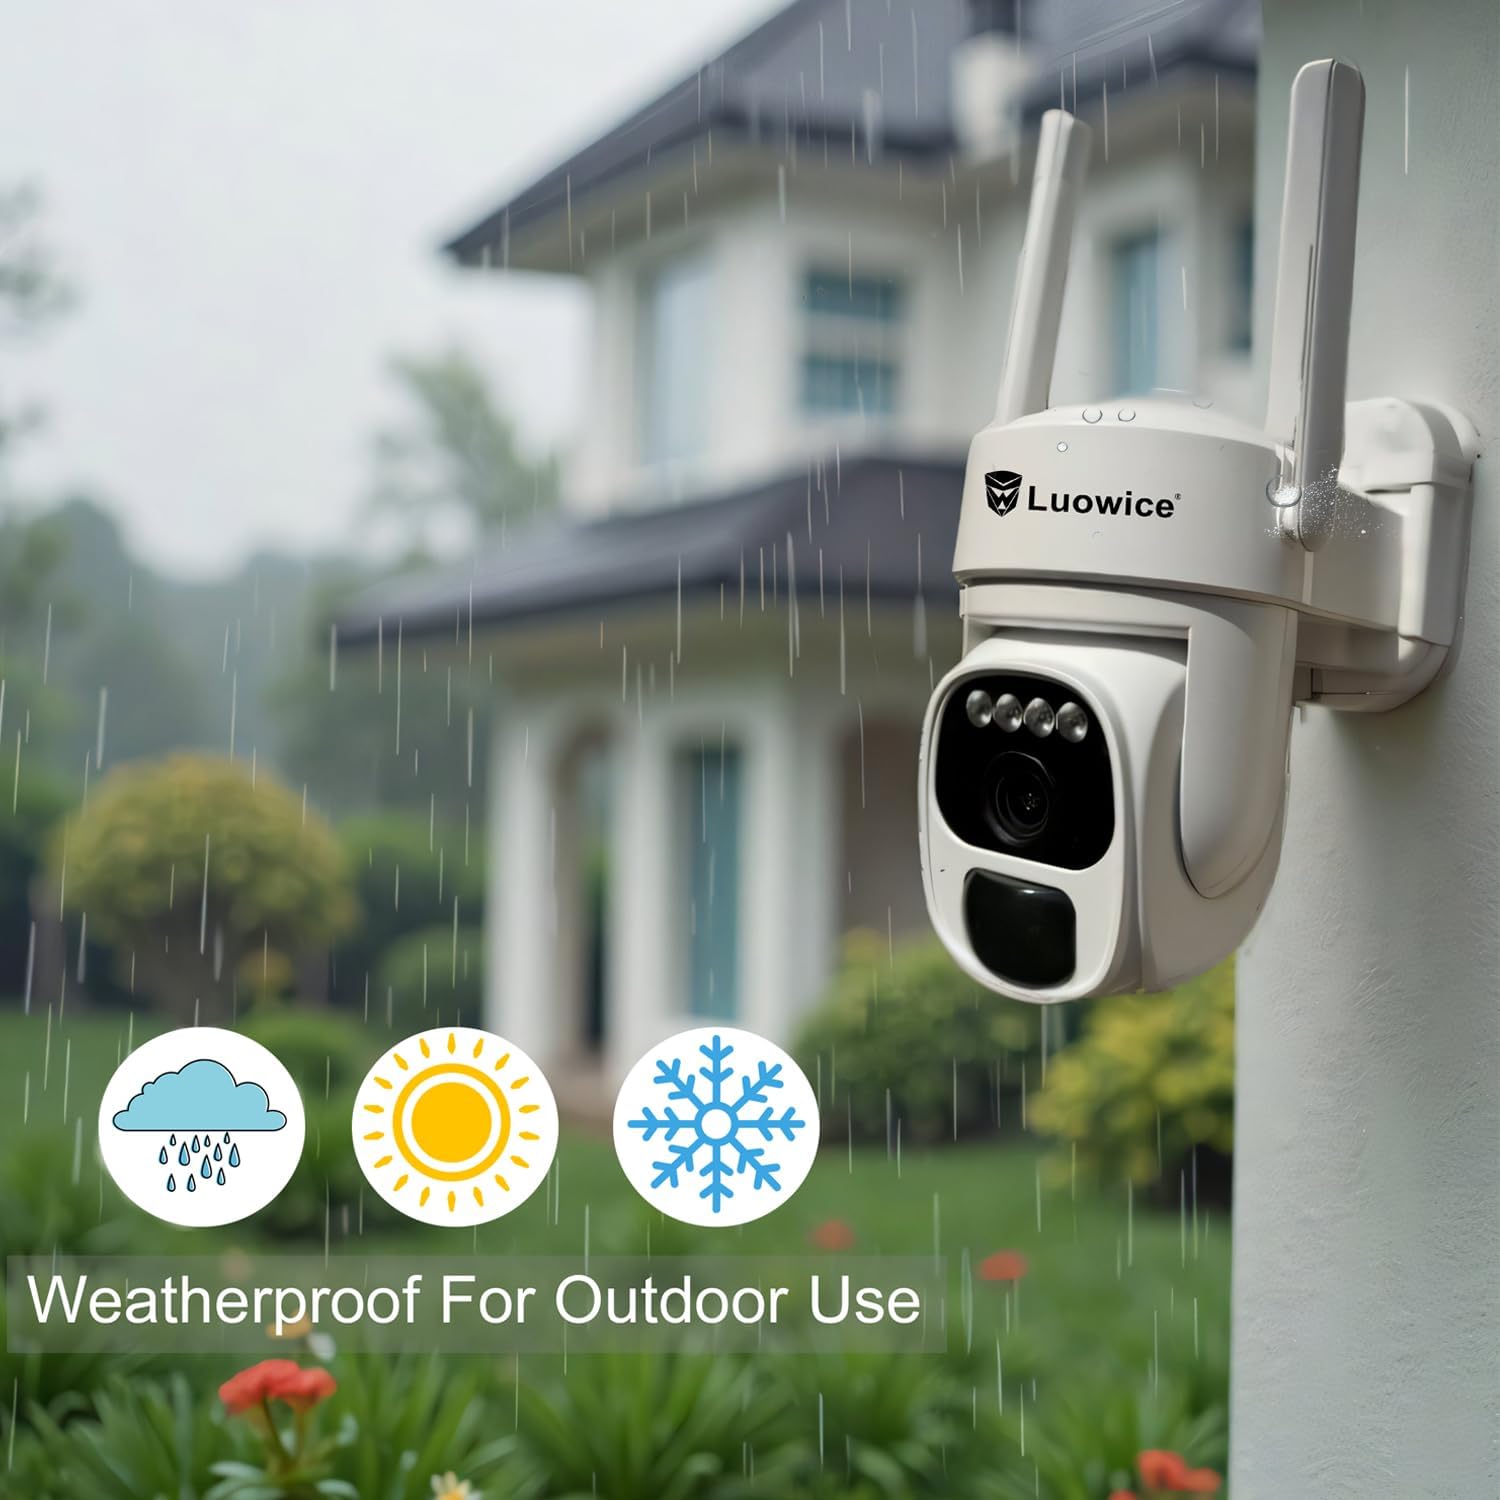
Image 5.1: The camera's weatherproof design for outdoor use.
6. Sorun Giderme
- Kamera Wi-Fi'ye bağlanmıyor: Ensure your Wi-Fi is 2.4 GHz. Check Wi-Fi signal strength at the camera's location. Restart your router and the camera.
- Pil şarj olmuyor: Verify the solar panel is clean and receiving direct sunlight. Check the USB charging cable connection. Ensure the ambient temperature is within the operating range for charging.
- Kötü video kalitesi: Clean the camera lens. Ensure adequate lighting. Check your internet connection speed.
- Yanlış hareket uyarıları: Uygulama üzerinden hareket algılama hassasiyetini ayarlayın. İlgisiz alanları hariç tutmak için belirli algılama bölgeleri tanımlayın.
- Pan/Tilt not responding: Check app connectivity. Ensure there are no physical obstructions. Restart the camera.
7. Özellikler
| Özellik | Şartname |
|---|---|
| Video Yakalama Çözünürlüğü | 3 MP |
| Güç Kaynağı | Güneş Enerjili (3W Güneş Paneli) |
| Bağlantı Protokolü | Wi-Fi (2.4 GHz) |
| Pan/Tilt Aralığı | 355° Yatay, 90° Dikey |
| Gece Görüşü | Color Night Vision with Floodlights |
| Depolama Seçenekleri | Mikro SD Kart (128 GB'a kadar), Bulut Depolama |
| Hava koşullarına dayanıklılık | IP66 |
| Piller Gerekli | 1 Lityum İyon pil (dahil) |
| Ürün Ağırlığı | 1.85 pound |
| Boyutlar | 7.87 x 6.18 x 5.55 inç (Paket) |
| Uyumlu Cihazlar | Akıllı Telefonlar, Tabletler, Bilgisayarlar |
8. Garanti ve Destek
8.1 Garanti Bilgileri
Luowice products typically come with a manufacturer's warranty. Please refer to the product packaging or the official Luowice website for specific warranty terms and conditions. Optional extended protection plans may be available for purchase.
8.2 Müşteri Desteği
For technical assistance, troubleshooting, or warranty claims, please contact Luowice customer support through their official website or the contact information provided with your product. When contacting support, please have your product model (B0DF4TVZ7Z) and purchase details ready.