
1. Giriş
This manual provides detailed instructions for the installation, operation, and maintenance of your Garosa Battery Voltage Meter. This device is designed to accurately monitor battery capacity and voltage, featuring a clear LED digital display for various battery types including Lithium and Lead-Acid batteries.
2. Güvenlik Bilgileri
- Always ensure the power supply is disconnected before installation or maintenance to prevent electrical shock.
- Maksimum giriş volümünü aşmayıntag120V DC'nin e'si.
- Fiziksel hasarlardan kaçınmak için cihazı dikkatli kullanın.
- Cihazı nemden, aşırı sıcaklıklardan ve aşındırıcı ortamlardan uzak tutun.
- Ensure proper wiring connections as indicated in the setup section to prevent damage to the meter or battery.
3. Paket İçeriği
Paket şunları içerir:
- 1 x Garosa Battery Voltage Sayaç
4. Ürün Bittiview
The Garosa Battery Voltage Meter is a compact and stable device designed for accurate battery monitoring. It features a high-definition LED screen for clear display of voltage and battery capacity percentage.
Temel Özellikler:
- High-definition LED Screen: Provides a clear and bright display from all viewaçıları.
- Accurate Remaining Capacity: Directly displays battery capacity sign and percentage.
- Battery Capacity Monitor: Tracks battery capacity and voltage.
- Geniş Uyumluluk: Suitable for various applications including cars, motorcycles, scooters, bikes, power banks, and test equipment.
- Kompakt ve Taşınabilir: Designed for ease of use and high measurement accuracy.
Bileşen Tanımlaması:

Şekil 4.1: Ön view of the Garosa Battery Voltage Meter displaying voltage (örneğin, 51.3V).

Şekil 4.2: Ön view of the Garosa Battery Voltage Meter displaying battery percentage (örneğin, %86).

Şekil 4.3: Arka view of the meter, showing the wiring terminals and battery type selection switches.
5. Kurulum ve Kurulum
Follow these steps for proper installation of the battery voltage metre:
- Montaj: The meter has a size of approximately 47x27x16mm (1.9x1.1x0.6in) and a mounting hole size of approximately 45.5x26.5mm (1.8x1.0in). Ensure you have an appropriate cutout for flush mounting.
- Kablolama:
- Bağlan kırmızı tel to the positive (+) terminal of the battery or power source.
- Bağlan Siyah tel to the negative (-) terminal of the battery or power source.
- Ensure connections are secure and insulated to prevent short circuits.
- Pil Tipi Seçimi: Refer to the labels on the back of the meter (Figure 4.3) to select the correct battery type and voltage range using the internal switches. Options typically include 12V, 24V, 48V, 60V, 72V, 96V for Lithium or Lead-Acid batteries. Incorrect selection may lead to inaccurate readings.
- Güç Açık: Once wired correctly, the meter will power on and display the current voltage and battery capacity.

Şekil 5.1: Dahili view of the meter, showing the circuit board and components. This view is for reference and not for user modification.
6. Kullanım Talimatları
The Garosa Battery Voltage Meter operates automatically once connected to a power source within its specified voltage aralığı.
- Görüntüleme Modları: The meter typically cycles between displaying the current voltage (V) and the battery capacity percentage (%). Some models may have a button on the side (refer to Figure 6.1) to manually switch between these display modes or to adjust settings.
- Ekranın Okunması:
- The large digital numbers indicate the voltage veya yüzdetage.
- The battery icon graphically represents the charge level, with green segments indicating remaining capacity and red indicating depleted capacity.
- İzleme: Continuously monitor the display to keep track of your battery's charge status and voltage. This helps in preventing over-discharge or over-charge, extending battery life.
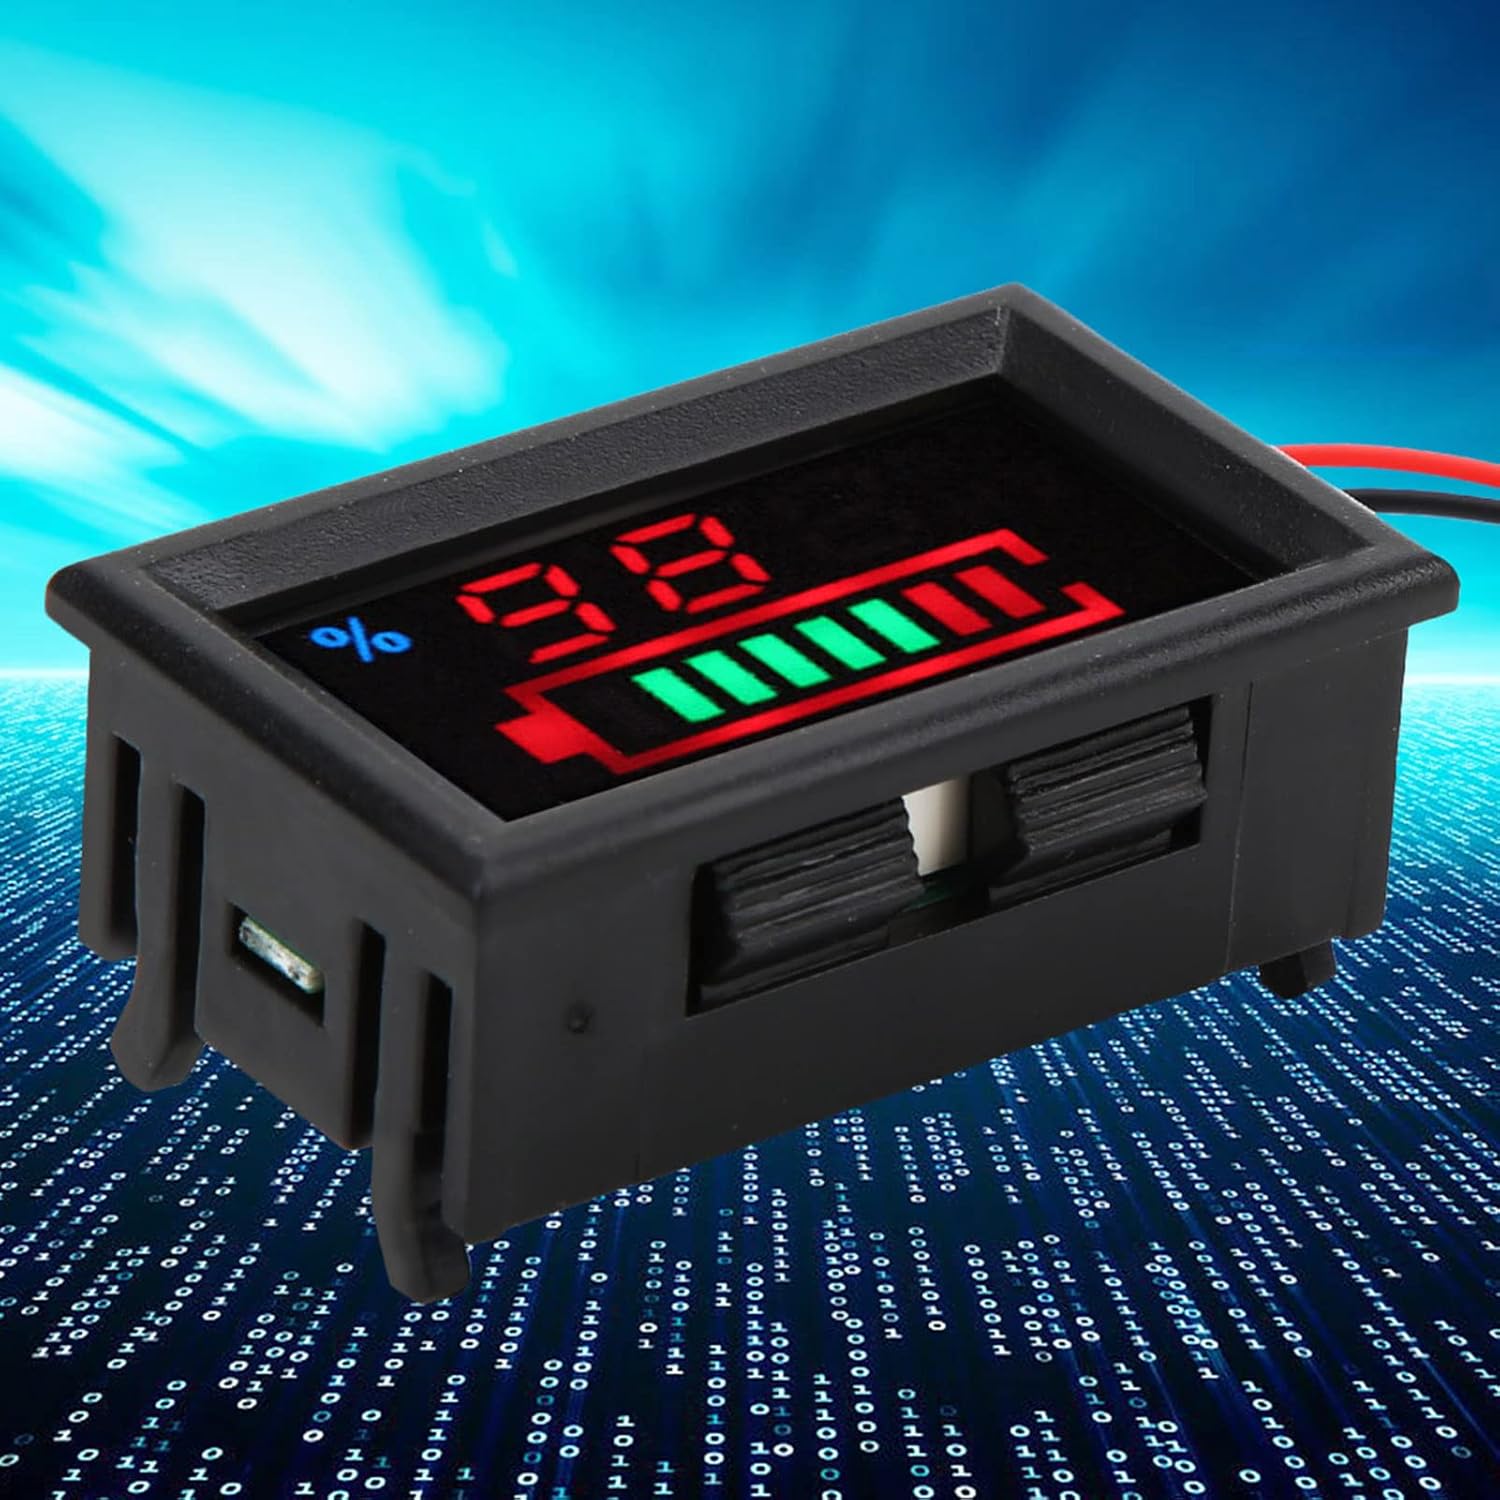
Şekil 6.1: Yan view of the meter, potentially showing a button for display mode selection or calibration.
7. Bakım
To ensure the longevity and accurate performance of your Garosa Battery Voltage Meter, follow these maintenance guidelines:
- Temizlik: Ekranı ve ekranı temizlemek için yumuşak ve kuru bir bez kullanın.asing. Aşındırıcı temizleyiciler veya çözücüler kullanmayın.
- Çevresel Koşullar: Operate and store the meter within the specified working temperature of -10℃ to +65℃ and avoid high humidity (no condensation).
- Bağlantı Kontrolü: Kablo bağlantılarının sağlam ve korozyondan arınmış olduğundan emin olmak için periyodik olarak kontrol edin.
- Etkiden Kaçının: Protect the device from drops or strong impacts.
8. Sorun Giderme
| Sorun | Olası Neden | Çözüm |
|---|---|---|
| No display or meter does not power on. | Incorrect wiring, no power supply, or voltage çalışma aralığının dışında. |
|
| yanlış hacimtage or capacity reading. | Incorrect battery type selection, faulty wiring, or meter malfunction. |
|
| Ekran soluk veya titriyor. | Düşük giriş hacmitage or unstable power supply. |
|
9. Özellikler
| Parametre | Değer |
|---|---|
| Öğe Türü | Pil Monitörü |
| Battery Type (Optional) | Lithium Battery, Lead-Acid Battery |
| Cilttage (İsteğe bağlı) | 12V, 24V, 48V, 60V, 72V, 96V |
| Malzeme | ABS |
| Renk | Resimlerde görüldüğü gibi |
| Boyut | Yaklaşık 47x27x16 mm / 1.9x1.1x0.6 inç |
| Montaj Deliği | Approx. 45.5x26.5mm / 1.8x1.0in |
| Ağırlık | Yaklaşık 15g / 0.5oz |
| Cilttage Ölçüm Aralığı | DC 8~120 V (wide range) |
| Maksimum Giriş Hacmitage | 120V |
| Minimum Resolution Below 100 V | 0.1V |
| Minimum Resolution of 100 V | 1V |
| Energy Resolution | 1% |
| Çalışma Akımı | < 15mA |
| Ekran Görüntüsü | NEDEN OLMUŞ |
| Ölçüm Oranı | > 500 mS / time |
| Cilttage Ölçüm Doğruluğu | 1% |
| Tel Uzunluğu | > 150mm / 5.91in |
| Minimum Tedarik Hacmitage | + 8V |
| Maksimum Arz Hacmitage | + 120V |
| Çalışma Sıcaklığı | -10℃ ~ +65℃ |
| Çalışma Nemi | (yoğunlaşma yok) |
10. Garanti Bilgileri
Garosa products are manufactured to high-quality standards. This product is covered by a standard limited warranty against defects in materials and workmanship from the date of purchase. Please retain your proof of purchase for warranty claims. The warranty does not cover damage caused by improper installation, misuse, unauthorized modifications, or natural disasters.
11. Destek
For technical assistance, troubleshooting, or warranty inquiries, please contact Garosa customer support through your retailer or the official Garosa website. Please have your product model number (Garosa7q5fcr94ae-15) and purchase details ready when contacting support.