
1. Giriş
This manual provides detailed instructions for the installation, operation, maintenance, and troubleshooting of the HUANANZHI B760M D5 PLUS motherboard. Designed for Intel LGA 1700 processors (12th, 13th, and 14th Gen Core CPUs), this motherboard offers robust performance and extensive connectivity for your personal computer build.
2. Güvenlik Bilgileri
Anakartın hasar görmesini veya kendinizin yaralanmasını önlemek için lütfen bu güvenlik yönergelerini dikkatlice okuyun ve uygulayın:
- Herhangi bir bileşeni takmadan veya çıkarmadan önce daima güç kaynağını duvar prizinden çıkarın.
- Anakartı veya diğer bileşenleri tutmadan önce statik elektriği boşaltmak için antistatik bir bileklik takın veya sık sık topraklanmış metal bir nesneye dokunun.
- Hassas parçalara dokunmaktan kaçınmak için anakartı kenarlarından tutun.
- Aşırı ısınmayı önlemek için bilgisayarınızın kasasında yeterli havalandırma olduğundan emin olun.
- Anakartı nemden ve aşırı sıcaklıklardan uzak tutun.
3. Paket İçeriği
Verify that all items are present in your motherboard package. Standard contents typically include:
- HUANANZHI B760M D5 PLUS Motherboard
- SATA Veri Kabloları
- I / O Kalkanı
- M.2 Screw Kit
- Kullanım Kılavuzu (bu belge)
Herhangi bir ürün eksik veya hasarlıysa lütfen satıcınızla iletişime geçin.
4. Ürün Bittiview
The HUANANZHI B760M D5 PLUS motherboard is engineered for high performance and reliability. Key features include:
4.1. DDR5 Dual Channel Memory Support
The motherboard supports DDR5 memory in a dual-channel configuration, allowing for high-speed data transfer and up to 96GB capacity. This ensures efficient multitasking and demanding application performance.
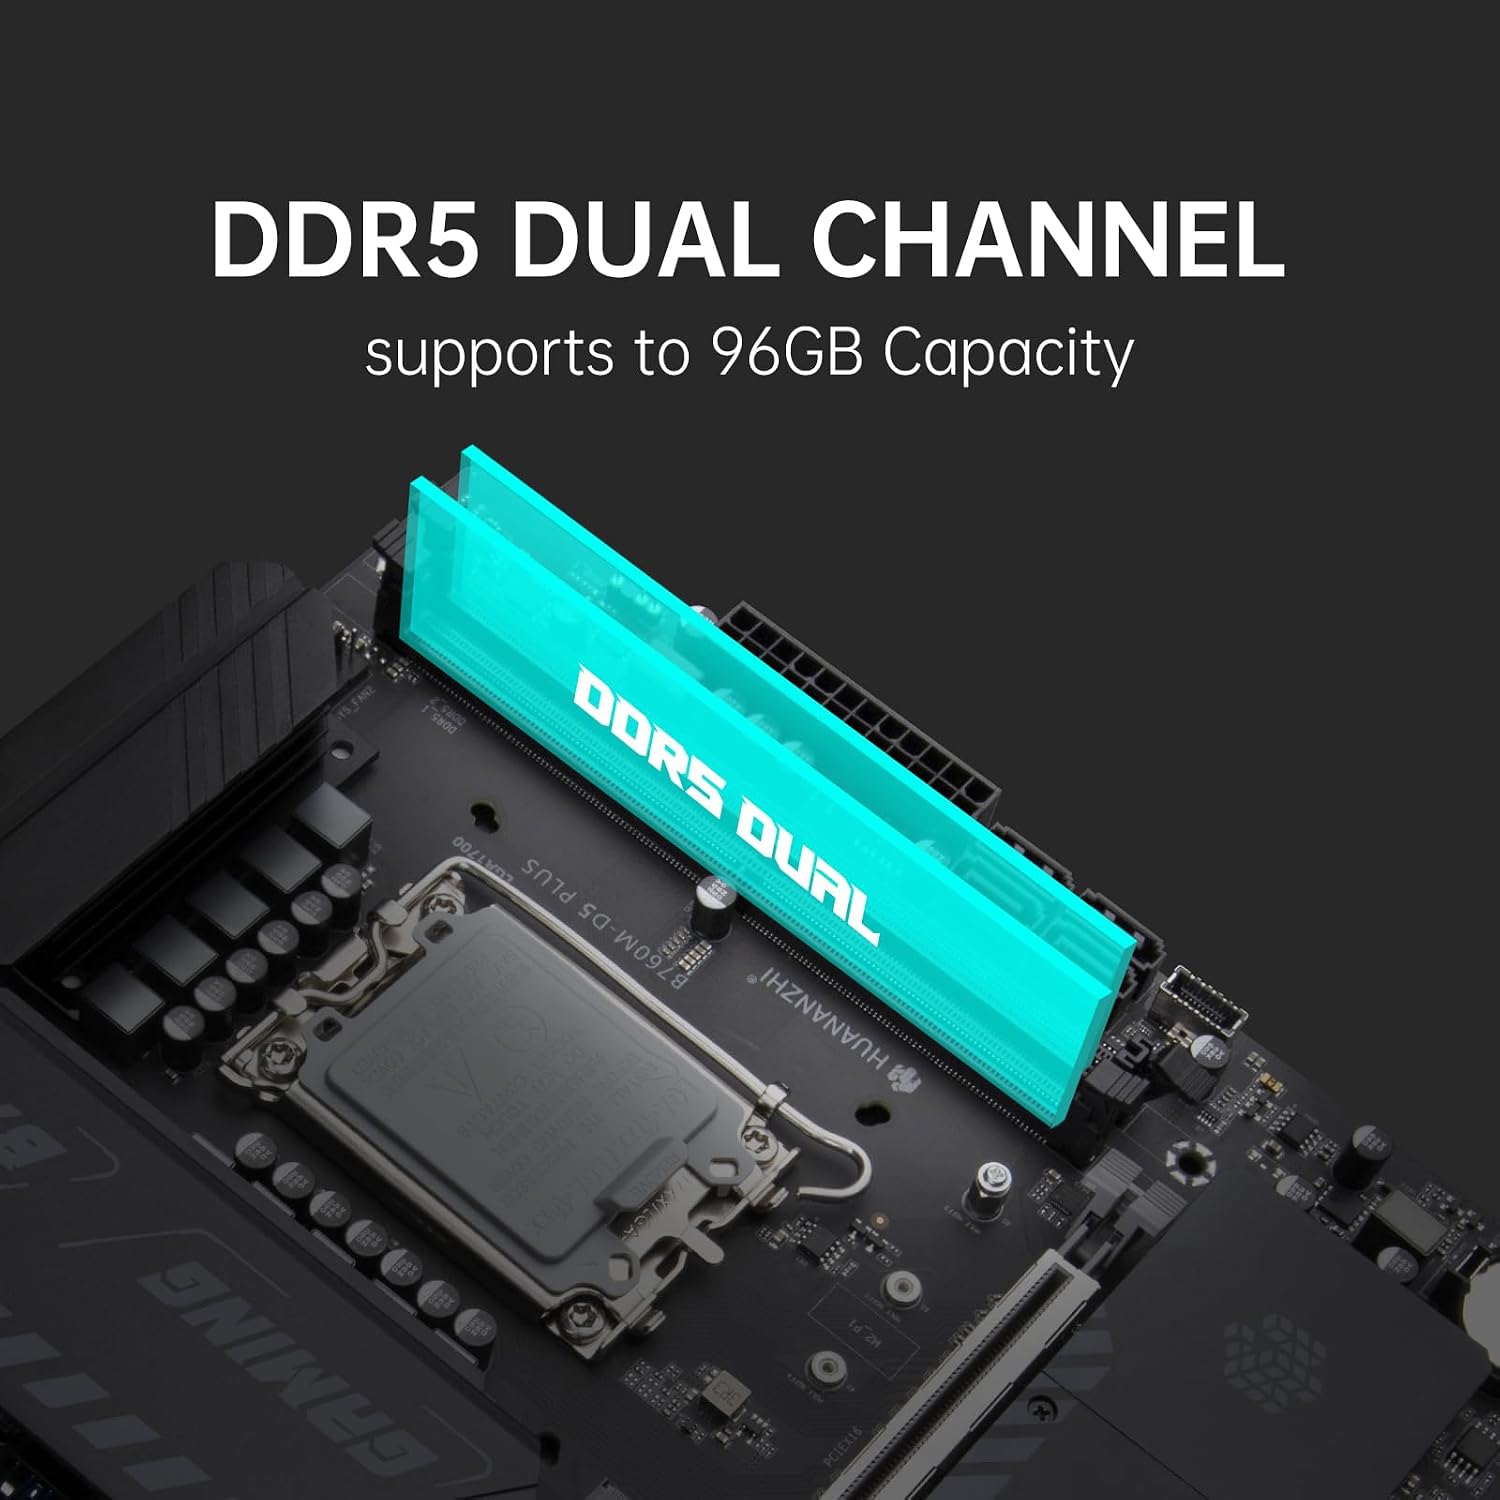
Image: The motherboard features two DDR5 memory slots, highlighted to show dual-channel support and up to 96GB capacity.
4.2. Full Speed PCIe 4.0 M.2 NVMe Slots
Equipped with multiple full-speed PCIe 4.0 M.2 slots, the motherboard provides advanced storage solutions with significantly faster data transfer rates compared to previous generations. This is ideal for high-performance NVMe SSDs.

Image: Three PCIe 4.0 M.2 slots are visible on the motherboard, indicating support for high-speed NVMe storage devices.
4.3. 2.5G Gigabit Network Card
The integrated Realtek 2.5G Gigabit network card offers enhanced network performance, providing faster internet speeds and lower latency for online gaming and data transfers.

Image: A visual representation of the 2.5G network card, emphasizing its high-speed capability.
4.4. PCIe x16 4.0 Slot
The PCIe x16 4.0 slot provides double the bandwidth of PCIe 3.0, ensuring optimal performance for modern graphics cards and other expansion cards, leading to a smoother gaming and computing experience.

Image: The PCIe x16 4.0 slot is highlighted on the motherboard, indicating its high-speed data transfer capability for graphics cards.
4.5. SATA 3.0 Interfaces
The motherboard includes four SATA 3.0 interfaces, meeting the needs for large-capacity storage with traditional hard drives and SATA SSDs.

Image: Four SATA 3.0 ports are shown on the motherboard, ready for connecting storage devices.
4.6. ARGB Support
The motherboard supports 3*5V ARGB headers, allowing for customizable and dazzling lighting effects. Users can utilize HUANANZHI RGB gaming light control software to personalize their system's aesthetics.

Image: Three 5V ARGB headers are labeled on the motherboard, indicating support for addressable RGB lighting.
4.7. 10-Phase Power Supply
A stable 10-phase power supply design ensures reliable and efficient power delivery to the CPU, crucial for maintaining system stability and performance under load.

Image: A close-up of the motherboard's CPU power delivery area, illustrating the 10-phase power supply components.
4.8. Reasonable Layout and Connectivity
The motherboard features a well-thought-out layout for easy installation and excellent extensibility, including various ports for modern peripherals and displays.

Image: A detailed diagram of the motherboard's layout, labeling various ports, slots, and connectors such as USB, HDMI, DP, M.2, and fan headers.
5. Kurulum ve Kurulum
Follow these steps for proper installation of your motherboard and components:
5.1. CPU Kurulumu
- Open the CPU socket lever on the LGA 1700 socket.
- İşlemciyi soketle dikkatlice hizalayın ve işlemci üzerindeki üçgen işaretin soket üzerindeki işaretle eşleştiğinden emin olun. İşlemciyi zorla yerine oturtmayın.
- CPU'yu sabitlemek için soket kolunu kapatın.
- İşlemciye termal macun uygulayın ve işlemci soğutucusunu üreticinin talimatlarına göre takın.
5.2. RAM (DDR5) Kurulumu
- DDR5 bellek yuvalarının her iki ucundaki klipsleri açın.
- Bellek modülünü yuvayla hizalayın ve modüldeki çentiğin yuvadaki anahtarla eşleştiğinden emin olun.
- Klipsler yerine oturana kadar bellek modülünün her iki ucuna sıkıca bastırın.
5.3. Depolama Aygıtı Kurulumu
M.2 NVMe SSD
- Locate an available M.2 slot. Remove the M.2 standoff screw.
- M.2 SSD'yi yuvaya 30 derecelik bir açıyla yerleştirin.
- SSD'yi aşağı doğru itin ve M.2 vidasıyla sabitleyin.
SATA Sürücüler
- SATA veri kablosunun bir ucunu anakart üzerindeki bir SATA 3.0 portuna bağlayın.
- SATA veri kablosunun diğer ucunu SATA sabit diskinize veya SSD'nize bağlayın.
- Güç kaynağınızdan sürücüye bir SATA güç kablosu bağlayın.
5.4. Graphics Card (PCIe x16) Installation
- PCIe x16 yuvasındaki tutma klipsini açın.
- Ekran kartınızı yuvaya hizalayın ve tamamen oturana ve tutma klipsi yerine oturana kadar sıkıca bastırın.
- Ekran kartınızı vidalarla PC kasanıza sabitleyin.
- Güç kaynağınızdan grafik kartınıza gerekli tüm PCIe güç kablolarını bağlayın.
5.5. Güç Bağlantıları
- Güç kaynağınızdaki 24 pinli ATX güç konektörünü anakart üzerindeki 24 pinli ana güç soketine bağlayın.
- Connect the 8-pin CPU power connector (EPS 12V) from your power supply to the CPU 8-pin power socket.
5.6. Ön Panel Bağlantıları
Connect the cables from your PC case's front panel (USB, audio, power button, reset button, HDD LED, power LED) to the corresponding headers on the motherboard. Refer to the motherboard layout diagram (Section 4.8) for header locations.
6. Kullanım Talimatları
6.1. İlk Önyükleme
After assembling all components, connect your monitor, keyboard, and mouse. Power on your system. The system should display the BIOS/UEFI splash screen. If not, check all connections.
6.2. BIOS/UEFI Kurulumu
Press the designated key (usually DEL or F2) during startup to enter the BIOS/UEFI setup utility. Here you can configure boot order, system time, fan speeds, and other advanced settings. Save changes before exiting.
6.3. Sürücü Kurulumu
After installing your operating system, install the necessary drivers for the motherboard chipset, network card, audio, and any other integrated components. These drivers are typically provided on a support CD or can be downloaded from the HUANANZHI webalan.
7. Bakım
- Temizlik: Regularly clean dust from inside your PC case, especially around fans and heatsinks, using compressed air. Ensure the system is powered off and unplugged before cleaning.
- BIOS Güncellemeleri: HUANANZHI'yi periyodik olarak kontrol edin website for BIOS/UEFI updates. Updates can improve stability, add support for new hardware, or fix bugs. Follow the update instructions carefully to avoid damaging the motherboard.
- Kablo yönetimi: Hava akışını iyileştirmek ve paraziti önlemek için kabloların düzgün bir şekilde yönlendirildiğinden emin olun.
8. Sorun Giderme
Sorunlarla karşılaşırsanız aşağıdaki genel sorun giderme adımlarına bakın:
- Güç Yok: Check all power connections (24-pin ATX, 8-pin CPU, GPU power). Ensure the power supply switch is on and the wall outlet is functional.
- Görüntü yok: Verify that the monitor is connected to the graphics card (or motherboard if using integrated graphics) and is powered on. Reseat the graphics card and RAM modules.
- Sistem Kararsızlığı/Çökmeler: Check CPU and GPU temperatures. Ensure RAM is properly seated and compatible. Update drivers and BIOS.
- Önyükleme Aygıtı Bulunamadı: SATA/M.2 kablo bağlantılarını kontrol edin. BIOS/UEFI'de önyükleme sırasını doğrulayın. İşletim sisteminin sürücüye doğru şekilde yüklendiğinden emin olun.
- Çevresel Sorunlar: Try connecting peripherals to different USB ports. Ensure relevant drivers are installed.
For persistent issues, consult the HUANANZHI support websitesine bakın veya teknik destekle iletişime geçin.
9. Özellikler
| Özellik | Şartname |
|---|---|
| Marka | HUANANZHI |
| Model Adı | B760M D5 PLUS |
| CPU Soketi | LGA1700 |
| Uyumlu İşlemciler | Intel 12th, 13th, 14th Gen Core CPUs |
| Yonga Seti Türü | Intel B760 |
| RAM Bellek Teknolojisi | DDR5 |
| Mevcut Bellek Yuvaları | 2 |
| Maksimum RAM Kapasitesi | 96 GB |
| Bellek Saat Hızı | 3200 MHz (Temel Frekans) |
| Grafik Kartı Arayüzü | PCI Express 4.0 |
| M.2 Yuvaları | 1x M.2 2280 NVME PCIE X4 4.0, 1x M.2 WIFI |
| SATA Bağlantı Noktaları | 4x SATA3.0 |
| Ağ Kartı | Realtek 2.5G Gigabit |
| USB Bağlantı Noktaları | Total 8 (including 1x Type-C 5Gb/s) |
| HDMI Bağlantı Noktaları | 2x HDMI 2.1 |
| Ekran Bağlantı Noktası | 1xDP 1.4 |
| Ana Güç Konektörü | 24-Pin |
| Boyutlar (U x G x Y) | 20.3U x 15.2G x 5.1Y santimetre |
10. Garanti Bilgileri
HUANANZHI motherboards typically come with a limited manufacturer's warranty. Please refer to the warranty card included with your product or visit the official HUANANZHI website for specific terms, conditions, and duration of your warranty. Keep your proof of purchase for warranty claims.
11. Destek
For technical assistance, driver downloads, BIOS updates, or further inquiries, please visit the official HUANANZHI support website. You may also contact their customer service through the channels provided on their webalan.
- Resmi Webalan: www.huananzhi.com (Lütfen en güncel bilgileri kontrol edin) URL)
- Müşteri Hizmetleri: Şuna bakın: webiletişim bilgileri için site.