
DD Audio VO-W712-D2
DD Audio VO-W712-D2 12-inch Midwoofer User Manual
Model: VO-W712-D2
giriiş
This manual provides essential information for the proper installation, operation, and maintenance of your DD Audio VO-W712-D2 12-inch Midwoofer. Please read this manual thoroughly before attempting to install or operate the product to ensure optimal performance and safety.
The VO-W712-D2 is designed to bridge the gap between midrange and subwoofer frequencies, offering a balance of clarity and power. Its compact design allows for installation in various vehicle applications where space is limited.
Güvenlik Bilgileri
- Herhangi bir elektrik işi yapmadan önce mutlaka aracın aküsünün bağlantısını kesin.
- Kısa devreleri ve hasarı önlemek için tüm kabloların düzgün bir şekilde yalıtılmış ve sabitlenmiş olduğundan emin olun.
- Do not expose the midwoofer to excessive moisture or extreme temperatures.
- Kurulum sırasında koruyucu gözlük gibi uygun kişisel koruyucu ekipman (KKD) kullanın.
- Kurulum sürecinin herhangi bir kısmından emin değilseniz profesyonel bir montajcıya danışın.
- Operating audio systems at high volumes for extended periods can cause permanent hearing damage.
Paket İçeriği
Paketin içinde tüm öğelerin mevcut olduğundan emin olun:
- DD Audio VO-W712-D2 12-inch Midwoofer (1 unit)
- Kullanım Kılavuzu (bu belge)
- Montaj Vidaları (miktar değişebilir)
Kurulum ve Yükleme
Proper installation is crucial for the performance and longevity of your midwoofer. Follow these guidelines carefully.
1. Enclosure Design
The VO-W712-D2 is optimized for small vented box designs. Consult the specifications section for recommended enclosure volumes and tuning frequencies. An appropriately designed enclosure will maximize the midwoofer's performance and protect it from damage.
2. Montaj
Ensure the mounting surface is rigid and free from obstructions. Use the provided mounting screws to secure the midwoofer firmly into the enclosure. Refer to the specifications for mounting diameter and depth.
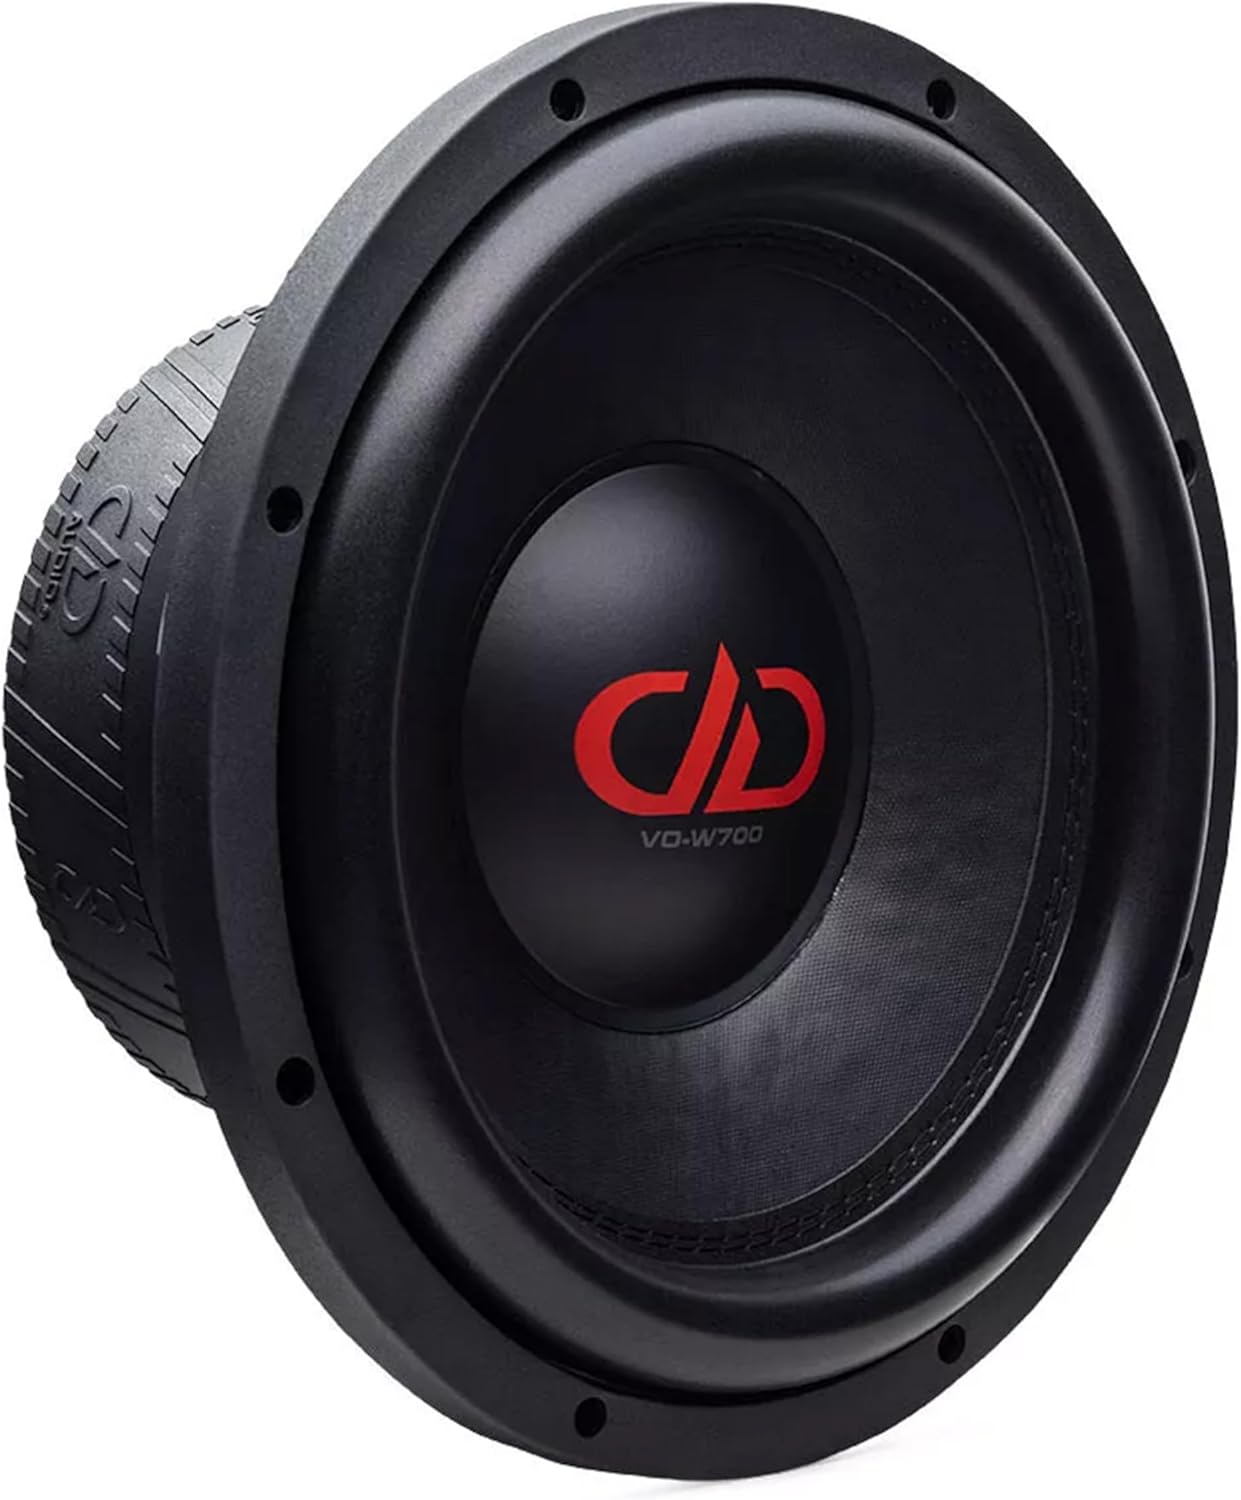
Resim 1: Ön view of the DD Audio VO-W712-D2 midwoofer, showing the cone and surround. This view highlights the speaker's primary radiating surface and mounting flange.

Resim 2: Yan view of the DD Audio VO-W712-D2 midwoofer, illustrating its compact cast frame and the depth of the motor structure. This perspective is useful for assessing mounting depth requirements.
3. Kablolama
The VO-W712-D2 features a Dual 2-Ohm voice coil. Proper wiring configuration is essential for matching the midwoofer's impedance to your ampAmperörün kapasitesi. Lütfen kullanım kılavuzuna bakın. amplifier's manual for compatible load impedances.
- Seri Bağlantı (4 Ohm): Bir ses bobininin pozitif ucunu diğer ses bobininin negatif ucuna bağlayın. Geri kalan pozitif ve negatif uçları birbirine bağlayın. ampcankurtaran.
- Paralel Bağlantı (1 Ohm): İki pozitif ucu birbirine, iki negatif ucu da birbirine bağlayın. Birleştirilmiş pozitif ve negatif uçları birbirine bağlayın. ampcankurtaran.
Ensure all connections are secure and free from corrosion. Use appropriate gauge speaker wire for the power levels involved.

Resim 3: Arka view of the DD Audio VO-W712-D2 midwoofer, highlighting the double magnet motor, voice coil terminals, and the embossed DD Audio logo on the magnet boot. This view is critical for understanding wiring connections.
Kullanım Talimatları
Kurulum tamamlandıktan sonra, ilk çalıştırma için şu adımları izleyin:
- İlk Güçlendirme: After verifying all connections, turn on your audio system at a low volume.
- Alıştırma Dönemi: Allow the midwoofer to break in for approximately 10-20 hours of normal listening at moderate volumes. This allows the suspension components to loosen and reach their optimal performance characteristics.
- Ayar Amplifier Gains: Carefully adjust your amplifier's gain settings to match the output of your head unit. Avoid setting the gain too high, which can lead to clipping and damage to the midwoofer.
- Geçiş Ayarları: Yeteneğinizi kullanın amplifier's or head unit's crossover functions to properly filter frequencies. For the VO-W712-D2, a low-pass filter (LPF) is typically used to prevent it from playing frequencies too high, while a high-pass filter (HPF) might be used on other speakers to prevent them from playing frequencies too low. Refer to the specifications for recommended frequency response.
Bakım
The DD Audio VO-W712-D2 midwoofer requires minimal maintenance to ensure long-term performance.
- Temizlik: Koniyi ve çevresini nazikçe silmek için yumuşak, kuru bir bez kullanın. Sert kimyasallar veya aşırı nem kullanmaktan kaçının.
- Denetleme: Periodically inspect the midwoofer for any signs of damage to the cone, surround, or dust cap. Check wiring connections for tightness and corrosion.
- Çevre Koruma: Keep the midwoofer away from direct sunlight, extreme heat, and moisture.
Sorun giderme
If you encounter issues with your midwoofer, refer to the following common problems and solutions:
| Sorun | Olası Neden | Çözüm |
|---|---|---|
| No sound from midwoofer |
|
|
| Bozuk ses |
|
|
| Midwoofer gets hot |
|
|
If the problem persists after attempting these solutions, please contact DD Audio customer support.
Özellikler
Detailed technical specifications for the DD Audio VO-W712-D2 12-inch Midwoofer:
| Özellik | Değer |
|---|---|
| Hoparlör Boyutu | 12 inç |
| Watt RMS | 1200 Watt |
| Empedans | Dual 2-Ohm (D2) |
| Voice Coil Diameter (VCD) | 3 inç |
| Piston Çapı | 247.7 mm |
| Frekans Tepkisi | 35 - 2k Hz |
| Fs (Rezonans Frekansı) | 40.85 Hz |
| Qms (Mechanical Q) | 5.807 |
| Qes (Electrical Q) | 0.517 |
| Qts (Total Q) | 0.475 |
| Vas (Eşdeğer Hacim) | 17.57 Litre |
| BL (Motor Gücü) | 30TM |
| Xmech (Mechanical Excursion) | 30 mm |
| Xmax (Doğrusal Gezinti) | 12 mm |
| Frame OD w/Gasket | 12.625 inç |
| Montaj Çapı | 11 3/8 Inches (286 MM) |
| Montaj Derinliği | 5.125 Inches (130 MM) |
| Mıknatıslı Motor | Double Magnet |
| Soğutma Sistemi | Multi-Vent Free Flow |
| Koni Malzemesi | Weather Resistant Pressed Cone |
| Örümcek | 7.5” Dual Layer Cloth |
| Çerçeve Türü | Compact Cast Frame |
| Ürün Ağırlığı | 26 Pound |
| Ses Sürücüsü Türü | Dinamik Sürücü |
Garanti Bilgileri
The DD Audio VO-W712-D2 midwoofer comes with a 1 Yıllık Sınırlı Garanti from the date of purchase. This warranty covers defects in materials and workmanship under normal use. It does not cover damage caused by improper installation, abuse, accident, neglect, unauthorized repair, or modification.
Please retain your proof of purchase for warranty claims. For detailed warranty terms and conditions, please visit the official DD Audio website veya müşteri desteği ile iletişime geçin.
Müşteri Desteği
For technical assistance, warranty inquiries, or replacement parts, please contact DD Audio customer support:
- Webalan: ddaudio.com
- E-posta: Şuna bakın: webİletişim formları veya e-posta adresleri için site.
- Telefon: Şuna bakın: webGüncel iletişim numaraları için siteyi ziyaret edin.
When contacting support, please have your product model number (VO-W712-D2) and proof of purchase readily available.
Ask a question about this manual
Ask about setup, troubleshooting, compatibility, parts, safety, or missing instructions. Manuals+ will review the question and use this page’s manual context to help answer it.