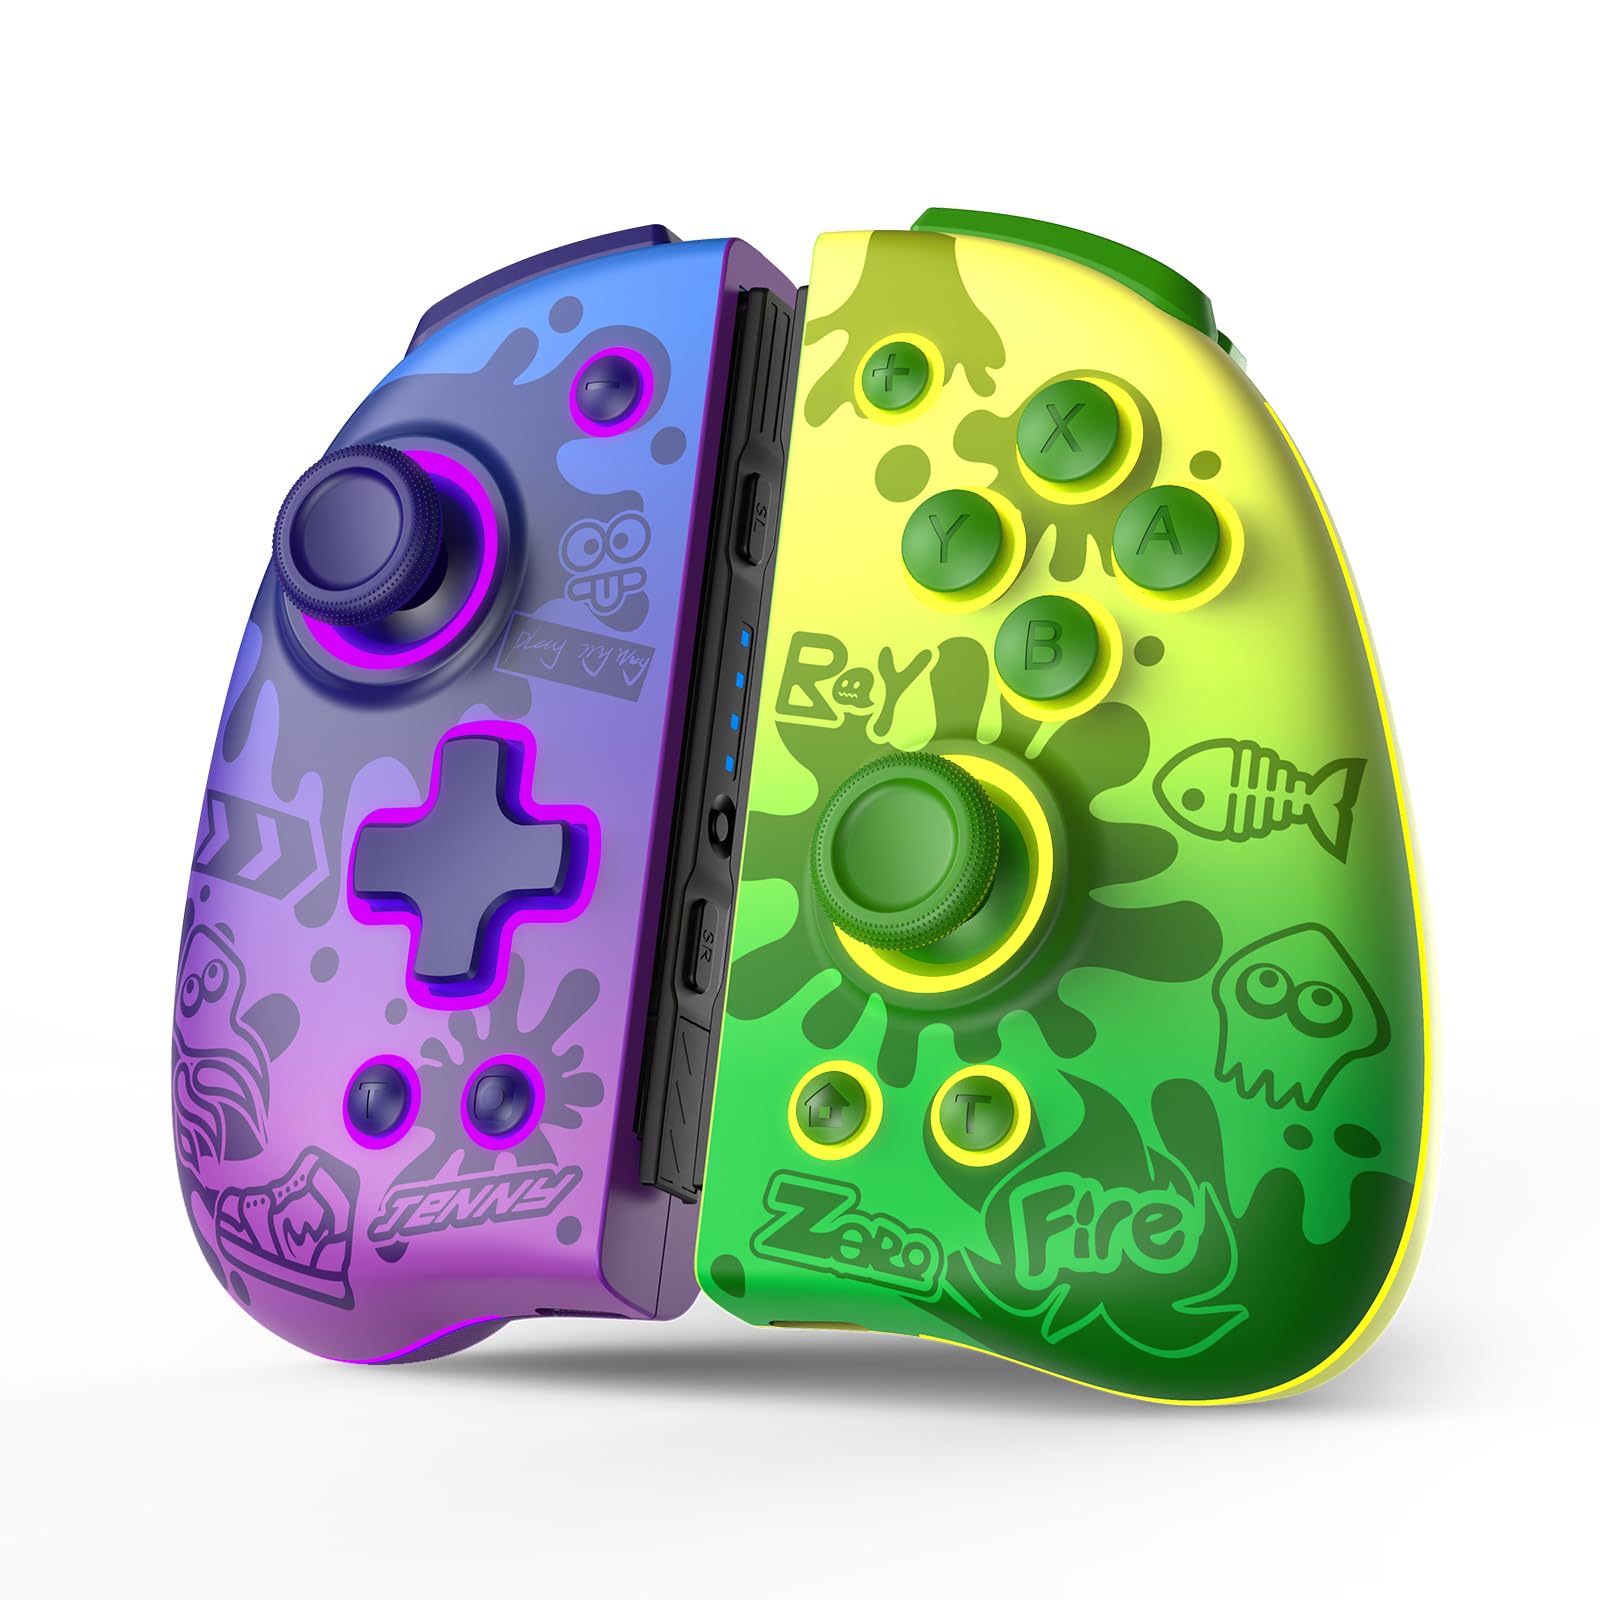
This manual provides detailed instructions for the IINE Neptune Wireless Controller, designed for use with Nintendo Switch, Switch Lite, and Switch OLED consoles. Please read this manual thoroughly before using the product to ensure proper operation and to maximize your gaming experience.
Image: The IINE Neptune Wireless Controller shown attached to a Nintendo Switch console, highlighting its design and compatibility.
1. Kurulum
1.1 Kontrol Ünitesinin Şarj Edilmesi
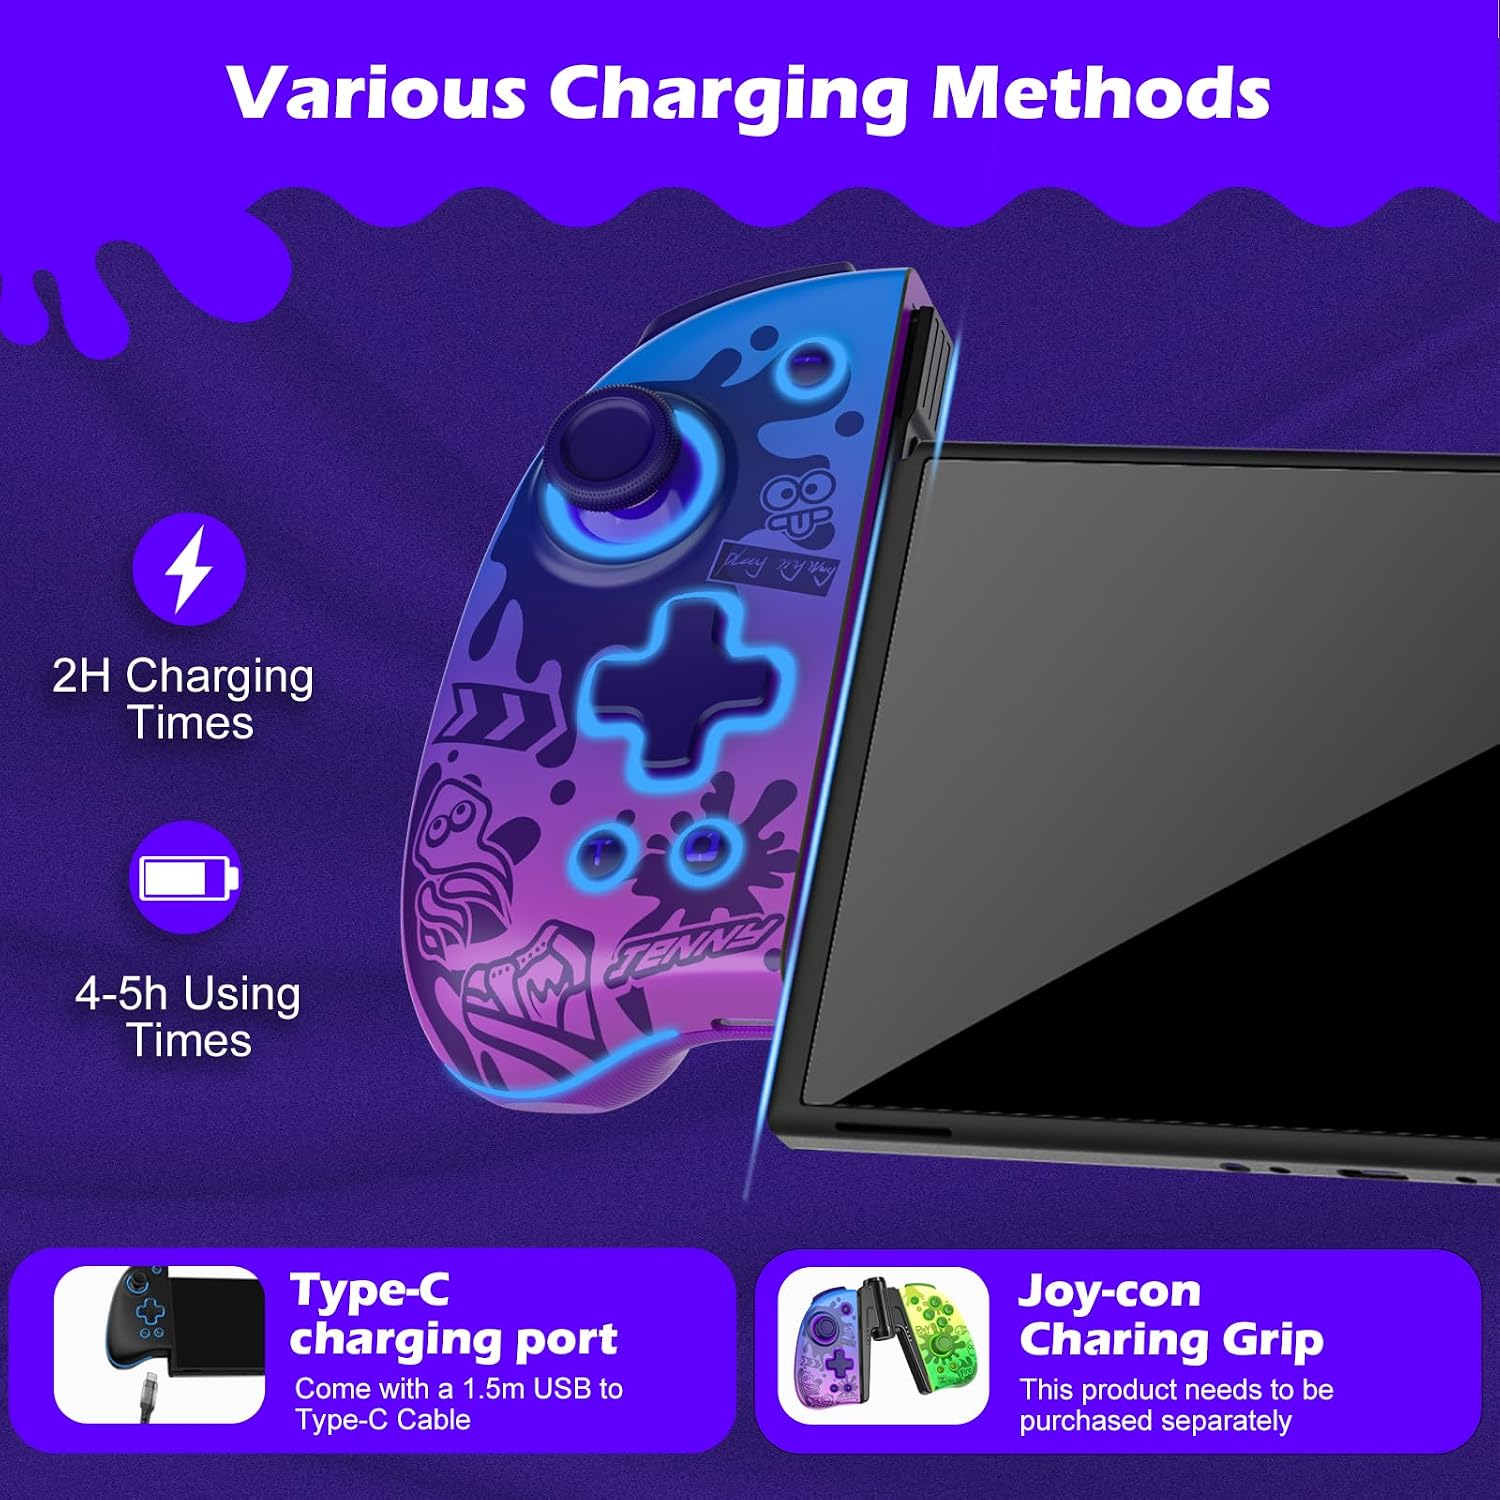
Before first use, fully charge the controller. The controller features a Type-C charging port.
Connect the provided 1.5m USB to Type-C cable to the controller's charging port.
Connect the other end of the cable to a USB power source (e.g., Switch dock, USB wall adapter).
Tam şarj genellikle yaklaşık 2 saat sürer.
The controller provides 4-5 hours of usage time on a full charge.
Image: Illustration of the controller's Type-C charging port and estimated charging and usage times.
1.2 Pairing with Nintendo Switch
Follow these steps to pair your IINE Neptune controller wirelessly with your Nintendo Switch console:
Ana Menü'den "Kontrolcüler" > "Tutuş Şeklini/Sırasını Değiştir" seçeneğini seçin.
While the screen displays "Press L + R on the controller", press and hold the pairing button on the IINE Neptune controller until the player LEDs begin to flash.
Once paired, the player LED(s) on the controller will remain lit.
Not: The controller supports one-click wake-up for the Switch console once paired.
2. Kullanım Talimatları
2.1 Mechanical Buttons and ALPS Joysticks
The IINE Neptune controller features mechanical gaming buttons and ALPS joysticks for enhanced responsiveness and durability.
Mekanik Düğmeler: Provide faster rebound and more sensitive touch feedback. This applies to A/B/X/Y/L/R/ZL/ZR action buttons.
ALPS Joystickleri: Multi-directional joysticks with metal thumbstick grips designed to prevent dust accumulation and drift, ensuring smooth and precise control.
Image: Detail of the mechanical buttons, emphasizing their responsive design.
Image: Close-up of an ALPS joystick, highlighting its multi-directional capability and metal grip.
2.2 Macro Settings (MR/ML Buttons)
The MR/ML back buttons can be customized to map basic function buttons or a sequence of actions.
Setting a Macro:
Hold down the 'M' button.
While holding 'M', press any action button or sequence of buttons you wish to map.
Release the 'M' button to save the macro.
Bir Makroyu Temizleme: Click the 'M' button again to cancel the current macro setting.
Rahatlaasing Custom Macro: Click the ML/MR button to execute the custom macro settings.
Image: Visual guide for setting and clearing macros using the MR/ML back buttons.
2.3 Turbo Fonksiyonu
The Turbo function allows for rapid, repeated input of a button press. It supports both automatic and manual turbo modes.
Turbo'yu Etkinleştirme: Press the 'Turbo' button simultaneously with the desired action button (e.g., A, B, X, Y).
Turbo Hızının Ayarlanması: (Specific instructions not provided in source, typically involves Turbo + D-pad Up/Down or joystick)
Turbo devre dışı bırakılıyor: Repeat the activation step or press the 'Turbo' button independently.
2.4 6-Axis Gyro Sensor (Somatosensory)
The built-in 6-axis gyro sensor provides precise motion control for compatible games.
This feature allows for intelligent detection of rotation and direction changes.
It enhances gameplay in titles that support somatosensory actions, shooting, and aiming.
Not: This feature supports most somatosensory games on Switch, but may not be compatible with games requiring infrared (e.g., Ring Fit Adventure).
Image: Visual representation of the 6-axis gyro sensor's motion detection capabilities.
2.5 Adjustable RGB Lighting
The controller features adjustable RGB LED lights with various modes and brightness levels.
For warranty information and technical support, please refer to the documentation included with your purchase or contact the retailer where the product was acquired. You may also visit the official IINE webDaha fazla yardım için siteyi ziyaret edin.
Temas etmek: For any questions or support, please reach out to the customer service provided by your retailer or the manufacturer.
Ask a question about this manual
Ask about setup, troubleshooting, compatibility, parts, safety, or missing instructions. Manuals+ will review the question and use this page’s manual context to help answer it.