1. Ürün Bittiview
The SnapFresh Cordless Electric Scissor Charger (Model ECC0601) is designed exclusively for charging the SnapFresh 4V Electric Mini Cutter (Model EC0601). This compact and lightweight charger ensures your electric mini cutter is always ready for use, providing efficient and safe power delivery.

Image 1.1: The SnapFresh Cordless Electric Scissor Charger (Model ECC0601).
Uyumluluk: This charger is specifically designed for the SnapFresh 4V Electric Mini Cutter (EC0601). Using it with other devices may cause damage to the charger or the device.
2. Güvenlik Bilgileri
Şarj cihazını kullanmadan önce lütfen tüm güvenlik talimatlarını okuyun ve anlayın. Bu talimatlara uyulmaması elektrik çarpmasına, yangına veya ciddi yaralanmaya neden olabilir.
- Use the charger only with the specified SnapFresh 4V Electric Mini Cutter (EC0601).
- Şarj cihazını yağmura veya ıslak koşullara maruz bırakmayın. Şarj cihazına su girmesi elektrik çarpması riskini artırır.
- Kabloyu kötüye kullanmayın. Kabloyu asla taşıma, çekme veya şarj aletini fişten çıkarma için kullanmayın. Kabloyu ısıdan, yağdan, keskin kenarlardan veya hareketli parçalardan uzak tutun.
- Do not operate the charger if it has received a sharp blow, been dropped, or otherwise damaged. Take it to an authorized service center for inspection.
- Kullanmadığınız zamanlarda veya temizlemeden önce şarj cihazını güç kaynağından çıkarın.
- Şarj cihazını sökmeyin. Tüm servis işlemlerini yetkili servis personeline yaptırın.
3. Setup and Charging Instructions
Follow these steps to properly set up and charge your SnapFresh 4V Electric Mini Cutter:
- Ensure the SnapFresh 4V Electric Mini Cutter (EC0601) is turned off before connecting the charger.
- Locate the charging port on the electric mini cutter.
- Insert the charger's output plug into the charging port of the electric mini cutter.
- Plug the charger's power adapter into a standard electrical outlet.

Image 3.1: The charger connected to the SnapFresh 4V Electric Mini Cutter, illustrating the charging process.
Gösterge Işığı: The charger features a clear indicator light. When the battery is charging, the indicator light will illuminate kırmızı. Once the battery is fully charged, the light will typically change color or turn off (refer to the electric mini cutter's manual for specific full charge indication).
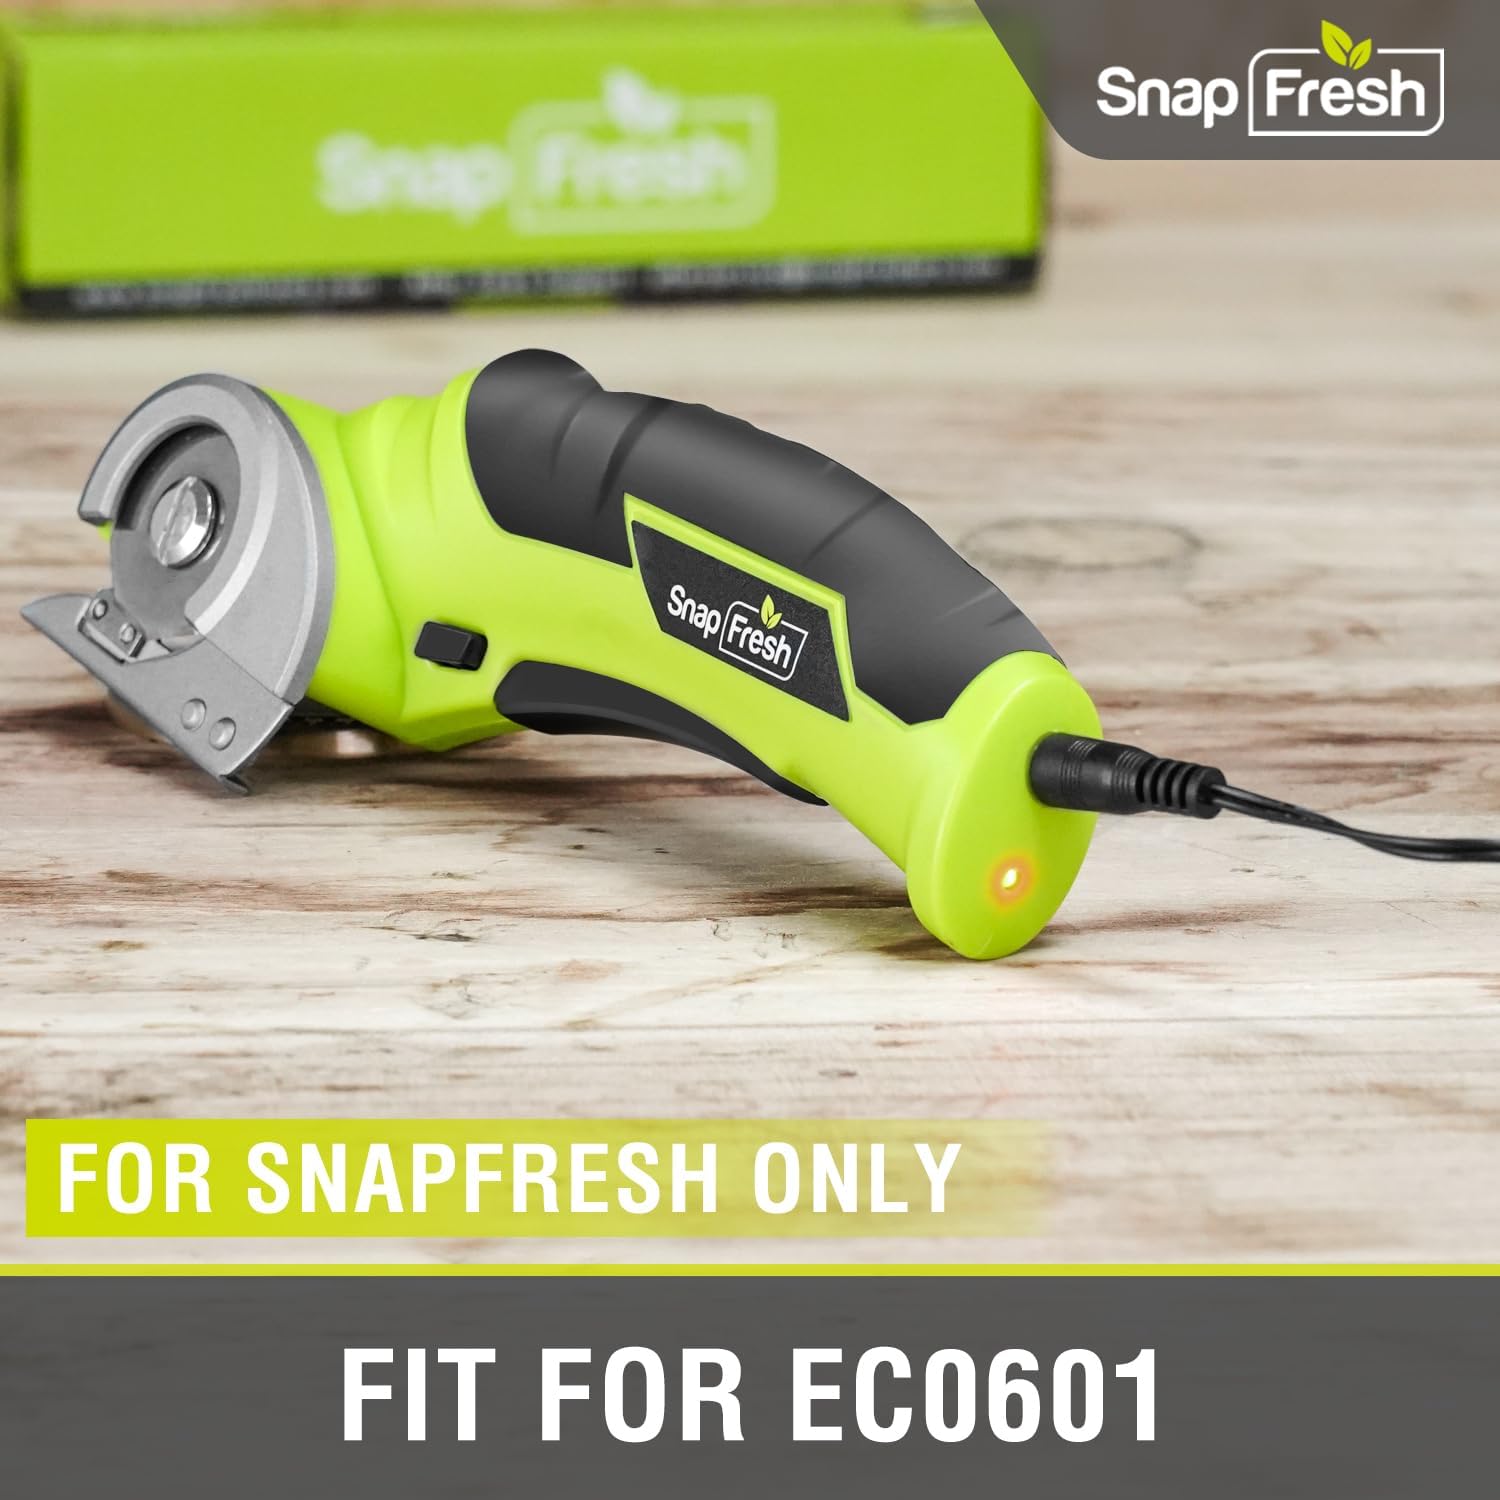
Image 3.2: Close-up of the charger connected to the SnapFresh EC0601, emphasizing exclusive compatibility.
The charger is designed for quick and safe charging, ensuring optimal performance and longevity of your electric mini cutter's battery.
4. Operating the Electric Mini Cutter (EC0601)
While this manual focuses on the charger, understanding the basic operation of the compatible tool is essential for proper use.
- Çalıştırmadan önce pilin tamamen şarj olduğundan emin olun.
- The electric mini cutter is designed for cutting various materials up to 1/4 inch thick, including cardboard, carpet, rope, leather, and paper.
- Always engage the safety switch before operating the tool.
- Hold the tool firmly and guide it smoothly through the material.

Image 4.1: The SnapFresh 4V Electric Mini Cutter demonstrating its versatility in cutting different materials.
For detailed operating instructions, refer to the specific user manual for the SnapFresh 4V Electric Mini Cutter (EC0601).
5. Bakım
Doğru bakım, şarj cihazınızın uzun ömürlü ve güvenli çalışmasını sağlar.
- Şarj cihazını temiz ve kuru tutun. Yumuşak bir bezle silin.amp Gerekirse bezle silin. Sert kimyasallar veya aşındırıcı temizleyiciler kullanmayın.
- Şarj cihazını doğrudan güneş ışığından ve aşırı sıcaklıklardan uzak, serin ve kuru bir yerde saklayın.
- Regularly inspect the power cord and plug for any signs of damage. If damaged, discontinue use and replace the charger.
6. Sorun Giderme
Şarj cihazınızla ilgili sorunlarla karşılaşırsanız, aşağıdaki yaygın sorunlara ve çözümlere bakın:
| Sorun | Olası Neden | Çözüm |
|---|---|---|
| Şarj cihazı gösterge ışığı yanmıyor. |
|
|
| Pil şarj olmuyor. |
|
|
If the problem persists after attempting these solutions, please contact SnapFresh customer support for further assistance.
7. Özellikler
| Özellik | Detay |
|---|---|
| Marka | SnapTaze |
| Model Numarası | ECC0601 |
| Ürün Boyutları | 3.07 x 3.35 x 1.85 inç |
| Ürün Ağırlığı | 2.39 ons |
| Bağlayıcı Türü | 2-Pin |
| Uyumlu Cihazlar | SnapFresh 4V Electric Mini Cutter (EC0601) |
| Dahil Bileşenler | Cordless Electric Scissors Charger |
| Özel Özellik | Hafif Tasarım |
| Renk | Siyah |
| Toplam USB Bağlantı Noktaları | 1 (Note: This refers to the charger's internal design, not an external USB port for user access) |
| Netage | 20 watt |
| Çıkış Akımı | 0.5 Amps |
8. Garanti ve Destek
For warranty information, product registration, or technical support, please visit the official SnapFresh webSite üzerinden veya müşteri hizmetleri departmanıyla iletişime geçin. Satın alma fişinizi, olası garanti talepleri için satın alma belgesi olarak saklayın.
SnapFresh Official Store: Visit the SnapFresh Store on Amazon